Discord is a renowned communication platform initially crafted for gamers. However, its versatility has expanded its reach into business, education, and personal interactions. Discord has got you covered whether you’re looking to chat through text, voice, or video or join servers tailored to your interests. It’s accessible via web browsers and dedicated client applications across various platforms, including Windows, Mac, Linux, and mobile devices. In this guide, we’ll focus on how to install Discord on Linux Mint 21 or Linux Mint 20 using two distinct methods, with a particular emphasis on the command line terminal.
Here are some compelling reasons to integrate Discord into your Linux Mint desktop:
- Enhanced Communication: Connect seamlessly with friends, family, and colleagues.
- Community Engagement: Dive into communities and groups that resonate with your passions.
- Virtual Events: Host or join virtual gatherings, meetings, classes, or casual hangouts.
- Versatile Channels: Transition smoothly between text, voice, and video channels.
- Media Sharing: Share files, images, videos, and documents effortlessly.
- Collaboration Tools: Screen sharing and remote control features facilitate collaboration and assistance.
- Customization: Personalize your server experience with bots and plugins.
- Syncing Capabilities: Your chats, contacts, and settings are synchronized, ensuring you stay connected across devices.
- Platform Availability: Whether you’re on Windows, Mac, Linux, or mobile or prefer a web browser, Discord is there for you.
With that introduction in place, let’s delve into the leading guide on installing Discord on Linux Mint.
Step 1: Update Linux Mint Before Discord Installation
First, update your system to ensure all existing packages are up to date to avoid any conflicts during the installation.
sudo apt updateProceed to upgrade any outdated packages using the following command.
sudo apt upgradeStep 2: Install Discord on Linux Mint 21 or 20
Method 1: Install Discord with Debian Package on Linux Mint
The first option is to install Discord with the Debian package using the wget command. The following command should always download the latest version available.
wget "https://discord.com/api/download?platform=linux&format=deb" -O discord.debOnce you have completed the download, proceed to install the .deb package.
sudo apt install ./discord.debMethod 2: Install Discord with Flatpak and Flathub on Linux Mint
By default, Flatpak is installed on Linux Mint, but sometimes, you must enable the Flathub repository using the following command in your terminal, which is done with the following command.
sudo flatpak remote-add --if-not-exists flathub https://flathub.org/repo/flathub.flatpakrepoNow begin the installation using the following flatpak command.
flatpak install flathub com.discordapp.Discord -yTroubleshoot Discord Flatpak Installation on Linux Mint
First, the most common error when installing a Flatpak from Flathub is the following error output.
"error: Unable to load summary from remote flathub: Can't fetch summary from disabled remote 'flathub,"The fix is to run the following command to enable Flathub.
flatpak remote-modify --enable flathubStep 3: Launch Discord Client on Linux Mint 21 or 20
With the installation complete from one of the installation methods, you can run Discord immediately from your terminal.
First, while in your terminal, you can use the following command.
discordFlatpak users must launch using the command below from a terminal instance.
flatpak run com.discordapp.DiscordHowever, this isn’t practical, and you would use the following path on your desktop.
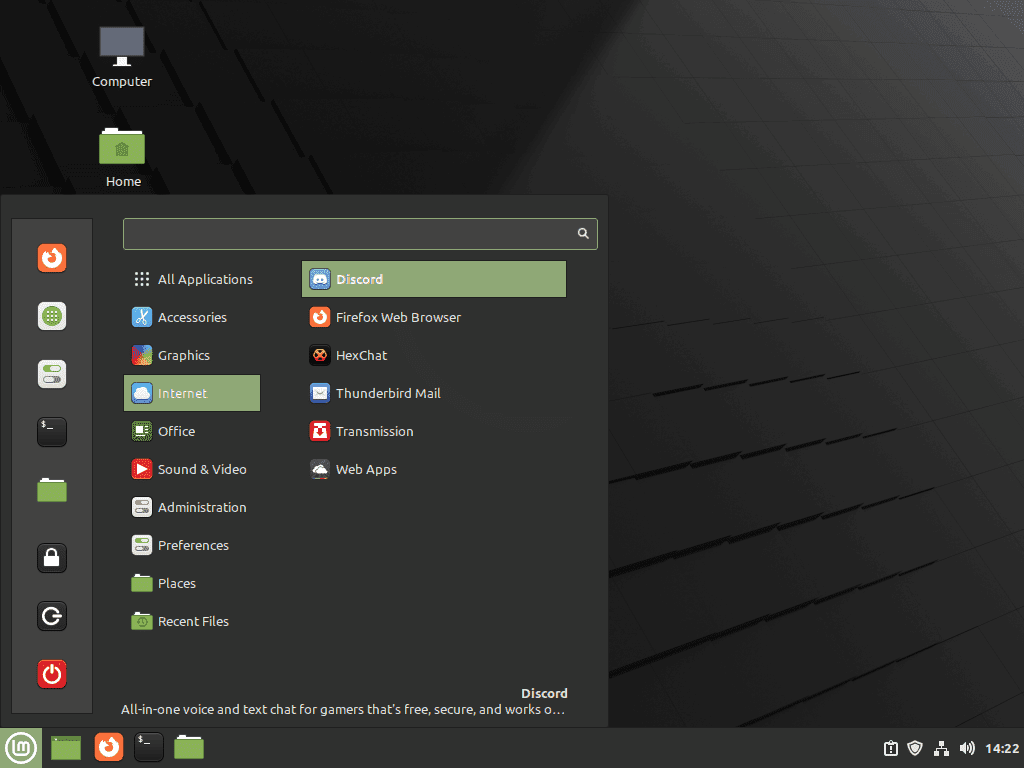
Taskbar > Internet > Discord.
Example:
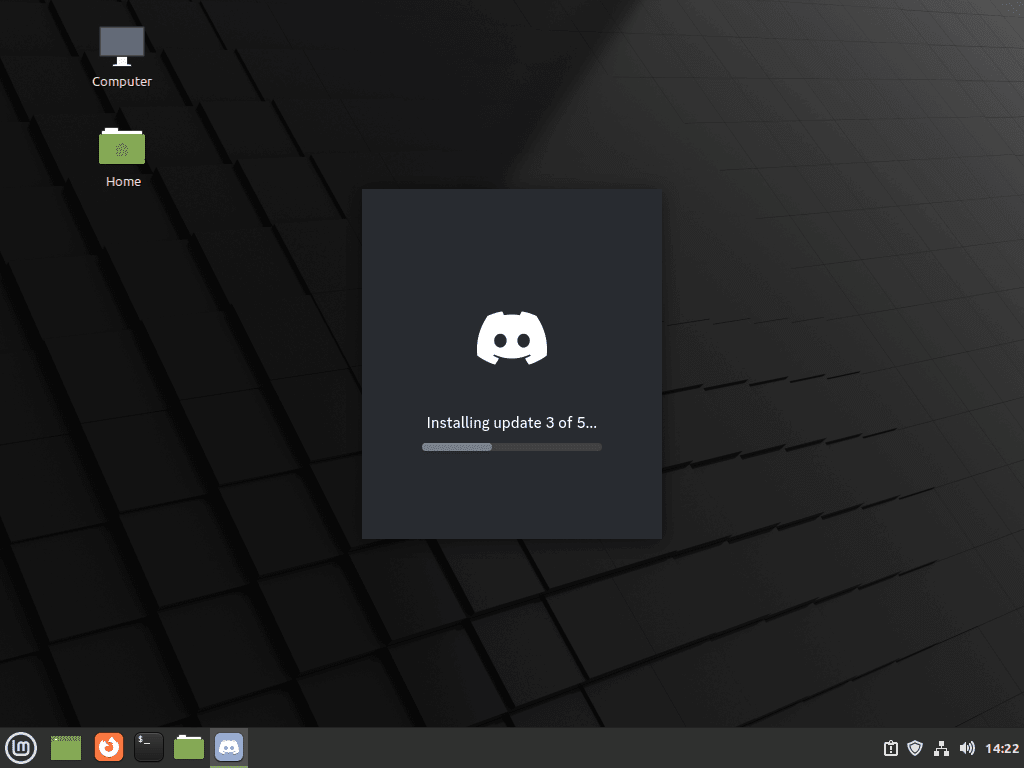
Now open Discord, and you will notice various updates will download and install the first time you open it; these will continue on the odd occasion.

Now, you will come to the login page, either create an account or use an existing one; you have successfully installed Discord on your desktop.

Additional Commands & Tips for Discord on Linux Mint
How to Update Discord on Linux Mint 21 or 20
Updates should appear in notifications, but if these fail to show sometimes, checking using the terminal regardless of the following commands is recommended to check for updates.
APT Update Method for Discord on Linux Mint
For in-client updates will be handled automatically by Discord. Binary upgrades: You will be prompted to do this by your Discord client, re-follow the APT manual method, and upgrade.
Flatpak Update Method for Discord on Linux Mint
flatpak updateHow to Remove (Uninstall) Discord from Linux Mint 21 or 20
Use one of the following commands to suit the original installation method for users who no longer require the application.
APT Remove Method for Discord on Linux Mint
sudo apt remove discordFlatpak Remove Method for Discord on Linux Mint
flatpak remove --delete-data com.discordapp.Discord -yConclusion
Installing Discord on Linux Mint is a straightforward process. Once installed, Discord offers several benefits for Linux Mint users compared to similar software such as TeamSpeak. For example, it has a highly intuitive and user-friendly interface, excellent voice quality, and a wide range of customization options. It also strongly supports integrations with other popular gaming platforms and services. In addition, the Discord community is very active and helpful, making it easy to get assistance with any issues.


