This guide will demonstrate how to install CMake on Ubuntu 24.04, 22.04, or 20.04 LTS Linux releases using the command-line terminal. You can choose from two methods: utilizing the Default APT repository version or downloading and compiling the source .tar.gz archives to install the latest binary version.
CMake is a powerful tool that enhances software development on Ubuntu, a widely used Linux distribution. Its features are designed to streamline the building and testing of software, making it a valuable asset for developers.
CMake Features:
- Cross-Platform Compatibility: Works across different operating systems, aiding in the development of versatile applications.
- Compiler Independence: Generates native makefiles and workspaces, enabling use with various compilers.
- Flexible Build Options: Allows customization of the build process to fit specific project needs.
- GUI and Command-line Interaction: Offers both graphical interface and command-line operation for ease of use.
- Out-of-Source Builds: Supports building in separate directories to keep source directories clean.
- Multiple Configuration Types: Allows for different build types, like release and debug, in the same build directory.
- Scripting Language Support: Comes with a scripting language tailored for describing build processes.
- Testing Support: Integrates with testing frameworks, simplifying the testing process.
- Extensive Documentation: Provides thorough documentation, aiding in quick learning and troubleshooting.
These features make CMake a versatile and efficient choice for software developers working with Ubuntu. Up next, we will explore the detailed installation steps.
Install CMake on Ubuntu via One of Two Methods
Update Ubuntu Before CMake Installation
Begin by updating your Ubuntu system to prevent potential conflicts during the CMake installation. Use the following command to update and upgrade your system packages:
sudo apt update && sudo apt upgradeSelect the Installation Method of CMake on Ubuntu
Method 1: Install CMake with APT on Ubuntu
For convenience and ease of maintenance, installing CMake from Ubuntu’s repository is the recommended approach for most users. Run the following command to install CMake:
sudo apt install cmakePost-installation, confirm the successful installation of CMake by checking its version:
cmake --versionMethod 2: Install CMake by Compiling Source on Ubuntu
Compiling from source is the go-to method for users needing CMake’s latest features. This approach requires manual updates, offering the latest version but at the cost of convenience.
Before starting, install the necessary dependencies using:
sudo apt install build-essential checkinstall zlib1g-dev libssl-dev -yNext, visit the CMake GitHub releases page to get the latest version link. Avoid using outdated links; always check for the newest release.
To download the .tar.gz archive, adapt the following command with the latest version link:
wget https://github.com/Kitware/CMake/releases/download/<version>/cmake-<version>.tar.gzImportant Note: Ensure you select the correct package. For instance, if you’re installing cmake-3.26.0-rc2.tar.gz, don’t mistakenly choose a pre-built version like cmake-3.26.0-rc2-linux-x86_64.tar.gz.
Extract the archive with:
tar -zxvf cmake-{version number}.tar.gzNavigate to the extracted directory:
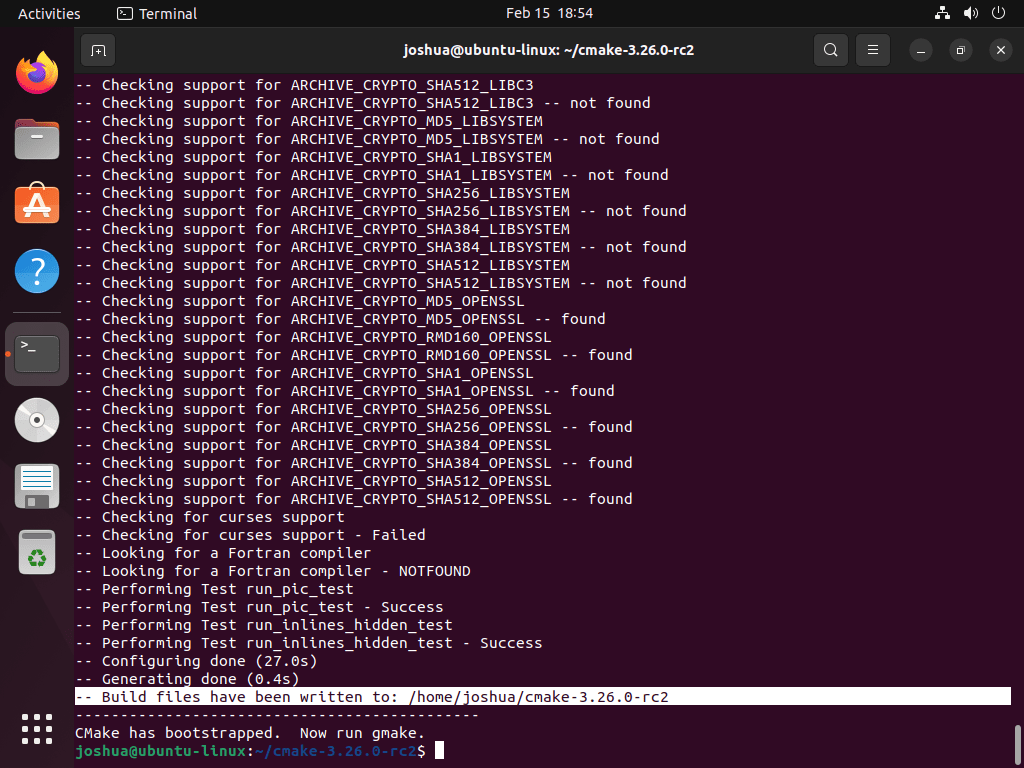
cd cmake-{version number}Verify that all dependencies are correctly installed before proceeding. Next, initiate the build process by running the Bootstrap script:
./bootstrapAfter bootstrap completion, build the package using:
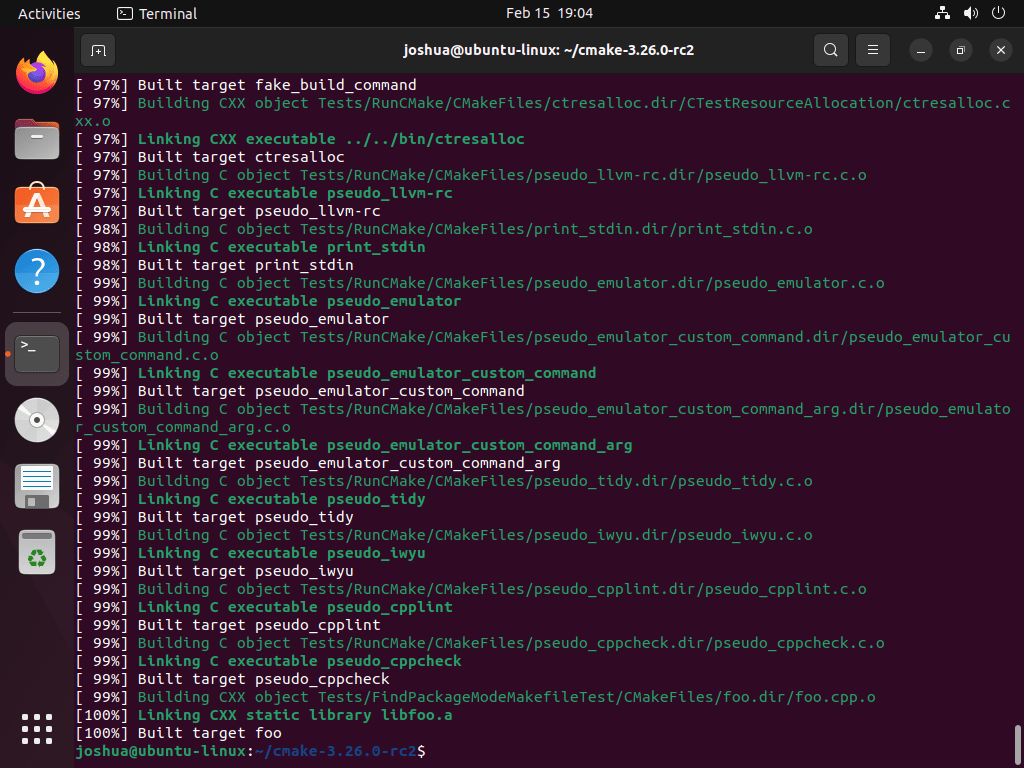
makeTo install the compiled CMake, execute:
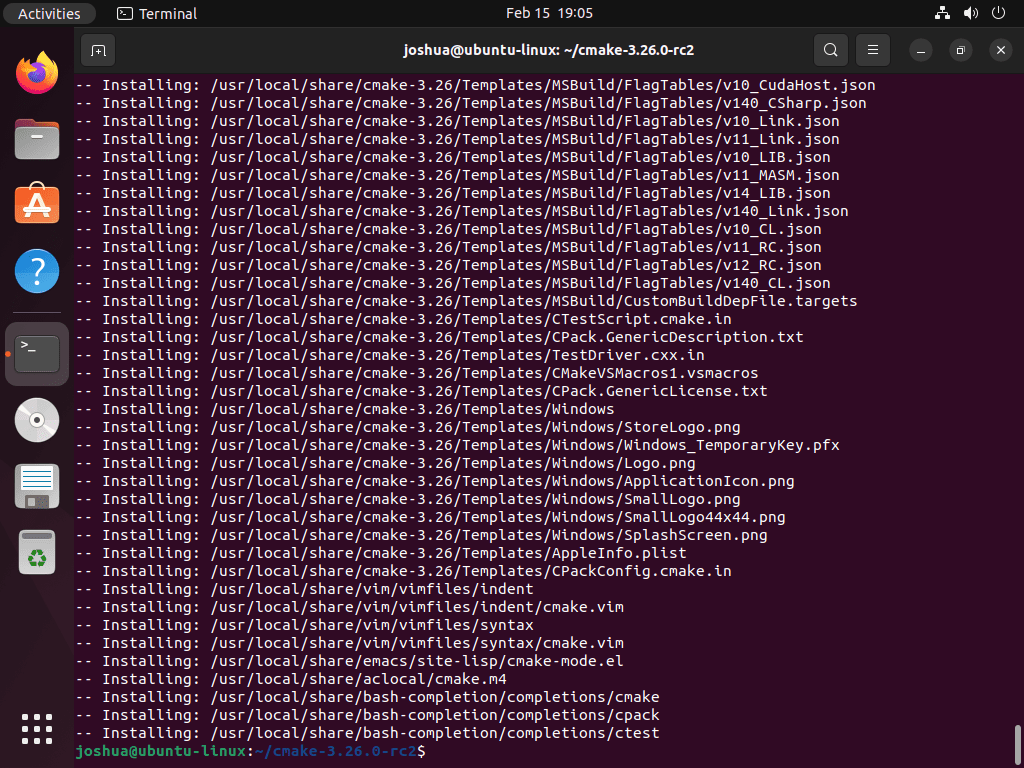
sudo make installThis step might take a few minutes.
Finally, verify the CMake installation:
cmake --versionTest CMake Installation on Ubuntu
Creating a Test Directory
To verify the CMake installation, start by creating a new directory for a simple “Hello, World!” program. In the terminal, execute:
mkdir test-hello && cd test-helloSetting Up CMakeLists
Next, create a CMakeLists.txt file using the nano editor:
sudo nano CMakeLists.txtIn this file, input the following configuration:
cmake_minimum_required(VERSION 3.16)
project(HelloWorld)
add_executable(hello main.cpp)
Save and exit the editor (CTRL+X, then press Y).
Creating the Main C++ File
Now, create a main.cpp file:
sudo nano main.cppAdd the basic C++ code to print “Hello, World!”:
#include <iostream>

int main()
{
    std::cout << "Hello, World!" << std::endl;
    return 0;
}
Again, save and exit the editor.
Generating the Makefile
With the files in place, generate a makefile using CMake:
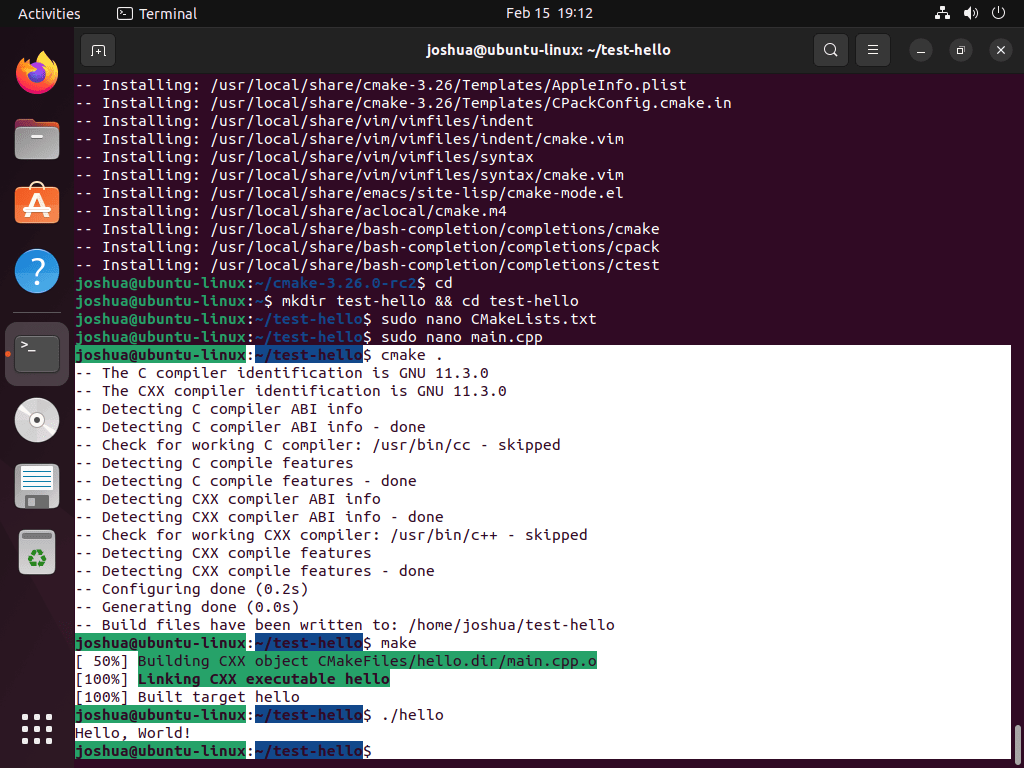
cmake .Building the Program
Compile the program by running:
makeRunning the Program
To execute the program, enter:
./helloThe terminal should display “Hello, World!”, confirming the correct functioning of CMake on your Ubuntu system.
Conclusion: Installing CMake on Ubuntu Linux
We’ve successfully navigated through the steps to install CMake on Ubuntu, covering both the straightforward APT method and the more hands-on approach of compiling from source. While the APT method offers ease and stability, compiling from source puts the latest features at your fingertips. Remember, the choice depends on your project’s needs and your comfort with manual updates. Don’t hesitate to experiment with creating simple programs like our “Hello, World!” example to get comfortable with CMake’s capabilities. As you continue, you’ll find CMake an invaluable tool in your development toolkit, streamlining your build processes on Ubuntu.


Thank you for taking the time to reply to my previous comment. I just wanted to clarify that the files in this link: https://github.com/Kitware/CMake/releases, do not include the boostrap script and other files you mentioned. The instructions do work but I had to download the file from this link: https://cmake.org/download.
I just thought that might be useful for others.
Hi again Roberto,
I am still at a loss how the GitHub download link did not show bootstrap and the other additional files, I downloaded Source code (tar.gz) yesterday and today and https://github.com/Kitware/CMake/archive/refs/tags/v3.28.2.tar.gz and it was in it and its exactly the same as the link on https://cmake.org/download.
Regardless, if it works now that’s great and the main thing, I should put this down as the main download location as its more simple for just grabbing the source to compile, the GitHub page is good if you need a pacific source as it contains much more than the source if you want CMake via another option, but it can be confusing.
Thanks for the feedback anyway.