

Arduino IDE provides the development environment you need to program Arduino microcontrollers and compatible boards. Whether you are building home automation systems, prototyping electronic projects, or learning embedded programming, this guide walks you through installing Arduino IDE on Ubuntu using three different methods. As a result, by the end of this guide, you will have a working Arduino development environment with proper USB permissions configured for uploading sketches to your boards.
Choose Your Arduino IDE Installation Method
Arduino IDE is available through multiple channels on Ubuntu, and each offers different trade-offs between version currency and update convenience. Therefore, to help you choose, the following table summarizes your options:
| Method | Channel | Version | Updates | Best For |
|---|---|---|---|---|
| APT (Default Repository) | Ubuntu Repos | IDE 1.8.x (Stable) | Automatic via apt upgrade | Users who prefer distro-tested packages |
| Snap | Snapcraft | IDE 1.8.x | Automatic background updates | Users wanting sandboxed installation |
| Flatpak (IDE 1.x) | Flathub | IDE 1.8.x (Stable) | Automatic via flatpak update | Users preferring Flatpak ecosystem |
| Flatpak (IDE 2.x) | Flathub | IDE 2.x (Latest) | Automatic via flatpak update | Users wanting the modern IDE with autocompletion |
For most users, the APT method is recommended because it integrates with Ubuntu’s package management, receives security updates automatically, and includes the arduino-add-groups utility for configuring USB permissions. However, if you need the latest IDE 2.x features like code autocompletion and a live debugger, choose the Flatpak IDE 2.x method instead.
This guide covers Ubuntu 22.04 LTS, 24.04 LTS, and 26.04 LTS. Consequently, the APT repository provides Arduino IDE 1.8.19 across all supported releases. Moreover, commands shown work identically on all supported LTS versions unless otherwise noted.
Method 1: Install Arduino via Ubuntu’s Default Repository
With the APT method, Arduino IDE installs directly from Ubuntu’s official repository. As a result, this approach provides a stable, tested version that integrates with your system’s package management and includes helper scripts for configuring USB permissions.
Update Your System Packages
Before installing new software, first refresh your package index and upgrade existing packages. Doing so ensures you have the latest security patches and also prevents dependency conflicts:
sudo apt update && sudo apt upgradeInstall Arduino IDE
Next, install the Arduino package along with its dependencies:
sudo apt install arduinoThis command installs Arduino IDE 1.8.19, the Java runtime environment, and related libraries. Additionally, the installation adds the arduino-add-groups utility for configuring USB permissions.
Configure USB Permissions
Arduino boards connect via USB serial ports, which require your user account to be a member of the dialout group. Without this permission, the IDE cannot upload sketches to your board. Therefore, to resolve this, run the included helper script to add your user to the required group:
sudo arduino-add-groupsAfter running this command, log out and log back in for the group membership to take effect. Alternatively, if you prefer the manual approach, you can add yourself to the dialout group:
sudo usermod -aG dialout $USERVerify the Installation
To confirm that Arduino IDE installed correctly, check which packages were installed:
apt-cache policy arduinoUpon success, you should see output confirming the installation:
arduino:
  Installed: 2:1.8.19+dfsg1-x
  Candidate: 2:1.8.19+dfsg1-x
  Version table:
 *** 2:1.8.19+dfsg1-x 500
        500 http://archive.ubuntu.com/ubuntu [release]/universe amd64 Packages
        100 /var/lib/dpkg/status
The version suffix (for example,
-1,-2, or-5) varies by Ubuntu release (22.04 uses-1, 24.04 uses-2, 26.04 uses-5). Nevertheless, all versions provide Arduino IDE 1.8.19.
Method 2: Install Arduino via Snap
Snap provides a sandboxed installation that runs independently of your system libraries. Consequently, this method is convenient if you prefer automatic background updates and application isolation.
Verify Snap Availability
By default, Ubuntu includes Snap on standard desktop installations. However, if you’re using a minimal installation, WSL, or a container environment, you may need to install the Snap daemon first:
sudo apt install snapdInstall Arduino IDE via Snap
Once Snap is available, install Arduino IDE using the following command:
sudo snap install arduinoTo verify the installation was successful, list installed Snap packages:
snap list arduinoAfter installation, expected output:
Name     Version  Rev   Tracking       Publisher     Notes
arduino  1.8.19   75    latest/stable  snapcrafters  -
The Snap version of Arduino IDE is community-maintained and may lag behind official releases. At the time of writing, the stable channel provides Arduino IDE 1.8.x. Therefore, if you need the latest features, consider the Flatpak IDE 2.x method instead.
Configure USB Permissions for Snap
Since Snap applications require explicit permission to access hardware, connect the serial port interface to allow Arduino to communicate with your boards:
sudo snap connect arduino:raw-usbAdditionally, ensure your user account belongs to the dialout group:
sudo usermod -aG dialout $USEROnce you log out and back in, the group changes will take effect.
Method 3: Install Arduino via Flatpak
With Flatpak, you get sandboxed applications that include their own runtime libraries, thereby providing consistent behavior across different Ubuntu versions. In addition, the Flathub repository hosts both Arduino IDE 1.x (legacy) and Arduino IDE 2.x (modern) versions.
If Flatpak is not installed on your system, first follow our Flatpak installation guide for Ubuntu to set up the Flatpak framework and add the Flathub repository. Typically, this takes less than five minutes.
Enable the Flathub Repository
The Flathub repository hosts the largest collection of Flatpak applications. Therefore, add it to your system if you have not already:
sudo flatpak remote-add --if-not-exists flathub https://flathub.org/repo/flathub.flatpakrepoInstall Arduino IDE 1.x (Legacy)
In contrast, Arduino IDE 1.x provides the classic interface that many long-time users prefer. To install it, run:
sudo flatpak install flathub cc.arduino.arduinoide -yInstall Arduino IDE 2.x (Modern)
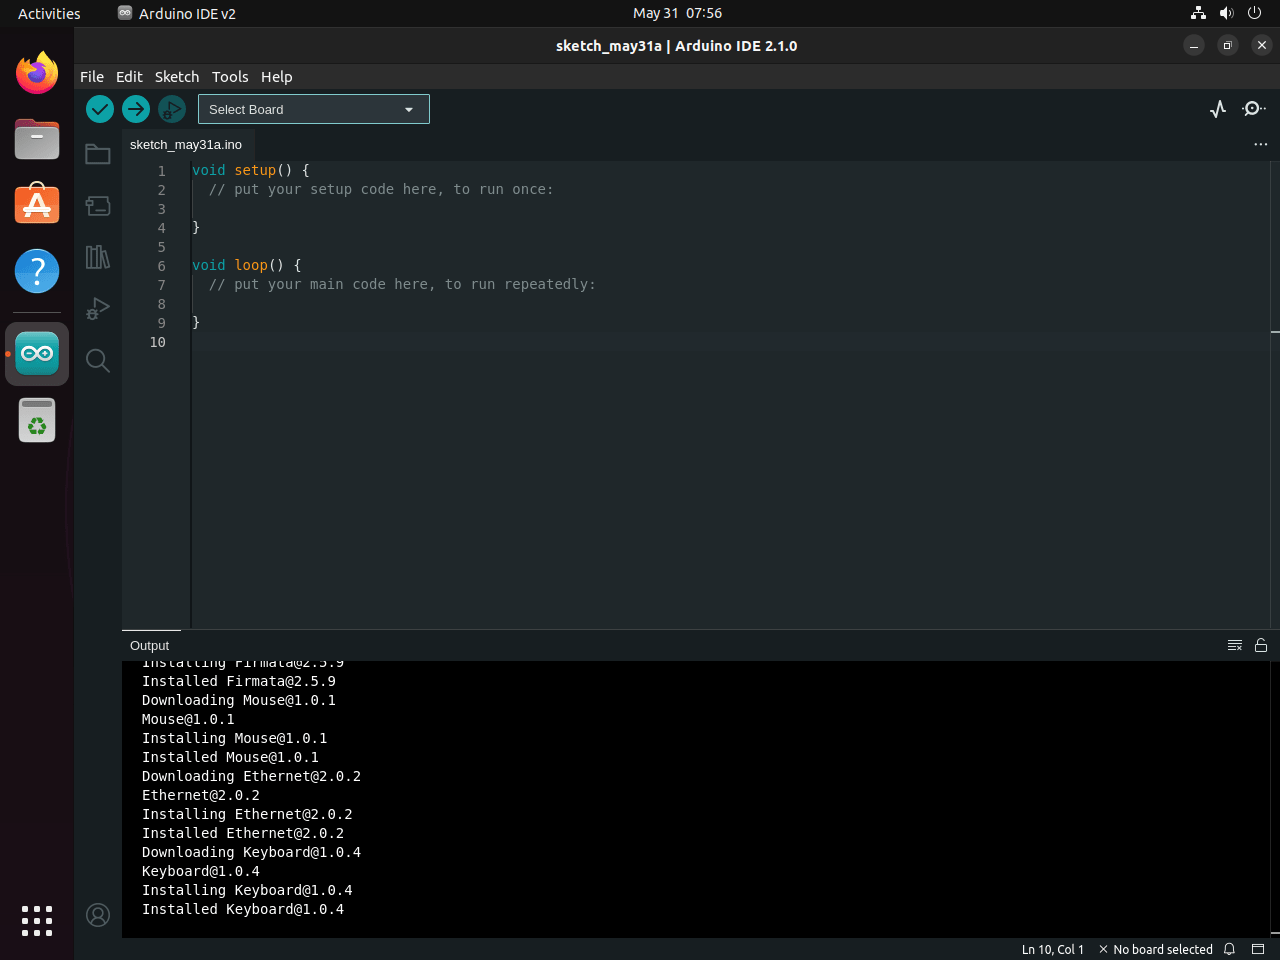
On the other hand, Arduino IDE 2.x is a complete rewrite featuring a modern interface, code autocompletion, syntax highlighting, and an integrated live debugger. To install it, run:
sudo flatpak install flathub cc.arduino.IDE2 -yNote that the Flatpak version of Arduino IDE 2.x is community-maintained and not officially supported by Arduino. For issues specific to the Flatpak wrapper, instead report them to the Flathub issue tracker rather than Arduino’s official support channels.
Configure USB Permissions for Flatpak
Because Flatpak applications run in a sandbox, they require explicit USB permissions. First, add your user to the dialout group:
sudo usermod -aG dialout $USERAfter successfully logging out and back in, verify the Flatpak installation:
flatpak list --app | grep -i arduinoUpon success, expected output for IDE 2.x:
Arduino IDE cc.arduino.IDE2 2.x.x system
For Arduino IDE 2.x specifically, you may also need to grant device access. Once permissions are configured, the Flatpak should detect connected Arduino boards automatically.
Launch Arduino IDE
Once the installation completes, you can launch Arduino IDE through the graphical interface or terminal. The method depends on how you installed the application.
Launch from the Applications Menu
To launch via the graphical interface, open Activities (or press the Super key), type “Arduino” in the search field, and click the Arduino IDE icon. If you installed both IDE 1.x and 2.x via Flatpak, you will see two entries; select the version you want to use.
Launch from Terminal
Alternatively, terminal launch commands vary by installation method:
APT installation:
arduinoSnap installation:
snap run arduinoFlatpak Arduino IDE 1.x:
flatpak run cc.arduino.arduinoideFlatpak Arduino IDE 2.x:
flatpak run cc.arduino.IDE2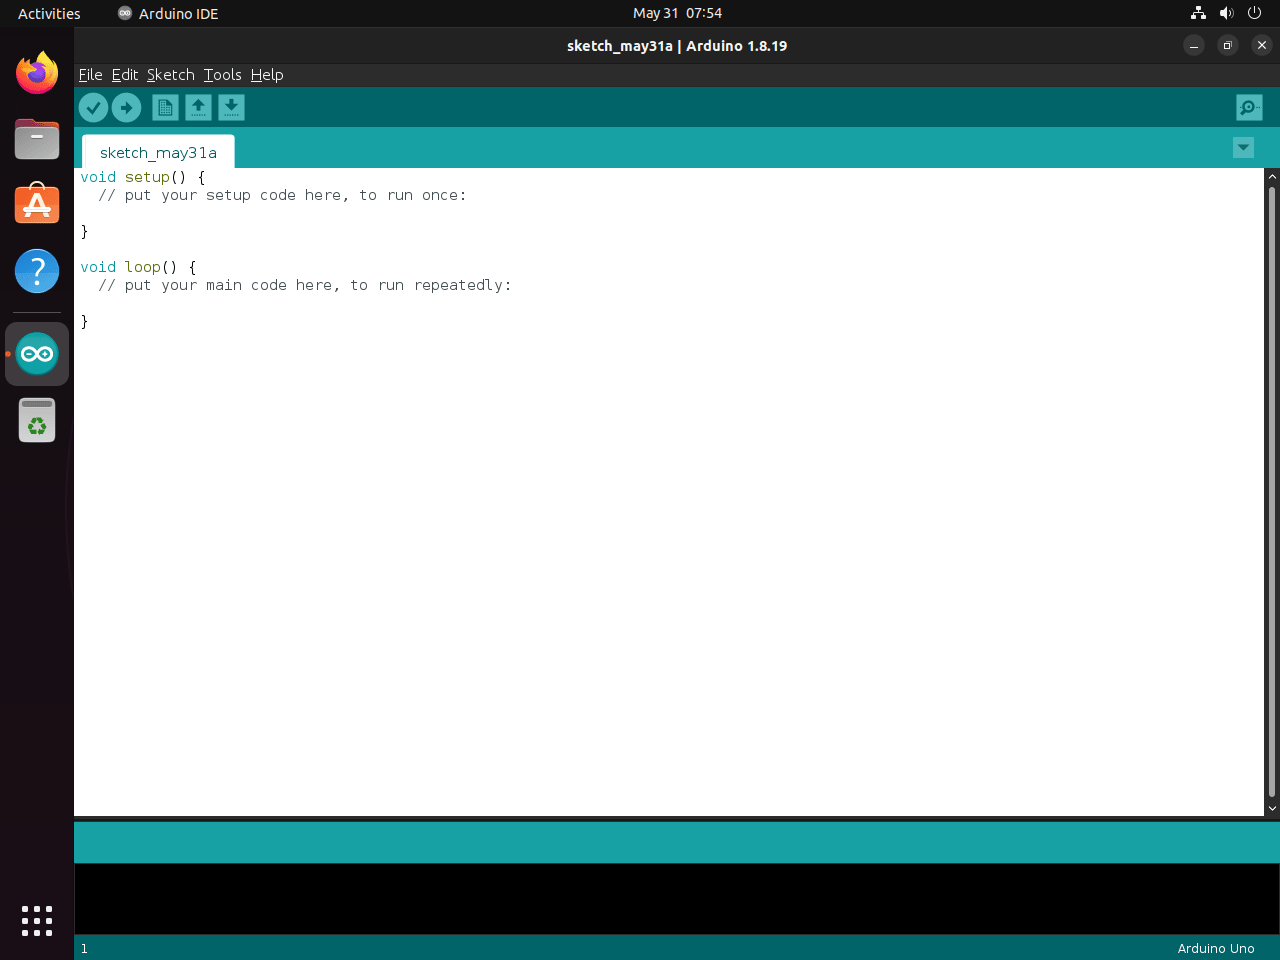
Troubleshooting Common Issues
Arduino Board Not Detected
When the IDE cannot detect your Arduino board, the most common cause is insufficient USB permissions. First, verify your user belongs to the dialout group:
groups $USER | grep dialoutIf dialout does not appear in the output, then add yourself to the group and log out:
sudo usermod -aG dialout $USERAfter logging back in, reconnect your Arduino board. Then, to verify the device is recognized, check the /dev directory:
ls /dev/ttyACM* /dev/ttyUSB* 2>/dev/nullIf this command shows devices like /dev/ttyACM0 or /dev/ttyUSB0, then your board is connected and recognized by the system.
Upload Fails with Permission Denied
Even after adding yourself to the dialout group, uploads may fail if you have not started a new login session. Remember that group memberships only take effect after logging out completely. If you are using a graphical session, logging out and back in should resolve this. For terminal sessions, you can verify your current group membership:
idUpon success, expected output showing dialout membership:
uid=1000(username) gid=1000(username) groups=1000(username),20(dialout),27(sudo)...
Look for dialout in the groups list. If it is missing, you need to log out and back in for the membership to take effect.
Serial Monitor Shows Garbage Characters
If the Serial Monitor displays unreadable characters instead of expected output, first verify that the baud rate in your sketch matches the baud rate selected in the Serial Monitor. Typically, the default is 9600, but many projects use 115200 for faster communication.
Manage Arduino IDE
Update Arduino IDE
Since the update process depends on your installation method, each package manager handles updates differently:
APT installation:
sudo apt update && sudo apt install --only-upgrade arduinoSnap installation:
sudo snap refresh arduinoFlatpak installation:
sudo flatpak updateRemove Arduino IDE
To remove Arduino IDE from your system, use the appropriate command for your installation method.
APT removal:
sudo apt remove arduino
sudo apt autoremove
Snap removal:
sudo snap remove arduinoFlatpak removal (IDE 1.x):
sudo flatpak uninstall cc.arduino.arduinoideFlatpak removal (IDE 2.x):
sudo flatpak uninstall cc.arduino.IDE2Warning: Arduino IDE stores sketches and libraries in your home directory at
~/Arduinoand~/.arduino15. Importantly, these directories are not removed when you uninstall the application. Therefore, if you want to remove all Arduino data, first back up any sketches you want to keep, then delete these directories:rm -rf ~/Arduino ~/.arduino15
Finally, to clean up unused Flatpak runtimes after removal:
sudo flatpak uninstall --unusedConclusion
In summary, you now have Arduino IDE installed on Ubuntu with proper USB permissions configured for uploading sketches. On one hand, the APT method provides the most integrated experience with automatic security updates. On the other hand, Flatpak offers access to the modern IDE 2.x with its enhanced features. Regardless of which method you chose, you can start programming Arduino boards immediately by connecting your hardware and selecting the appropriate board and port in the IDE’s Tools menu. Once configured, the IDE detects compatible boards automatically, allowing you to upload your first sketch within minutes.
Additionally, for users on other distributions, we also have a guide covering Arduino IDE installation on Debian Linux.
Useful Links
The following official resources provide additional documentation and community support:
- Arduino Official Website: hardware specifications, software downloads, and project inspiration
- Arduino Documentation: comprehensive guides for hardware setup and programming reference
- Arduino Forum: community discussions, troubleshooting help, and project sharing
- Arduino Project Hub: curated collection of community projects with step-by-step tutorials