

Android Studio is the official Integrated Development Environment (IDE) for Android application development, directly backed by Google. It provides a complete toolkit for building Android apps, including an intelligent code editor with advanced completion and refactoring, a visual layout designer for creating UIs, an integrated emulator for testing across device types, and powerful profiling tools for optimizing performance. Whether you are building your first app or maintaining a complex production application, Android Studio streamlines the entire development workflow from code to deployment.
Choose Your Android Studio Installation Method
Ubuntu offers three primary ways to install Android Studio, each with different trade-offs for updates and system integration.
| Method | Channel | Version | Updates | Best For |
|---|---|---|---|---|
| Snap Package | Snapcraft | Latest stable | Automatic via Snap | Most users who want simple maintenance |
| Flatpak | Flathub | Latest stable | Automatic via Flatpak | Users who prefer Flatpak sandboxing |
| Third-Party PPA | Launchpad PPA | Latest stable | Automatic via APT | Users who prefer APT package management |
For most users, Snap or Flatpak is recommended because both provide automatic updates, sandboxed security, and work across all Ubuntu versions. Choose Snap if you prefer Ubuntu’s default package format, or alternatively, choose Flatpak if you already use Flathub for other applications. In contrast, the PPA method integrates with APT but depends on third-party maintainer support for new Ubuntu releases.
This guide supports Ubuntu 22.04 LTS and 24.04 LTS installations. The third-party PPA may not provide packages for newer Ubuntu releases immediately after their release, while Snap and Flatpak remain compatible across all versions. Importantly, commands shown work identically on both supported LTS releases.
Install Android Studio via Snap
Snap packages are self-contained and include all dependencies, making installation straightforward. Fortunately, Ubuntu includes Snap by default, so you can install Android Studio directly without additional setup.
To start, refresh your system packages before installing:
sudo apt updateNext, install Android Studio using the Snap package manager:
sudo snap install android-studio --classicThe --classic flag grants Android Studio full system access, which is specifically required for SDK management, emulator operation, and device debugging.
Once installation completes, verify that Android Studio is available:
snap list android-studioName Version Rev Tracking Publisher Notes android-studio 2025.1.3.7-wallpapers 209 latest/stable snapcrafters* classic
Install Android Studio via Flatpak
Flatpak provides sandboxed applications from Flathub, the largest Flatpak repository. However, unlike Snap, Ubuntu does not include Flatpak by default, so you need to set it up first.
If you have not installed Flatpak on your system yet, follow our Flatpak installation guide for Ubuntu to set up Flatpak and add the Flathub repository.
Once Flatpak is configured, install Android Studio from Flathub:
flatpak install flathub com.google.AndroidStudioFollowing installation, verify that Android Studio is available:
flatpak list | grep -i androidAndroid Studio com.google.AndroidStudio 2025.2.2.7 flathub system
Install Android Studio via APT PPA
The third-party PPA maintained by Maarten Fonville provides Android Studio packages that integrate with Ubuntu’s APT package manager. While this method offers tighter system integration, it depends on the maintainer to publish packages for each Ubuntu release.
Import the Android Studio PPA
To begin, ensure your system packages are current before adding the PPA:
sudo apt update && sudo apt upgradeFollowing that, import the Android Studio PPA by running the following command:
sudo add-apt-repository ppa:maarten-fonville/android-studio -yNotably, the -y flag automatically confirms the addition and runs apt update to refresh the package list.
Install Android Studio
Once the PPA is added, install Android Studio:
sudo apt install android-studioAfter installation completes, verify the package status:
apt-cache policy android-studioandroid-studio:
Installed: 2025.2.2.7~noble+0
Candidate: 2025.2.2.7~noble+0
Version table:
*** 2025.2.2.7~noble+0 500
500 https://ppa.launchpadcontent.net/maarten-fonville/android-studio/ubuntu noble/main amd64 Packages
100 /var/lib/dpkg/status
Android Studio bundles its own Java Development Kit (JDK), so you do not need to install Java separately for basic Android development. However, if you require a system-wide JDK for other development work, see our OpenJDK 21 installation guide for Ubuntu. Additionally, for advanced development that requires configuring JAVA_HOME, refer to our Java environment path configuration guide.
Launch Android Studio
Launch from Terminal
To launch Android Studio from the terminal, use the command that matches your installation method:
# Snap or APT installation
android-studio

# Flatpak installation
flatpak run com.google.AndroidStudio
Launch from Applications Menu
Alternatively, you can also launch Android Studio through the graphical interface:
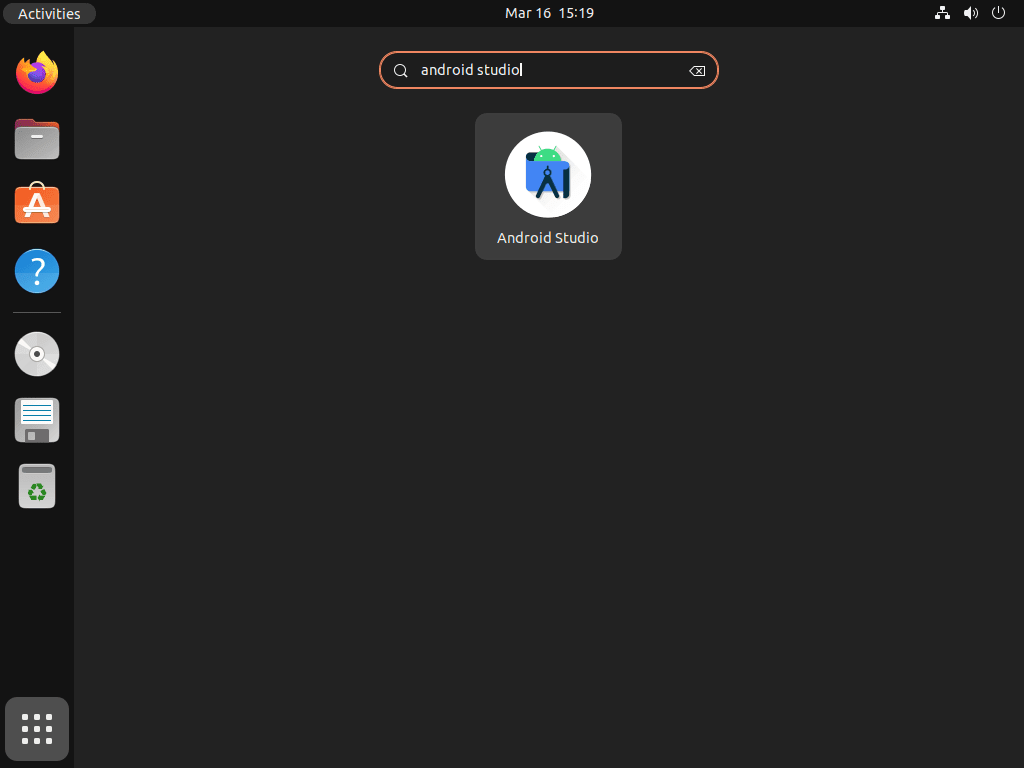
- Click the Activities button in the top-left corner of your screen.
- Type “Android Studio” in the search bar.
- Click the Android Studio icon to launch the application.
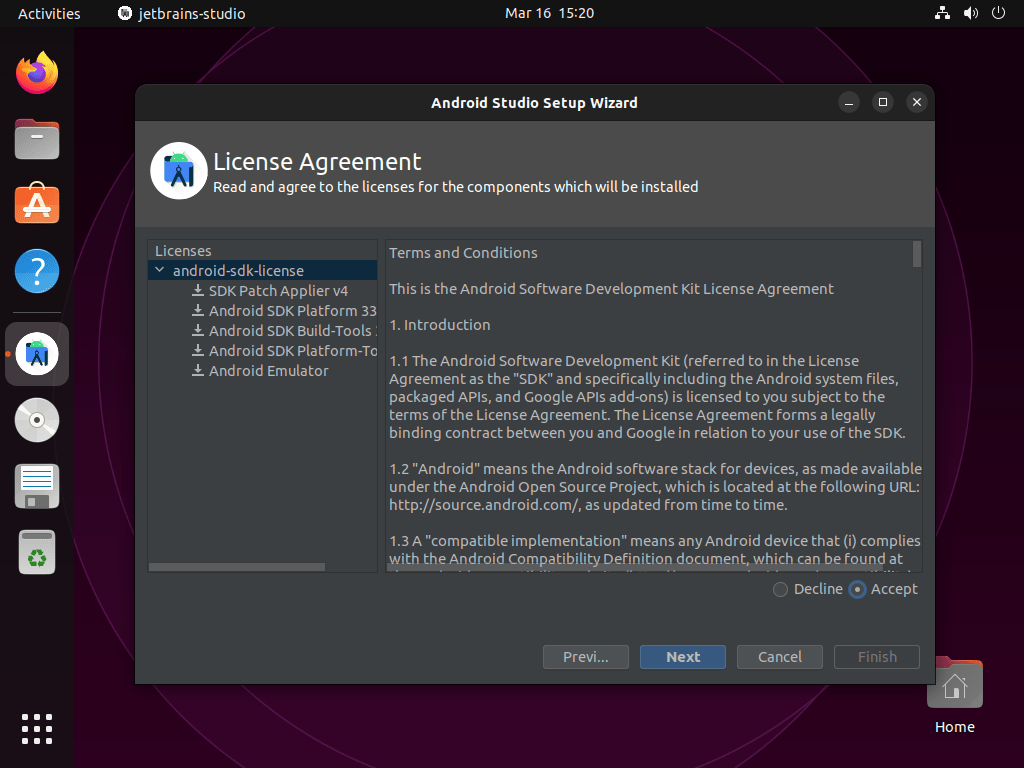
Complete the Setup Wizard
When you launch Android Studio for the first time, the Setup Wizard guides you through initial configuration. During this process, you’ll accept the Android SDK license agreements, choose your UI theme, and download required SDK components. Since the initial setup typically downloads 1-2 GB of SDK files, ensure you have a stable internet connection.
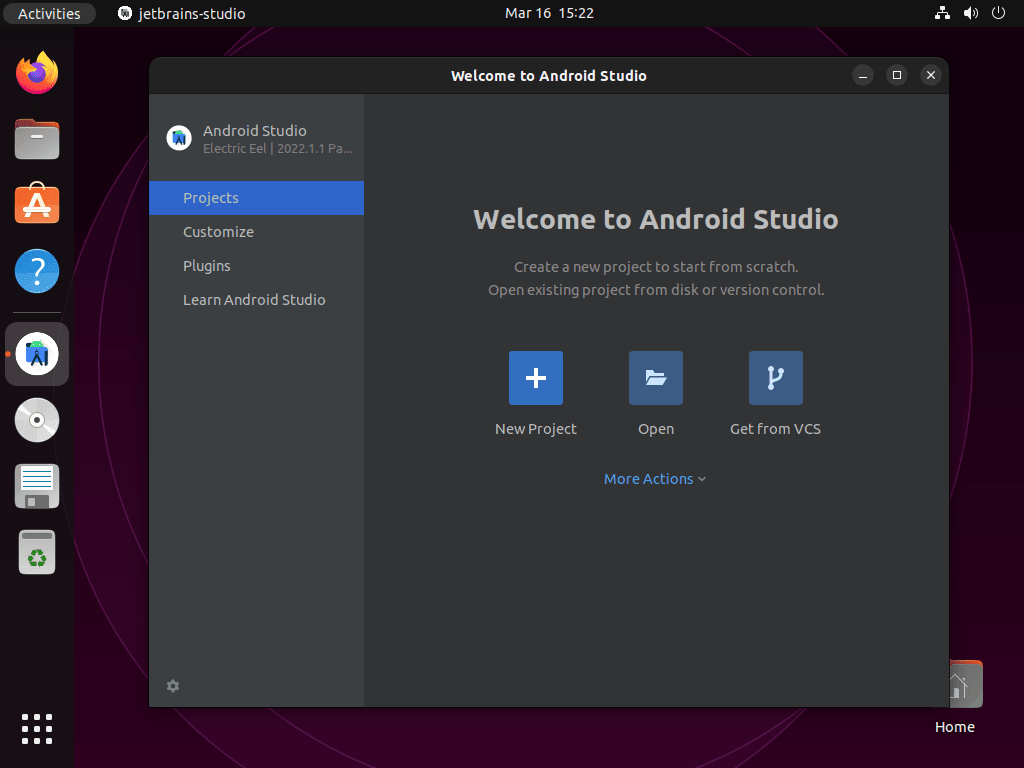
Once the wizard completes, the Android Studio welcome screen appears where you can create new projects or import existing ones.
Troubleshoot Common Issues
Emulator Fails to Start
If the Android Emulator fails to start or runs slowly, KVM (Kernel-based Virtual Machine) may not be enabled. To diagnose this, check KVM availability:
kvm-okIf the command is not found, you’ll need to install the CPU checker utility first:
sudo apt install cpu-checkerAfter successfully running kvm-ok, you should see:
INFO: /dev/kvm exists
KVM acceleration can be used
If KVM is not available, you must first enable virtualization in your BIOS/UEFI settings, then install the required packages:
sudo apt install qemu-kvm libvirt-daemon-systemInsufficient Memory for Gradle Builds
Android Studio recommends at least 8 GB of RAM for comfortable development. Consequently, if builds fail with memory errors, increase the Gradle daemon heap size by editing the project’s gradle.properties file:
org.gradle.jvmargs=-Xmx4096mAs a result, this allocates 4 GB of heap memory to the Gradle daemon.
Remove Android Studio
If you no longer need Android Studio, simply follow the removal steps that match your installation method.
Remove Snap Installation
To completely remove Android Studio installed via Snap:
sudo snap remove android-studioRemove Flatpak Installation
To fully remove Android Studio installed via Flatpak:
flatpak uninstall com.google.AndroidStudioRemove PPA Installation
To begin, remove the Android Studio package and any orphaned dependencies:
sudo apt remove android-studio
sudo apt autoremove
After that, remove the imported PPA to keep your system tidy:
sudo add-apt-repository --remove ppa:maarten-fonville/android-studio -yRemove User Configuration and SDK Files
Warning: The following commands permanently delete your Android Studio settings, SDK installations, and project-related caches. This includes any AVD (Android Virtual Device) images you have created. Back up any projects or configurations you want to keep before proceeding.
Subsequently, remove Android Studio configuration, cache, and SDK directories:
rm -rf ~/.config/Google/AndroidStudio*
rm -rf ~/.cache/Google/AndroidStudio*
rm -rf ~/.local/share/Google/AndroidStudio*
rm -rf ~/Android
Notably, the ~/Android directory contains the SDK, AVD images, and Gradle caches, which can consume significant disk space (often 10-20 GB).
Conclusion
You now have Android Studio installed on Ubuntu using Snap, Flatpak, or the APT PPA. The IDE provides everything needed for Android development, including the code editor, emulator, and SDK tools. As a next step, explore the official Build Your First App tutorial to start creating your first Android application.
Useful Links
For additional resources on Android development, consider visiting these official pages:
- Android Studio Download Page: Download Android Studio directly from Google and access release notes.
- Meet Android Studio: Official documentation covering IDE features, project structure, and debugging tools.
- Android Developer Community: Connect with other developers, find events, and access community resources.

Formatting tips for your comment
You can use basic HTML to format your comment. Useful tags currently allowed:
<code>command</code>command<strong>bold</strong><em>italic</em><blockquote>quote</blockquote>