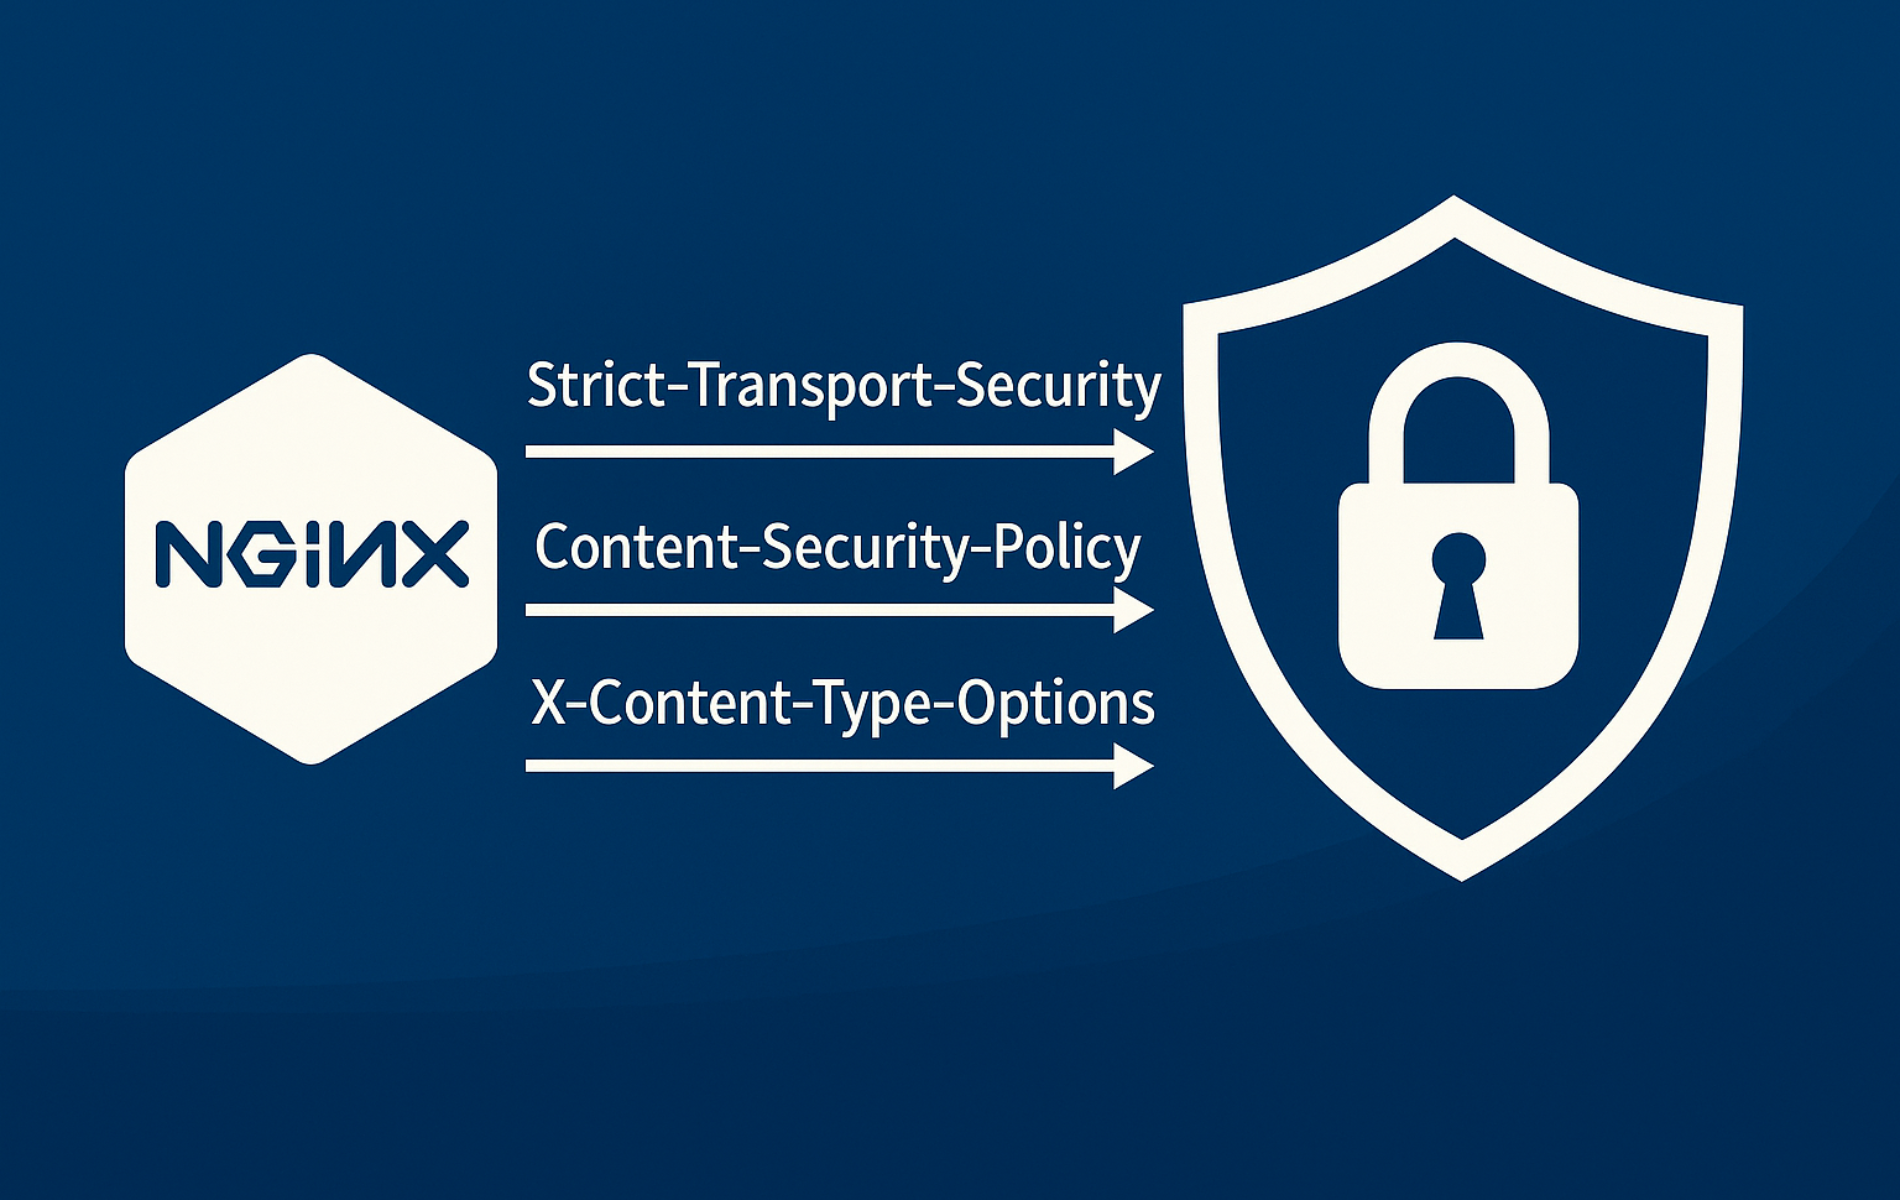
Security headers tell browsers how to handle HTTPS, framing, MIME sniffing, referrer data, resource loading, and browser APIs before application code runs. Configuring NGINX security headers is usually a server-block task: define the policy once, include it only where it should apply, test the merged configuration, then verify the live response headers with curl.
The workflow uses a reusable snippet for HSTS, CSP, X-Frame-Options, X-Content-Type-Options, Referrer-Policy, Permissions-Policy, and the deprecated X-XSS-Protection header. It also covers why the always parameter matters for 4xx and 5xx responses, how add_header inheritance can remove headers from nested locations, and how current Permissions-Policy syntax differs from older Feature-Policy examples. If NGINX is not installed yet, install it with your distribution’s package manager or use the relevant guide for Ubuntu, Debian, or Fedora, then return here to harden the configuration.
Understand NGINX Security Headers and add_header Scope
NGINX sends custom response headers with the add_header directive, documented in the official NGINX headers module. The directive works in http, server, location, and if in location contexts, but security headers are safest in the HTTPS server blocks that should actually send them. Avoid placing HSTS inside an auto-loaded global file such as /etc/nginx/conf.d/*.conf unless every virtual host on the server should inherit that policy.
The always parameter is important because NGINX otherwise adds headers only to a limited set of successful or redirect responses. Use add_header ... always; for security headers so they remain visible on 4xx and 5xx responses, including custom error pages.
| Header | Common NGINX directive | Primary purpose |
|---|---|---|
Strict-Transport-Security | add_header Strict-Transport-Security "max-age=300" always; | Locks the site to HTTPS after the browser receives the header. |
Content-Security-Policy | add_header Content-Security-Policy-Report-Only "default-src 'self'; ..." always; | Tests or enforces trusted origins for scripts, styles, images, fonts, and frames. |
Reporting-Endpoints | add_header Reporting-Endpoints 'csp-endpoint="https://example.com/csp-report"' always; | Maps a CSP report-to endpoint name to the HTTPS URL that receives violation reports. |
X-Frame-Options | add_header X-Frame-Options "DENY" always; | Blocks clickjacking by preventing the page from loading inside frames. |
X-Content-Type-Options | add_header X-Content-Type-Options "nosniff" always; | Stops browsers from guessing a different MIME type than the server declared. |
Referrer-Policy | add_header Referrer-Policy "strict-origin-when-cross-origin" always; | Limits how much source URL data leaves your site on outbound requests. |
Permissions-Policy | add_header Permissions-Policy "camera=(), microphone=(), geolocation=()" always; | Disables or limits browser APIs such as camera, microphone, geolocation, and payment. |
X-XSS-Protection | add_header X-XSS-Protection "0" always; | Disables the legacy browser XSS filter where older browsers still honor it. |
NGINX inherits add_header directives from the previous level only when the current level defines no add_header directives of its own. If a location block adds one local header, include the full security header snippet again in that location so server-level security headers do not disappear.
Create a Reusable NGINX Security Headers Snippet
Before configuring headers, work from the terminal with sudo so you can edit files under /etc/nginx. A dedicated snippet works across common NGINX packages and avoids the accidental global loading that can happen when a header file is placed directly in an auto-loaded conf.d directory.
If you manage NGINX through a hosting panel, CDN, container image, or proxy wrapper, apply equivalent response headers in that tool’s per-site custom header or advanced NGINX field. Avoid making HSTS or CSP a global default unless every hostname behind that layer should inherit the same HTTPS and resource-loading policy.
Common package layouts store site configuration in different places. Choose the path that matches the # configuration file ... markers printed by sudo nginx -T, especially on systems installed from vendor repositories, containers, or hosting images.
| NGINX layout | Typical server-block location | How to apply the snippet |
|---|---|---|
| Debian and Ubuntu packages | /etc/nginx/sites-available/example.com, linked from sites-enabled | Add the include to the HTTPS server block for that site. |
| Fedora, RHEL-family, and nginx.org packages | /etc/nginx/conf.d/example.com.conf | Add the include to the matching HTTPS server block file, not to a separate auto-loaded global header file. |
| Containers, panels, or custom builds | Mounted files, templates, or panel-managed advanced NGINX fields | Apply the same header directives in the per-site template that generates the active HTTPS server block. |
Create the snippets directory and write the starter policy:
sudo mkdir -p /etc/nginx/snippets
sudo tee /etc/nginx/snippets/security-headers.conf >/dev/null <<'EOF'
add_header Strict-Transport-Security "max-age=300" always;
add_header Reporting-Endpoints 'csp-endpoint="https://example.com/csp-report"' always;
add_header Content-Security-Policy-Report-Only "default-src 'self'; object-src 'none'; base-uri 'self'; form-action 'self'; script-src 'self' https://cdn.example.com; style-src 'self' https://fonts.googleapis.com; img-src 'self' data:; font-src 'self' https://fonts.gstatic.com; frame-ancestors 'none'; report-uri https://example.com/csp-report; report-to csp-endpoint" always;
add_header X-Frame-Options "DENY" always;
add_header X-Content-Type-Options "nosniff" always;
add_header Referrer-Policy "strict-origin-when-cross-origin" always;
add_header Permissions-Policy "camera=(), microphone=(), geolocation=(), fullscreen=(self), payment=(), usb=()" always;
add_header X-XSS-Protection "0" always;
EOF
This starter assumes HTTPS already works, starts HSTS with a short cache period, and keeps CSP in Report-Only mode until you review violations. Increase HSTS to one year with includeSubDomains only after every covered hostname and subdomain works reliably over HTTPS.
Back up the active server-block file before adding the include. On Debian and Ubuntu layouts, use the site file under sites-available:
sudo cp /etc/nginx/sites-available/example.com /etc/nginx/sites-available/example.com.bakOn Fedora, RHEL-family, and nginx.org package layouts, use the matching file under conf.d:
sudo cp /etc/nginx/conf.d/example.com.conf /etc/nginx/conf.d/example.com.conf.bakNext, load the file inside each TLS-enabled server block that should send the headers. Modify server_name and root to match your site. For a full virtual-host layout, use the companion guide to configure NGINX server blocks.
Example HTTPS server block:
server {
    listen 443 ssl;
    server_name example.com;

    include /etc/nginx/snippets/security-headers.conf;

    root /var/www/example.com;
    index index.html;
}
Keep the snippet out of plain HTTP redirect-only server blocks when it contains HSTS. HSTS only helps after a browser receives it over HTTPS, and putting it in a global include can make later virtual-host changes harder to reason about.
server {
    listen 80;
    server_name example.com;
    return 301 https://$host$request_uri;
}
After creating the snippet and updating your HTTPS server block, test the configuration syntax:
sudo nginx -tnginx: the configuration file /etc/nginx/nginx.conf syntax is ok nginx: configuration file /etc/nginx/nginx.conf test is successful
Always end security headers with the
alwaysparameter (for example,add_header ... always;) so NGINX attaches them even on 4xx or 5xx responses.
When you add
add_headerdirectives inside alocationblock, NGINX discards all server-level headers for that location. To preserve server-level security headers in locations with their own headers, include the snippet again withinclude /etc/nginx/snippets/security-headers.conf;inside each affected location block.
NGINX 1.29.3 and newer can also change header inheritance with
add_header_inherit merge;, but many distribution packages still use older behavior. The explicit snippet include remains the portable option unlessnginx -vconfirms a compatible version.
If the syntax test passes, reload NGINX gracefully:
sudo systemctl reload nginxUse the same test-and-reload cycle after editing any single header below: update the snippet, run sudo nginx -t, reload only after the syntax check passes, then verify the live response with curl.
Enable HSTS Security Header in NGINX
HSTS tells browsers to use HTTPS for your domain on future visits, which prevents downgrade attempts after the browser has seen the header. The NGINX HSTS guidance recommends testing with a short max-age first because browsers cache the directive and will refuse HTTP connections for the entire cache period.
For a first live test, use a short cache period and omit includeSubDomains unless every subdomain already works over HTTPS:
add_header Strict-Transport-Security "max-age=300" always;After the main hostname and covered subdomains have been verified, increase the policy to a longer production value:
add_header Strict-Transport-Security "max-age=31536000; includeSubDomains" always;- max-age=31536000: Tells browsers to cache the HTTPS requirement for 31536000 seconds (one year).
- includeSubDomains: Extends the rule to hosts like
cdn.example.comso you cannot accidentally serve insecure assets from a sibling domain. - always: Ensures the header appears even on error responses (4xx, 5xx), preventing downgrade attacks during error conditions.
Most sites should skip HSTS preload unless every current and future subdomain can remain HTTPS-only. Add
; preloadonly after the domain passes checks at hstspreload.org and you are ready for the browser preload list commitment.
Redirect HTTP traffic to HTTPS so a first HTTP request reaches the HTTPS server block that sends HSTS. The header itself must still be delivered over HTTPS:
server {
    listen 80;
    server_name example.com;
    return 301 https://$host$request_uri;
}
Define a Content Security Policy Header in NGINX
CSP limits which domains can provide scripts, styles, fonts, images, and frames, reducing many cross-site scripting paths that depend on untrusted resources. Always begin with Content-Security-Policy-Report-Only so you log violations first, and include reporting headers so the browser actually sends those errors. Keep restrictive defaults such as object-src 'none' and base-uri 'self', avoid 'unsafe-inline' by using nonces or hashes on inline scripts, and if you depend on Google Fonts, allow both fonts.googleapis.com and fonts.gstatic.com.
CSP does not replace CORS. If the browser console says a fetch, API call, font, or iframe was blocked by a CORS policy, configure the relevant CORS headers in NGINX instead of widening CSP. If old http:// asset URLs are the problem, the separate upgrade-insecure-requests guide covers that CSP directive and its migration tradeoffs.
Start with Report-Only mode to identify violations safely and capture reports. The modern report-to directive needs a matching Reporting-Endpoints header, while report-uri remains a compatibility fallback for older browsers:
add_header Reporting-Endpoints 'csp-endpoint="https://example.com/csp-report"' always;
add_header Content-Security-Policy-Report-Only "default-src 'self'; object-src 'none'; base-uri 'self'; form-action 'self'; script-src 'self' https://cdn.example.com; style-src 'self' https://fonts.googleapis.com; img-src 'self' data:; font-src 'self' https://fonts.gstatic.com; frame-ancestors 'none'; report-uri https://example.com/csp-report; report-to csp-endpoint" always;
Monitor your CSP report endpoint or logs for violations. Once you confirm no legitimate content is blocked, switch to the enforcing header (you can keep Report-Only alongside enforcing to test policy changes before fully deploying them):
add_header Reporting-Endpoints 'csp-endpoint="https://example.com/csp-report"' always;
add_header Content-Security-Policy "default-src 'self'; object-src 'none'; base-uri 'self'; form-action 'self'; script-src 'self' https://cdn.example.com; style-src 'self' https://fonts.googleapis.com; img-src 'self' data:; font-src 'self' https://fonts.gstatic.com; frame-ancestors 'none'; report-uri https://example.com/csp-report; report-to csp-endpoint" always;
Key CSP directives explained:
- default-src ‘self’: Denies every external resource unless another directive explicitly allows it. This fail-closed approach prevents loading unexpected content.
- script-src: Allow JavaScript CDNs or APIs you must load. Prefer nonces (
'nonce-random123') or hashes ('sha256-...') over'unsafe-inline'for inline scripts. - style-src: Keep styles on trusted hosts. Avoid
'unsafe-inline'by migrating inline styles to external stylesheets or using nonces/hashes. - img-src: The
data:scheme allows inline images (base64-encoded) which are common in modern web apps and email templates. - font-src: Include both
fonts.googleapis.com(CSS delivery) andfonts.gstatic.com(font file hosting) when using Google Fonts. Both domains are required for the service to work. - frame-ancestors: Controls which sites can embed your page in iframes. Setting this to
'none'prevents all embedding (similar toX-Frame-Options: DENY). Use specific origins likeframe-ancestors 'self' https://trusted-partner.comwhen you need to allow embedding from known partners. - report-to: Sends violation reports to the named endpoint defined by the
Reporting-Endpointsheader. - report-uri: Provides a compatibility fallback for older browsers. Treat received reports as untrusted input before storing or displaying them.
Disable Deprecated X-XSS-Protection Header in NGINX
X-XSS-Protection is deprecated and comes from older Internet Explorer, Chrome, and Safari XSS filters, not a modern cross-browser defense. For modern NGINX security header sets, either omit the header or set it to 0 so older browser filters do not rewrite pages in unsafe ways.
Recommended configuration (disable the header):
add_header X-XSS-Protection "0" always;Setting the value to 0 explicitly disables any XSS filtering in browsers that still respect this header. Modern browsers rely on Content Security Policy (CSP) as the primary XSS defense mechanism, which provides more granular and reliable protection.
Legacy Internet Explorer Support (Not Recommended)
If you must serve Internet Explorer 8-11 or very old WebKit-based browsers (Safari 5, old Android), you can enable the legacy filtering mode. Test thoroughly before deploying, as the filter can cause false positives and block legitimate content:
add_header X-XSS-Protection "1; mode=block" always;This configuration tells legacy browsers to block page rendering entirely when reflected XSS patterns are detected. Given the security issues with this approach and the fact that IE 11 reached end-of-life in June 2022, most sites should use the disabled configuration ("0") instead.
Block Clickjacking in NGINX with X-Frame-Options
X-Frame-Options prevents clickjacking by blocking your site from loading inside hidden iframes layered over malicious pages. Start with DENY to block all framing; relax only if your application legitimately uses iframes internally.
add_header X-Frame-Options "DENY" always;- DENY: Blocks all framing, safest for dashboards and forms.
- SAMEORIGIN: Permits frames on the same host only, useful for internal self-service portals.
When partners need to embed your content, use CSP’s frame-ancestors directive instead. Do not use old ALLOW-FROM examples; modern browsers do not provide reliable support for that X-Frame-Options value.
Stop MIME Sniffing in NGINX with X-Content-Type-Options
Browsers sometimes guess a file type when the server mislabels it, which can cause scripts to execute unexpectedly. X-Content-Type-Options disables that sniffing step.
add_header X-Content-Type-Options "nosniff" always;Combine this header with accurate types blocks in /etc/nginx/mime.types so static assets keep the correct Content-Type.
Control Referrer Data in NGINX with Referrer-Policy
Referrer-Policy governs how much of the originating URL gets sent to other sites when users click outbound links. Limiting the data protects search terms, session identifiers, and other sensitive path segments from leaking.
add_header Referrer-Policy "strict-origin-when-cross-origin" always;- strict-origin-when-cross-origin: Sends the full URL to same-origin links, sends only the scheme and host to HTTPS targets, and strips the header when downgrading to HTTP.
- no-referrer: Shares nothing. Choose this for private admin portals or compliance-driven workloads.
- unsafe-url: Always sends the full URL and should be avoided.
Limit Browser APIs in NGINX with Permissions-Policy
Permissions-Policy replaced the older Feature-Policy header and restricts access to browser capabilities such as cameras, microphones, USB, payment request API, geolocation, or fullscreen. Browser support still varies by directive, but locking unused features prevents embedded widgets or compromised scripts from presenting new prompts to your visitors where the policy is honored.
add_header Permissions-Policy "camera=(), microphone=(), geolocation=(), fullscreen=(self), payment=(), usb=()" always;This baseline blocks the most sensitive devices everywhere while still allowing fullscreen mode on your own origin. Expand the list with other APIs you don’t require, such as accelerometer, magnetometer, or clipboard-read.
Permissions-Policy vs Feature-Policy Syntax
Current Permissions-Policy syntax uses comma-separated directives with parenthesized allowlists. Use () to block a feature everywhere, (self) to allow only the current origin, and quoted origins such as ("https://maps.example-app.com") when a trusted external origin needs access. Older Feature-Policy examples used semicolon-separated directives such as geolocation 'self' https://example.com; microphone 'none', so do not copy that older syntax into a Permissions-Policy header.
add_header Permissions-Policy 'geolocation=(self "https://maps.example-app.com"), microphone=()' always;Allow Trusted Services to Use Specific APIs
When a feature is required, explicitly list the origins that should retain access. While wildcards work, limit them to cases where you control the entire domain space.
add_header Permissions-Policy 'geolocation=(self "https://maps.example-app.com"), fullscreen=(self "https://player.example-cdn.com"), payment=()' always;- geolocation=(self “https://maps.example-app.com”): Keeps GPS calls inside your app and a trusted map provider.
- fullscreen=(self “https://player.example-cdn.com”): Lets your preferred streaming provider toggle fullscreen for embedded players.
- payment=(): Blocks Payment Request API so malicious scripts cannot pop up spoofed checkout windows.
Add Cross-Origin Isolation Headers Only When Required
Some browser features, including SharedArrayBuffer, require cross-origin isolation. That is a separate choice from a baseline security-header bundle because Cross-Origin-Embedder-Policy: require-corp can block third-party scripts, images, fonts, or embeds unless those resources opt in with CORS or compatible resource policies.
Use these headers only for applications that specifically need cross-origin isolation and can test every external dependency:
add_header Cross-Origin-Opener-Policy "same-origin" always;
add_header Cross-Origin-Embedder-Policy "require-corp" always;
add_header Cross-Origin-Resource-Policy "same-origin" always;
For shared static assets that other trusted sites must load, avoid a blanket Cross-Origin-Resource-Policy: same-origin response until you confirm the required embed and fetch paths. Cross-origin isolation works best when the application owns its asset chain or when third-party providers document compatible CORS and CORP behavior.
Verify NGINX Security Headers with curl
Use curl on any workstation or CI runner to confirm NGINX is serving the headers you expect. A normal GET request is safer than a HEAD-only check because some applications and proxies handle HEAD differently. The -D - option prints response headers to standard output, and -o /dev/null discards the response body.
curl -sS -D - -o /dev/null https://example.comAlternatively, filter the response to highlight security-related fields when troubleshooting larger header sets:
curl -sS -D - -o /dev/null https://example.com | grep -iE "(Strict-Transport-Security|Reporting-Endpoints|Content-Security-Policy|X-Frame-Options|X-Content-Type-Options|X-XSS-Protection|Referrer-Policy|Permissions-Policy)"To confirm the always parameter is working, test a missing URL as well. Do not add -f for this check, since a 404 response is expected:
curl -sS -D - -o /dev/null https://example.com/missing-page | grep -iE "(Strict-Transport-Security|Reporting-Endpoints|X-Frame-Options|X-Content-Type-Options|Referrer-Policy|Permissions-Policy)"Example output includes:
HTTP/2 200
server: nginx
strict-transport-security: max-age=300
reporting-endpoints: csp-endpoint="https://example.com/csp-report"
content-security-policy-report-only: default-src 'self'; object-src 'none'; base-uri 'self'; form-action 'self'; script-src 'self' https://cdn.example.com; style-src 'self' https://fonts.googleapis.com; img-src 'self' data:; font-src 'self' https://fonts.gstatic.com; frame-ancestors 'none'; report-uri https://example.com/csp-report; report-to csp-endpoint
x-frame-options: DENY
x-content-type-options: nosniff
referrer-policy: strict-origin-when-cross-origin
permissions-policy: camera=(), microphone=(), geolocation=(), fullscreen=(self), payment=(), usb=()
x-xss-protection: 0
If a header is missing, first confirm the snippet is included in the correct server block, then run sudo nginx -T to print the merged configuration and verify directives are not overridden by nested location blocks. If CSP is still in Report-Only mode, the header name will be Content-Security-Policy-Report-Only until you switch to enforcement. For help with reverse proxies, see how to create a reverse proxy in NGINX, which often requires special header handling. For additional hardening, consider enabling gzip compression in NGINX and rate limiting in NGINX to improve performance and prevent abuse.
Monitor NGINX Security Headers in CI/CD Pipelines
For production environments, automate header verification in your deployment pipeline. Use curl in scripts to confirm every required header is present before releasing new versions:
#!/usr/bin/env bash
set -euo pipefail

url=${1:-https://example.com}
response=$(curl -fsS -D - -o /dev/null "$url")
headers=(Strict-Transport-Security Reporting-Endpoints X-Frame-Options X-Content-Type-Options Referrer-Policy Permissions-Policy)

for header in "${headers[@]}"; do
    if ! printf '%s\n' "$response" | grep -qi "^${header}:"; then
        printf 'ERROR: Missing %s on %s\n' "$header" "$url"
        exit 1
    fi
done

if ! printf '%s\n' "$response" | grep -qiE "^Content-Security-Policy(-Report-Only)?:"; then
    printf 'ERROR: Missing Content-Security-Policy or Content-Security-Policy-Report-Only on %s\n' "$url"
    exit 1
fi

if printf '%s\n' "$response" | grep -qi "^X-XSS-Protection:"; then
    printf '%s\n' 'NOTE: X-XSS-Protection is legacy. Keep it at 0 or remove it when no scanner expects it.'
fi

printf 'Security headers verified on %s\n' "$url"
Expected output when all headers are present:
NOTE: X-XSS-Protection is legacy. Keep it at 0 or remove it when no scanner expects it.
Security headers verified on https://example.com
If a required header is missing, the script exits with an error:
ERROR: Missing Strict-Transport-Security on https://example.com
Integrate this script into your CI/CD pipeline (GitHub Actions, GitLab CI, Jenkins) to block deployments when security headers are misconfigured or missing.
Use online security header scanners like securityheaders.com or MDN HTTP Observatory to audit your configuration periodically. These tools catch common misconfigurations and suggest improvements as new security practices emerge.
Retest after making changes to CSP rules, adding trusted external resources, or deploying new upstream services. Header misconfiguration is often silent, so automated verification prevents security regressions between deployments.
Troubleshoot Common NGINX Security Header Issues
Security header configuration errors are often silent, as headers simply don’t appear in responses or CSP violations break functionality without obvious error messages. Use these diagnostic steps to identify and fix common problems.
NGINX Headers Missing from All Responses
If a normal curl header check shows no security headers at all, check these common causes in order:
1. Verify the snippet file exists and is readable:
ls -la /etc/nginx/snippets/security-headers.confIf the file is missing or has incorrect permissions, recreate it with the snippet creation command, then retest the active site.
2. Confirm the include path in your server block is correct:
sudo nginx -T 2>/dev/null | grep -n -B 40 -A 25 "server_name example.com"Use the # configuration file ... markers from nginx -T to confirm you are editing the active file. Look for include /etc/nginx/snippets/security-headers.conf; inside the HTTPS server block on port 443. If the include is missing, add it, test the configuration, reload NGINX, and retest the live response.
3. Check for NGINX configuration syntax errors:
sudo nginx -tSyntax errors prevent NGINX from reloading successfully. If you see errors, fix them before proceeding. Common syntax issues include missing semicolons, unmatched quotes in CSP directives, or typos in header names.
sudo systemctl reload nginx
curl -sS -D - -o /dev/null https://example.com | grep -iE "(Strict-Transport-Security|Reporting-Endpoints|X-Frame-Options|X-Content-Type-Options|Referrer-Policy|Permissions-Policy)"
NGINX Headers Missing from Specific Paths
If headers appear on some URLs but not others, you’ve likely hit NGINX’s add_header inheritance behavior. When a location block contains any add_header directive, NGINX ignores all server-level headers for that location.
Diagnosis: Check if the affected path has a location block with add_header:
sudo nginx -T 2>/dev/null | grep -n -B 8 -A 18 "location /api"If you see add_header inside the location block, security headers from the server level won’t apply.
Fix: Include the security headers snippet inside the location block:
location /api {
    include /etc/nginx/snippets/security-headers.conf;
    add_header Cache-Control "no-cache" always;
    proxy_pass http://127.0.0.1:8080;
}
This ensures security headers appear alongside location-specific headers. Retest the affected path after reload:
sudo nginx -t
sudo systemctl reload nginx
curl -sS -D - -o /dev/null https://example.com/api/health | grep -iE "(Strict-Transport-Security|Reporting-Endpoints|Cache-Control)"
Content Security Policy Blocks Legitimate Resources
If your site loads but images, scripts, or styles fail after enabling CSP, check the browser’s developer console (F12) for violation reports:
Refused to load the script 'https://analytics.example.com/script.js' because it violates the following Content Security Policy directive: "script-src 'self' https://cdn.example.com".
The error message shows which directive blocked the resource (script-src) and which source tried to load (https://analytics.example.com).
Fix: Add the missing origin to the appropriate CSP directive in your snippet file. If the console specifically reports a CORS error, fix the CORS policy instead of adding broad CSP sources.
add_header Reporting-Endpoints 'csp-endpoint="https://example.com/csp-report"' always;
add_header Content-Security-Policy "default-src 'self'; object-src 'none'; base-uri 'self'; form-action 'self'; script-src 'self' https://cdn.example.com https://analytics.example.com; style-src 'self' https://fonts.googleapis.com; img-src 'self' data:; font-src 'self' https://fonts.gstatic.com; frame-ancestors 'none'; report-uri https://example.com/csp-report; report-to csp-endpoint" always;
Test with Content-Security-Policy-Report-Only first to confirm the fix doesn’t break anything else, then switch to the enforcing header.
Headers Appear Duplicated in Responses
If a curl header check shows the same header twice with different values, you have defined the header in multiple places, such as a server block and snippet, or a server block and nested location.
Diagnosis: Search the merged configuration for duplicate directives:
sudo nginx -T 2>/dev/null | grep -n "add_header Strict-Transport-Security"If you see the same header defined in multiple contexts, use the nearby # configuration file ... markers to identify the owner file, then remove the redundant definitions.
Fix: Keep security headers only in the snippet file, not in individual server or location blocks. Remove any standalone add_header directives for security headers and rely solely on the included snippet.
sudo nginx -t
sudo systemctl reload nginx
curl -sS -D - -o /dev/null https://example.com | grep -i "^strict-transport-security:"
HSTS Preload Submission Rejected
If you’re trying to submit your site to the HSTS preload list but the submission fails, verify these requirements:
- HSTS header includes
max-ageof at least 31536000 (one year) - HSTS header includes
includeSubDomainsdirective - HSTS header includes
preloaddirective - All subdomains serve valid HTTPS certificates
- HTTP (port 80) redirects to HTTPS before serving content
Confirm the final header value before testing at hstspreload.org:
curl -sS -D - -o /dev/null https://example.com | grep -i "^strict-transport-security:"Most sites can use HSTS without preload. Submit only when the domain and all subdomains can stay HTTPS-only long term, including future services you may add under the same domain.
Conclusion
A reusable NGINX security headers snippet keeps HSTS, CSP, clickjacking controls, MIME sniffing protection, referrer limits, and browser API restrictions consistent across server blocks. Keep HSTS on HTTPS only, test CSP in Report-Only mode first, and use curl plus nginx -t after every header change so quiet regressions do not reach production.

Formatting tips for your comment
You can use basic HTML to format your comment. Useful tags currently allowed in published comments:
<code>command</code>command<strong>bold</strong><em>italic</em><a href="https://example.com">link</a><blockquote>quote</blockquote>