
To enhance system reliability and minimize downtime, you can install Monit on Ubuntu 22.04 Jammy Jellyfish or its older stable release of Ubuntu 20.04 Focal Fossa. Monit is a small Open Source utility for managing and monitoring Unix systems. It conducts automatic maintenance and repair and can execute meaningful causal actions in error situations.
Key Advantages of Using Monit:
- Automated Service Management: Monit automatically restarts failed services, ensuring minimal downtime.
- Resource Monitoring: It keeps an eye on CPU, memory usage, and more, helping to maintain optimal performance.
- System Health: Monit checks system health and can alert you to potential issues before they become critical.
- Easy Configuration: With straightforward syntax, Monit’s configuration is accessible even for those new to system monitoring.
- Versatile Monitoring: Beyond services, Monit can monitor files, directories, and filesystems for changes.
- Notification System: It can alert you via email or other methods if it detects a problem with a service or resource.
The upcoming guide will provide detailed instructions on how to set up Monit on your Ubuntu system, ensuring you’re equipped to keep your services running reliably.
Install Monit on Ubuntu 22.04 or 20.04 via APT
Before proceeding with the tutorial, ensuring your system is up-to-date with all existing packages is good:
sudo apt updateProceed to upgrade any outdated packages using the following command:
sudo apt upgradeMonit is available on Ubuntu’s default repository, making the installation quick and straightforward.
First, use the following command to install the application:
sudo apt install monitOnce installed, you must enable and start the service, which you can do using the following command.
sudo systemctl enable monit --nowLastly, confirm Monit is operational without any errors using the following.
systemctl status monit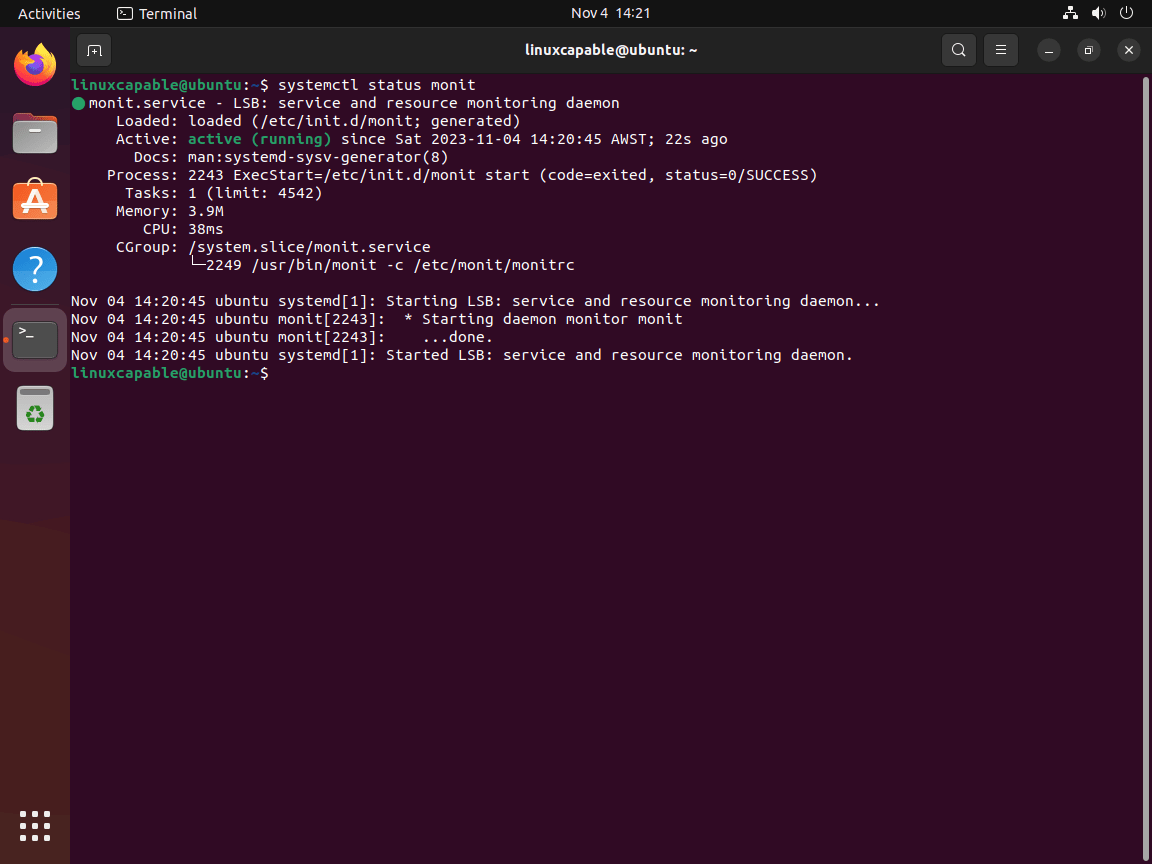
Configure Monit Web User Interface on Ubuntu 22.04 or 20.04
With Monit operational, please modify the configuration file located at “/etc/monit/monitrc.” For this task, utilize a text editor of your choice. This tutorial recommends using Nano for its user-friendly interface, which typically comes pre-installed on Ubuntu systems.
To open the configuration file, execute the following command:
sudo nano /etc/monit/monitrcNow, find the lines in the configuration file:
# set httpd port 2812 and
# allow admin:monit
Next, modify the username and password with your own; you can keep admin, but I would change this. Optionally, you can adjust the default port of 2812 with another less-known port for users in sensitive environments.
set httpd port 2812 and
allow joshmonit:strongpassword
To accommodate users in local environments, please uncomment the “allow localhost” line to ensure non-local clients are excluded.
use address localhost  # only accept connection from localhost (drop if y><p if you use M/Monit)
allow localhost        # allow localhost to connect to the server
If you are accessing from an external location, refrain from uncommenting the above lines. Securely save the configuration file by pressing CTRL+O and exit by pressing CTRL+X.
Upon completion, proactively test the service to verify that the configuration file is free of errors:
sudo monit -tExample output:
Control file syntax OKNow restart the service for the configuration file changes to take effect.
sudo systemctl restart monitConfigure Monit UFW Rules on Ubuntu 22.04 or 20.04
Your system likely has UFW pre-installed and possibly activated. To facilitate communication with Monit, you must establish allow rules for TCP port 2812 or any alternate port you designated in your Monit configuration.
Begin by confirming the installation of UFW, and install it if absent:
sudo apt install ufw -yNext, enable UFW:
sudo ufw enableSome examples are below, depending on your installation and requirements, using a singular or a cluster network.
Additional network IP server instance:
sudo ufw allow proto tcp from <ip address> to any port 2812Cluster network with many instances:
sudo ufw allow proto tcp from <ip address>/24 to any port 2812Note that the second UFW rule is a subnet rule; ensure the internal network is secure and trustworthy before allowing it.
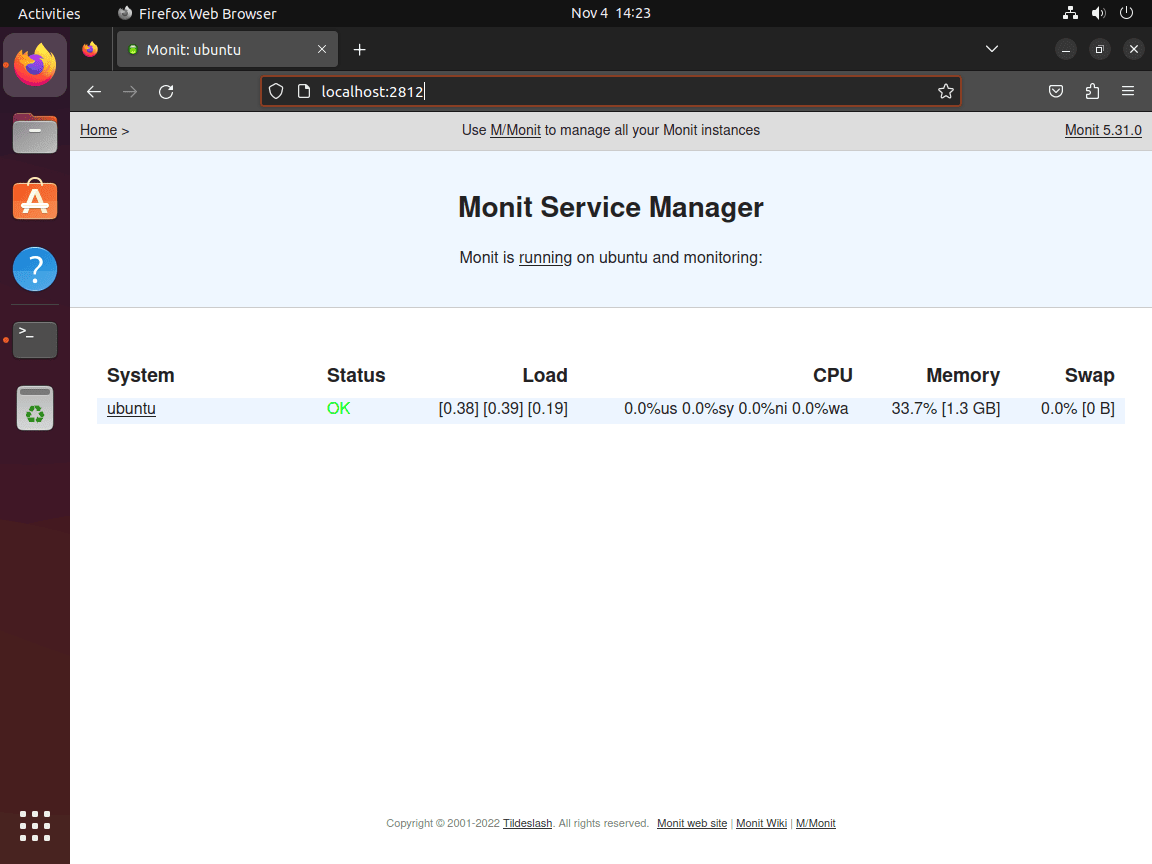
Access Monit Web User Interface on Ubuntu 22.04 or 20.04
Now that you have installed Monit and configured the back end, you can access the Monit service using the server’s IP address.
http://192.0.150.220:2812Users can use localhost to connect locally.
http://localhost:2812Log in with the username and password set in the configuration file. Once in, you will arrive at the main dashboard with your overall view.
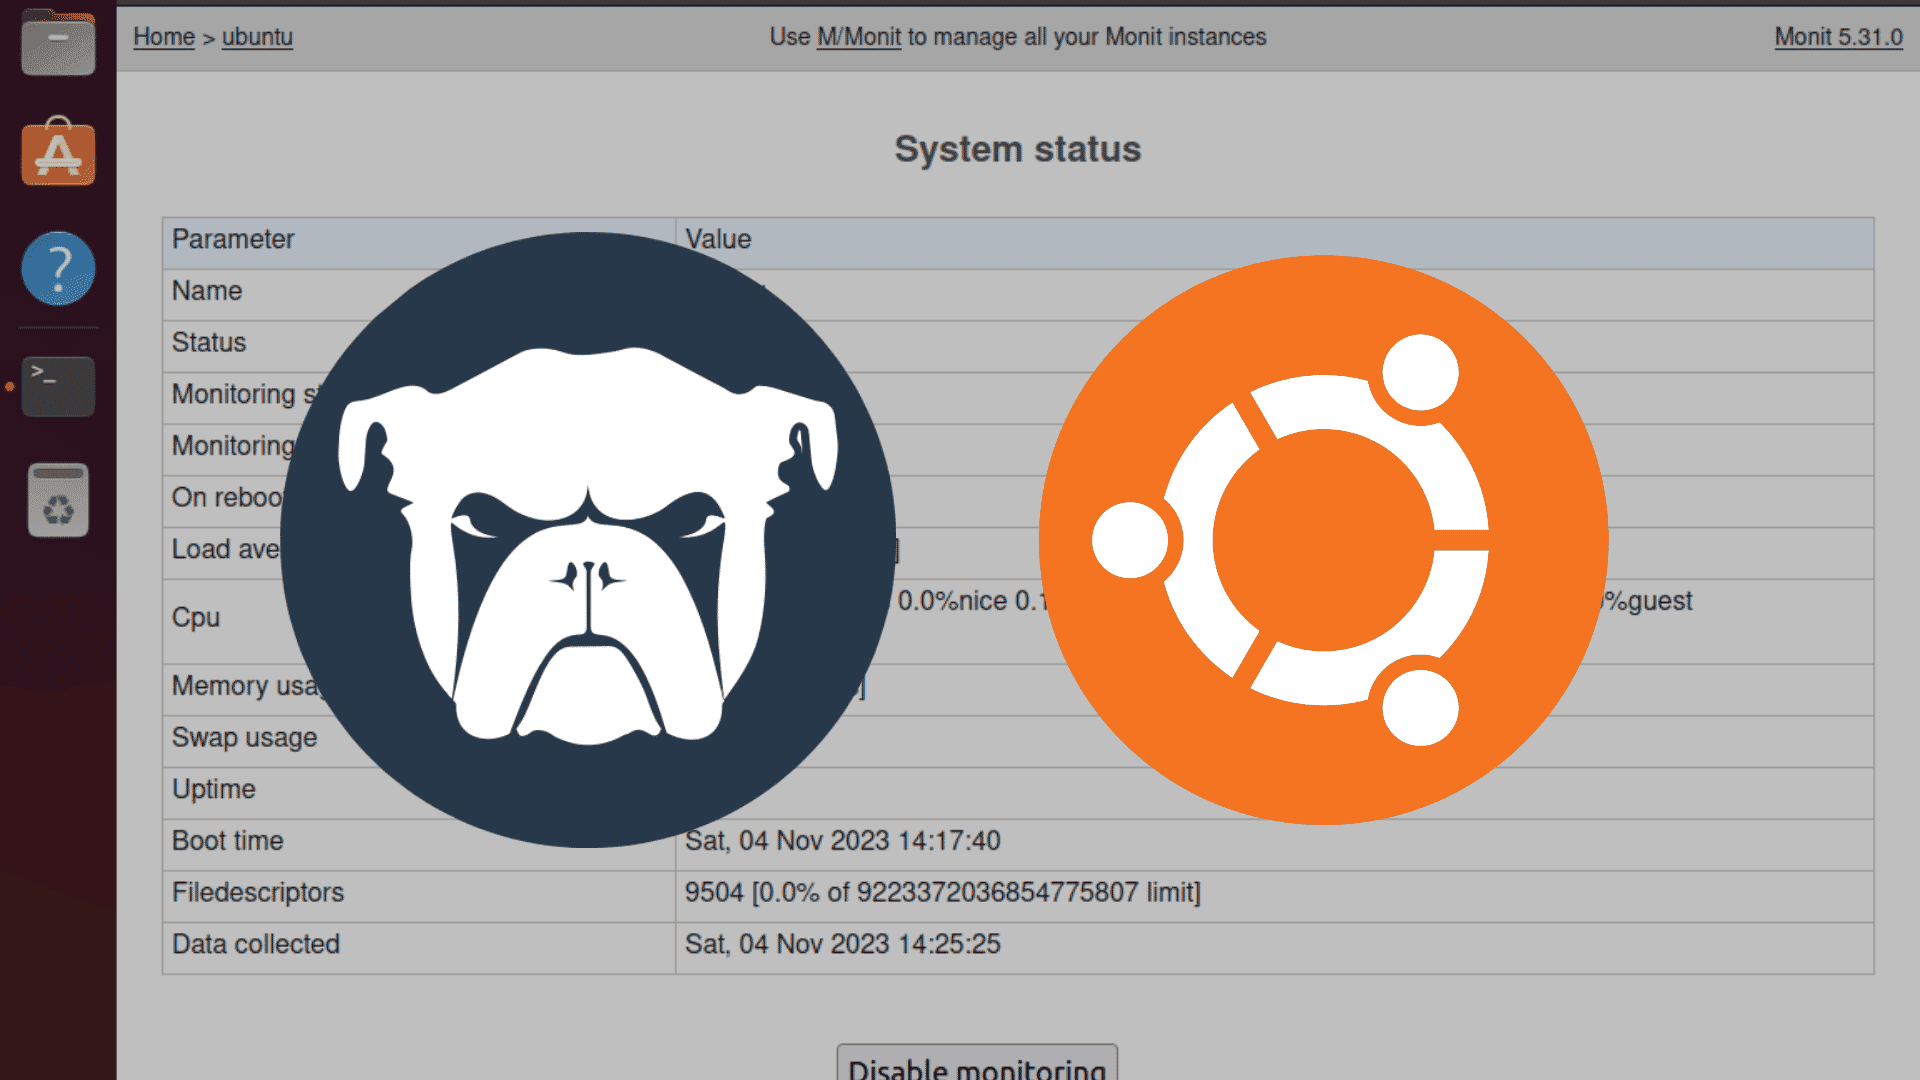
Once on the dashboard, you can click on your system to show more detailed stats.
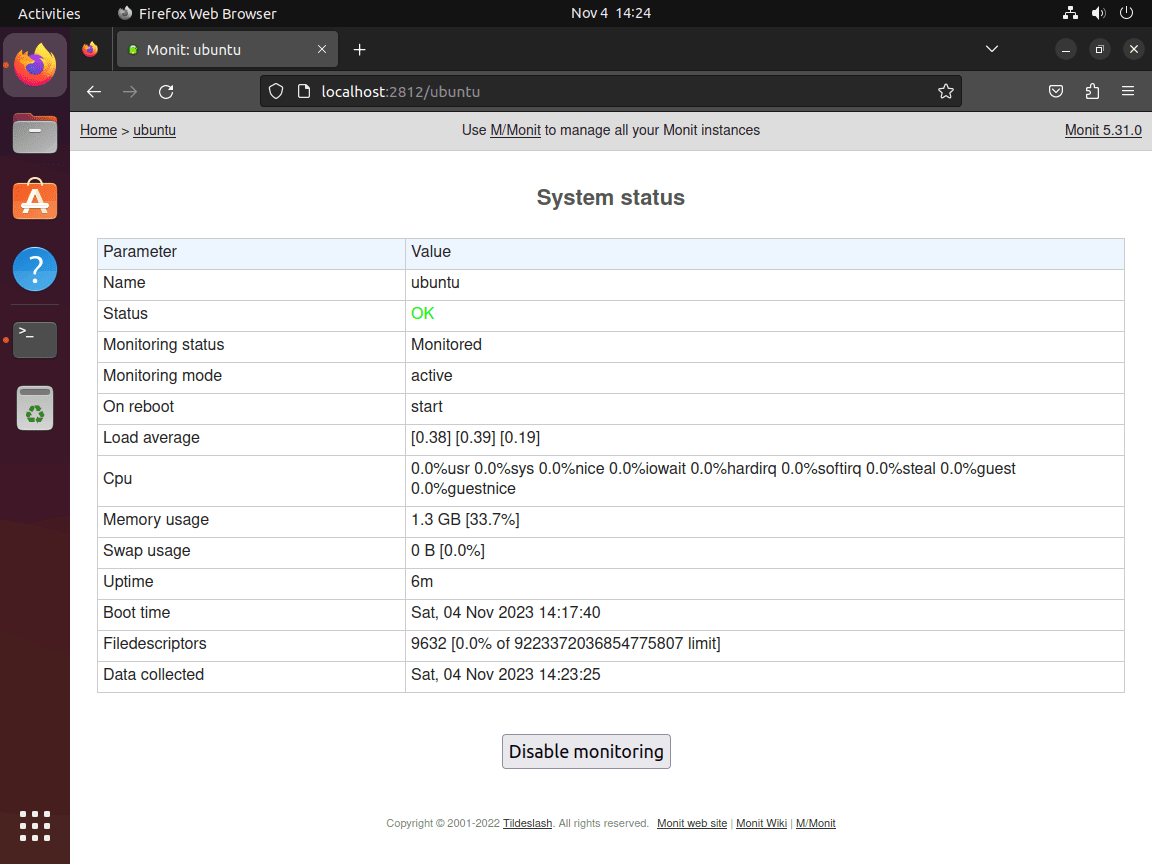
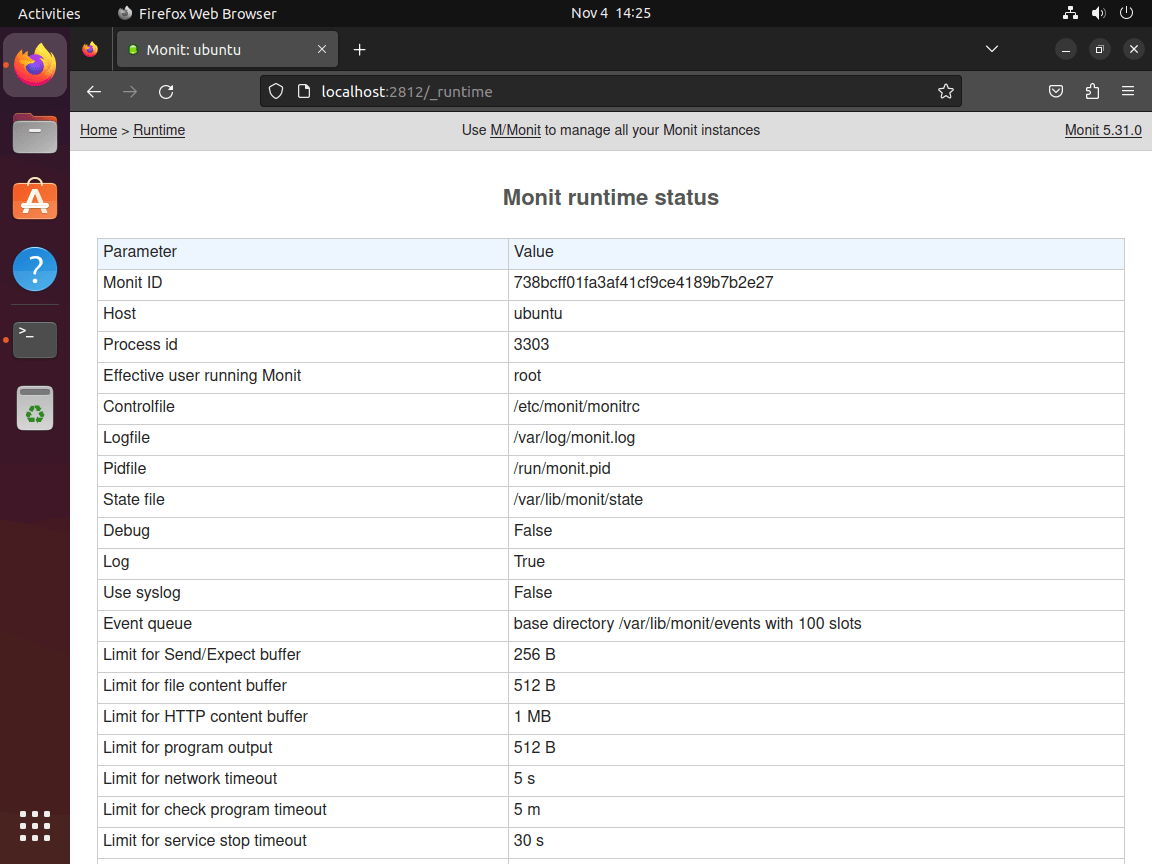
Also, for users who may encounter issues and need to adjust some settings, you can see the overview of your Monit settings using the web interface.
The tutorial showed the basic setup; you can monitor extensively with different options. I would advise checking out the Monit Documentation Manual on the official website.
Additional Commands For Monit on Ubuntu 22.04 or 20.04
Update Monit
Given you have installed Monit using Ubuntu’s default repository, the process is the same using the command line terminal:
sudo apt update && sudo apt upgradeFor desktop users with automatic updates enabled, I recommend running the terminal update commands occasionally to ensure your system is correctly updated.
Remove Monit
Users that no longer require Monit on their Ubuntu system use the following command to remove the application entirely:
sudo apt remove monitThe above command will purge the data that was created with it.
Conclusion
In conclusion, installing Monit on Ubuntu 22.04 Jammy Jellyfish or Ubuntu 20.04 Focal Fossa is a strategic move toward ensuring your system’s stability and reliability. With Monit’s vigilant monitoring and automated problem resolution, you can trust that your services and resources remain optimal, minimizing downtime and maintaining performance. Whether you manage a personal server or a suite of enterprise applications, Monit is an indispensable tool in your system administration arsenal, providing peace of mind through its robust monitoring capabilities.