Repeated file copies get messy when only a few files change, a transfer is interrupted, or a destination should mirror the source exactly. The rsync command in Linux handles local directory syncs, SSH-based transfers, exclusions, dry runs, deletes, and resumable large-file copies from one terminal workflow.
Use rsync when the job is directory synchronization or repeatable backup movement. For one-off HTTP downloads, wget command examples or the curl command guide are usually a better fit because they speak directly to web servers and APIs instead of comparing filesystem trees.
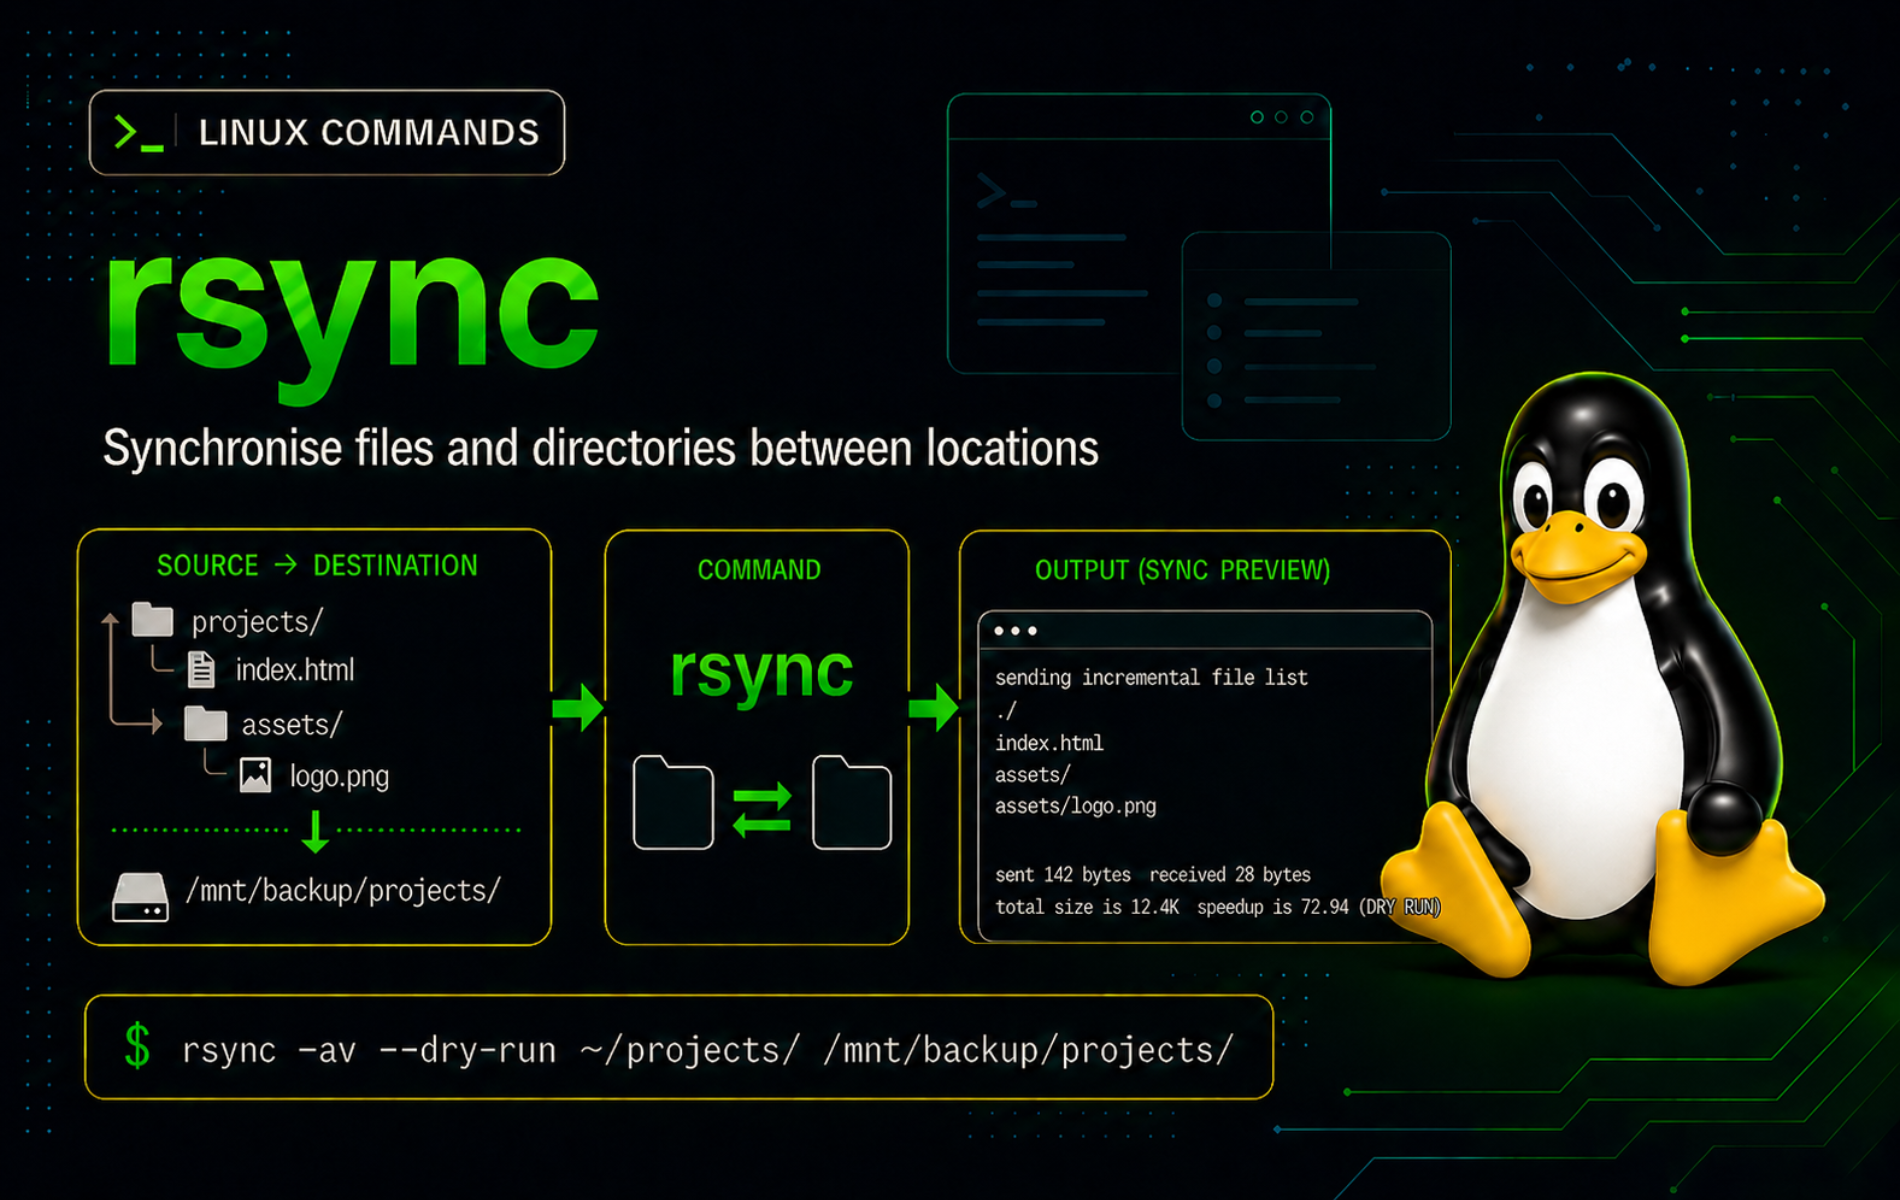
Understand the rsync Command in Linux
rsync compares a source and destination, then transfers only the files and attributes needed to bring the destination up to date. By default, it uses file size and modification time for its quick check, which keeps repeated syncs fast. Options such as archive mode, checksum comparison, exclusions, and delete handling control how strict that comparison becomes.
The command works locally, over a remote shell such as SSH, or against an rsync daemon. Most administrators use the SSH form because it reuses normal SSH accounts, keys, ports, and host verification. The remote side still needs rsync installed, because the local command starts a matching rsync process on the destination or source host.
The official rsync manual page is the reference for every option. These examples focus on command shapes that are safe to adapt for backups, deployments, and remote file movement.
Verify or Install rsync
Check whether the command is already available:
command -v rsync
rsync --version | sed -n '1p'
Typical output from current distro packages looks like this:
/usr/bin/rsync
rsync  version 3.4.1  protocol version 32
If the shell cannot find rsync, install the package named rsync from your distribution repositories. Use the command that matches your distribution family:
# Ubuntu and Debian
sudo apt update
sudo apt install rsync

# Fedora and DNF-based distributions
sudo dnf install rsync

# Arch Linux and Manjaro
sudo pacman -S rsync

# openSUSE
sudo zypper install rsync
For SSH transfers, repeat the availability check on the remote host as well:
ssh user@server.example.com 'command -v rsync'rsync Command Syntax
Local copies use a source and destination path. Remote copies put the host on one side of the transfer:
rsync [options] source/ destination/
rsync [options] source/ user@server.example.com:destination/
rsync [options] user@server.example.com:source/ destination/source/is the file or directory tree being copied.destination/is where files are created or updated.user@server.example.com:path/uses SSH by default on modern rsync builds when the remote path contains one colon.- A trailing slash on a source directory means “copy the contents.” Without the slash, rsync copies the directory itself into the destination.
rsync Quick Reference
| Task | Command Pattern | What It Does |
|---|---|---|
| Preview changes | rsync -an source/ dest/ | Runs a dry run without changing files. |
| Show itemized changes | rsync -ai source/ dest/ | Prints what rsync would update, create, or delete. |
| Copy directory contents | rsync -a source/ dest/ | Copies files recursively while preserving common attributes. |
| Mirror deletions | rsync -a --delete source/ dest/ | Removes destination files that no longer exist in the source. |
| Exclude paths | --exclude 'cache/' | Skips matching files or directories. |
| Copy listed files only | --files-from=list.txt | Transfers paths named in a file. |
| Push over SSH | rsync -az source/ user@host:dest/ | Transfers to a remote host through SSH. |
| Use a custom SSH command | -e 'ssh -p 2222' | Changes SSH port, key, or other client options. |
| Keep partial files and progress | -P | Same as --partial --progress. |
| Limit bandwidth | --bwlimit=5M | Caps transfer rate for shared links. |
Create a Safe rsync Practice Directory
The local examples use disposable files under ~/rsync-demo. Build that fixture once, then run the examples from the demo directory:
mkdir -p ~/rsync-demo/source/{docs,logs,cache} ~/rsync-demo/dest/docs
printf 'alpha\n' > ~/rsync-demo/source/docs/notes.txt
printf 'new log\n' > ~/rsync-demo/source/logs/app.log
printf 'temporary cache\n' > ~/rsync-demo/source/cache/tmp.dat
printf 'old notes\n' > ~/rsync-demo/dest/docs/notes.txt
printf 'stale\n' > ~/rsync-demo/dest/old.log
chmod 640 ~/rsync-demo/source/docs/notes.txt
cd ~/rsync-demo
The source tree now contains a document, a log, and a cache file. The destination already has an older version of docs/notes.txt plus an unrelated old.log file, which lets the dry-run and delete examples show meaningful differences.
Preview and Copy Files Locally with rsync
Preview Changes with a Dry Run
Start with -n or --dry-run whenever a sync might overwrite data, touch many files, or delete destination content. Add -i to show itemized changes:
rsync -ani source/ dest/Relevant output includes:
cd+++++++++ cache/
>f+++++++++ cache/tmp.dat
>f.s.p..... docs/notes.txt
cd+++++++++ logs/
>f+++++++++ logs/app.log
The -a option enables archive mode, which includes recursive copying and preserves common file attributes. The -n option makes the run non-mutating, and -i explains the planned changes. In the output, >f marks a file transfer, cd marks a directory change, and the s and p positions show size and permission differences.
Copy Source Contents to the Destination
Run the same sync without -n after the preview matches your intent:
rsync -ai source/ dest/Verify the destination file list:
find dest -maxdepth 2 -type f -print | sortExample output:
dest/cache/tmp.dat
dest/docs/notes.txt
dest/logs/app.log
dest/old.log
old.log remains because normal rsync updates and creates files but does not remove extra destination files. Use --delete only when you intentionally want the destination to mirror the source.
Preserve Permissions with Archive Mode
Archive mode preserves the permission bits from the source file. Confirm the mode for the document copied earlier:
stat -c '%a %n' source/docs/notes.txt dest/docs/notes.txt640 source/docs/notes.txt 640 dest/docs/notes.txt
Use --no-perms only when the destination should keep its own default permissions instead. If permissions are the problem you are trying to fix, review the chmod command guide before applying broad recursive changes.
Understand the Source Trailing Slash
A trailing slash on the source directory changes the destination layout. Without the slash, rsync copies the directory by name. With the slash, rsync copies the directory contents:
mkdir -p parent-copy contents-copy
rsync -a source parent-copy/
rsync -a source/ contents-copy/
find parent-copy contents-copy -maxdepth 2 -type d -print | sort
Example output shows the difference:
contents-copy
contents-copy/cache
contents-copy/docs
contents-copy/logs
parent-copy
parent-copy/source
parent-copy/source/cache
parent-copy/source/docs
parent-copy/source/logs
Use the trailing slash when the destination directory should receive the source contents directly. Omit it when you want the destination to contain a subdirectory named after the source.
Control What rsync Transfers
Exclude Files or Directories
Exclude caches, build output, logs, or other generated content that should not travel with the sync. Preview the filtered result before copying:
mkdir -p excluded
rsync -ani --exclude 'cache/' source/ excluded/
The itemized output lists docs/ and logs/, but no cache/ entry:
cd+++++++++ docs/
>f+++++++++ docs/notes.txt
cd+++++++++ logs/
>f+++++++++ logs/app.log
Patterns are evaluated relative to the transfer root. The pattern cache/ excludes a directory named cache at the level where rsync sees it. For several rules, put one pattern per line in a file and use --exclude-from=rules.txt.
Copy Only Files Listed in a File
Use --files-from when a build job, backup manifest, or review process already produced the exact paths to transfer:
printf 'docs/notes.txt\nlogs/app.log\n' > include-list.txt
mkdir -p listed
rsync -ani --files-from=include-list.txt source/ listed/
Relevant output includes only the listed files and the parent directories needed to hold them:
cd+++++++++ docs/
>f+++++++++ docs/notes.txt
cd+++++++++ logs/
>f+++++++++ logs/app.log
Keep paths in the list relative to the source directory. Avoid leading slashes unless you are deliberately building an absolute-path transfer with matching rsync options and a carefully reviewed destination.
Use Checksums When File Times Are Unreliable
By default, rsync decides whether a file changed by comparing size and modification time. Add -c or --checksum when timestamps are unreliable, such as after a restore process that rewrote file times:
rsync -ac source/ dest/Checksum mode reads file contents on both sides, so it is slower on large trees. Use it to resolve a specific correctness problem, not as a default for every backup job.
Limit Bandwidth and Keep Partial Files
For large files on shared or unstable links, combine a bandwidth limit with -P. The -P shortcut keeps partially transferred files and prints progress:
ssh user@server.example.com 'mkdir -p ~/incoming'
rsync -aP --bwlimit=5M large-backup.tar user@server.example.com:~/incoming/
The --bwlimit=5M value caps rsync’s socket I/O around five megabytes per second. Skip compression for already-compressed files such as .zip, .gz, images, videos, and many VM disk formats because extra CPU work rarely helps.
Mirror Directories and Handle Deletions
Preview Deletions with --delete
--delete removes destination files that do not exist in the source. It is correct for mirrors and risky for ordinary copies. Create a small mirror and add an orphaned file to see the behavior safely:
mkdir -p mirror
rsync -a source/ mirror/
printf 'orphan\n' > mirror/orphan.txt
rsync -ani --delete source/ mirror/
The dry run names the file that would be removed:
*deleting orphan.txt
--deletepermanently removes destination files that are outside the source set. Run a dry run first, confirm the source path and trailing slash, then apply the mirror command only to the intended destination.
Apply a Mirror After the Dry Run
Run the mirror command after the preview lists only files that should disappear:
rsync -a --delete source/ mirror/
test ! -e mirror/orphan.txt && echo "orphan removed"
orphan removed
Keep --delete out of ad-hoc copy commands. It belongs in reviewed mirror jobs where the source is authoritative and the destination is disposable or backed up.
Keep Deleted or Replaced Files in a Backup Directory
Pair --delete with --backup and --backup-dir when a mirror job should preserve changed or removed destination files for review:
backup_dir="$HOME/rsync-demo/backups/$(date +%F-%H%M%S)"
mkdir -p "$backup_dir"
rsync -a --delete --backup --backup-dir="$backup_dir" source/ mirror/
The backup directory receives files that rsync would otherwise overwrite or delete. Store it outside the mirror destination so a later mirror run does not treat the backup set as extra content to remove. The path above stays inside ~/rsync-demo, so the demo cleanup removes it later.
Use rsync Over SSH
The single-colon remote syntax uses SSH by default on modern rsync packages. That means SSH keys, host keys, custom ports, jump hosts, and config aliases follow normal OpenSSH behavior. If the remote login itself is failing, debug it with the ssh command in Linux before adding rsync options.
Push a Directory to a Remote Server
Create the destination directory first so the remote path is unambiguous. The mkdir command with -p keeps the setup idempotent:
ssh user@server.example.com 'mkdir -p ~/project-backup'
rsync -az --itemize-changes ./project/ user@server.example.com:~/project-backup/
The -z option compresses data during transfer, which can help over slower links with text-heavy files. For fast LANs or already-compressed archives, omit -z and let the network carry the bytes directly.
A small remote push produces itemized file output similar to this:
cd+++++++++ docs/
<f+++++++++ docs/notes.txt
cd+++++++++ logs/
<f+++++++++ logs/app.log
Pull a Directory from a Remote Server
Reverse the host placement to pull files down to the local machine:
mkdir -p ./restored-project
rsync -az user@server.example.com:~/project-backup/ ./restored-project/
Keep the trailing slash on the remote source when ./restored-project/ should contain the project files directly. Remove the slash only when you want a nested directory copied by name.
Use a Custom SSH Port or Key
Pass SSH options through -e when the server uses a non-default port or a project-specific key:
rsync -az -e 'ssh -p 2222 -i ~/.ssh/deploy_key' ./project/ user@server.example.com:~/project-backup/SSH refuses private keys that are readable by other users. Fix the local key mode before retrying:
chmod 600 ~/.ssh/deploy_keyFor repeated hosts, store the port and key in ~/.ssh/config, then run rsync against the short host alias. That keeps deployment commands readable and avoids copying long SSH option strings into every script.
Use a Dedicated Destination for Untrusted Remote Sources
When pulling from a remote host you do not fully control, copy into a dedicated directory instead of your home directory or a shared work tree:
mkdir -p ~/remote-imports/server-a
rsync -a user@server.example.com:logs/ ~/remote-imports/server-a/
This keeps unexpected filenames, symlinks, and directory layouts contained until you inspect them. After review, move only the files you trust into their final location.
Use rsync Safely in Scripts
Separate Preview, Apply, and Verify Phases
A script that can delete or overwrite files should keep the preview separate from the real sync. This pattern fails early when the dry run reports a problem:
src="$HOME/rsync-demo/source/"
dest="$HOME/rsync-demo/scripted-mirror/"

mkdir -p "$dest"
rsync -ani --delete "$src" "$dest"
printf 'Review the dry-run output before applying the mirror.\n'
After reviewing the output, run the mutating command as a separate step:
rsync -a --delete "$src" "$dest"
rsync -ani --delete "$src" "$dest"
The final dry run should print no file changes. If it still lists transfers or deletions, another process is changing the source, the destination is not writable, or an exclude rule is not matching the paths you intended.
Quote Variables and Keep Trailing Slashes Explicit
Variables make rsync scripts easier to reuse, but they also hide path mistakes. Quote variables and include the trailing slash in the variable value when the variable represents “contents of this directory”:
src="$HOME/rsync-demo/source/"
dest="$HOME/rsync-demo/quoted-dest/"

mkdir -p "$dest"
rsync -a "$src" "$dest"
Do not build source paths from untrusted input and then combine them with --delete. Validate the resolved source and destination first with printf '%s\n' "$src" "$dest", test -d "$src", and a dry run.
Clean Up the rsync Demo Files
Remove the demo directory when you are finished practicing. This deletes only the fixture path created earlier under your home directory:
cd ~
rm -rf -- "$HOME/rsync-demo"
Keep the cleanup path exact. Do not replace $HOME/rsync-demo with a broader directory unless you have backed up and reviewed that target.
Troubleshoot Common rsync Errors
Fix rsync Command Not Found
If the local shell cannot find rsync, it prints a normal shell lookup error:
bash: rsync: command not found
Install the rsync package with your distribution package manager, then confirm the command path:
command -v rsyncFor SSH transfers, check the remote side too. A local rsync binary is not enough when the destination server cannot start its own rsync process:
ssh user@server.example.com 'command -v rsync'Fix Missing Source Path Errors
A missing source directory produces an exit code such as 23, because rsync could not transfer everything requested:
rsync: [sender] change_dir "source/missing" failed: No such file or directory (2)
rsync error: some files/attrs were not transferred (see previous errors) (code 23)
Check the source path before retrying:
pwd
test -e source/missing || printf 'source path is missing\n'
If the path is remote, quote it and verify it through SSH first: ssh user@server.example.com 'test -e ~/project-backup && echo exists'. Fix the path or create the destination directory before running rsync again.
Fix Permission Denied During Transfer
Permission errors can come from the source file, the destination directory, or SSH authentication. Start with filesystem permissions before adding sudo:
ls -ld source dest
ls -l source/docs/notes.txt
The account running rsync needs read access to source files and write access to the destination directory. For remote destinations under system paths such as /srv or /var/www, prefer a writable staging directory and a separate reviewed deploy step on the server instead of forcing a broad privileged rsync.
Fix Wrong Directory Nesting
If the destination has an unexpected extra source/ directory, the source path probably missed the trailing slash. Inspect the destination layout:
find dest -maxdepth 2 -type d -print | sortUse rsync -a source/ dest/ to copy contents into dest/. Use rsync -a source dest/ only when dest/source/ is the intended result.
Fix Extra Files Remaining in the Destination
Extra destination files remain when rsync is updating rather than mirroring. Preview the mirror decision with --delete:
rsync -ani --delete source/ dest/If the output lists only destination files that should be removed, rerun without -n. If it lists files you need to keep, remove --delete, move those files outside the mirror destination, or narrow the source path.
Fix SSH Connection Failures
When rsync over SSH fails before any file list appears, isolate the SSH layer first:
ssh -v user@server.example.com 'command -v rsync'Fix host keys, usernames, ports, firewalls, or private-key permissions until that command succeeds. After SSH can run command -v rsync remotely, retry the rsync command with the same host, port, and key options.
Conclusion
The rsync command is ready for repeatable local syncs, SSH transfers, mirror jobs, and backup scripts once dry runs, trailing slashes, exclusions, and delete behavior are part of the workflow. Keep -ani close for previews, reserve --delete for reviewed mirrors, and test SSH separately when remote transfers fail.

Formatting tips for your comment
You can use basic HTML to format your comment. Useful tags currently allowed in published comments:
<code>command</code>command<strong>bold</strong><em>italic</em><blockquote>quote</blockquote>