

Wike is a native Wikipedia reader for GNOME that provides direct access to Wikipedia’s full content from your desktop. Whether you’re researching technical topics without switching to a browser, building a personal knowledge base with bookmarks and collections, or reading articles in any of 300+ supported languages, Wike integrates Wikipedia into your desktop workflow. This guide shows you how to install Wike on Fedora Linux using either the official repository or Flatpak, with full desktop search integration and bookmark management.
Fedora does not include Wike by default. However, you can install it through the official AppStream repository for distro-tested stability, or alternatively via Flatpak from Flathub for faster upstream updates and application sandboxing.
Choose Your Wike Installation Method
Wike is available through Fedora’s official repositories and as a Flatpak on Flathub. The repository version receives testing through Fedora’s QA process and updates alongside your system packages, while the Flatpak version ships upstream releases faster and runs in a sandboxed environment. Choose based on your preference for stability versus access to the latest features.
| Method | Channel | Stability | Updates | Best For |
|---|---|---|---|---|
| Fedora AppStream | Official repos | Stable, distro-tested | With system upgrades | Most users who prefer system-integrated packages |
| Flatpak | Flathub stable | Frequent updates | Independent of system | Users who want the latest features with sandboxing |
We recommend the Fedora AppStream method for most users because it provides the best balance of stability and integration. The package receives Fedora QA testing and updates automatically with your regular system maintenance. Choose Flatpak instead if you specifically need features from the latest upstream release or prefer sandboxed applications with isolated dependencies.
Method 1: Install Wike via Fedora AppStream
The AppStream repository provides Wike as a native RPM package that integrates with your system’s package management. This method installs Wike with dependencies managed by DNF, ensuring compatibility with your Fedora installation.
Update System Packages
First, refresh your package cache and apply any pending updates to ensure a clean installation environment:
sudo dnf upgrade --refreshInstall Wike from Fedora Repositories
Next, install Wike from the Fedora AppStream repository:
sudo dnf install wike -yDNF resolves and installs the required GTK4, WebKitGTK, and Python dependencies automatically. On minimal systems, the installation typically pulls around 300 packages due to GNOME library requirements. For more details on DNF installation options, see our DNF5 install examples guide for Fedora.
Verify the Installation
After installation completes, confirm that DNF registered the package correctly:
rpm -q wikeYou should see output showing the installed package with version and Fedora release number:
wike-3.1.1-2.fc43.noarch
Troubleshoot DNF Installation Issues
If you encounter dependency resolution errors during installation, your package cache may be outdated. Clear the cache and retry:
sudo dnf clean all
sudo dnf install wike -y
If the package is not found, verify you have the standard Fedora repositories enabled:
dnf repo list --enabled | grep -E 'fedora|updates'You should see both the fedora and updates repositories listed. If either is missing, re-enable it with sudo dnf config-manager setopt fedora.enabled=1.
Method 2: Install Wike via Flatpak and Flathub
Flatpak provides sandboxed application installation with isolated dependencies. As a result, this method delivers upstream updates faster than distribution repositories while maintaining application security through containerization. The Flathub version of Wike may include newer features before they reach the Fedora repositories.
Verify Flatpak Installation
Flatpak comes pre-installed on Fedora Workstation. However, if you previously removed Flatpak or are running a minimal installation, reinstall it:
sudo dnf install flatpak -yEnable Flathub Repository
Flathub is the primary source for Flatpak applications, but Fedora does not enable it by default. Add the Flathub repository system-wide:
sudo flatpak remote-add --if-not-exists flathub https://dl.flathub.org/repo/flathub.flatpakrepoThe --if-not-exists flag prevents errors if you already configured Flathub through Fedora’s Third Party Repositories setting.
Install Wike via Flatpak
Now install Wike from Flathub system-wide:
sudo flatpak install flathub com.github.hugolabe.Wike -yThis installs Wike and its required GNOME runtime dependencies. The first Flatpak application you install may download several hundred megabytes of shared runtimes, but subsequent GNOME applications will reuse these components.
Verify Flatpak Installation
After installation completes, verify Wike appears in your installed Flatpak applications:
flatpak list --app | grep -i wikeYou should see the application listed with its identifier and version:
Wike com.github.hugolabe.Wike 3.2.0 stable system flathub
Troubleshoot Flatpak Installation Issues
If you previously disabled or removed Flathub from your system, you may encounter this error during installation:
error: Unable to load summary from remote flathub: Can't fetch summary from disabled remote 'flathub'
To resolve this, first check if Flathub is disabled:
flatpak remotes --show-disabledIf Flathub appears in the disabled list:
flathub system
Then, re-enable the Flathub repository:
sudo flatpak remote-modify --enable flathubNext, verify Flathub is now enabled:
flatpak remotesYou should see Flathub listed with system-wide access:
Name    Options
flathub system
Finally, retry the installation command after confirming Flathub is active.
Launch Wike Wikipedia Reader
Launch Wike from Terminal
If you installed Wike via DNF, launch it with the simple command:
wikeFor Flatpak installations, use the full application identifier:
flatpak run com.github.hugolabe.WikeLaunch Wike from Applications Menu
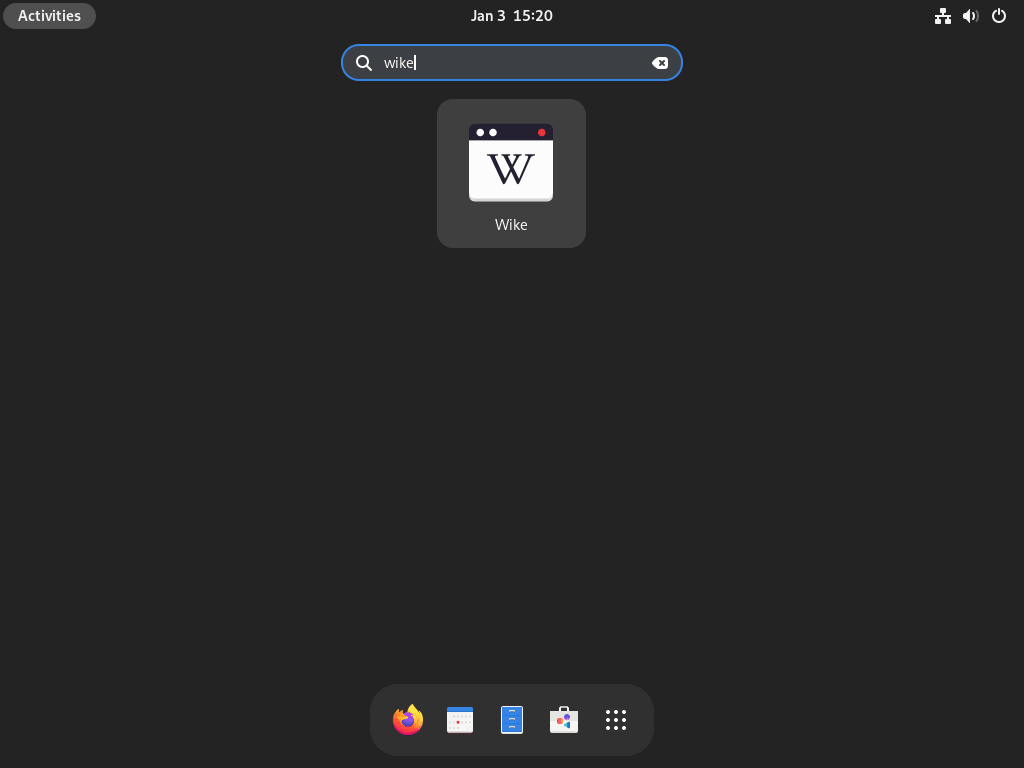
Open the Activities overview and search for Wike, or find it in the Utilities or Internet category of your applications menu. On first launch, Wike opens to the main interface with English Wikipedia as the default language. You can change the language immediately in Preferences if needed.

Using Wike
Basic Article Search
Type your search query in the top search bar when you open Wike. As you type, instant suggestions appear below, displaying matching Wikipedia articles. Press Enter or click a suggestion to load the full article with Wikipedia’s original formatting, images, and references intact.
GNOME Desktop Search Integration
Wike integrates directly with GNOME Shell’s search provider system. Open the Activities overview and start typing any topic. Wikipedia article suggestions appear alongside your files and applications in the search results. Click any Wikipedia result to open it immediately in Wike without launching your browser. This integration works automatically after installation and requires no additional configuration.
If Wikipedia results don’t appear in Activities search, open Wike once to register the search provider, then try again. The search provider activates after the first launch.
Manage Bookmarks and History
Click the star icon in the header bar to bookmark any article for quick access later. Open the hamburger menu and select Bookmarks to view your saved articles and organize them into a personal knowledge base. Wike also tracks your reading history automatically, so you can revisit previously viewed articles from the same menu without searching again.
Configure Language and Display Settings
Click the hamburger menu and select Preferences to access Wike’s settings. In the General tab, change the Wikipedia language to any of 300+ available options. Your selection applies instantly without restarting. The Appearance tab lets you adjust text size for comfortable reading, toggle between light and dark themes, or modify the article column width for optimal display on your monitor.
Manage Wike
Update Wike
Check for updates regularly to receive bug fixes, new features, and security patches. For repository installations, Wike updates alongside your system packages during regular maintenance. If you are upgrading to a new Fedora release, see our DNF5 system upgrade guide.
sudo dnf upgrade --refreshTo check if a Wike update is available without installing all system updates:
dnf check-update wikeFor Flatpak installations, update Wike specifically or all Flatpak applications:
sudo flatpak update com.github.hugolabe.WikeAfter updating, verify the new version:
flatpak info com.github.hugolabe.Wike | grep VersionRemove Wike
To remove Wike installed via DNF along with any unused dependencies:
sudo dnf remove wike
sudo dnf autoremove
The autoremove command cleans up libraries and dependencies that DNF installed alongside Wike but that other packages no longer need.
For Flatpak installations:
sudo flatpak uninstall com.github.hugolabe.WikeAfter removing Wike, clean up unused Flatpak dependencies like shared runtimes and libraries that other applications don’t need:
Preview what will be removed before proceeding. This command shows which runtimes and extensions no installed application still needs:
flatpak uninstall --unused --dry-runIf the preview shows only unused components, proceed with removal:
sudo flatpak uninstall --unusedTo completely remove Wike’s user data including bookmarks, reading history, and preferences:
Back up this directory before deletion if you want to preserve your bookmarks or reading history. Copy it to another location with
cp -r ~/.var/app/com.github.hugolabe.Wike/ ~/wike-backup/before proceeding:
rm -rf ~/.var/app/com.github.hugolabe.Wike/Conclusion
You now have Wike installed with full Wikipedia access and GNOME desktop integration. Whether you chose the AppStream repository for system-integrated updates or Flatpak for faster releases and sandboxing, you learned how to verify the installation, launch the application, and customize language and display settings. Test the GNOME desktop search integration by opening Activities and typing a topic to see Wikipedia results appear instantly alongside your files. For daily research workflows, bookmark frequently referenced articles and switch to dark mode in Preferences for comfortable evening reading. Update Wike regularly through your chosen installation method to receive new features and security patches.

Formatting tips for your comment
You can use basic HTML to format your comment. Useful tags currently allowed:
<code>command</code>command<strong>bold</strong><em>italic</em><blockquote>quote</blockquote>