

HandBrake stands out as a versatile, open-source video transcoder, widely recognized for its ability to convert various video formats with remarkable efficiency. This guide will demonstrate how to install HandBrake on Linux Mint 21 or 20, ensuring you can leverage this powerful tool on your Linux system with ease. Renowned for its user-friendly interface and broad range of features, HandBrake is an essential tool for professionals and enthusiasts in video editing and conversion.
Key Features of HandBrake:
- Format Versatility: Converts videos from nearly any format, including both common and obscure ones.
- Device Compatibility: Offers preset profiles for different devices, ensuring optimized playback.
- Video Editing Tools: Includes basic video editing features like cropping, filtering, and subtitle support.
- Quality Optimization: Allows fine-tuning of video quality and size, catering to various storage and bandwidth needs.
- Batch Conversion: Supports batch processing for converting multiple files simultaneously.
As you install HandBrake on Linux Mint, you’ll find its interface intuitive and robust, making it an ideal choice for your video transcoding needs. The following sections will guide you through the installation process, providing detailed steps to ensure a smooth and successful setup on your Linux Mint system.
Install HandBrake on Linux Mint 21 or 20 via APT
Step 1: Update Linux Mint Before HandBrake Installation
Before installing HandBrake, it is essential to update your Linux Mint system. This ensures all existing packages are up to date, preventing any conflicts during installation.
To update your system, run the following commands:
sudo apt update
sudo apt upgrade
Step 2: Install HandBrake via APT Command on Linux Mint
Option 1: Install HandBrake with Default Linux Mint Repository
HandBrake is available in the default repository, making the installation process straightforward. However, the version in the default repository may not always be the latest.
To install HandBrake using the default repository, execute the following command:
sudo apt install handbrakeOption 2: Install HandBrake with PPA on Linux Mint
The second method to install Handbrake on Linux Mint is to utilize the LaunchPAD PPA by Panda Jim. First, import the PPA with the following command:
sudo add-apt-repository ppa:ubuntuhandbook1/handbrake -yFor best practice, do a quick apt update to refresh the packages cache:
sudo apt updateLastly, install or upgrade your existing default APT installation with the following command:
sudo apt install handbrakeInstall HandBrake via Flatpak and Flathub on Linux Mint 21 or 20
Another option for installing HandBrake is using the popular package manager Flatpak. Flatpak should already be installed on your Linux Mint desktop by default.
Step 1: Enable Flathub for HandBrake on Linux Mint
To enable Flathub, execute the following command in your terminal:
sudo flatpak remote-add --if-not-exists flathub https://flathub.org/repo/flathub.flatpakrepoStep 2: Install HandBrake via Flatpak on Linux Mint
Begin the HandBrake installation using the following Flatpak command:
flatpak install flathub fr.handbrake.ghb -yLaunch HandBrake on Linux Mint 21 or 20
After completing the installation using either method, you can launch HandBrake in several ways.
For users who prefer using the terminal, run the following command:
handbrakeIf you installed HandBrake using Flatpak, use this command instead:
flatpak run fr.handbrake.ghbFor desktop users, launch HandBrake by navigating to the following path:
Taskbar > Sound & Video > HandBrake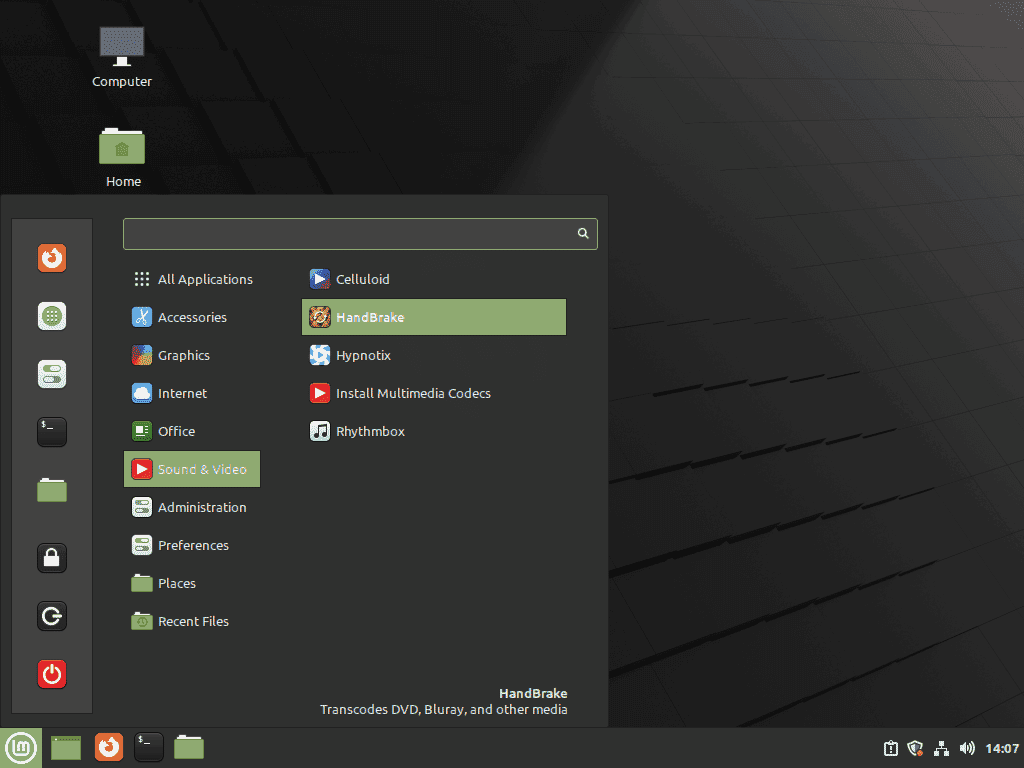
First-Time Tips with HandBrake on Linux Mint 21 or 20
Now that you have HandBrake installed on your Linux Mint system, it’s time to explore some tips and tricks for using the application effectively. This section will guide general usage, customizations, and other helpful tips.
General HandBrake Tips with Linux Mint
- Presets: HandBrake has many built-in presets catering to different devices and platforms. These presets are designed to simplify video conversion by providing optimized settings for specific use cases. To access presets, click the Presets button in the top right corner of the HandBrake window.
- Preview: Before starting the video conversion process, previewing the output is a good idea to ensure that your chosen settings will produce the desired result. HandBrake offers a built-in preview feature that allows you to see a short clip of the output video. To use this feature, click the Preview button in the top toolbar.
- Queue: HandBrake’s queue feature lets you add multiple videos for batch processing, which can save time when working with numerous files. To add a video to the queue, click the Add to Queue button after selecting the desired settings for that video.
HandBrake Customizations with Linux Mint
- Resolution and Aspect Ratio: HandBrake allows you to adjust the output video’s resolution and aspect ratio. To change these settings, navigate the Dimensions tab and select the desired values in the Width and Height fields. You can also choose between cropping options to remove black bars or unwanted video parts.
- Video Filters: HandBrake includes several video filters that can help enhance video quality or remove artifacts, such as deinterlacing, denoising, and deblocking. To apply a filter, go to the Filters tab and select the desired filter and its settings.
- Subtitle Support: HandBrake enables you to add, remove, or burn subtitles into the video. To manage subtitles, click the Subtitles tab and choose the appropriate options. HandBrake supports various subtitle formats, including SRT, SSA, and VobSub.
Other HandBrake Tips with Linux Mint
- Save Custom Presets: Using the same settings frequently, you can create custom presets to streamline your workflow. To create a custom preset, click the Presets button and select Save New Preset. Give your preset a name and configure its settings as desired. Your custom presets will appear under the User Presets section.
- Activity Log: HandBrake maintains an activity log that records information about the encoding process, such as start and end times, encoding settings, and any errors or warnings. The activity log can help troubleshoot issues or understand the details of your encoding tasks. Click the Activity Log button in the top toolbar to access the activity log.
Experiment with different settings and customizations to find the perfect balance between quality, file size, and encoding speed for your specific needs.

Additional Commands & Tips for HandBrake on Linux Mint 21 or 20
Update HandBrake on Linux Mint
Updates should appear in notifications, but if these fail to show sometimes, it is recommended to check using the terminal regardless; use one of the following commands to check for updates.
APT Update Method for HandBrake on Linux Mint
sudo apt updateFlatpak Update Method for HandBrake on Linux Mint
flatpak updateRemove (Uninstall) HandBrake From Linux Mint
If you no longer need HandBrake, you can uninstall it using the appropriate command based on your installation method:
APT Remove Method for HandBrake on Linux Mint
For APT installations, use the following command to remove HandBrake:
sudo apt remove handbrakeFlatpak Remove Method for HandBrake on Linux Mint
flatpak remove --delete-data fr.handbrake.ghb -yConclusion
Installing HandBrake on Linux Mint is straightforward, whether you use the APT repository, the PPA, or Flatpak. Each method has advantages but provides access to this powerful video transcoding tool. Following the steps outlined in this guide, you can quickly install, update, and uninstall HandBrake on your Linux Mint system, ensuring you always have the latest features and improvements at your fingertips.