
TeamViewer, a renowned remote access and support software, has revolutionized the way we interact with computers across distances. This guide will demonstrate how to install TeamViewer on Rocky Linux 9 or 8, offering a seamless method to bridge the gap between remote and local computing. Known for its robust performance and security features, TeamViewer stands out as a tool of choice for professionals and casual users alike. In the following sections, we’ll delve into the installation process, but first, let’s highlight some key features of TeamViewer:
- Remote Control and Access: Enables control of computers remotely, perfect for IT support and accessing your PC from anywhere.
- Cross-Platform Compatibility: Supports various platforms, including Windows, macOS, Linux, and mobile operating systems.
- Secure Data Channels: Employs end-to-end encryption, ensuring data security during remote sessions.
- File Transfer: Allows easy transfer of files between connected devices.
- Multi-User Support Sessions: Facilitates collaborative work, enabling multiple users to join a session.
- High Performance: Offers high-speed connections with quality performance, even with low bandwidth.
Transitioning into the technical aspect, installing TeamViewer on Rocky Linux is straightforward. We’ll guide you through each step, ensuring a smooth and efficient setup. Whether you’re an IT professional, a business user, or someone looking to assist a friend or family member remotely, the upcoming instructions will cater to your needs, simplifying what might initially seem like a daunting task.
Install TeamViewer on Rocky Linux 9 or 8
Step 1: Update Rocky Linux Before TeamViewer Installation
Before you continue, your system must ensure all existing packages are up to date to avoid system conflicts.
sudo dnf upgrade --refreshStep 2: Import TeamViewer RPM
Next, import the TeamViewer repository and using a text editor such as Nano to create and open the file.
sudo nano /etc/yum.repos.d/teamviewer.repoNext, copy and paste the following.
[teamviewer]
name=TeamViewer - $basearch
baseurl=https://linux.teamviewer.com/yum/stable/main/binary-$basearch/
gpgkey=https://linux.teamviewer.com/pubkey/currentkey.asc
gpgcheck=1
repo_gpgcheck=1
enabled=1
type=rpm-md
Sometimes, I’ve noticed people copy and paste incorrectly, removing the $basearch from the content above. Copy it correctly; otherwise, you’ll encounter a 403 error. If you use the nano text editor shown in the tutorial, save the file with CTRL+O and exit with CTRL+X.
Step 3: Install TeamViewer via DNF Install Command
Next, proceed with installing TeamViewer using the following command.
sudo dnf install teamviewerFor new Linux users, the system will prompt you to import the GPG key. When you see this prompt, make sure to type Y to proceed.
Importing GPG key 0x0C1289C0:
 Userid     : "TeamViewer GmbH (TeamViewer Linux 2017) <support@teamviewer.com>"
 Fingerprint: 8CAE 012E BFAC 38B1 7A93 7CD8 C5E2 2450 0C12 89C0
 From       : https://linux.teamviewer.com/pubkey/currentkey.asc
Is this ok [y/N]:
Once installed successfully, you should see a similar output in your terminal.
Installed:
  libXScrnSaver-1.2.3-10.el9.x86_64                     minizip1.2-1.2.11-24.el9.x86_64
  teamviewer-15.37.3-0.x86_64                           xcb-util-image-0.4.0-19.el9.x86_64
  xcb-util-keysyms-0.4.0-17.el9.x86_64                  xcb-util-renderutil-0.3.9-20.el9.x86_64
  xcb-util-wm-0.4.1-22.el9.x86_64

Complete!
Troubleshooting GPG import on Rocky Linux 9
Rocky Linux 9. xx users will notice the following error when importing the GPG key. Rocky Linux 8.xx users should not receive this error.
warning: Signature not supported. Hash algorithm SHA1 not available.
Key import failed (code 2). Failing package is: teamviewer-15.37.3-0.x86_64
 GPG Keys are configured as: https://linux.teamviewer.com/pubkey/currentkey.asc
The downloaded packages were saved in cache until the next successful transaction.
You can remove cached packages by executing 'dnf clean packages'.
Please note that Rocky Linux 8 users do not need to do the above unless the error appears; this is only present in EL9 onwards.
The easiest method to fix this is to change the crypto policies and set the policy to LEGACY.
sudo update-crypto-policies --set LEGACYNext, reboot your system:
rebootLaunch TeamViewer on Rocky Linux 9 or 8
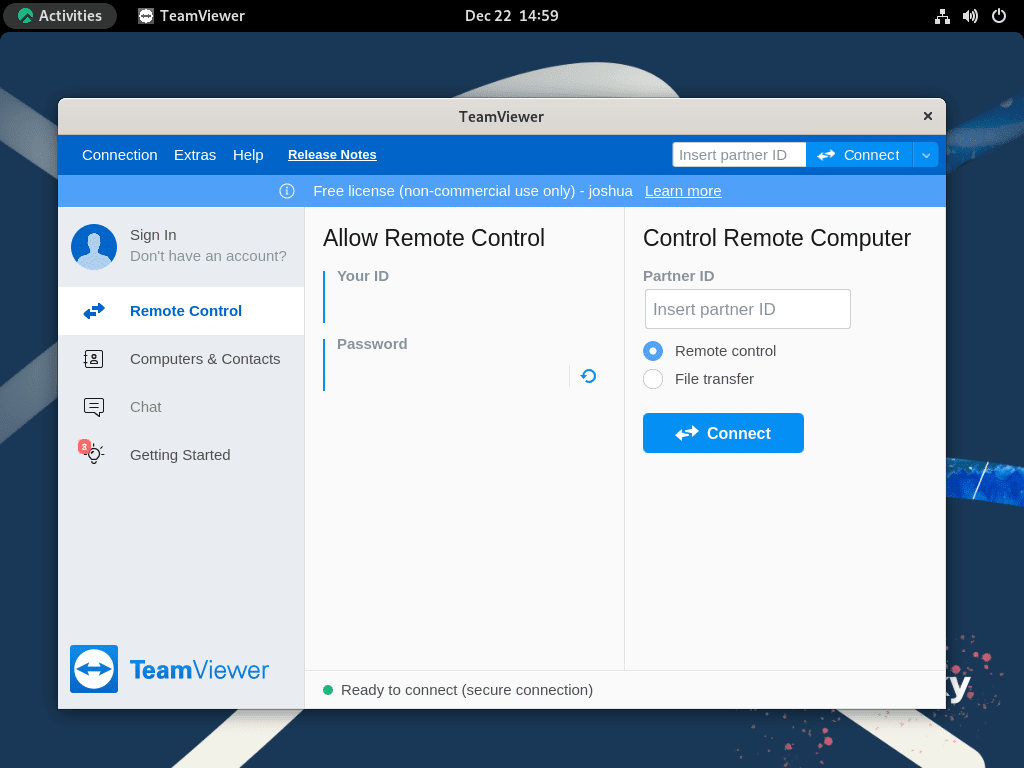
Now that you’ve installed the software, you can launch it in several ways. If you want to open it quickly from the command line terminal, use the following command:
teamviewerThe best way to use TeamViewer for desktop users who prefer not to use the command line terminal is to open the GUI of the application by following the path.
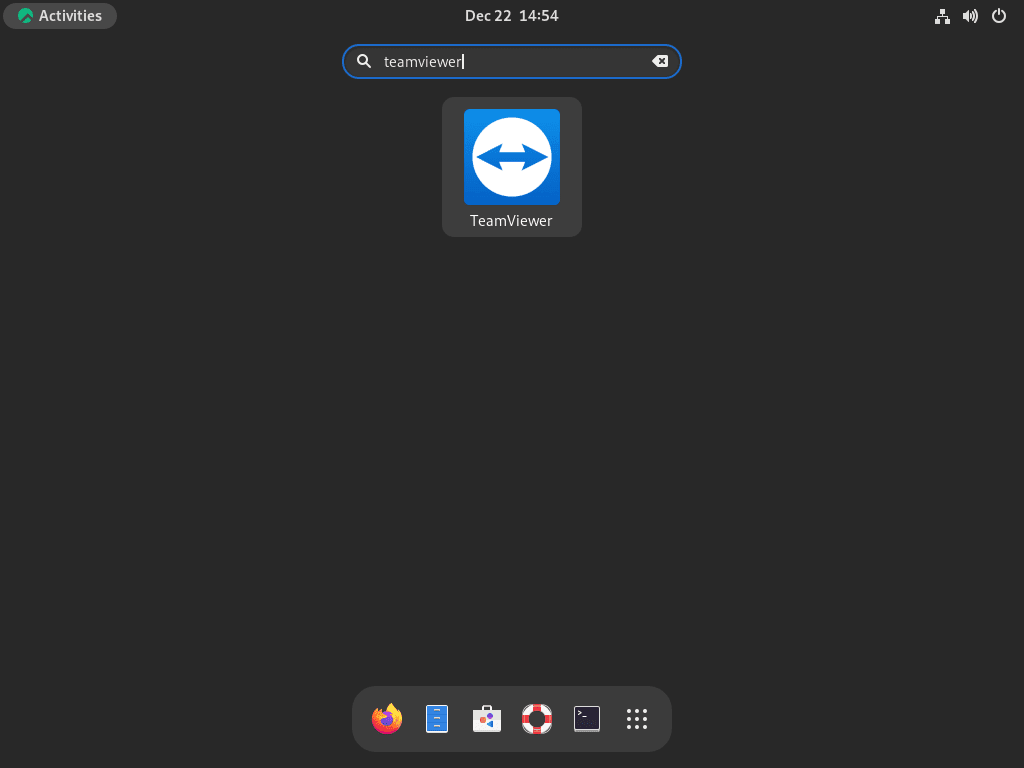
Activities > Show Applications > TeamViewer
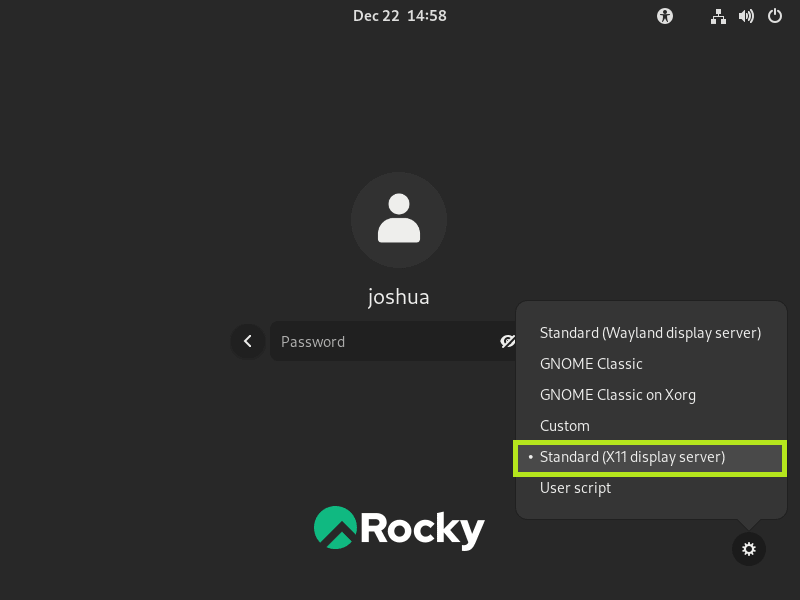
Most seasoned Rocky Linux and any Linux user know that Wayland is unsupported. You will notice a message saying Wayland is unsupported when you launch the TeamViewer GUI.
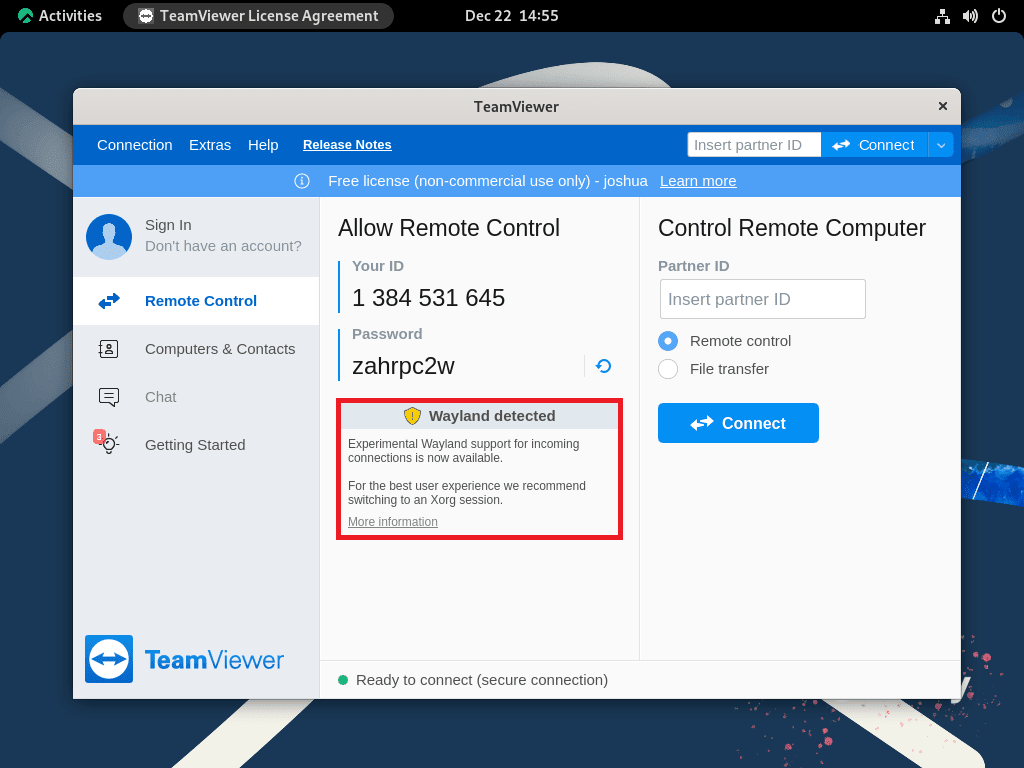
Sadly, the planned support for Wayland is not going to come soon. It has already been in discussion for a few years, so I would expect it to go in the next decade; so, for now, you will need to log out and log back in using the X11 display driver.
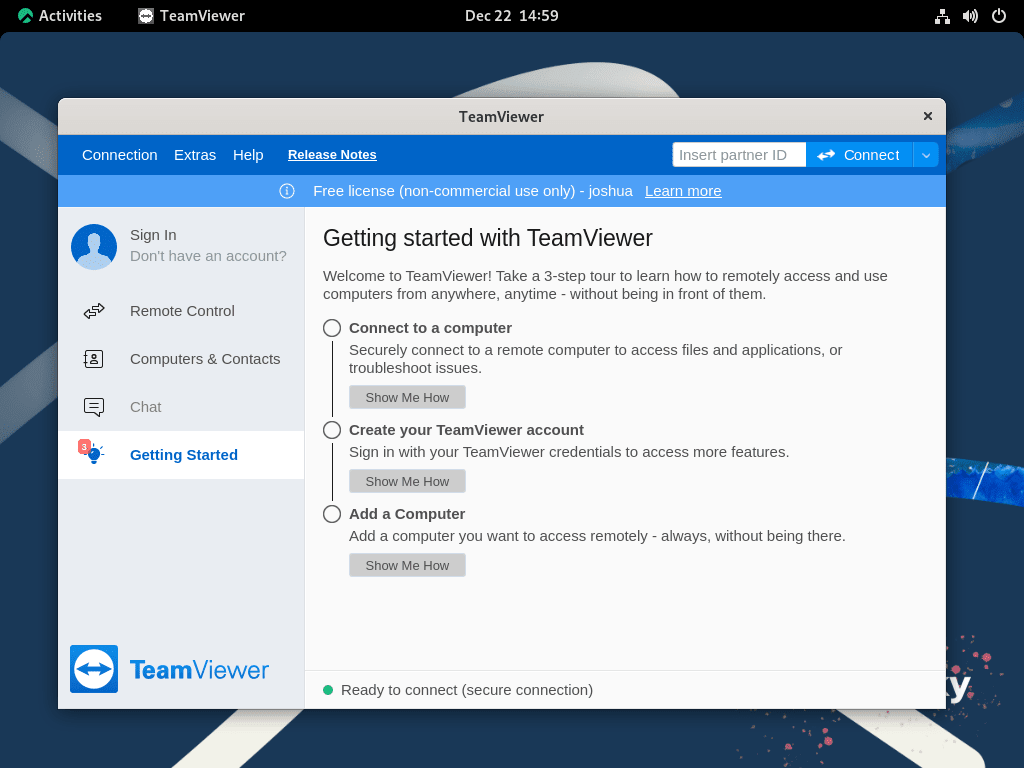
Once open, you can begin using TeamViewer using Xorg, and you can start connecting to a remote PC by getting its address or giving another user your own
Tips on Getting Started with TeamViewer on Rocky Linux 9 or 8
Now that you have installed TeamViewer on Rocky Linux, it’s time to delve into some advanced tips and practices to ensure a smooth experience. These guidelines are meticulously curated for Linux enthusiasts aiming to maximize their TeamViewer experience.
General Tips with TeamViewer on Rocky Linux
- Use the Latest Version: Make it a habit to check for updates frequently. Keeping TeamViewer up-to-date ensures optimal performance, security patches, and access to the latest features.
- Secure Your Sessions: Always use a strong, unique password for unattended access. Consider regularly changing this password.
- Connection Quality: If you experience lag or other quality issues, adjust the quality settings via
Extras > Options > Remote Control.
Customizations with TeamViewer on Rocky Linux
- Personalized Settings: Navigate to
Extras > Optionsto adjust settings to your liking. You can change display options, audio settings, and more from here. - QuickSupport: For occasional support without complete installation, consider using TeamViewer QuickSupport. This is a lightweight client without installation needs.
- Black & Whitelist: Control who can or cannot connect to your TeamViewer by setting up a whitelist or blacklist via
Extras > Options > Security.
Other Tips with TeamViewer on Rocky Linux
- Log Files: If you’re experiencing issues, TeamViewer log files can be invaluable for diagnostics. Locate them at
/var/log/teamviewer*. - Unattended Access: Set up unattended access for servers or systems you manage frequently. This way, you won’t require someone else to confirm the connection.
- Shortcut Creation: You might want to create a desktop shortcut or add TeamViewer to your favorite applications for quick access.
- Command-Line Usage: TeamViewer also comes with a suite of command-line tools. Dive into the man pages or the official documentation to understand its command-line potential.
Remember, while TeamViewer is intuitive, familiarizing yourself with its intricacies will greatly enhance your remote management capabilities. Happy remote controlling!
Additional TeamViewer Commands on Rocky Linux 9 or 8
Update TeamViewer on Rocky Linux 9 or 8
The software should update itself with your system packages for desktop users using the DNF package manager. Use the following command in your terminal for users who want to check manually.
sudo dnf update --refreshRemove TeamViewer From Rocky Linux 9 or 8
When you no longer want the video conference software installed on your system, use the following command to remove it.
sudo dnf remove teamviewerRemove the repository if you plan not to re-install the software again.
sudo rm /etc/yum.repos.d/teamviewer.repoConclusion
By now, you should understand how to install TeamViewer on Rocky Linux using the RPM file and installing the latest version. If you run into any GPG key errors, remember to fix them before proceeding. Lastly, don’t forget to change to X11 if you use Wayland!