Diving into the world of gaming on Debian? Steam is a premier gaming platform offering an unparalleled experience for enthusiasts. If you’re contemplating whether to install Steam on Debian 12 Bookworm or the older stable releases of Debian 11 Bullseye or Debian 10 Buster, this guide will shed light on the myriad of benefits that await you.
Steam’s Noteworthy Features for Debian Users:
- Expansive Game Collection: With Steam, Debian users access a vast library encompassing renowned titles and indie masterpieces, ensuring endless entertainment.
- Seamless Updates: Steam takes the hassle out of updates. It autonomously fetches and installs the latest patches, ensuring your games are always up-to-date and optimized.
- Engaging Community: Beyond gaming, Steam fosters a thriving community. Debian gamers can connect, discuss, share content, and even form interest-based groups, enriching the overall experience.
- Budget-Friendly Deals: Steam’s reputation for offering seasonal sales, weekend bargains, and bundled deals means Debian users can often snag their desired games at a fraction of the cost.
- Cross-Platform Gaming: With its broad platform support, including Debian, Windows, macOS, and certain consoles, Steam ensures you can enjoy your purchased games wherever you go.
- Creative Workshop: The Steam Workshop is a haven for Debian creators and modders, allowing the sharing and discovery of game modifications, custom content, and more.
- Secure Cloud Saves: Game progress is precious. With Steam’s cloud save, Debian users can rest easy knowing their progress is safely stored and accessible across devices.
- Immersive Big Picture Mode: For those seeking a console-esque experience on Debian, Steam’s Big Picture mode transforms your setup, making it compatible with TVs and game controllers.
Overall, Steam offers Debian users a comprehensive gaming ecosystem with features that enhance both the gaming and social experience. Whether you’re a casual gamer or a hardcore enthusiast, Steam on Debian promises a world of possibilities.
Now, let’s move into the central part of the guide on installing the software.
Steam Pre-installation Steps on Debian 12, 11 or 10
Step 1: Update Debian Before Steam Installation
Ensuring your Debian system is up-to-date before diving into Steam’s installation process is essential. This will help prevent any package conflicts during the Steam installation. To do this, follow the steps below:
Open a terminal window and run the following command to update all your system packages:
sudo apt update && sudo apt upgradeStep 2: Install Initial Steam Packages
Next, you need to install some additional packages that will assist in installing Steam on your Debian system. These packages are widely used and are commonly found on most Linux distributions. To install them, run the following command in your terminal:
sudo apt install software-properties-common apt-transport-https dirmngr ca-certificates curl -yThese packages provide essential functionality like secure APT, certificate management, and HTTPS support, ensuring a smooth installation process.
Step 3: Enable 32-bit Support (Optional)
For gamers who want to ensure compatibility with 32-bit and 64-bit games in Steam’s extensive library, enabling 32-bit support is helpful. This can be particularly useful for lower-end systems that often play 32-bit games, while high-powered systems won’t experience any negative impact from having the additional packages installed.
To enable 32-bit support on your Debian system, execute the following command in your terminal:
sudo dpkg --add-architecture i386By enabling 32-bit support, you can enjoy various games on your Debian system, regardless of their requirements. This ensures a more inclusive and versatile gaming experience.
Install Steam on Debian 12, 11, or 10 via APT
Option 1: Install Steam with the Default Repository
The first approach to installing Steam on your Debian system is to use the standard default repository. While this method is commonly recommended, it might not provide you with the most recent stable release of the Steam client. You can opt for the second method if you prefer the latest version.
To install Steam using the default repository, execute the following command in your terminal:
sudo apt install steam-installer steam-devices -yThis command installs the Steam installer and required device packages from the Debian default repository.
Option 2: Install Steam with Steam Repository
The second method of installing Steam on your Debian system involves importing the official Steam repository using the APT package manager. While this approach requires a few more steps, it ensures that you always have the latest and most up-to-date version of Steam directly from the source.
Follow the steps below to install Steam using the official repository:
Step 1: Import Steam GPG Key
First, you need to import the GPG key that verifies the authenticity of the Steam package installer. Run the following command in your terminal:
curl -s http://repo.steampowered.com/steam/archive/stable/steam.gpg | sudo tee /usr/share/keyrings/steam.gpg > /dev/nullThis command securely downloads the GPG key and stores it in your system’s keyring.
Step 2: Add STEAM APT Repository
Next, add the official Steam repository to your system by executing the following command:
echo deb [arch=amd64,i386 signed-by=/usr/share/keyrings/steam.gpg] http://repo.steampowered.com/steam/ stable steam | sudo tee /etc/apt/sources.list.d/steam.listThis command adds the official Steam repository to your APT sources list, ensuring you can install packages.
Step 3: Update APT Package Information
Now, update the APT package information to recognize the newly imported repository:
sudo apt updateThis command updates your system’s package information to include packages from the newly added Steam repository.
Step 4: Install the Steam Launcher on Debian via APT Command
Finally, install the Steam Launcher and its required dependencies with the following command:
sudo apt install \
  libgl1-mesa-dri:amd64 \
  libgl1-mesa-dri:i386 \
  libgl1-mesa-glx:amd64 \
  libgl1-mesa-glx:i386 \
  steam-launcher
This command installs the Steam Launcher and the necessary OpenGL libraries for 64-bit and 32-bit architectures.
Step 5: Verify the Installed Version
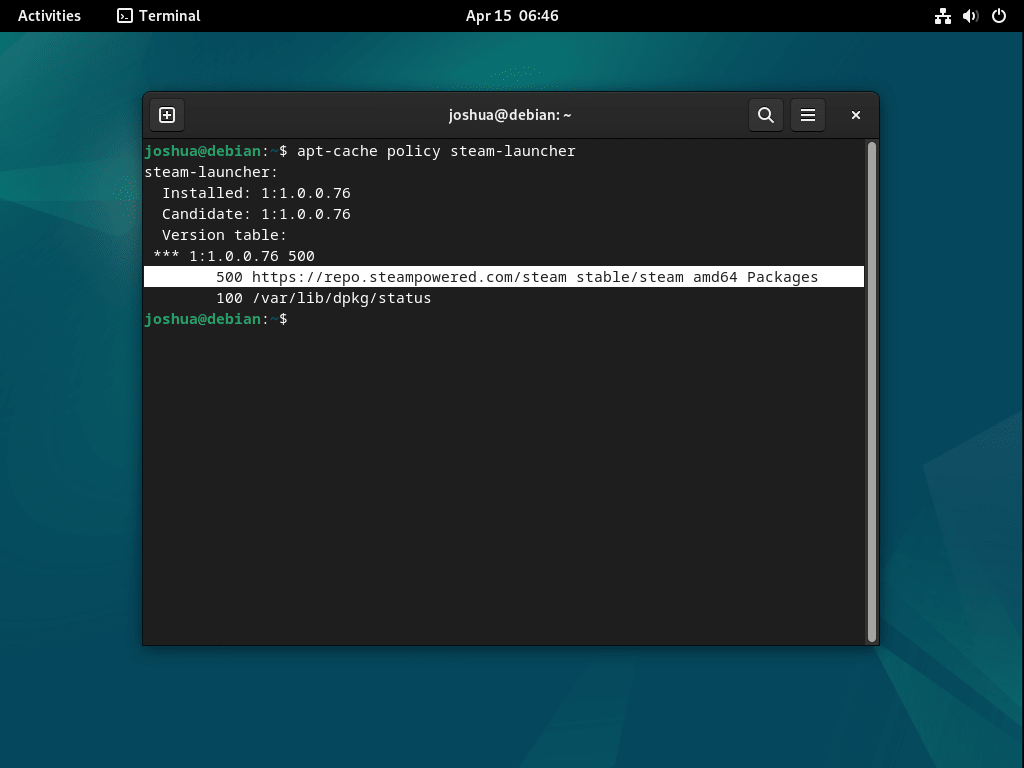
Check the version that was installed using the apt-cache policy command:
apt-cache policy steam-launcherThis command displays the installed version of the Steam Launcher, allowing you to verify that the installation was successful.
Fix Steam Extra Sources List
During the installation, Steam might have added two extra new sources.list files for the stable and beta client. These need to be removed, or you cannot update and upgrade your packages.
Step 1: List Extra Sources Lists
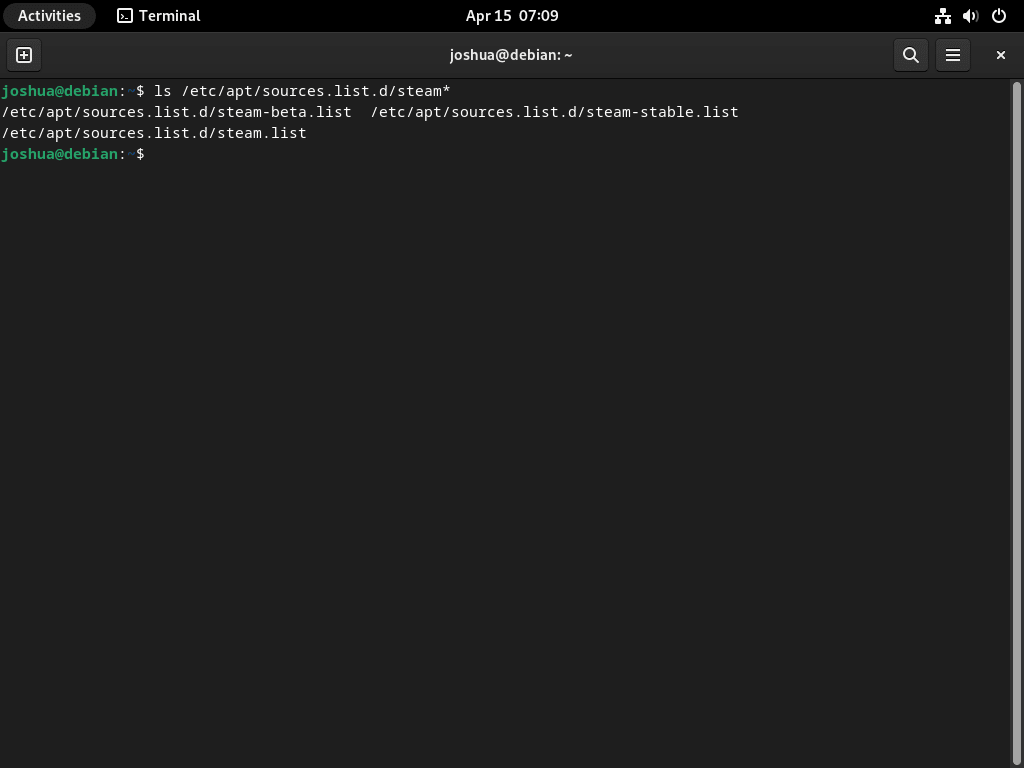
Run the following command to list all current Steam sources lists in your /etc/apt/sources.list.d repository:
ls /etc/apt/sources.list.d/steam*This command will display the Steam sources lists present in your /etc/apt/sources.list.d directory. The example output below shows the extra imported Steam sources on Debian:
Step 2: Remove Extra Sources
Now you see three files. At the beginning of this guide, you imported the “steam.list”, which is correct. The others are not necessarily incorrect but are redundant. While some users may think of using the beta version, it often lags behind the latest Steam stable version. Do not install Steam from beta unless an actual beta is available and announced.
In your terminal, run the following command to remove the excess sources:
sudo rm /etc/apt/sources.list.d/steam-beta.list
sudo rm /etc/apt/sources.list.d/steam-stable.list
This command will remove the unnecessary Steam sources lists from your system.
If you accidentally delete all three, re-import the sources list from this guide at the beginning of the section.
Next, run an APT update to ensure your package list works correctly now:
sudo apt updateThis command updates your system’s package information to reflect the removal of the extra Steam sources lists.
Now, your Debian system is set up correctly with the appropriate Steam sources list, and you can continue to update and upgrade your packages without any issues.
Launch Steam Client UI on Debian 12, 11 or 10
Once you have successfully installed the Steam Launcher using either method, there are several ways to start the Steam client on your Debian system.
First, if you’re already working in your terminal, you can quickly launch Steam with the following command:
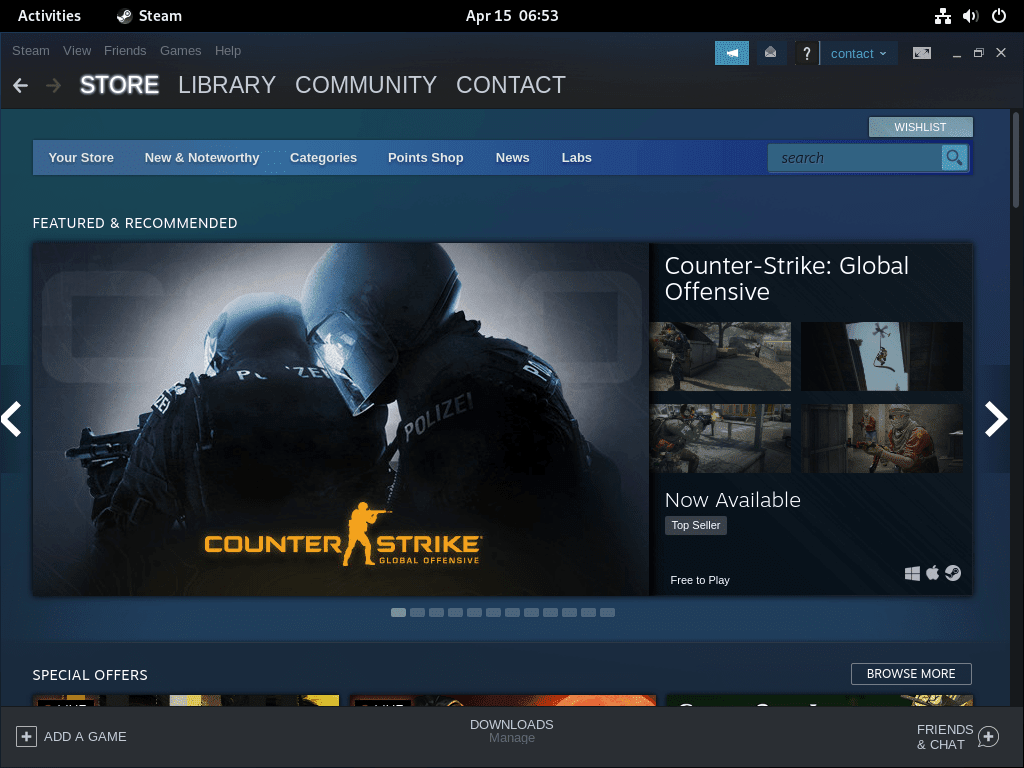
steamThis command will initiate the Steam client, and you’ll see the application’s window opening on your screen.
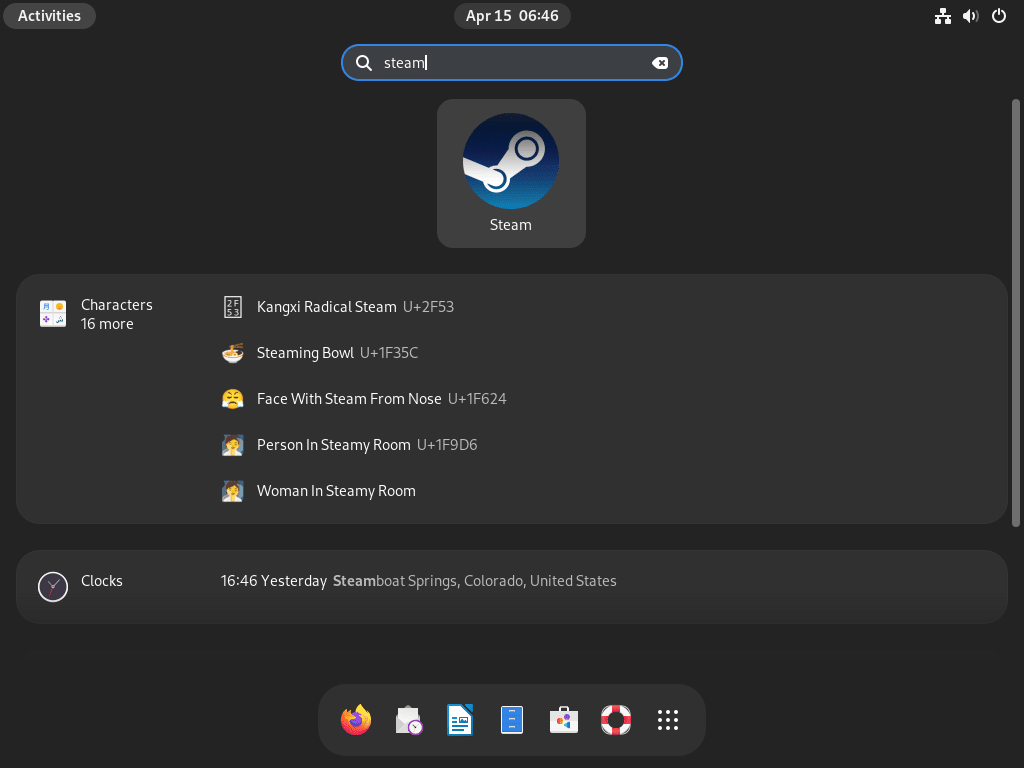
While the terminal option is helpful for quick access, most users prefer launching Steam directly from the desktop. To do this, follow the steps below:
- Click on the “Activities” or “Applications” menu, depending on your Debian desktop environment.
- Search for “Steam” in the search bar.
- Click on the “Steam” icon to launch the application.
First-time Setup
Step 1: Download and Update Steam Components
Once launched, you will observe a series of automatic pop-up windows showing Steam downloading and updating its components. Now, all you need to do is sit back and wait for the process to finish. For most users, this update should take only a few minutes.
Step 2: Log in or Create a New Steam Account
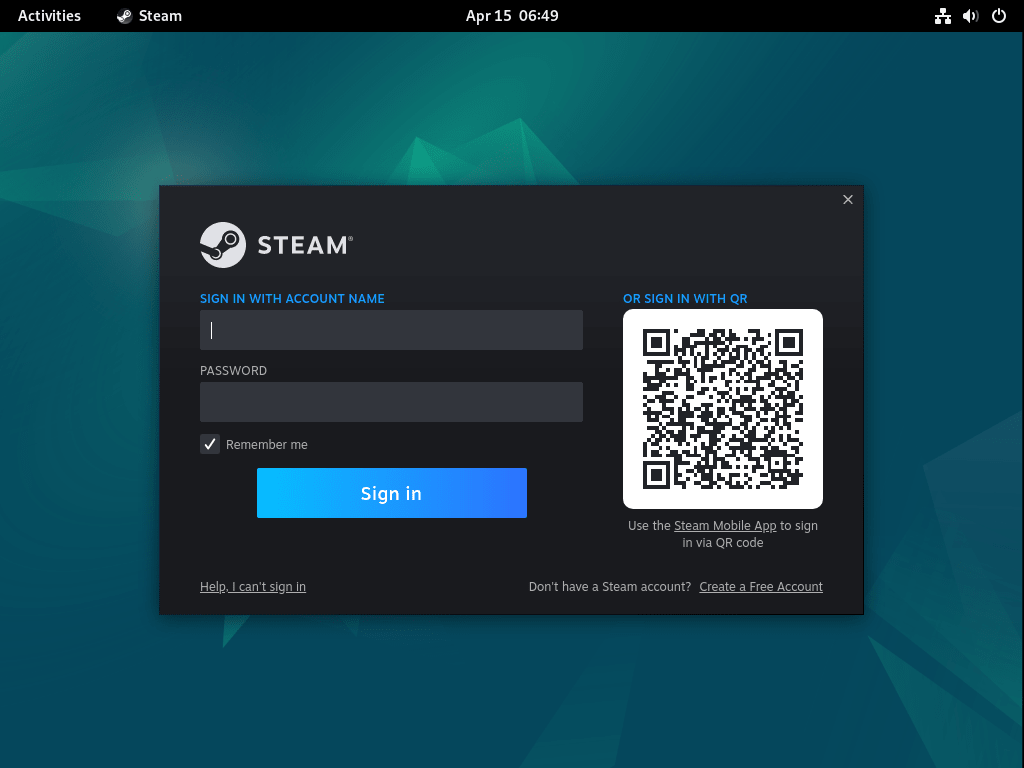
Upon completing the updates, you will be greeted with the Steam Launcher login window. Here, you can either sign in with your existing Steam account or create a new one if you don’t already have one.
Step 3: Enjoy Gaming on Steam
You can either sign in with your existing Steam account or create a new one if you haven’t already. Once you’ve logged in or registered, you have completed the Steam installation process and are ready to enjoy the platform’s vast array of games and features.
Tips for Getting Started with Steam on Debian 12, 11 or 10
Once you have installed and launched the Steam gaming client on your Debian system, there are several tips and tricks to enhance your gaming experience. This section will cover general tips, customization options, and other helpful advice to make the most out of Steam on Debian Linux.
General Steam Tips with Debian
- Enable Steam Play: Steam Play allows you to run Windows-only games on your Debian system using Proton, a compatibility layer based on Wine. To enable Steam Play, go to Steam > Settings > Steam Play > Check Enable Steam Play for all other titles > Select the latest Proton version from the dropdown menu > Click OK.
- Monitor System Performance: While gaming, monitoring your system resources is crucial. Use system monitoring tools like
htoporglancesto track CPU, RAM, and GPU usage. Installhtopwith the commandsudo apt install htoporglanceswithsudo apt install glances. - Optimize Game Settings: Adjust in-game settings to match your hardware capabilities for the best performance. Consider lowering graphics settings or resolution if you experience performance issues.
Steam Customization Tips with Debian
- Change Steam Skin: Personalize your Steam client by applying custom skins. Download Steam skins from trusted sources, then navigate to Steam > Settings > Interface > Select the skin you wish Steam to use > Click OK and restart Steam.
- Steam Big Picture Mode: For a console-like experience, switch to Big Picture Mode by clicking on the gamepad icon in the top-right corner of the Steam client. This mode is particularly useful for navigating Steam with a game controller.
Other Steam Tips with Debian
- Backup and Restore Games: To save bandwidth and time, you can backup your installed games by right-clicking on the game in your library > Backup Game Files. To restore a backup, go to Steam > Backup and Restore Games > Restore a previous backup > Locate the backup folder and follow the prompts.
- Family Sharing: Share your Steam library with friends or family members by enabling Family Sharing. Go to Steam > Settings > Family > Check Authorize Library Sharing on this computer > Select the user accounts you want to share with.
Additional Commands For Steam on Debian 12, 11 or 10
Update Steam on Debian
For the most part, Steam can self-update itself, but desktop users should see notifications of upgrades due to all methods using the APT package manager if set up correctly in your system settings. However, we recommend using the terminal command to check for updates occasionally to ensure you are grabbing all available updates, as the command will never fail.
First, check for updates by running the following command:
sudo apt updateIf any Steam updates are available or in the matter of any available updates for your system, run the following command:
sudo apt upgradeRemove Steam From Debian
To remove the Steam software from your system, follow the steps below.
Step 1: Uninstall Steam
Run the following command in your terminal to uninstall Steam:
sudo apt autoremove steam*Step 2: Remove the Repository
For users who installed the Steam APT repositories, remove the repository using the following command:
sudo rm /etc/apt/sources.list.d/steam*Step 3: Remove the Imported GPG Key
Lastly, for users who remove Steam and may switch between the Steam APT repository beta and stable, use the following command to remove the imported GPG key:
sudo rm /usr/share/keyrings/steam*Following these steps, you can update or remove Steam from your Debian system.
Conclusion
In conclusion, installing the Steam gaming client on Debian Linux is a straightforward process that enables you to access a vast library of games and features on your system. Following the instructions and commands in this guide, you can seamlessly install, update, and remove Steam as needed. Embracing the power of the Linux platform, you can now enjoy gaming on your Debian system with ease while benefiting from the stability and flexibility of your Linux environment.


