
For those navigating the digital realm of Pop!_OS and seeking a top-tier web browsing experience, this guide on “How to Install Google Chrome on Pop!_OS” is your beacon. Google Chrome is celebrated for its unparalleled speed, user-friendly interface, and suite of features that resonate with users worldwide. Its prowess, ranging from synchronized browsing to a vast extension ecosystem, makes it a browser of choice for many.
Diving deeper into what sets Google Chrome apart:
- Blazing Speed: Powered by the V8 JavaScript engine, Google Chrome promises one of the swiftest browsing experiences available today.
- Seamless Synchronization: With Chrome, your tabs, bookmarks, and history harmoniously sync across devices, ensuring a unified browsing journey.
- Extension Galore: The Chrome Web Store brims with extensions tailored to diverse needs, transforming Chrome from a browser to a versatile digital companion.
- Fortified Security: With features like safe browsing, sandboxing, and periodic updates, Google Chrome is a bulwark against potential web threats.
This guide will elucidate the steps to get Google Chrome up and running on Pop!_OS as we progress. Whether you lean towards the proprietary software PPA championed by the Pop!_OS team or the official APT repository from Google, we’ve got you covered. We’ll detail the installation process for the stable, beta, or developer (nightly) versions of Google Chrome. And for those who wish to explore further, we’ll discuss installing all three versions simultaneously, given their separate installations. By the guide’s end, you’ll be primed to harness the full capabilities of Google Chrome on Pop!_OS.
Understanding Google Chrome Browser Versions for Pop!_OS
To enhance your browsing experience, Google Chrome extends its offerings beyond just a single browser type. For Linux users on Pop!_OS, Google Chrome provides three distinct versions, each blending stability, security, and exposure to forthcoming features.
Stable Version
The Stable version of Google Chrome stands as the most trustworthy iteration. This browser variant is subjected to extensive testing by the Google development team, ensuring maximum stability. It comes devoid of any experimental features, making it the most secure. It is the go-to choice for those who value a seamless, uninterrupted browsing experience.
Beta Version
The Beta version of Google Chrome balances stability and the opportunity to try out upcoming features. It’s an ideal choice for users who like a sneak peek into the browser’s future without compromising significantly on the current stability. This version paves the way for a seamless transition into newer features, maintaining a secure browsing environment.
Unstable or Dev Version
Google Chrome’s Unstable or Dev version is for the trailblazers who enjoy being at the forefront of technology. This iteration is the first to receive new and possibly experimental features. Although it might not provide the stability of the Stable or Beta versions, the Dev version offers early access to enhancements and tools. It’s important to note that this version is most suitable for developers or tech-savvy users who can easily handle potential bugs or instability.
To sum it up, the versatility of Google Chrome shines in its multiple version offerings. Whether you’re a prudent user who prioritizes stability, an enthusiastic explorer eager for a sneak peek into the future, or a tech enthusiast keen to be at the forefront of browser technology, there’s a Google Chrome version just for you.
Section 1: Install Google Chrome via Pop!_OS Repository
For individuals looking for a straightforward and efficient way to access Google Chrome, you’ll be pleased to know that the Pop!_OS proprietary software branch offers the stable version of this browser by default. This resource generally updates swiftly, providing an excellent option for users requiring the utmost stability from their browser. If you only need access to the default stable version of Google Chrome, this method is the most efficient and user-friendly for installation.
To proceed, enter the following command in your terminal:
sudo apt install google-chrome-stableUpon execution, this command initiates downloading and installing the latest stable version of Google Chrome. For those who prefer using various versions, including the more experimental beta or unstable version, alternative resources such as the Google APT repository or Flatpak might be more fitting.
Section 2: Install Google Chrome on Pop!_OS via Google APT Repository
Step 1: System Update and Package Installation
To begin the installation of Google Chrome, it’s crucial to ensure your Pop!_OS system is up to date. Updating your system can help avoid compatibility issues during the installation.
Open the terminal and run this command to update your system:
sudo apt update && sudo apt upgradeAfter your system update, you should install some essential packages. These packages, namely software-properties-common, apt-transport-https, ca-certificates, and curl, are necessary for the installation process.
Use this command to install the necessary packages:
sudo apt install software-properties-common apt-transport-https ca-certificates curl -yIt’s important to note that your system might already have some of these packages installed.
Step 2: Adding the Google Chrome Repository
The next step in the installation process involves adding the Google Chrome repository to your system. This begins with importing the GPG key used for the digital signature.
To import the GPG key, run this command:
curl -fSsL https://dl.google.com/linux/linux_signing_key.pub | sudo gpg --dearmor | sudo tee /usr/share/keyrings/google-chrome.gpg >> /dev/nullThis command ensures the GPG key is imported successfully, a necessary step for the installation process. Skipping this step can lead to an unsuccessful installation.
After successfully importing the GPG key, you can now add the Google Chrome repository by running this command:
echo deb [arch=amd64 signed-by=/usr/share/keyrings/google-chrome.gpg] http://dl.google.com/linux/chrome/deb/ stable main | sudo tee /etc/apt/sources.list.d/google-chrome.list
To finalize the addition of the Google Chrome repository, update the repository list with the apt update command. This updates the apt sources list with the newly added Google Chrome repository.
Use this command to update your repository list:
sudo apt updateStep 3: Installing Google Chrome on Pop!_OS
Once you’ve updated your system, installed the required packages, and added the Google Chrome repository, you can install Google Chrome.
The installation process starts with the stable version. This version is usually the most secure and reliable for everyday use, thanks to extensive testing.
To install the Google Chrome stable version, run this command:
sudo apt install google-chrome-stableIn addition to the stable version, Google Chrome offers Beta and Unstable versions. These versions are not recommended for day-to-day use due to potential instability. However, tech enthusiasts looking to try new features might find these versions interesting.
To install the Google Chrome Beta or Unstable versions, run one of these commands:
For Beta:
sudo apt install google-chrome-betaFor Unstable:
sudo apt install google-chrome-unstableRemember, it’s possible to install all three versions of Google Chrome simultaneously, as they operate as separate installations. However, for a smooth browsing experience, most users stick to the stable version.
Section 3: Google Chrome Installation via Flatpak and Flathub on Pop!_OS
Flatpak is a universal package management system designed to make applications operable across any Linux distribution. It encapsulates applications in isolated environments, effectively reducing potential conflicts with system libraries. Flathub, on the other hand, serves as a centralized repository for Flatpak applications. It provides an easy-to-navigate platform that hosts numerous applications ready for installation.
Step 1: Enabling Flathub
First, we must ensure the Flathub repository is active on your system. This step grants access to applications hosted on Flathub, including Google Chrome.
Activate the Flathub repository in your terminal using the command:
sudo flatpak remote-add --if-not-exists flathub https://flathub.org/repo/flathub.flatpakrepoThis command enables the Flathub repository in your Flatpak configuration. In turn, this action paves the way for various applications.
Step 2: Initiating the Google Chrome Installation
With the Flathub repository now enabled, you’re set to install Google Chrome. The flatpak install command will facilitate this operation.
Step 2.1: Installing the Stable Version of Google Chrome
The stable version of Google Chrome is generally recommended for daily use. It delivers a consistent browsing experience through well-tested and reliable features. Run the following command in your terminal to install the stable version:
flatpak install flathub com.google.Chrome -yStep 2.2: Installing the Unstable Version of Google Chrome
Google Chrome also offers an Unstable version aimed at users interested in experimenting with the latest features, accepting potential instability. If this is you, execute the following command in your terminal:
flatpak install flathub com.google.ChromeDevPlease be aware that the Flatpak and Flathub system does not provide a beta version of Google Chrome. Consequently, only the stable and unstable versions are available for installation using this method.
Section 3: Launching Google Chrome on Pop!_OS
With Google Chrome successfully installed on your Pop!_OS system, the next logical move is to start it. Depending on your preference and familiarity with either the command line or graphical user interface, there are multiple methods you can use to initialize Google Chrome.
Step 1: Using the Command-Line Interface
The command-line interface (CLI) method is the way to go for those adept with terminal interactions or running a headless server. Each version of Google Chrome installed has a distinct command for launching it.
Step 1.1: Launching Google Chrome Stable Version
To open the stable version of Google Chrome, the corresponding command is:
google-chromeStep 1.2: Launching Google Chrome Beta Version
To explore newer features undergoing testing, you might want to launch the beta version of Google Chrome. The respective command is:
google-chrome-betaStep 1.3: Launching Google Chrome Unstable Version
For those inclined towards experimenting with the latest but potentially unstable features, use the following command:
google-chrome-unstableStep 2: Using the Flatpak Method
The launch commands are slightly different if you installed Google Chrome using the Flatpak method.
Step 2.1: Launching Google Chrome Stable Version
The command to initiate the stable version of Google Chrome is:
flatpak run com.google.ChromeStep 2.2: Launching Google Chrome Unstable Version
To initiate the unstable version of Google Chrome, the command is:
flatpak run com.google.ChromeDevStep 3: Using the Graphical User Interface
If you’re a fan of a more visually focused method for launching applications, Google Chrome can be directly accessed from your desktop environment. Here are the steps to initiate Google Chrome via the GUI:
Step 3.1: Activate Activities
Depending on your Pop!_OS setup, initiating activities could be as straightforward as pressing the Super (Windows) key or selecting the Activities option typically found in the top-left corner of your screen.
Step 3.2: Access Applications
Having activated the activities overview, navigate to view all your installed applications by clicking on the “Show Applications” grid icon at the bottom of the screen.
Step 3.3: Launch Google Chrome
At this point, you should see an overview of all your applications. Search for the Google Chrome icon and click it to start the browser. If you’ve installed multiple versions (stable, beta, or unstable), each one will be listed separately, such as Google Chrome (Stable), Google Chrome (Beta), or Google Chrome (Unstable). Click on the desired version to initiate it.
Section 5: Getting Started with Google Chrome on Pop!_OS – Essential First-Time Use Tips
Stepping into the world of Google Chrome on Pop!_OS can be a thrilling experience, especially when you’re new to the environment. This section provides useful tips explicitly tailored for Linux users and specifically for those using Pop!_OS. These tips will help you get a head start on your journey with Google Chrome.
Tip 1: Exploring the Chrome User Interface
When you launch Google Chrome for the first time, take a few moments to familiarize yourself with the user interface. On the top right corner, you’ll notice the three-dot icon. This is your primary settings menu, which gives you control over bookmarks, history, settings, and more.
Tip 2: Signing into Google Account
Maximize your Chrome experience by signing in with your Google account. This action allows synchronization of your bookmarks, history, passwords, and settings across all devices using Google Chrome. Click on the profile icon in the top right corner and follow the sign-in prompts.
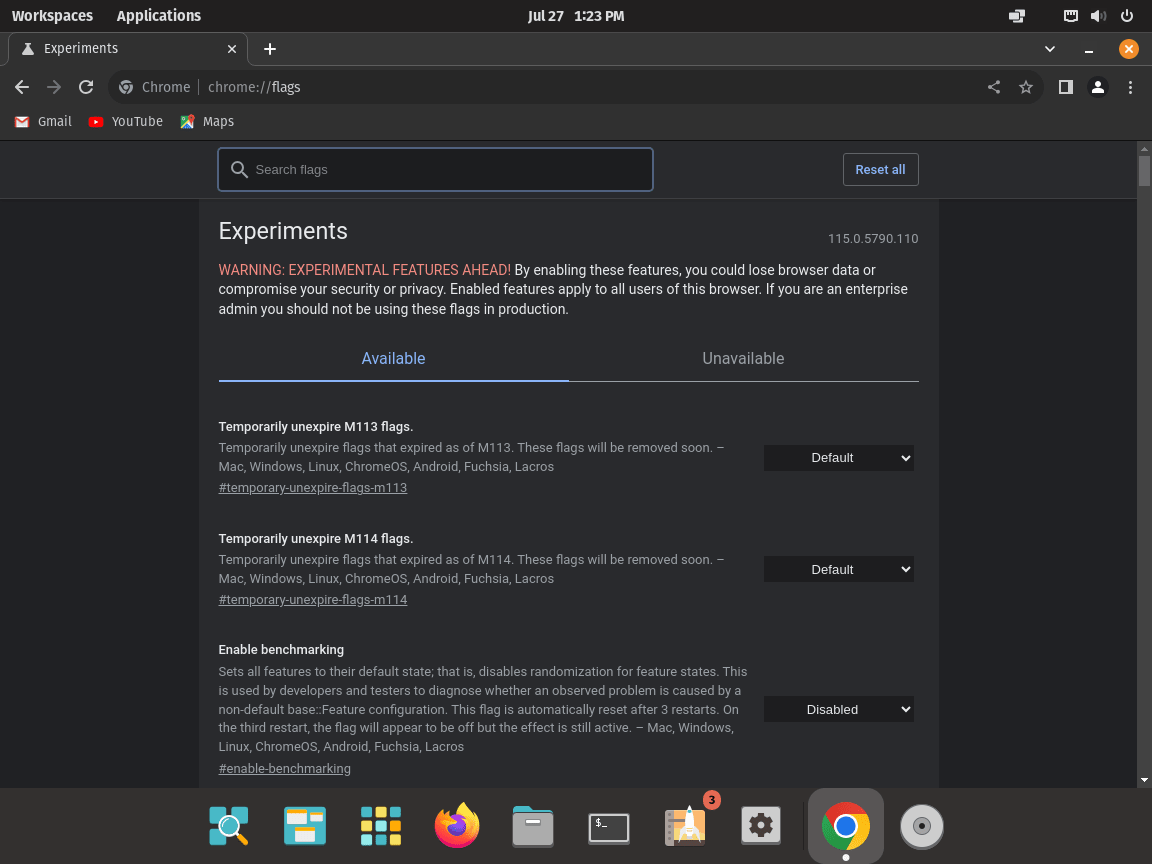
Tip 3: Making Use of Chrome Flags
Chrome Flags offer experimental features that aren’t part of the default Chrome experience. Access these features by typing chrome://flags in the address bar. Note that these are experimental features, so use them cautiously, as they can lead to instability.]
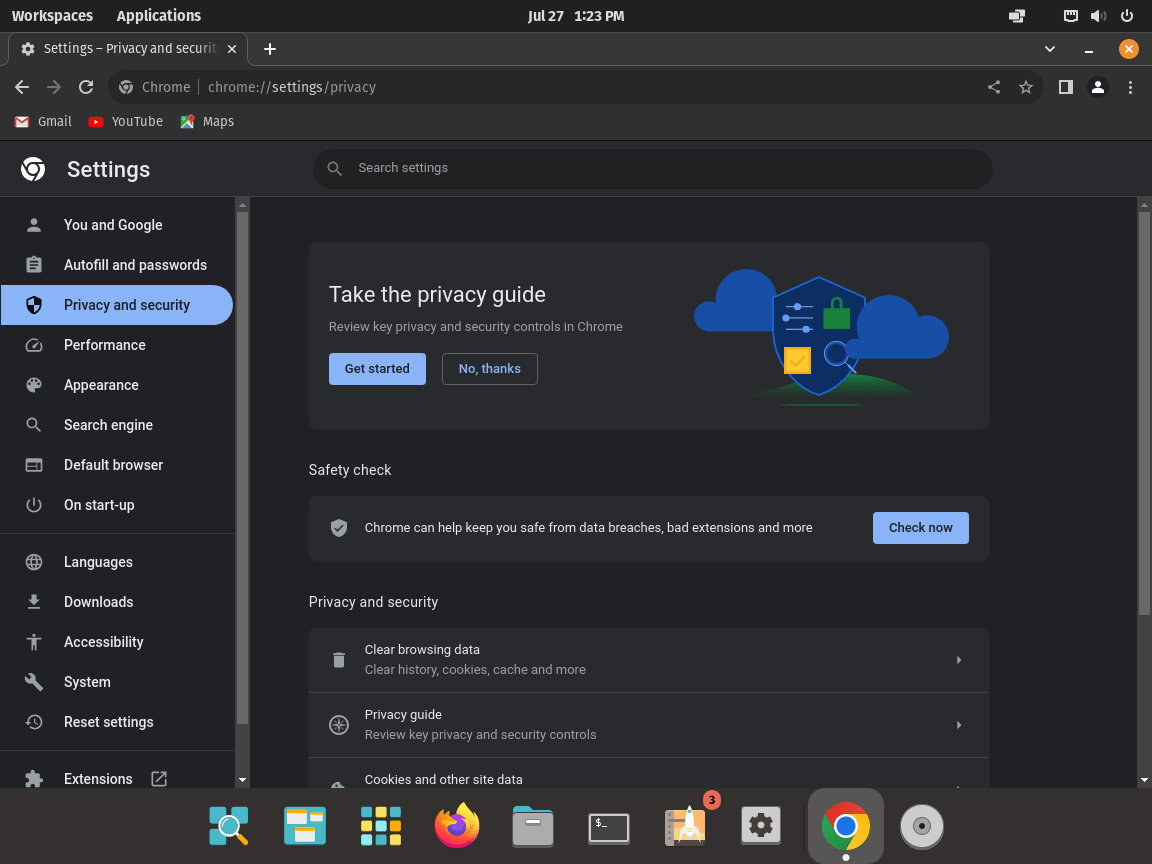
Tip 4: Configuring Privacy and Security Settings
Privacy and security are paramount in today’s digital age. Google Chrome has numerous settings to protect your data and maintain online security. Navigate to chrome://settings/privacy in the address bar to review and adjust your settings as necessary.
Tip 5: Using Chrome’s Task Manager
Just like your Pop!_OS system, Google Chrome has a built-in task manager that shows you what’s consuming your resources. Access it by right-clicking on the title bar and selecting ‘Task Manager.’ This tool is convenient when a tab or extension isn’t behaving as expected.
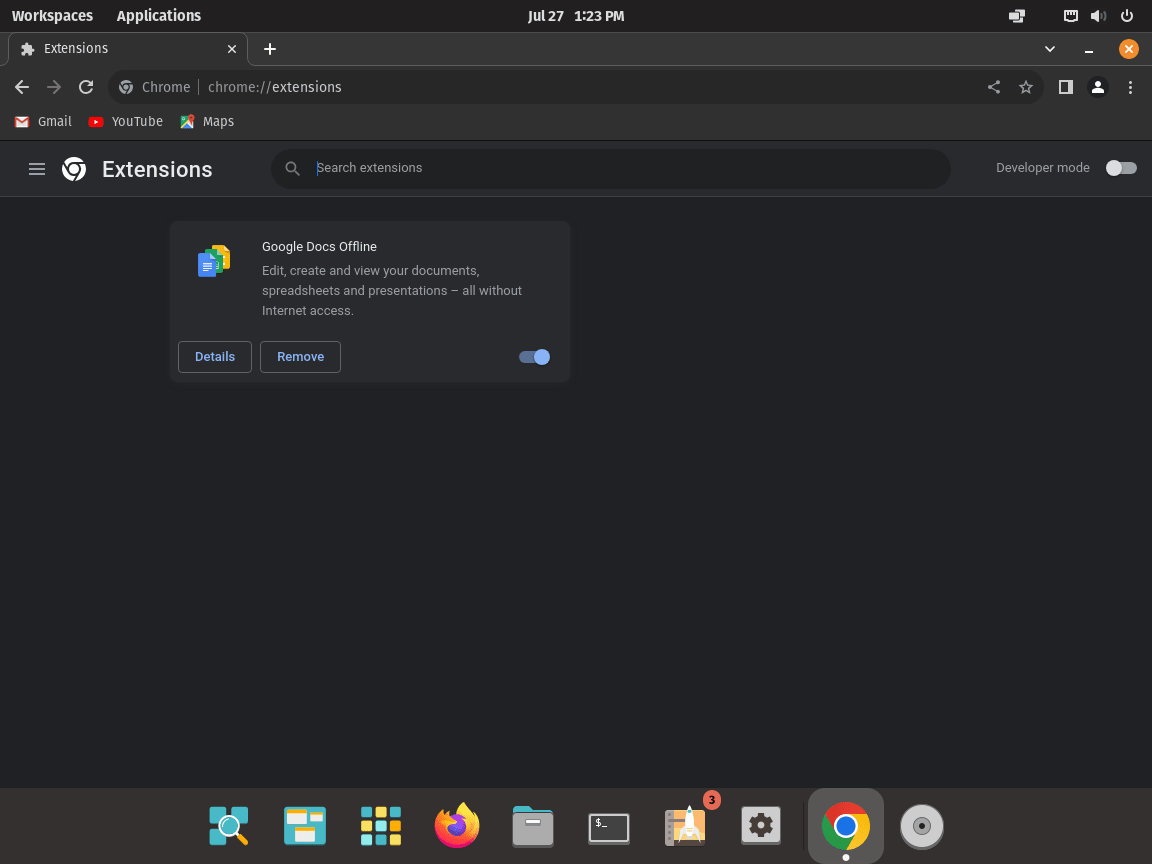
Tip 6: Setting Up Chrome Extensions
Chrome Extensions are small programs that add new features or functionality to your Chrome experience. You can browse and add extensions by navigating to chrome://extensions in the address bar or visiting the Chrome Web Store.
Tip 7: Making Use of Developer Tools
For those interested in web development, Google Chrome offers a set of Developer Tools. You can inspect elements on a webpage, debug JavaScript, and measure your website’s performance, among other things. Right-click on any webpage and select ‘Inspect’ to access these tools.
Section 6: Mastering Google Chrome Management on Pop!_OS
Navigating the management of Google Chrome on your Pop!_OS system is paramount for any user. The two key procedures we will delve into are updating and uninstalling Google Chrome.
Keeping Google Chrome Up-To-Date on Pop!_OS
Frequent updates from Google Chrome’s developers result in improved browser performance, remedied security vulnerabilities, and the introduction of new features. As a conscientious user, it’s crucial to stay updated to take full advantage of these upgrades.
Sometimes, the graphic user interface (GUI) may not provide effective notifications about these updates. This is where manual intervention comes in handy. Regularly check for updates using the terminal.
To keep Google Chrome and other installed packages up-to-date, execute the following command:
sudo apt update && sudo apt upgradeThis command first updates the package list (sudo apt update), followed by upgrading all upgradeable packages (sudo apt upgrade). If an update for Google Chrome is available, this command will include it.
If you’ve opted for installing Google Chrome via Flatpak, the following command will update all Flatpak-installed packages, Google Chrome included:
sudo flatpak updateRemoving Google Chrome Browser from Pop!_OS
As time passes, your browsing preferences might change, or you might need to clear up some system space. Removing Google Chrome from your Pop!_OS system is achievable with a few terminal commands for either situation.
If the stable version of Google Chrome is what you’re using, you can remove it with:
sudo apt remove google-chrome-stableFor beta or unstable version users, the removal commands are:
sudo apt remove google-chrome-betaor
sudo apt remove google-chrome-unstablePost uninstallation, removing the Google Chrome repository that was previously imported during the installation process is also recommended. This ensures the repository will no longer be used for package updates. To remove the Google Chrome list file from the sources.list.d directory, execute:
sudo rm /etc/apt/sources.list.d/google-chrome.listThe Flatpak Removal Method
For those who used Flatpak for the Google Chrome installation, the removal process differs slightly:
flatpak uninstall com.google.ChromeIf you’ve installed the unstable version:
flatpak uninstall com.google.ChromeDevThese commands will help you manage Google Chrome on your Pop!_OS system, ensuring you keep your browser updated and remove it when necessary. With this knowledge, you can be confident in your ability to manage Google Chrome effectively.
Section 7: Resolving Conflicts in Multiple Sources.list
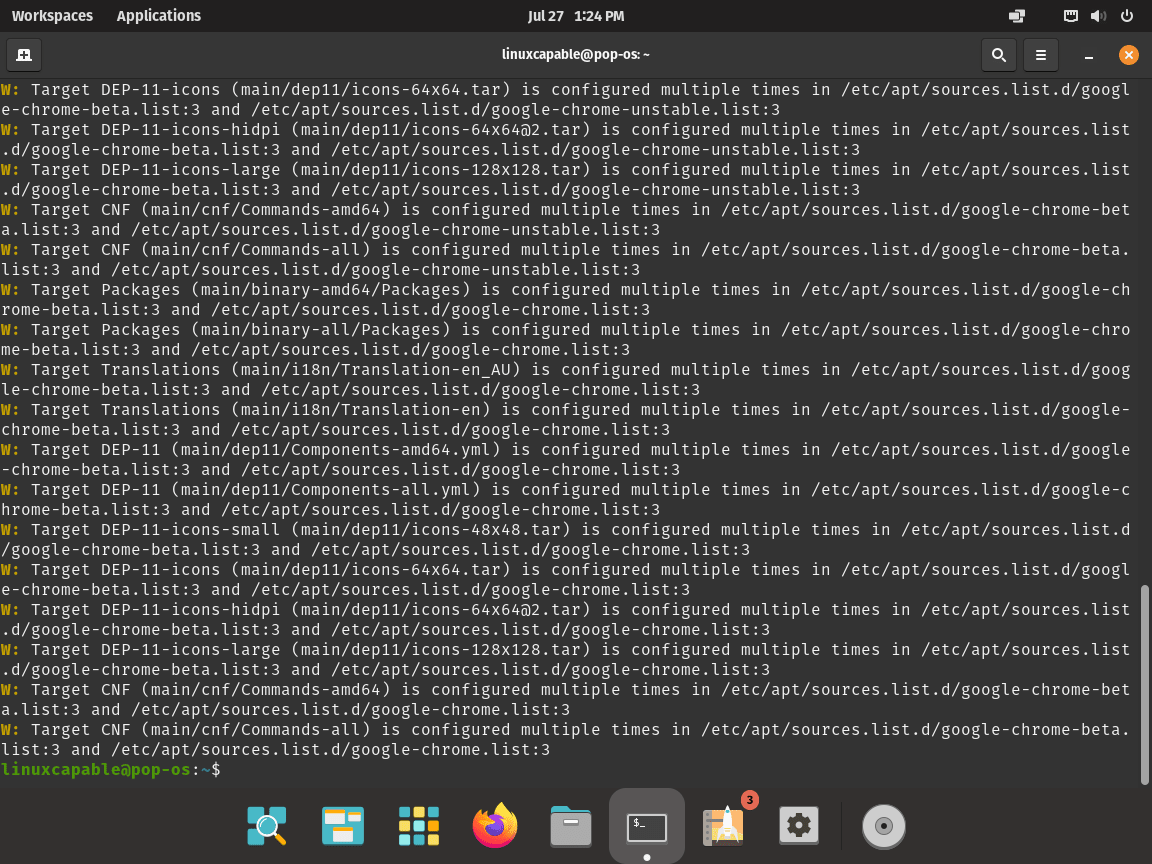
Handling multiple versions of Google Chrome on your Pop!_OS system can be intricate. Specifically, installing different browser versions, like stable, beta, and unstable releases, might face challenges. Each installation crafts its own source list file in the /etc/apt/sources.list.d/ directory. Consequently, this might cause conflicts during an apt update, as the system might encounter multiple source list files for Google Chrome and struggle to manage them suitably.
Let’s say you’ve installed Google Chrome’s stable release per our previous instructions and then tried the beta or developer versions. This could generate additional source list files and incite conflicts.
Example of Multiple Google Chrome Sources for Updates
Handling Source List Conflicts
The key to mitigating this issue lies in efficient source list file management. If you’ve pinpointed conflicts caused by beta or unstable Google Chrome releases, you can delete these source files using the terminal commands:
sudo rm /etc/apt/sources.list.d/google-chrome-stable.list
sudo rm /etc/apt/sources.list.d/google-chrome-beta.list
sudo rm /etc/apt/sources.list.d/google-chrome-unstable.list
These commands are designed to eliminate the source list files for stable, beta, and unstable Google Chrome releases and keep the original sources list file you imported in this guide.
Alternatively, you might want to start from scratch, removing all Google Chrome-related source list files, including the one for the stable release. This action creates a fresh start and avoids any potential conflicts. To remove all Google Chrome source list files, use the command:
sudo rm /etc/apt/sources.list.d/google-chrome*Restoring the Correct Google Chrome Repository
After all Google Chrome repositories have been removed, it’s time to reestablish the initial setup by adding the correct repository back. Execute the following command:
echo deb [arch=amd64 signed-by=/usr/share/keyrings/google-chrome.gpg] http://dl.google.com/linux/chrome/deb/ stable main | sudo tee /etc/apt/sources.list.d/google-chrome.listThis command recreates the Google Chrome source list file and points it to the stable release. For good measure and as an effective practice, run an APT update to make sure the system acknowledges the newly added repository:
sudo apt updateTactfully managing your source list files can neutralize conflicts between different Google Chrome versions. This technique allows your system to keep receiving updates for all installed versions of the browser uninterrupted due to the addition of duplicate Google Chrome source lists.
Conclusion on installing Google Chrome on Pop!_OS
In conclusion, installing various versions of the Google Chrome browser on your Pop!_OS system can be straightforward if you follow the correct steps. Whether you are seeking to utilize the stable, beta, or developer (nightly) versions, the procedures outlined in this guide are designed to enable a seamless installation experience. Moreover, by efficiently managing the source list files, potential conflicts arising from having multiple Google Chrome versions can be effectively mitigated.
As a final recommendation, always keep your system updated and maintain the correct Google Chrome repositories to prevent interference during updates.