

Beekeeper Studio is a modern, open-source SQL editor and database manager that supports MySQL, MariaDB, PostgreSQL, SQLite, SQL Server, and other popular databases. The platform provides an intelligent SQL editor with syntax highlighting and auto-completion, alongside data visualization tools that make query results easier to analyze. Whether managing database migrations across development environments, optimizing queries for production systems, or analyzing datasets for reporting, Beekeeper Studio handles secure connections with SSL support and works across Windows, macOS, and Linux with a consistent interface.
This guide covers installing Beekeeper Studio on Ubuntu using the official APT repository, Flatpak, or Snap. You will set up a database management tool for working with multiple database systems from a unified interface, configure secure SSH tunnels for remote databases, and execute queries with intelligent auto-completion.
Why Choose Beekeeper Studio for Database Management?
Beekeeper Studio is a modern, open-source SQL editor and database management interface, not a database server. It connects to existing MySQL, MariaDB, PostgreSQL, SQLite, or SQL Server instances to execute queries and manage schemas. The interface provides autocomplete suggestions based on your database structure, tabbed editing for multiple queries, and visual data grids for sorting and filtering results.
Compared to DBeaver, Beekeeper Studio offers faster startup times and lower memory usage. The interface is simpler than pgAdmin’s enterprise-focused design, making it more approachable for beginners. Unlike MySQL Workbench’s single-database focus, Beekeeper Studio supports multiple database types through one tool, making it useful for developers working with local databases, data analysts switching between database engines, and DevOps teams inspecting schemas quickly.
Security features include SSH tunnel support for remote database connections through bastion hosts, SSL/TLS certificate validation for encrypted connections, and SSH key authentication to avoid storing passwords. The connection manager saves credentials through your system’s native keyring (GNOME Keyring on Ubuntu), and query history stays local without cloud synchronization that might expose sensitive data.
Installation Methods Comparison
Ubuntu offers three ways to install Beekeeper Studio, each with different trade-offs:
| Method | Version | Auto-Updates | Best For |
|---|---|---|---|
| APT Repository | Latest (5.5.5) | Yes, via apt upgrade | Users who prefer native packages and system-wide integration |
| Flatpak | Latest (5.5.5) | Yes, via flatpak update | Users wanting sandboxed apps with consistent behavior across distros |
| Snap | Latest (5.5.5) | Yes, automatic | Ubuntu users wanting simplest installation with automatic updates |
The Beekeeper Studio repository uses a universal package format that works on all current Ubuntu releases. Commands shown in this guide work identically regardless of your specific Ubuntu version.
Update Ubuntu System Packages
Before proceeding with the installation, first update your system packages to prevent potential conflicts.
sudo apt updateNext, upgrade any outdated packages:
sudo apt upgradeInstall Beekeeper Studio via APT Repository
The APT method installs Beekeeper Studio as a native Debian package with automatic updates through your system’s package manager. This approach integrates with Ubuntu’s standard update mechanisms and provides the most straightforward installation experience.
Import the GPG Key and Repository
Ubuntu’s default repositories do not include Beekeeper Studio, so you need to add the official repository. Install the required packages for repository management:
sudo apt install curl gpgImport the GPG key using curl to download and authenticate the repository:
curl -fsSL https://deb.beekeeperstudio.io/beekeeper.key | sudo gpg --dearmor -o /usr/share/keyrings/beekeeper.gpgSet appropriate permissions on the keyring file so APT can read it:
sudo chmod go+r /usr/share/keyrings/beekeeper.gpgCreate a DEB822 .sources file for the Beekeeper Studio repository:
The DEB822
.sourcesformat is supported on all current Ubuntu LTS releases (22.04 and newer). This format prevents duplicate repository warnings that can occur with legacy.listfiles.
sudo tee /etc/apt/sources.list.d/beekeeper-studio.sources <<'EOF'
Types: deb
URIs: https://deb.beekeeperstudio.io
Suites: stable
Components: main
Signed-By: /usr/share/keyrings/beekeeper.gpg
EOF
Refresh the package cache to make the new repository available:
sudo apt updateInstall the Package
Install Beekeeper Studio from the newly added repository:
sudo apt install beekeeper-studioVerify the Installation
Confirm the installation succeeded by checking the package version:
apt-cache policy beekeeper-studioExpected output:
beekeeper-studio:
  Installed: 5.5.5
  Candidate: 5.5.5
  Version table:
 *** 5.5.5 500
        500 https://deb.beekeeperstudio.io stable/main amd64 Packages
        100 /var/lib/dpkg/status
Install Beekeeper Studio via Flatpak
Flatpak provides sandboxed applications that run consistently across Linux distributions. This method is ideal if you prefer application isolation or need the same installation process regardless of your Ubuntu version.
Set Up Flatpak and Flathub
If Flatpak is not already installed, follow the Flatpak installation guide for Ubuntu to set up the Flatpak framework and add the Flathub repository. This typically takes under five minutes.
Once Flatpak is configured, install Beekeeper Studio from Flathub:
flatpak install flathub io.beekeeperstudio.StudioVerify and Launch
Confirm the installation by listing installed Flatpak applications:
flatpak list | grep -i beekeeperExpected output:
Beekeeper Studio io.beekeeperstudio.Studio 5.5.5 stable flathub system
Launch the Flatpak version from the terminal:
flatpak run io.beekeeperstudio.StudioFlatpak applications may have limited access to system directories due to sandboxing. If you need to access SQLite database files outside your home directory, you may need to grant additional permissions using Flatseal or the
--filesystemflag.
Install Beekeeper Studio via Snap
Snap packages are pre-installed on Ubuntu and provide automatic background updates. This method offers the simplest installation experience with minimal configuration.
sudo snap install beekeeper-studioVerify the installation:
snap list beekeeper-studioExpected output:
Name              Version  Rev  Tracking       Publisher         Notes
beekeeper-studio  5.5.5    450  latest/stable  matthew-rathbone  -
The Snap version has some limitations due to its security model. SSH key access requires manual permission: run
sudo snap connect beekeeper-studio:ssh-keys :ssh-keysto enable SSH tunneling. The Snap cannot access your SSH agent, so if you rely on agent-based authentication, use the APT or Flatpak version instead.
Launch Beekeeper Studio
Once installation completes, launch Beekeeper Studio from the terminal:
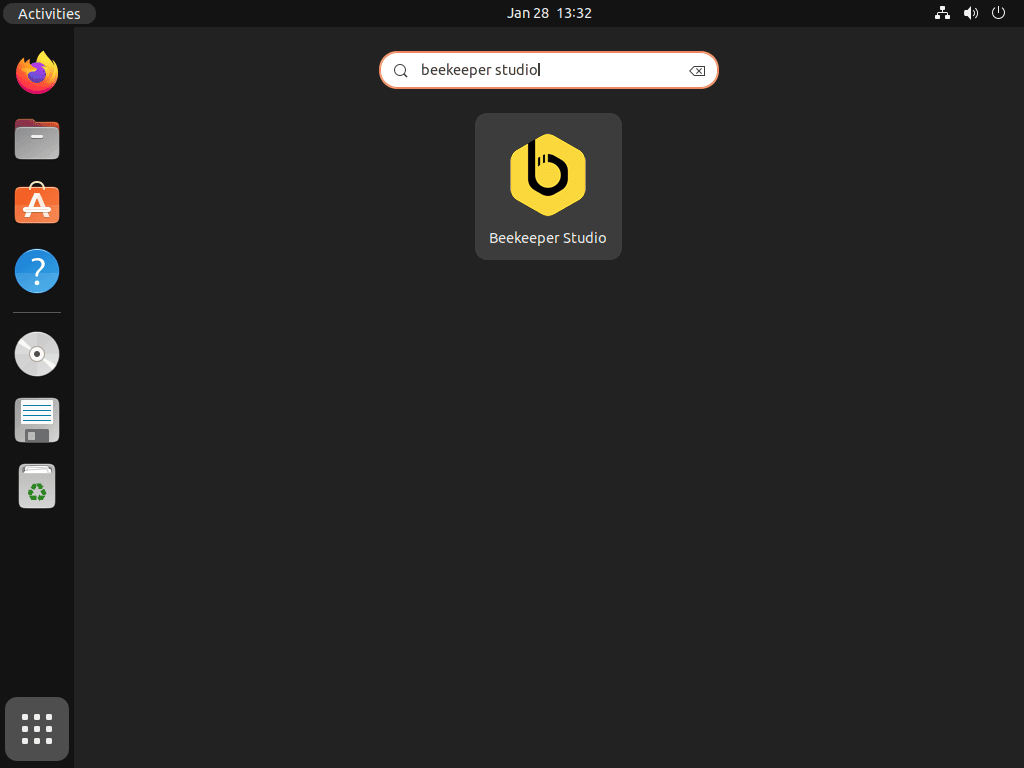
beekeeper-studioAlternatively, open the Activities overview, choose Show Applications, and click Beekeeper Studio to launch it from the desktop environment.
First-Time User Tips
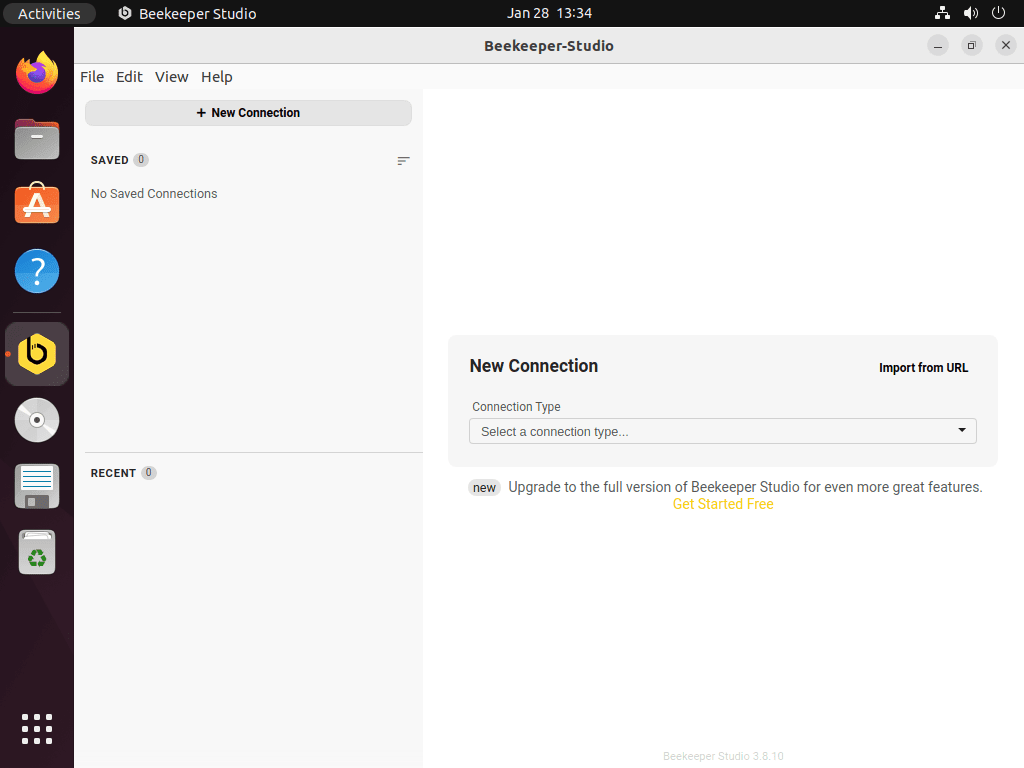
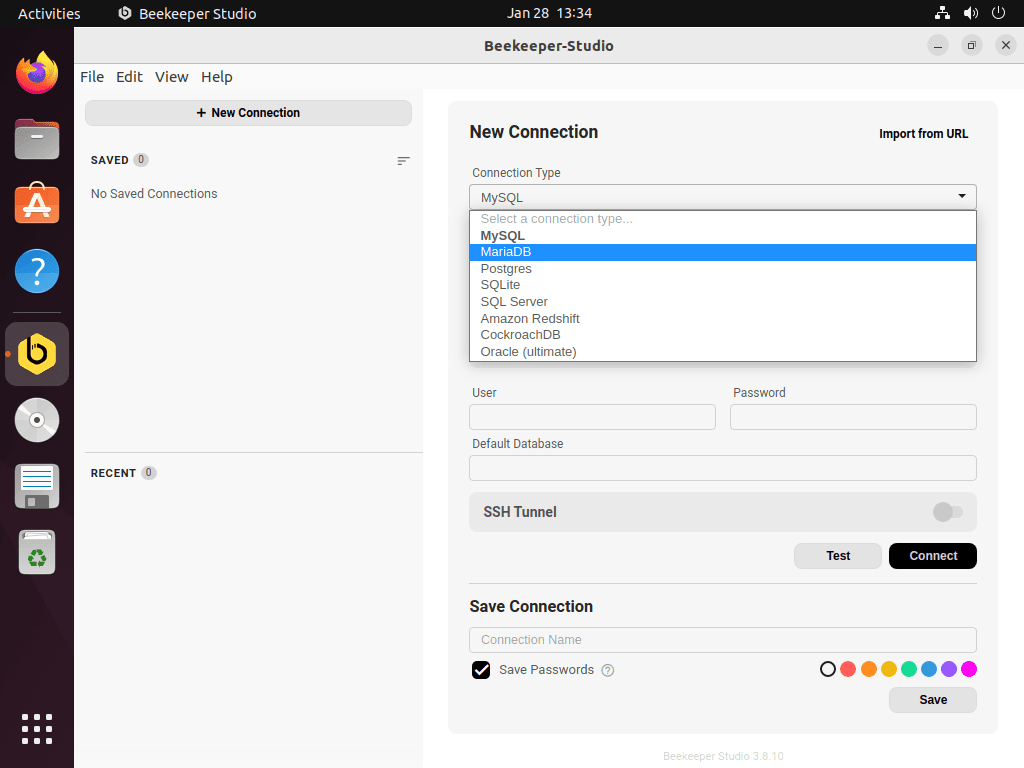
Creating Your First Database Connection
Click “New Connection” on the startup screen and select your database type. Common local connection settings include:
- MySQL: localhost:3306
- PostgreSQL: localhost:5432
- SQLite: Browse to your .db or .sqlite file
For remote databases blocked by firewalls, enable “SSH Tunnel” in the connection settings. Beekeeper Studio establishes encrypted tunnels automatically before connecting.
Query Execution and Result Navigation
Once connected, use these keyboard shortcuts for efficient query execution:
Ctrl+Space– Trigger autocompleteCtrl+Enter– Execute current queryCtrl+Shift+Enter– Execute all queriesCtrl+A– Select all result rows
Access query history in the left sidebar under the “History” tab. Star frequently used queries to create permanent bookmarks that survive application restarts.
Exporting Query Results
When you need to save query results, right-click the result grid and select “Export” to choose from these formats:
- CSV – Spreadsheet analysis
- JSON – API development and data pipelines
- SQL – INSERT statements for migration
Alternatively, use “Copy as” context menu options to copy selected rows directly to your clipboard in various formats without creating intermediate files.
Manage Beekeeper Studio
Update Beekeeper Studio
The update method depends on how you installed Beekeeper Studio:
APT installation:
sudo apt update && sudo apt upgrade beekeeper-studioFlatpak installation:
flatpak update io.beekeeperstudio.StudioSnap installation: Updates happen automatically in the background. To force an immediate update:
sudo snap refresh beekeeper-studioFor production systems managing sensitive database connections, consider implementing unattended upgrades to automatically apply security patches.
Remove Beekeeper Studio
The removal method depends on your installation type:
APT installation:
sudo apt remove beekeeper-studioTo also remove the repository and GPG key (if you do not plan to reinstall):
sudo rm /etc/apt/sources.list.d/beekeeper-studio.sources
sudo rm /usr/share/keyrings/beekeeper.gpg
Flatpak installation:
flatpak uninstall io.beekeeperstudio.StudioSnap installation:
sudo snap remove beekeeper-studioBeekeeper Studio stores connection settings and query history in
~/.config/beekeeper-studio/. Remove this directory if you want to delete all saved connections and preferences.
Troubleshooting Common Issues
Connection Failures
When connection attempts fail, verify the database service is running:
sudo systemctl status mysql
sudo systemctl status postgresql
Test network connectivity to remote databases with nc (netcat):
nc -zv hostname 3306
nc -zv hostname 5432
Confirm credentials work outside Beekeeper Studio by testing directly:
# MySQL
mysql -u username -p -h localhost
SHOW GRANTS;

# PostgreSQL
psql -U username -d database -h localhost
\du
SSL Certificate Errors
Disable certificate verification in Beekeeper Studio’s SSL settings only if you trust the database server. Production environments should use Let’s Encrypt or commercial certificates.
Alternatively, import CA certificate bundle to system trust store:
sudo cp ca-bundle.crt /usr/local/share/ca-certificates/
sudo update-ca-certificates
SSH Tunnel Connection Issues
When SSH tunnels fail to establish, test SSH connectivity independently:
ssh user@hostnameVerify SSH key permissions are correct (SSH refuses keys with overly permissive access):
chmod 600 ~/.ssh/id_rsa
chmod 644 ~/.ssh/id_rsa.pub
Check for port conflicts that might block the local tunnel endpoint:
sudo lsof -i :3306
sudo lsof -i :5432
Application Launch Failures
If the application fails to launch, reinstall the package to restore missing dependencies:
sudo apt install --reinstall beekeeper-studio
sudo apt --fix-broken install
For Wayland environments experiencing display issues, force X11 mode:
GDK_BACKEND=x11 beekeeper-studioFor headless systems, launch with Xvfb:
sudo apt install xvfb
xvfb-run beekeeper-studio
Enable Native Wayland Support
Ubuntu 24.04 and newer use Wayland by default. If the application appears blurry (especially with fractional scaling), enable native Wayland mode by creating a configuration file:
mkdir -p ~/.config
cat > ~/.config/bks-flags.conf <<'EOF'
--ozone-platform-hint=auto
--enable-features=UseOzonePlatform
EOF
Native Wayland mode is not enabled by default because some NVIDIA driver configurations have compatibility issues. If you experience crashes or rendering problems after enabling Wayland mode, delete the
~/.config/bks-flags.conffile to revert to X11 mode.
Repository GPG Key Issues
When repository verification fails, re-import the GPG key:
sudo rm /usr/share/keyrings/beekeeper.gpg
curl -fsSL https://deb.beekeeperstudio.io/beekeeper.key | sudo gpg --dearmor -o /usr/share/keyrings/beekeeper.gpg
sudo chmod go+r /usr/share/keyrings/beekeeper.gpg
sudo apt update
Check GPG key expiration date:
gpg --show-keys /usr/share/keyrings/beekeeper.gpgVerify keyring file permissions (should be readable by all users):
ls -la /usr/share/keyrings/beekeeper.gpgExpected permissions:
-rw-r--r-- 1 root root 1234 Jan 28 12:00 /usr/share/keyrings/beekeeper.gpg
Frequently Asked Questions
Yes. The Community Edition is free and open-source under the GPLv3 license. It includes core features like connecting to MySQL, PostgreSQL, SQLite, SQL Server, and MariaDB, plus the SQL editor with autocomplete and data export. The paid Ultimate Edition adds features like MongoDB support, cloud workspaces, Oracle Database connections, and team collaboration tools.
MongoDB support is available only in the paid Ultimate Edition. The free Community Edition supports relational databases: MySQL, MariaDB, PostgreSQL, SQLite, SQL Server, Amazon Redshift, CockroachDB, and TiDB. If you need MongoDB access, you can purchase a license through the Beekeeper Studio website.
Yes. SSH tunnel support is built into the connection settings. When creating a new connection, enable “SSH Tunnel” and provide the bastion host credentials. Beekeeper Studio establishes the encrypted tunnel automatically before connecting to the database. This feature works with both password and SSH key authentication.
Both are cross-platform database tools, but they target different users. Beekeeper Studio prioritizes startup speed, lower memory usage, and a cleaner interface suitable for developers who want quick database access. DBeaver offers more enterprise features like ER diagrams, data modeling, and broader database driver support. Beekeeper Studio is open-source under GPLv3, while DBeaver Community uses Apache 2.0 licensing.
Conclusion
Beekeeper Studio provides a modern, open-source SQL editor with support for MySQL, MariaDB, PostgreSQL, SQLite, and other major database systems through a unified interface. This guide covered three installation methods: APT for native package management, Flatpak for sandboxed isolation, and Snap for automatic updates. Your Ubuntu system now has a feature-rich database manager that handles secure SSH tunnels for remote access, query execution with intelligent autocomplete, and data export capabilities without subscription fees.

Formatting tips for your comment
You can use basic HTML to format your comment. Useful tags currently allowed:
<code>command</code>command<strong>bold</strong><em>italic</em><blockquote>quote</blockquote>