

This guide will demonstrate how to install Android Studio on Manjaro Linux using the command-line terminal and the yay AUR helper, ensuring you have the latest version and are set for future upgrades.
Android Studio stands as the official Integrated Development Environment (IDE) for Android app development, widely recognized for its comprehensive set of tools that cater to developers at every level. Its integration with Google’s Android operating system offers a seamless development experience, making it a preferred choice for professionals and hobbyists alike.
Key Highlights of Android Studio:
- Streamlined Android Development: Android Studio offers a user-friendly interface that simplifies the creation of Android apps, making it accessible for beginners while still powerful for experienced developers.
- Versatile Tools for Efficiency: It provides a comprehensive suite of tools for coding, debugging, and testing applications. This includes a rich code editor, a flexible build system, and a variety of emulators for different Android devices.
- Integration with Modern Technologies: The IDE is regularly updated to support the latest Android APIs, tools, and best practices, keeping your development process up-to-date.
- Advanced Code Analysis: Android Studio improves code quality and efficiency with features like lint tools for performance, usability, version compatibility, and other issues.
- Customizable and Scalable: The IDE allows customization of the development environment according to individual needs and scales up for large-scale app development projects.
- Robust Testing Framework: It includes an integrated testing framework for unit and UI tests, facilitating thorough testing of apps across a spectrum of devices and configurations.
- Direct Google Services Integration: Offers seamless integration with Google Cloud Platform, simplifying the incorporation of Google services within your apps.
Let’s now proceed to the detailed installation process on Manjaro Linux.
Install Android Studio on Manjaro Linux Using Yay AUR Helper
Update Manjaro Before Installing Android Studio
To ensure your Manjaro Linux system is secure and stable, update it with the following command:
sudo pacman -SyuThis step prepares your system for a seamless Android Studio installation.
Install Yay AUR Helper (Skip if Already Installed)
Android Studio installation on Manjaro requires the Yay AUR helper. First, ensure GIT is installed for cloning the Yay repository:
sudo pacman -S --needed --noconfirm base-devel gitThis efficient command installs all necessary packages, including GIT.
Clone the Yay Repository
Initiate the process by cloning the yay repository:
git clone https://aur.archlinux.org/yay-git.gitCloning is a critical step for building and installing Yay.
Relocate the Yay Repository
Organize your system by moving the cloned Yay repository to a standard location:
sudo mv yay-git /opt/Moving it to the /opt/ directory aligns with the Linux filesystem hierarchy standard.
Set Proper User Permissions for Yay-Git
Modify the ownership of the Yay-git directory to your current user:
sudo chown -R $USER:$USER /opt/yay-git
cd /opt/yay-git
This action avoids permission issues and bolsters system security.
Build the Yay Package
To build and install Yay, execute:
makepkg -siThe duration of this build process varies based on your system’s capabilities.
Install OpenJDK
Before you install Android Studio, you will also need to install Java, and the best method is to install the default preferred version for your Manjaro system using the following command:
sudo pacman -S jdk-openjdkNote: You can skip the above command if you already have Java installed and ready.
Install Android Studio with the Yay Command
Proceed to install Android Studio using Yay:
yay -S android-studio --noconfirmUnderstanding the –noconfirm Flag:
- Automates Confirmation: Bypasses manual confirmations during installation, streamlining the process.
- Speeds Up Installation: Reduces the need for manual inputs, expediting installation.
- Recommended for Experienced Users: Ideal for those accustomed to package installations.
- Caution for New Users: If you’re new to Manjaro, consider not using this flag for better control over the installation process.
Considerations for Android Studio Canary Version
Note on Android Studio Canary: For developers interested in the cutting-edge features of Android Studio, the Canary version is available in the AUR. However, it’s important to note that the Canary build is less stable and more experimental compared to the standard version. It’s typically used for testing new features. If you prefer stability for daily development, stick with the standard Android Studio build.
To install the Canary version, use the following command:
yay -S android-studio-canaryThis command will install the latest Canary version of Android Studio, allowing you to explore and test new functionalities before they are released in the stable version.
Launch Android Studio on Manjaro Linux
Open Android Studio via Command Line
To quickly access Android Studio on your Manjaro Linux system, use the terminal. Enter the following command:
android-studioThis command launches the main interface of Android Studio, allowing you to start developing immediately.
Launch Android Studio Canary via Command Line
For users who have installed the Canary version, use this command to launch:
android-studio-canaryThe Canary version provides access to the latest features and updates, suitable for advanced users and developers.
Access Android Studio from the Desktop Environment
Android Studio is accessible via the graphical interface in your desktop environment. The method varies depending on the environment:
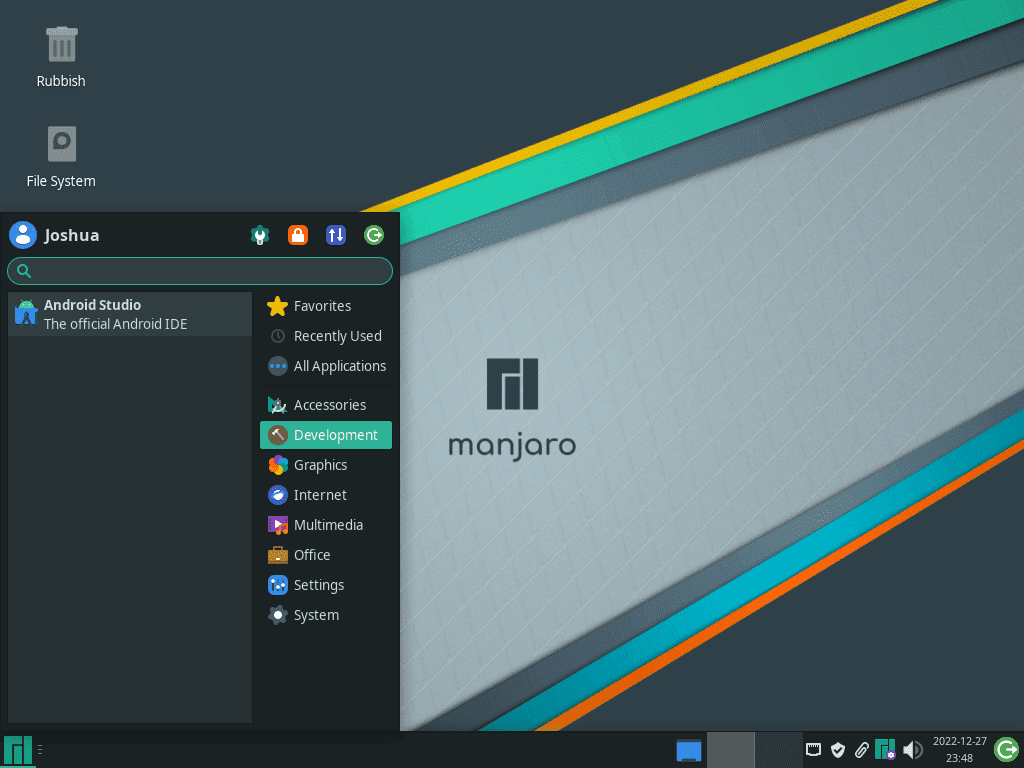
- For KDE and Xfce Users: Go to Taskbar > Development > Android Studio. In KDE and Xfce, Android Studio is typically found under the ‘Development’ category.
- For GNOME Users: Click on Activities, then select Show Applications. Find Android Studio, organized alphabetically among your installed applications. GNOME’s layout makes it easy to locate and launch Android Studio.
Upon opening Android Studio for the first time, the Setup Wizard appears. This wizard assists you in accepting End User License Agreements (EULAs), importing settings, and navigating through initial setup options.
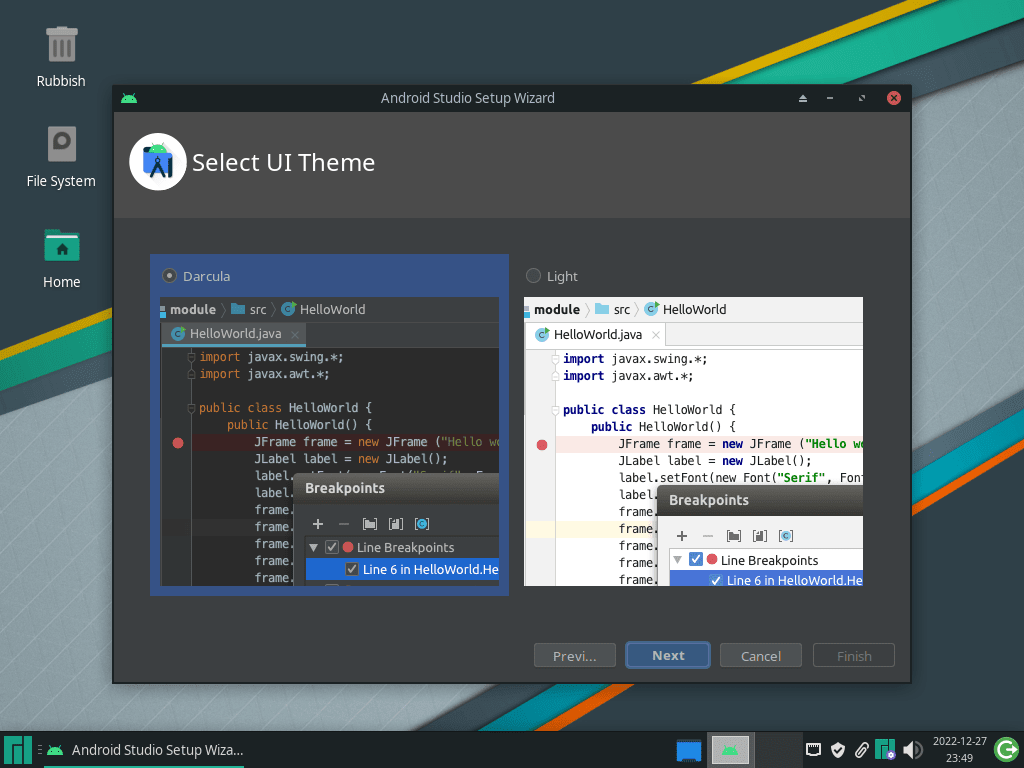
Completing this initial setup usually takes between 2 to 5 minutes. Note that this first-time configuration is mandatory. Once completed, you’ll reach the default start screen of Android Studio.
First-Time Tips for Android Studio on Manjaro Linux
Now that you have successfully installed Android Studio on Manjaro Linux, here are some first-time tips to help you get started with the software:
General Tips for Android Studio on Manjaro
- Familiarize with the Interface: Spend time understanding the layout. Key areas include the project view, editor window, and console.
- Learn the Keyboard Shortcuts: Android Studio offers numerous shortcuts to speed up development. Use
Ctrl + Qfor quick documentation andAlt + Insertfor generating code. - Manage SDKs Efficiently: Use the SDK Manager (
Tools > SDK Manager) to download and update Android SDKs and tools. - Optimize for Performance: Adjust memory settings in
Help > Edit Custom VM Optionsto enhance the IDE’s performance. - Explore Code Templates: Android Studio provides pre-defined templates (
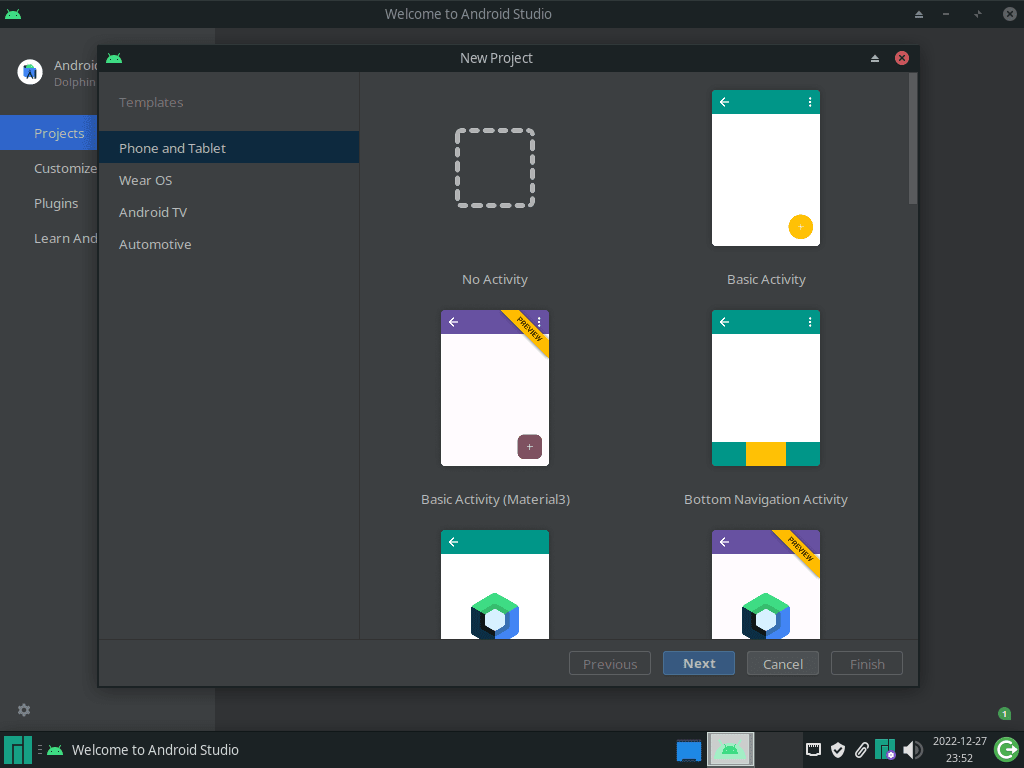
File > New) for activities, fragments, and other components. - Stay Informed about Updates: Regularly check for updates (
Help > Check for Updates) to ensure you’re using the latest features and fixes.
Customizations in Android Studio on Manjaro
- Choose a Theme: Customize the look of your IDE under
File > Settings > Appearance & Behavior > Appearance. - Configure Code Style: Set your preferred code style (
File > Settings > Editor > Code Style) for consistent formatting. - Customize the Layout: Tailor the layout of windows and toolbars (
View > Tool Windows) to suit your workflow. - Use Plugins: Enhance functionality with plugins (
File > Settings > Plugins). Explore popular plugins like Flutter or Kotlin.
Android Studio Efficiency Tips on Manjaro
- Use the AVD Manager: Efficiently test your apps with different Android versions and screen sizes using the AVD Manager (
Tools > AVD Manager). - Leverage Gradle: Familiarize yourself with Gradle for efficient project building and dependency management.
- Utilize Logcat for Debugging: Make use of Logcat (
View > Tool Windows > Logcat) for real-time debugging and log output. - Version Control Integration: Set up Git or other version control systems (
VCS > Enable Version Control Integration) for effective team collaboration.
Additional Helpful Tips for Android Studio on Manjaro
- Learn Layout Editor Features: Explore the drag-and-drop interface of the Layout Editor for designing UI.
- Database Inspector for Data Management: Use the Database Inspector (
View > Tool Windows > Database Inspector) for real-time database management. - Keep Track of System Health: Monitor your system’s performance with the Memory Profiler (
View > Tool Windows > Profiler). - Utilize Android Studio Shortcuts: Get familiar with the most-used shortcuts for efficient coding, like
Ctrl + Spacefor code completion.
Managing Android Studio on Manjaro Linux
Updating Android Studio on Manjaro
Regular updates are crucial to maintain Android Studio’s performance and security. Use the following command for system-wide updates, which includes Android Studio and other installed packages:
Update Command
yay -Syu --devel --timeupdateCommand Options Explained
--devel: Updates development versions of packages.--timeupdate: Synchronizes your system’s time before updating to ensure accurate update processing.
Removing Android Studio from Manjaro
If you need to uninstall Android Studio, use this command. Remember, this action is irreversible, so confirm your decision before proceeding.
Uninstallation Command
yay -Rns android-studio --noconfirmUnderstanding the –noconfirm Flag
- Automates uninstallation by bypassing manual confirmation, thus accelerating the process.
Cleaning Up Unused Dependencies After Uninstallation
After uninstalling Android Studio, it’s important to clean up residual files or dependencies that are no longer used.
Cleanup Command
yay -YcThis command eliminates orphaned packages that were once dependencies for Android Studio but are now redundant. Regular cleanup of these elements prevents system clutter and maintains optimal performance.
Conclusion
We’ve walked through the essentials of setting up and managing Android Studio on Manjaro Linux – from installation and first-time tips to updates and removal. Remember, regular updates are key to keeping Android Studio running smoothly and securely. As you dive into development, don’t forget to explore the customization options and efficiency tips to tailor the environment to your needs.