
Visual Studio Code, often referred to as VSCode, is a versatile and powerful source-code editor developed by Microsoft. It caters to a wide range of programming languages and platforms, making it a popular choice among developers worldwide. With its lightweight design, extensive feature set, and robust performance, Visual Studio Code offers an exceptional user experience for software development.
One of the standout features of Visual Studio Code is its extensibility, allowing users to enhance its functionality through various extensions available in the VSCode Marketplace. These extensions support a myriad of programming languages, code linters, debuggers, version control systems, and more. The built-in IntelliSense feature facilitates code completion, syntax highlighting, and real-time error detection, streamlining the development process.
Furthermore, Visual Studio Code’s integrated terminal, customizable interface, and support for Git and other version control systems make it an all-in-one solution for developers. Its cross-platform compatibility ensures that it runs seamlessly on Windows, macOS, and Linux.
Given its numerous benefits, it’s no surprise that you might be interested in installing Visual Studio Code on your Manjaro Linux system. The guide and steps below will demonstrate how to achieve this by leveraging the Arch Linux User Repository.
Step 1: Update Manjaro Linux
Suppose you are a developer who wants to use Visual Studio Code on Manjaro Linux. In that case, the first step is to update your system to avoid potential issues during installation. To update your Manjaro system, open the terminal and run the following command:
sudo pacman -SyuStep 2: Enable AUR for pamac AUR Helper
If you want to install Visual Studio Code on Manjaro Linux using the pamac AUR helper, you must first enable the Arch User Repository (AUR). AUR is a user-contributed repository for Arch-based Linux distributions, including Manjaro. It contains many packages that are not available in the official repositories.
To enable AUR, you need to edit the Pacman configuration file. The easiest way to do this is by running the following command in the terminal:
sudo sed -Ei '/EnableAUR/s/^#//' /etc/pamac.confThis command uses sed to locate the “EnableAUR” line in the “pamac.conf” file and remove the “#” at the beginning of the line. This enables AUR and allows you to install software packages directly from the AUR repository.
Enabling AUR gives you access to a wealth of additional software you might not find in the official repositories. However, it is essential to note that AUR packages are not reviewed or tested by the Manjaro team. Therefore, checking the package’s user ratings and comments before installation is recommended.
Before installing Visual Studio Code using pamac AUR helper, ensure that the following packages are installed:
sudo pacman -S --needed --noconfirm base-devel gitThese packages are necessary for successfully installing Visual Studio Code on your Manjaro Linux system. With AUR enabled and the necessary packages installed, you can install Visual Studio Code using pamac AUR helper.
Step 3: Install Visual Studio Code
To install Visual Studio Code on Manjaro Linux, execute the following command in the terminal:
sudo pamac install visual-studio-code-binThis command will download and install the Visual Studio Code package from the AUR repository. The installation process may take some time, depending on your system specifications.
Alternatively, you can install the Visual Studio Code Insiders build. Insiders build a version of Visual Studio Code with pre-release features that allows you to test upcoming features and provide feedback to Microsoft. The Insiders can be installed using the following command:
sudo pamac install visual-studio-code-insiders-binStep 4: Launch Microsoft Visual Studio Code
Launching Visual Studio Code or Visual Studio Code Insiders on Manjaro Linux can be done in two ways: through the menu application icon or the command terminal.
First, if you are still in the command terminal to launch Visual Studio Code or Visual Studio Code Insiders using the command terminal, use the following command:
codeOr, for the insider’s version:
code-insidersAlternatively, to launch Visual Studio Code or Visual Studio Code Insiders using the application icon in the menu, follow these steps:
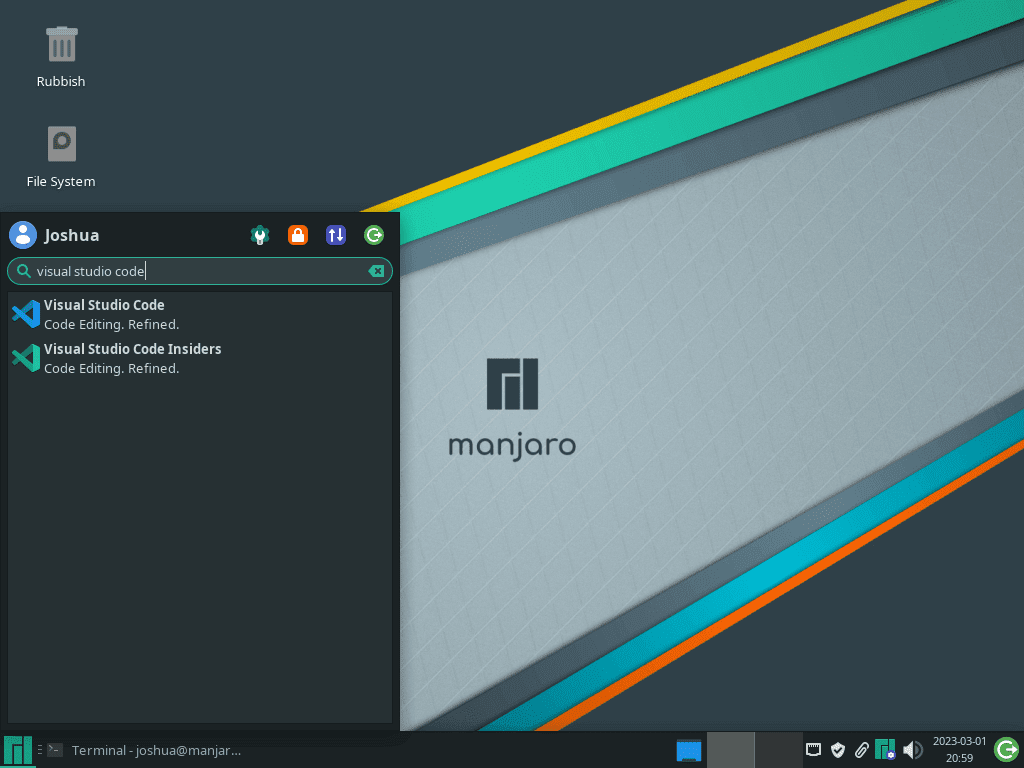
- Click on the “Manjaro” icon in the lower-left corner of your screen.
- Type “Visual Studio Code” or “Visual Studio Code Insiders” in the search bar.
- Click on the icon for the desired application to launch it.
Example of Visual Studio Code application icon on Manjaro Linux:
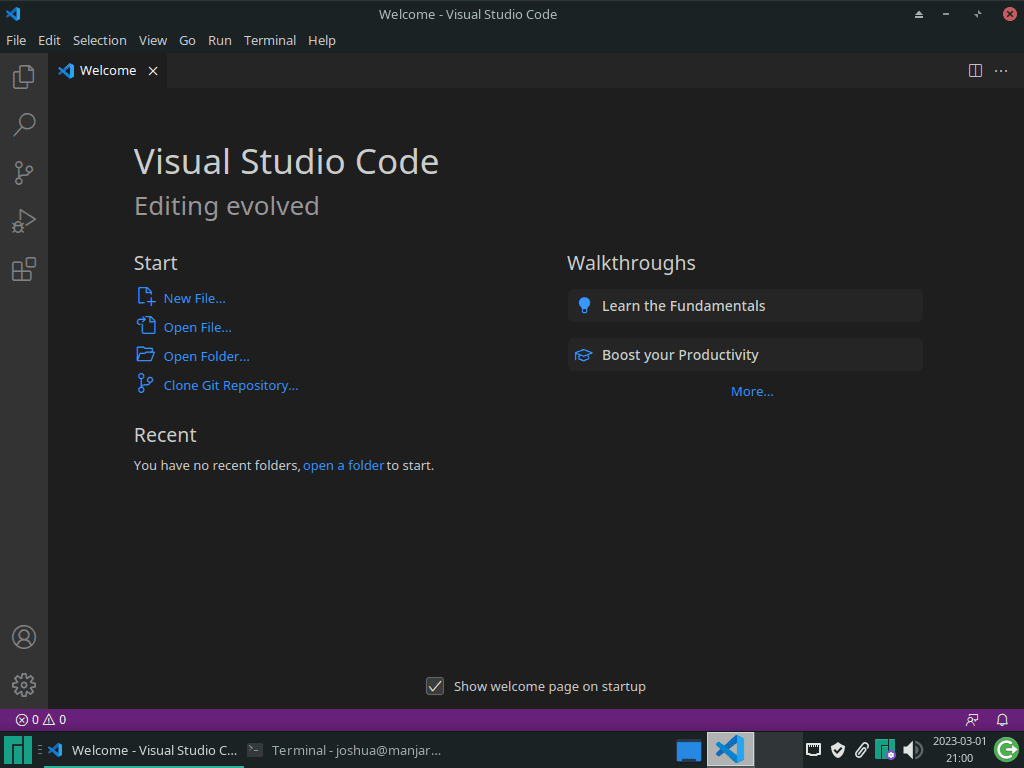
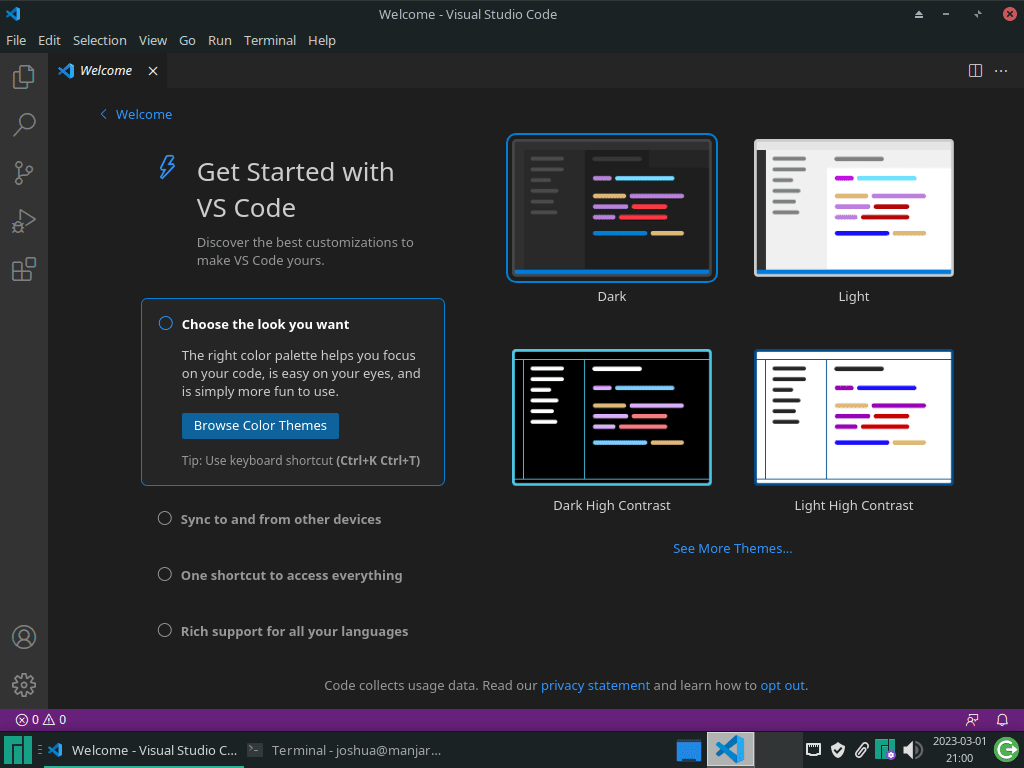
When you open Visual Studio Code for the first time on Manjaro Linux, you will see a welcome screen that provides several options to get started. Here are some things to expect and tips for first-time users:
- Visual Studio Code may prompt you to install some recommended extensions to help you get started. These extensions are optional, and you can choose to install them.
- You can create a new project by clicking the “New Project” button on the welcome screen. This will open a new window where you can select your preferred language and project type.
- Visual Studio Code’s interface consists of a sidebar on the left that displays your files, an editor pane in the center where you can edit your code, and a status bar at the bottom that shows information about your project and its status.
- Visual Studio Code supports several keyboard shortcuts to help you work more efficiently. You can view the list of shortcuts by pressing “Ctrl + K” followed by “Ctrl + S.”
- Visual Studio Code also has a built-in terminal that you can use to run commands and scripts directly from the editor. You can open the terminal by clicking on the “Terminal” menu item and selecting “New Terminal.”
Example of Visual Studio Code on Manjaro Linux:
Additional Tips
How to Update VSCode on Manjaro Linux
Updating Visual Studio Code on Manjaro Linux is a simple process that can be accomplished using the pamac package-management helper. Follow the steps below to update Visual Studio Code to the latest version.
Type the following command in the terminal to check for available updates for all installed packages, including Visual Studio Code:
sudo pamac checkupdates -aThis command will display a list of available updates for your system, including any updates for Visual Studio Code.
Next, run the following command to install any available updates for all installed packages, including Visual Studio Code:
sudo pamac upgrade -aThis command will prompt you to review the updates and confirm the installation process.
How to Remove VSCode on Manjaro Linux
To remove Visual Studio Code from your Manjaro Linux system, you can use the pamac package-management helper in the terminal. Follow the steps below to remove Visual Studio Code.
sudo pamac remove visual-studio-code-binOr for insider installations:
sudo pamac remove visual-studio-code-insiders-binThis command will completely remove the Visual Studio Code package from your system.
To clean up any unused files or packages that may be taking up space on your system, you can use the following commands:
sudo pamac remove -oIf you previously enabled AUR on your Manjaro system and later decided that you no longer want to use it, you can disable it by running the following command:
sudo sed -Ei '/EnableAUR/s/^/#/' /etc/pamac.confConclusion
In conclusion, Visual Studio Code is a feature-rich, extensible, and cross-platform source-code editor that has become a top choice among developers. Installing it on Manjaro Linux, as demonstrated in our guide, unlocks a powerful development environment tailored to your needs. With its extensive array of extensions, integrated tools, and customizable interface, Visual Studio Code on Manjaro Linux enables you to streamline your software development process and enhance productivity.