

The Vanessa release of Linux Mint 21.0 has Cinnamon 5.4 and the 5.15 LTS Linux Kernel. This is the first major release in the Linux Mint 21 series, which most would know is based on Ubuntu 22.04 LTS Jammy Jellyfish. The primary focus of this release is to provide stability and improve the overall experience for users. In addition, several new features have been added, including support for HiDPI displays, a redesigned system tray, and improved performance when using multiple monitors. As always, many bug fixes and security updates are also included. Overall, the Vanessa release provides a solid foundation for the future development of the Linux Mint operating system.
In the following tutorial, you will learn how to upgrade to Linux Mint 21 codenamed Vanessa using the terminal method with tips on dealing with any problematic issues during the upgrade.
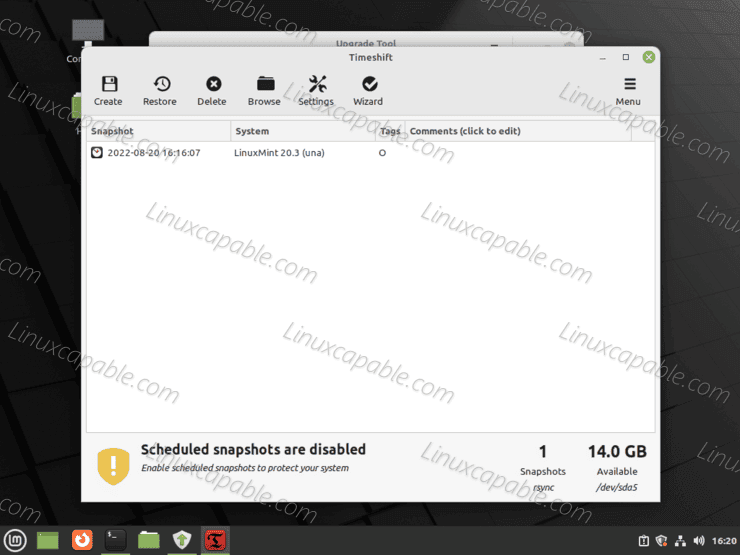
Timeshift Backup
Before proceeding any further, Linux Mint, by default, installs the great software backup utility Timeshift, opens this, and creates a backup before any major upgrade; this can help if you need to restore your system, and you will be prompted to do this with the upgrade method using the official Mint upgrade tool.
Update Linux Mint
First, upgrade your system or check for any missing updates before proceeding; this is essential for distribution system-wide upgrades.
sudo apt update && sudo apt upgrade -yI recommend rebooting your machine if you have a massive amount of upgrades after they have finished installing.
rebootInstall Linux Mint Upgrade Tool
Upgrading Linux Mint between significant releases is simple with the upgrade tool. Open your command terminal and run the following command.
sudo apt install mintupgrade -yUpgrade to Linux Mint 21 ‘Vanessa’
To begin the upgrade process, run the following command in your terminal.
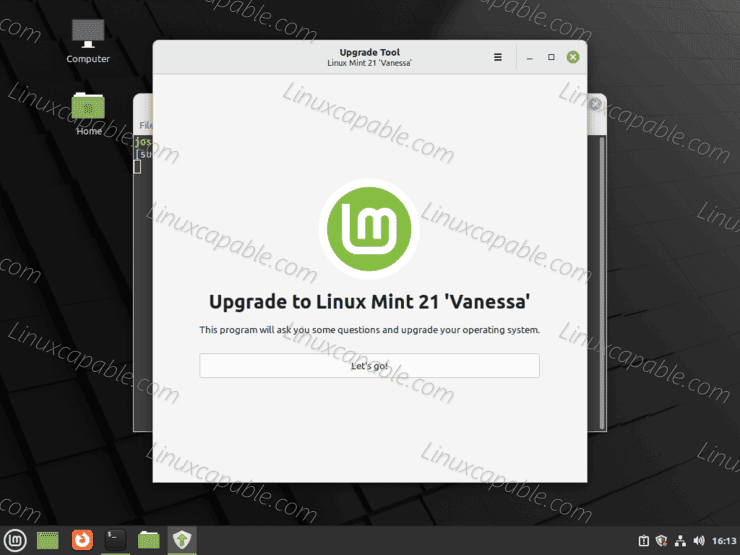
sudo mintupgradeNext, you will see the GUI that will begin the upgrade.
Example output:
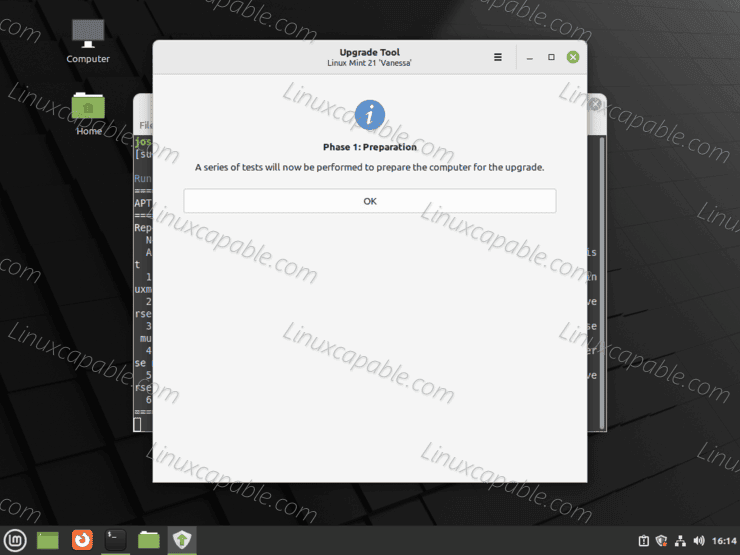
Phase 1: Preparation
The first window will perform a series of tests to ensure your system can upgrade and prepare.
Example:
For users that did not perform a backup, the Mint upgrade tool will remind you to complete it.
Example:
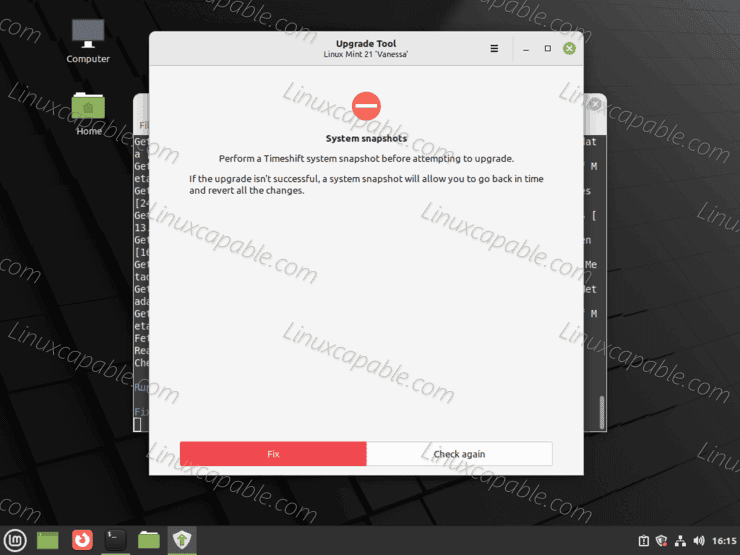
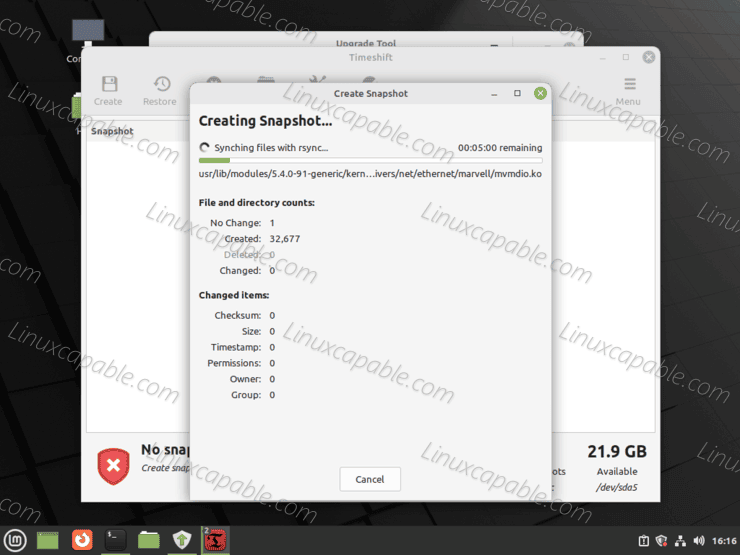
Click on “Fix” and click the “Create” button, which will create a SNAPSHOT. Rsync would be the best option for most users.
Example:
Example:
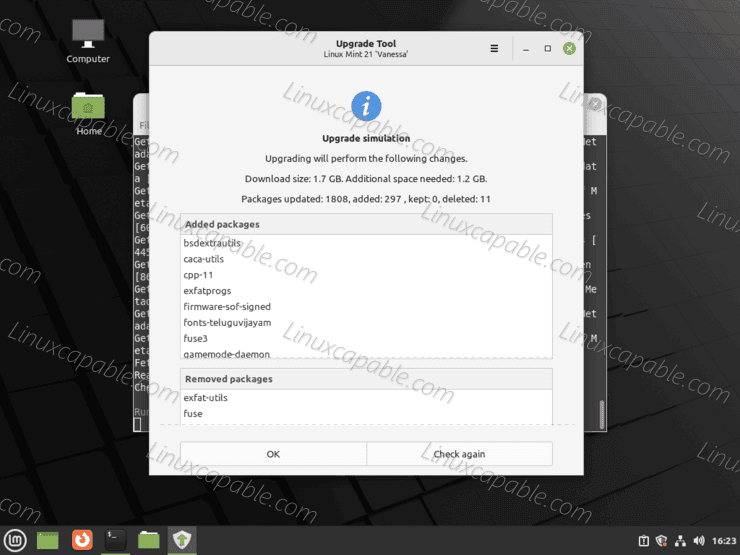
Phase 2: Simulation and download
The description sums it up; you need an internet connection capable of connecting to Linux Mint and its mirrors.
Example:
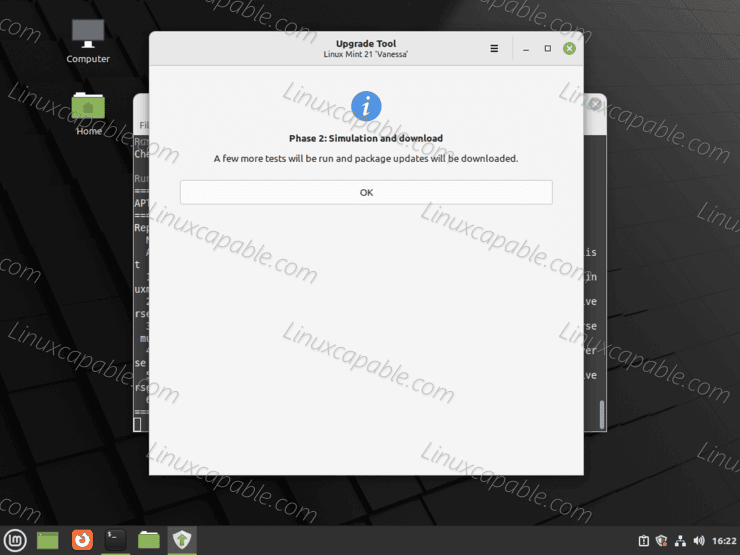
Click on the “OK” button to proceed.
Example:
Phase 3: Upgrade
If the tests in the previous two phases are completed, you can now begin to upgrade Linux Mint.
Click on the “OK” button to proceed.
Example:

As mentioned above, you are upgrading your system; depending on your location, network strength and speed, and hardware, this may take some time.
Once done, you will see the following screen about Orphan packages.
Example:
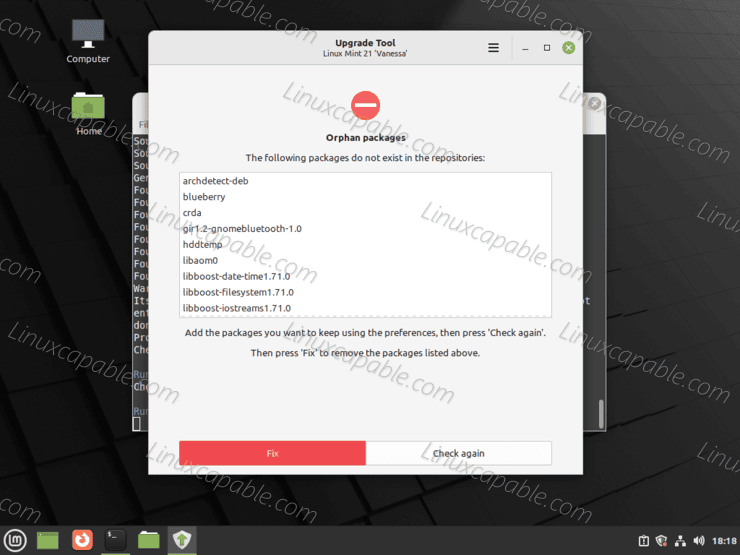
Select the packages if you want to keep any. Given you created a full backup, you should click “Fix,” which will remove them.
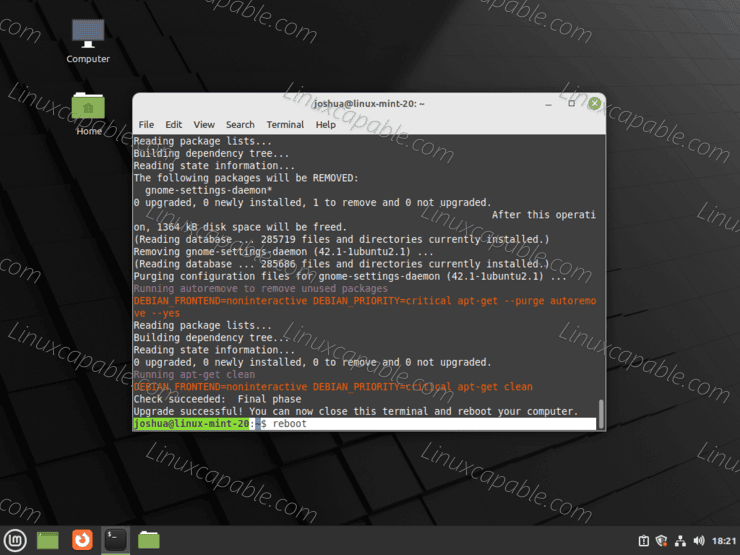
Lastly, you will see a successful upgrade; you must reboot.
Now you will see your terminal; you can either restart your system using the standard desktop method or type reboot in the terminal running in the background.
rebootExample:
Post Installation Verify
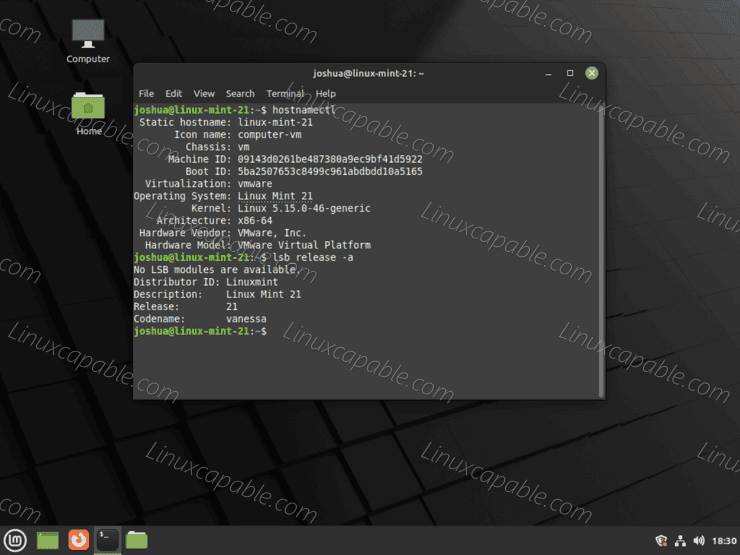
Use the following command to verify the version of your Linux Mint system, which should now be 21 Vannessa.
hostnamectlOr you can use the lsb_release command.
lsb_release -aExample output:
Alternatively, use the following neofetch command to show a pretty output of your system specs in the terminal.
neofetchExample output:
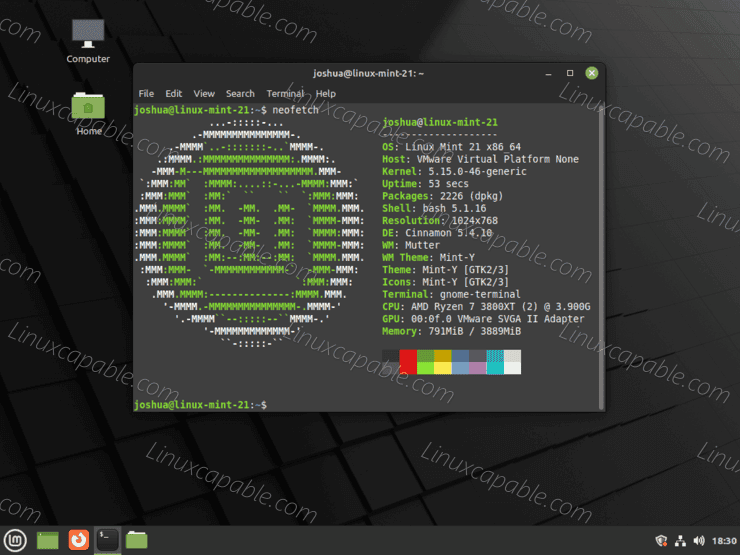
If neofetch is missing, this can be installed using the following command.
sudo apt install neofetch -yAlso, for users that wish to change the hostname, if you had your system like I did linux-mint-20 to say linux-mint-21, use the following command replacing new-hostname with whatever you prefer.
hostnamectl set-hostname new-hostnameOnce done, you will need to reboot your system for the changes.
rebootComments and Conclusion
The tutorial has shown you how to upgrade to Linux Mint 21 Vanessa from your previous LTS Linux Mint release. I recommend checking out my tutorial “How to Install NVIDIA Drivers on Linux Mint 21 LTS” for users with NVIDIA drivers.