Zoom, a widely recognized video conferencing tool, has revolutionized how we connect virtually, making meetings, webinars, and online collaboration more accessible than ever. This guide will demonstrate how to install Zoom on Linux Mint 21 or 20, ensuring users of this popular Linux distribution can easily participate in Zoom’s dynamic virtual environment. Key features of Zoom include:
- High-Quality Video and Audio: Exceptional clarity and consistency in video and audio transmission.
- Screen Sharing Capabilities: Share presentations, documents, or videos during meetings.
- Meeting Recording: Save your meetings locally or to the cloud for later reference.
- Virtual Backgrounds: Customize your background for a more personalized meeting experience.
- Interactive Features: Engage with participants through polls, hand raising, and chat functionality.
With its user-friendly interface and robust functionality, Zoom stands out as a reliable choice for virtual communication. The following content will guide you through the installation process on Linux Mint, providing a straightforward path to enjoying Zoom’s features on your device.
Install Zoom on Linux Mint 21 or 20 via .deb package
Step 1: Update Linux Mint Before Zoom Installation
Begin by updating your Linux Mint system. This step is crucial to prevent conflicts during the Zoom installation process. Keeping your system updated also ensures you have the latest security patches and software improvements.
Execute the following command in the terminal:
sudo apt update && sudo apt upgradeThis command updates the list of available packages and their versions, then upgrades the installed packages to their latest versions.
Step 2: Install Required Packages For Zoom
For Linux Mint, it’s important to install certain prerequisite packages. These packages ensure Zoom runs smoothly on your system.
Use this command to install them:
sudo apt install libegl1-mesa libxcb-cursor0 libxcb-xtest0While these packages are not always necessary, missing them might lead to issues with Zoom. If you encounter any problems during Zoom installation, revisit this step.
Step 3: Install Zoom via APT Command on Linux Mint
Zoom is not included in the default Linux Mint repositories. To install Zoom, you need to download the official Debian-based package.
First, fetch the package using this command:
wget https://zoom.us/client/latest/zoom_amd64.debThis command downloads the latest version of the Zoom .deb package directly from the Zoom website.
After downloading, proceed with the installation by running:
sudo apt install ./zoom_amd64.debThis command installs the Zoom package you just downloaded. If any dependencies are required, apt will automatically handle them during the installation.
Install Zoom on Linux Mint 21 or 20 via Flatpak and Flathub
Step 1: Activate Flathub for Flatpak for Zoom Installation
Flatpak, a robust application management tool, is pre-installed on Linux Mint. It operates in tandem with Flathub, a repository hosting numerous Linux applications. This setup is crucial for Linux Mint users, as Snapcraft is not supported.
To integrate Flathub with Flatpak on your Linux Mint system, execute the following command in your terminal:
sudo flatpak remote-add --if-not-exists flathub https://flathub.org/repo/flathub.flatpakrepoThis command configures Flatpak to recognize and use the Flathub repository, expanding your access to a wide range of applications, including Zoom.
Step 2: Install Zoom via Flatpak and Flathub
With Flathub enabled, you can now proceed to install Zoom. Run this command to begin the installation:
flatpak install -y flathub us.zoom.ZoomThis command efficiently downloads and installs Zoom, along with all necessary dependencies, on your Linux Mint system.
Launch Zoom on Linux Mint 21 or 20
CLI Commands to Launch Zoom
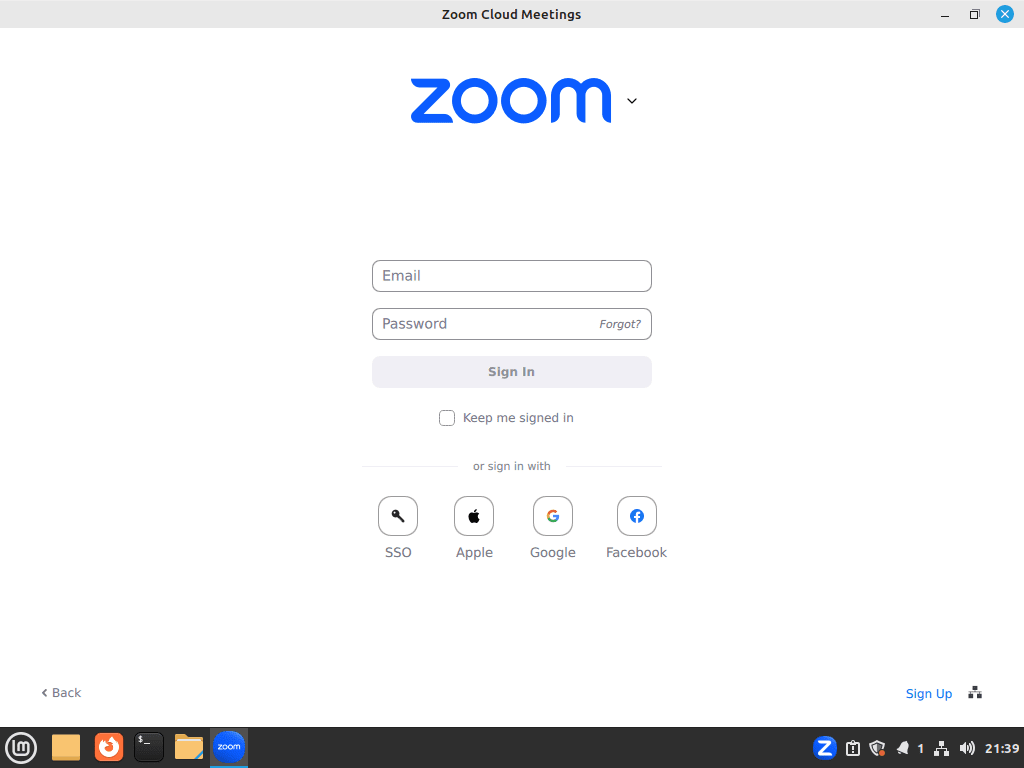
Once you’ve installed Zoom on your Linux Mint system, there are multiple ways to open the application. For users who prefer the command line interface (CLI), launching Zoom is straightforward.
Execute the following command in the terminal to start Zoom:
zoomFor those who installed Zoom via Flatpak, use this modified command:
flatpak run us.zoom.ZoomThese commands initiate the Zoom application directly from the terminal, offering a quick and efficient method for users comfortable with the CLI.
GUI Method to Launch Zoom on Linux Mint
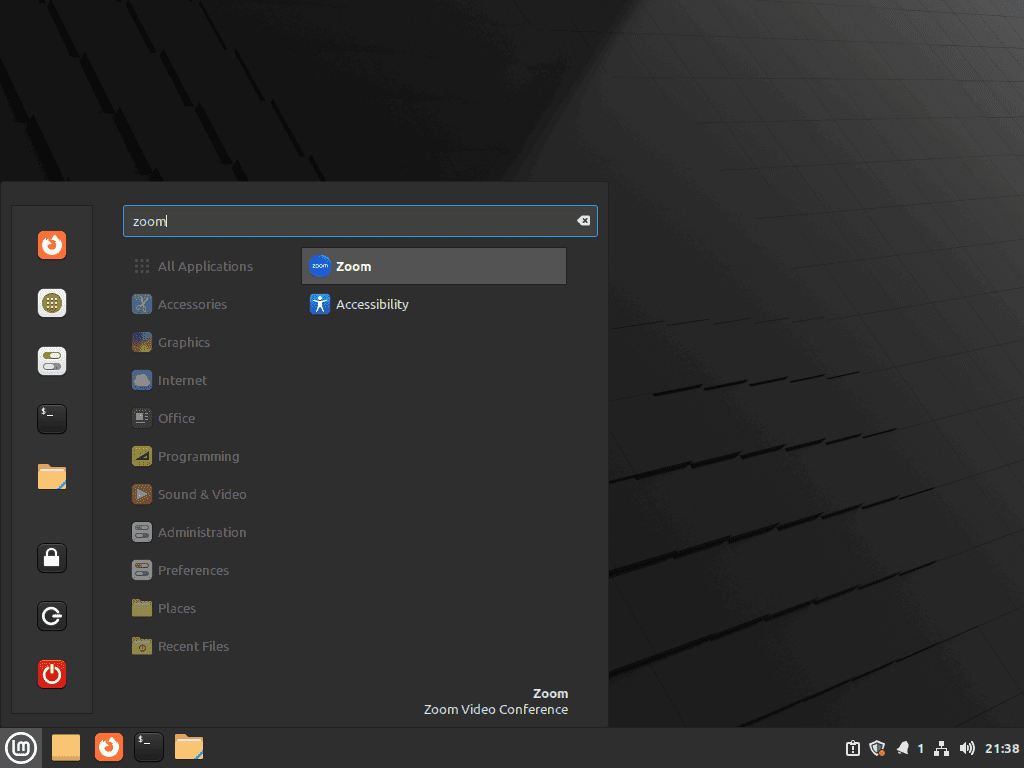
For many users, especially those less familiar with the command line, launching Zoom via the graphical user interface (GUI) is a more user-friendly option. To open Zoom using the GUI, follow these steps:
- Click on the Taskbar at the bottom of your screen.
- Navigate to the Internet category.
- Locate and select Zoom from the list of applications.
Taskbar > Internet > ZoomFirst-Time Tips with Zoom on Linux Mint 21 or 20
Now that you have successfully installed Zoom on Linux Mint, here are some first-time tips to get you started with the software.
General Zoom Tips with Linux Mint
- Test Audio and Video: Before joining your first meeting, ensure your audio and video are working properly. Navigate to Settings > Audio and Settings > Video in Zoom to test your microphone and camera.
- Keyboard Shortcuts: Familiarize yourself with Zoom’s keyboard shortcuts for efficiency. For example,
Alt + Amutes and unmutes your microphone, whileAlt + Vtoggles video on and off. - Virtual Backgrounds: Explore Zoom’s virtual background feature to maintain privacy or add a professional touch to your calls. Go to Settings > Virtual Background to choose or upload a background.
Customizations for Zoom on Linux Mint
- Adjusting Settings for Linux: Some settings may vary slightly on Linux. Explore the Zoom settings to customize your preferences for audio, video, and more.
- Using Multiple Monitors: If you’re using a multi-monitor setup, you can configure Zoom to use a secondary monitor for meetings. This setting is available under Settings > General.
- Customizing Notifications: Linux Mint users can adjust Zoom notifications through the system settings to avoid distractions during meetings.
Other Zoom Helpful Tips on Linux Mint
- Network Optimization: Use a wired internet connection if possible for a stable connection. This can significantly improve video and audio quality.
- Meeting Scheduling: Utilize Zoom’s built-in scheduling feature to organize meetings directly from the app. This can be accessed from the main screen.
- Recording Meetings: Remember, you can record Zoom meetings for later reference. Find this option in the meeting controls. Note that recording permissions might be required from the host.
Managing Zoom on Linux Mint 21 or 20
Remove (Uninstall) Zoom From Linux Mint
When the need arises to uninstall Zoom from your Linux Mint system, the procedure varies based on your initial installation method. Here’s how to proceed for each method:
DPKG (.deb) Remove Method
For Zoom installations done via the DPKG (.deb) package, use this command to initiate the uninstallation:
sudo apt remove zoomThis command prompts your system to uninstall the Zoom client. It’s a straightforward process that removes the application and its basic configurations from your system.
Flatpak Remove Method
If you installed Zoom using Flatpak, the removal process is slightly different. To uninstall Zoom along with its associated data, execute this command:
flatpak remove --delete-data us.zoom.Zoom -yThis command ensures that Zoom, along with all its data, is completely removed from your system. It’s an effective way to ensure no residual files are left behind.
Conclusion
Throughout this guide, we’ve journeyed through the essential steps of installing, managing, and even uninstalling Zoom on Linux Mint. With these straightforward instructions, you’re now well-equipped to use Zoom efficiently on your Linux system.


