

This guide will demonstrate how to install the XanMod Kernel on Pop!_OS using the command-line terminal. Upgrading to the XanMod Kernel can significantly enhance your system’s performance, making it an appealing option for Pop!_OS users seeking improved functionality. We’ll lead you through the installation process step by step, ensuring a smooth and effective transition to this powerful kernel.
Import XanMod APT Repository on Pop!_OS
Update Pop!_OS Before XanMod Kernel Installation
The XanMod Kernel installation starts with ensuring your Pop!_OS system is fully up-to-date. This action prevents potential conflicts from arising during the XanMod kernel installation.
Run the following command to ensure your system is up-to-date:
sudo apt update && sudo apt upgradeThis command first updates the list of available packages and then upgrades any outdated packages.
Install Initial Packages for XanMod Installation
XanMod kernel installation requires specific packages, some of which are likely already installed on your Pop!_OS system. To make sure these necessary packages are present, execute the following command:
sudo apt install software-properties-common apt-transport-https ca-certificates curl -yThis command installs packages that facilitate software management and secure communication with repositories over HTTPS.
Import XanMod Kernel APT Repository
The XanMod kernel installation largely depends on integrating the XanMod repository into your system. This process is straightforward and simple by utilizing the terminal and the apt package manager.
Import GPG Key
The first step is to import the GPG key for the XanMod repository to your system’s keyring. The keyring stores various keys that verify the authenticity of the packages you install. The required command is:
curl -fSsL https://dl.xanmod.org/gpg.key | gpg --dearmor | sudo tee /usr/share/keyrings/xanmod.gpg > /dev/nullImport XanMod Kernel APT Repository
Once you’ve secured the key, proceed to import the XanMod repository with the following:
echo 'deb [signed-by=/usr/share/keyrings/xanmod.gpg] http://deb.xanmod.org releases main' | sudo tee /etc/apt/sources.list.d/xanmod-kernel.listThis command adds the XanMod repository to your system’s list of APT sources, making XanMod kernel packages accessible for installation.
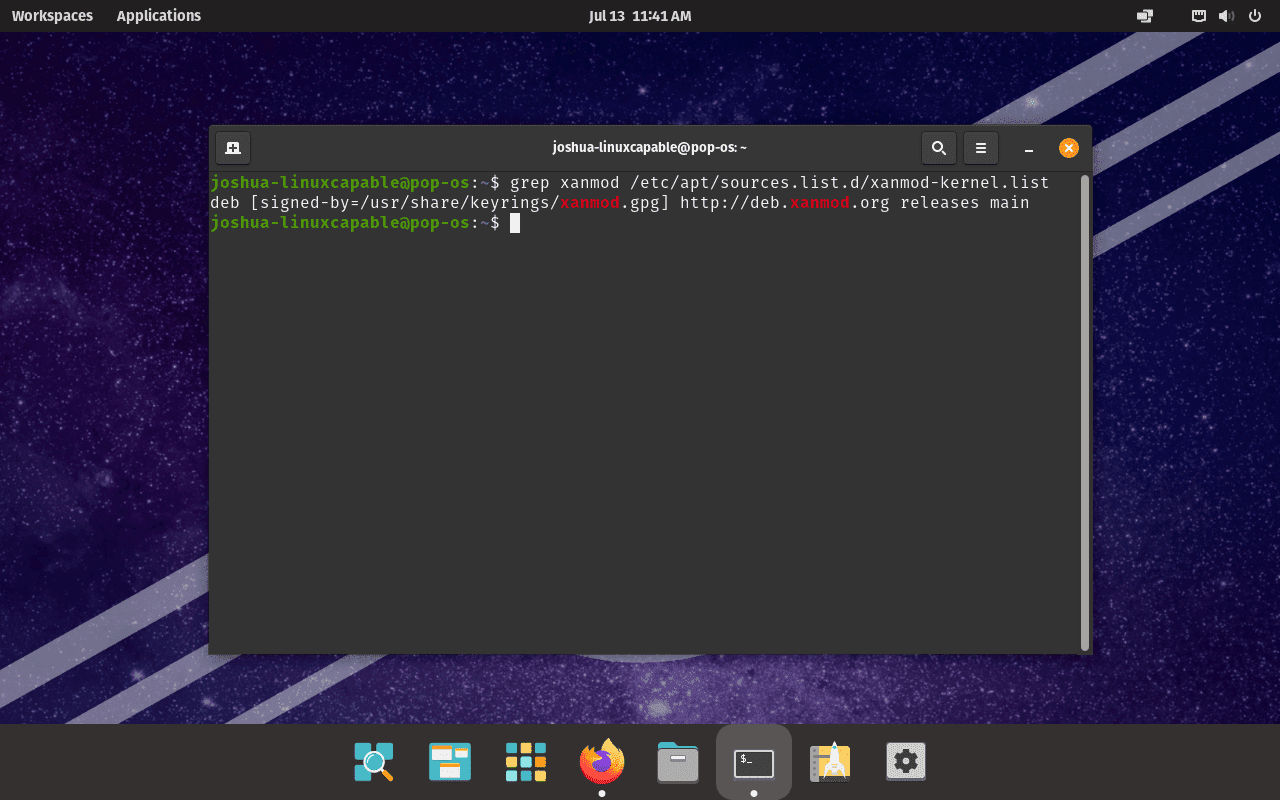
To verify the successful integration of the repository, use the grep command:
grep xanmod /etc/apt/sources.list.d/xanmod-kernel.listIf everything has been executed correctly, the output should be:
Refresh Package Listings After XanMod Import
With the XanMod repository now added, the next step is to refresh your system’s package listings:
sudo apt updateDuring the update, you may encounter newer packages from the XanMod repository that can replace some of your existing packages. To upgrade these packages, run the following:
sudo apt upgradeOnce you have completed these steps, your Pop!_OS system is primed and ready for the XanMod kernel installation.
Verify CPU then Install XanMod Kernel on Pop!_OS
Downloading and Preparing the XanMod Kernel Check Script
To ensure the XanMod Kernel is compatible with your Pop!_OS system’s CPU, download the XanMod Kernel Check Script. This script helps determine the most suitable XanMod Kernel package for your system.
Run the following commands to download the script and set the appropriate permissions:
wget https://dl.xanmod.org/check_x86-64_psabi.sh
chmod +x check_x86-64_psabi.sh
The importance of this step lies in the fact that the XanMod Kernel is available in different versions like linux-xanmod-x64v1, x64v2, x64v3, and x64v4, each optimized for specific CPU architectures.
After running the script, you’ll see an output indicating the compatible x86-64 version for your CPU, such as:
CPU supports x86-64-v2Your CPU might support other versions like x86-64-v1, v3, or v4, as shown by the script’s output.
Proceed to Install XanMod Kernel Main Package via APT Command
With the correct version identified, you can proceed to install the XanMod Kernel. For instance, if your CPU supports x86-64-v2, use the following command:
sudo apt install linux-xanmod-x64v2Adjust the command according to the CPU version (v1, v3, or v4) identified earlier.
For detailed information on each kernel version and its compatibility with different CPUs, refer to the official XanMod Kernel website or the summary below.
Summary of XanMod Versions:
- MAIN Versions:
linux-xanmod-x64v1: Best for older CPUs like AMD K8-family and Intel Pentium 4 / Xeon (Nocona).linux-xanmod-x64v2: Suitable for newer CPUs, such as AMD Family 10h (Barcelona) and Intel Core 2 variants.linux-xanmod-x64v3: Ideal for modern CPUs including AMD Family 17h (Zen) and Intel 6th Gen Core (Skylake).linux-xanmod-x64v4: Perfect for the latest CPUs, like AMD Family 19h (Zen4) and Intel Xeon / 10th Gen Core (Ice Lake).
- EDGE Versions:
linux-xanmod-edge-x64v2: Tailored for CPUs like AMD Family 16h (Jaguar) and Intel 2nd Gen Core (Sandybridge).linux-xanmod-edge-x64v3: Optimal for CPUs including AMD Family 17h (Zen+) and Intel 7th Gen Core (Kaby Lake).linux-xanmod-edge-x64v4: Designed for advanced CPUs such as Intel 11th Gen (Rocket Lake) and AMD Family 19h (Zen3).
- LTS Versions:
linux-xanmod-lts-x64v1: Supports older, long-term stable CPUs, like Intel Core 2 and AMD K10-family.linux-xanmod-lts-x64v2: Compatible with various CPUs, including Intel 3rd Gen Core (Ivybridge) and AMD Family 15h (Steamroller).linux-xanmod-lts-x64v3: Fits recent CPUs such as Intel 10th Gen Core (Comet Lake) and AMD Family 17h (Zen2).linux-xanmod-lts-x64v4: For the newest CPUs offering long-term stability, like Intel 13th Gen (Raptor Lake) and AMD Family 19h (Zen3).
- RT Versions:
linux-xanmod-rt-x64v2: Real-time version for CPUs like Intel 1st Gen Core (Nehalem) and AMD Family 15h (Bulldozer).linux-xanmod-rt-x64v3: Real-time version optimized for newer CPUs, including Intel 8/9th Gen Core (Coffee Lake) and AMD Family 17h (Zen+).linux-xanmod-rt-x64v4: The most advanced real-time version for CPUs such as Intel Xeon (Cooper Lake) and AMD Family 19h (Zen4).
Choosing the right version for your CPU architecture is crucial for optimizing performance with the XanMod Kernel on Pop!_OS.
Finalize XanMod Kernel Installation by Rebooting
After you’ve installed the desired kernel version, reboot the system to finalize the installation using the command:
rebootUpon reboot, it’s vital to confirm that the installation was successful. To verify the installed kernel, use the following command:
cat /proc/versionThis command’s output will display the installed XanMod kernel version, affirming a successful installation post-reboot.
Remove XanMod Kernel on Pop!_OS
Removal of XanMod APT Source
Begin the process by executing the command below in your terminal to remove the XanMod source:
sudo rm /etc/apt/sources.list.d/xanmod-kernel.listDelete XanMod GPG Key
If you’re confident you won’t need to reinstall XanMod, it’s considered good practice to delete the GPG key. Use the command below to do so:
sudo rm /usr/share/keyrings/xanmod.gpgRemove XanMod Kernel Packages
The list generated from the previous step includes the XanMod Kernel packages that must be deleted. Execute the following command to uninstall them:
sudo apt autoremove linux-image-*.*.*-xanmod* linux-headers-*.*.*-xanmod* --purge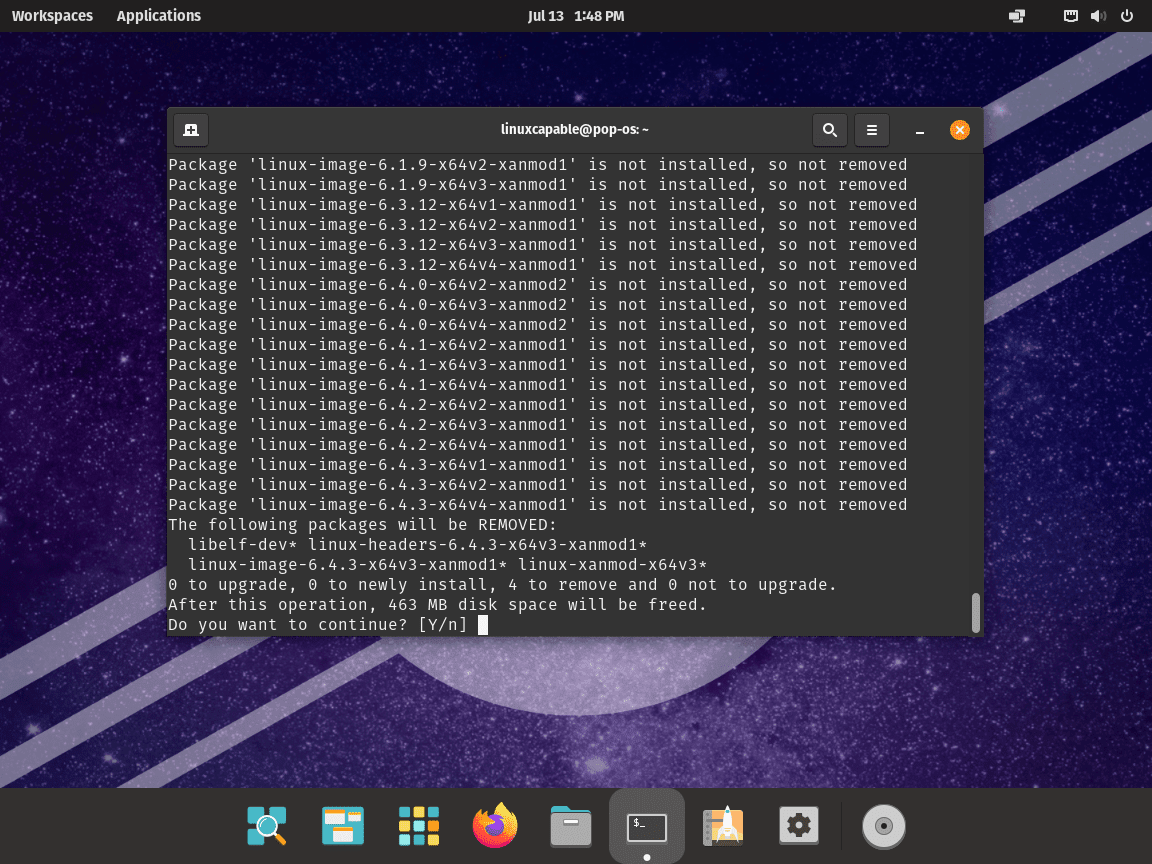
Install Generic Linux Kernel (Optional)
Before restarting your system, ensure the generic Linux Kernel is installed. Operating your system without a kernel can lead to significant complications. However, in most cases, the generic kernel should already be installed.
Use the command below to make sure:
sudo apt install linux-image-genericMost times, the Linux kernel-generic will be already installed, and you may see an output such as the example below:
linux-image-generic is already the newest version (6.2.6.76060206.202303130630~1689015125~22.04~ab2190e).
Update GRUB and initramfs on Pop!_OS
It would be best if you refreshed GRUB and initramfs to be on the safe side. Accomplish this by running the command below:
sudo update-initramfs -u && sudo update-grubSystem Restart
To finalize the removal of XanMod, restart your computer by entering the command:
sudo rebootConfirmation of the Installation Rollback
After rebooting your system, you must confirm that the XanMod Kernel was uninstalled and that the generic kernel is active. Use the following command to verify:
cat /proc/versionThe output should now reflect the default Linux Kernel version for the Pop!_OS version you are currently running.
Wrapping Up
That’s a wrap! We’ve walked through the process of importing the XanMod repository, installing the XanMod Kernel on Pop!_OS, and even how to remove it if necessary. This guide aimed to make your journey smooth and straightforward. With your new setup, you’re all set to enjoy improved performance on your system. If you ever need to revert changes, just follow the removal steps, and you’ll be back to square one. Happy computing, and here’s to a smoother, faster Pop!_OS experience!