
WordPress powers millions of websites worldwide, from personal blogs to enterprise applications. Whether you need to host a business website, create an online store with WooCommerce, or build a portfolio site, WordPress provides the flexibility to accomplish these goals. By the end of this guide, you will have a fully functional WordPress installation running on a complete LAMP stack (Linux, Apache, MariaDB, PHP) with SSL encryption from Let’s Encrypt.
This guide covers installing WordPress with Apache, MariaDB, and PHP on Debian. Additionally, you will learn how to configure SSL certificates for HTTPS, set up UFW firewall rules, and troubleshoot common WordPress issues including redirect loops and PHP session errors.
Each Debian version includes different default PHP and MariaDB versions. Debian 13 (Trixie) uses PHP 8.4 and MariaDB 11.8, Debian 12 (Bookworm) uses PHP 8.2 and MariaDB 10.11, and Debian 11 (Bullseye) uses PHP 7.4 and MariaDB 10.5. The commands in this guide use version-specific package names where necessary.
Update Debian Before Installation
First, update your package index to ensure you install the latest available versions of all components:
sudo apt update && sudo apt upgrade -yInstall Apache on Debian
Apache serves as the first essential component of the LAMP stack. Therefore, to begin, install Apache with the following command:
sudo apt install apache2 -yThe -y flag automatically confirms the installation prompt. However, for those interested in a newer Apache version from a third-party repository, refer to our guide on upgrading Apache on Debian.
Verify Apache Installation
Subsequently, after installation completes, confirm Apache installed successfully by checking the version:
apache2 -vSpecifically, the output displays your installed Apache version:
Server version: Apache/2.4.x (Debian)
Server built:   2025-xx-xx
Next, verify that the Apache service is running:
systemctl status apache2As illustrated, the output confirms Apache is active and running:
● apache2.service - The Apache HTTP Server
     Loaded: loaded (/lib/systemd/system/apache2.service; enabled; preset: enabled)
     Active: active (running) since xxx
       Docs: https://httpd.apache.org/docs/2.4/
    Process: 123 ExecStart=/usr/sbin/apachectl start (code=exited, status=0/SUCCESS)
   Main PID: 456 (apache2)
      Tasks: 55 (limit: xxxx)
     Memory: 12.3M
        CPU: 50ms
     CGroup: /system.slice/apache2.service
             ├─456 /usr/sbin/apache2 -k start
             ├─457 /usr/sbin/apache2 -k start
             └─458 /usr/sbin/apache2 -k start
Conversely, if Apache is not running, enable and start the service:
sudo systemctl enable apache2 --nowTest Apache in Browser
Next, to confirm Apache is serving pages, open a web browser and navigate to your server’s IP address:
http://127.0.0.1
http://localhost
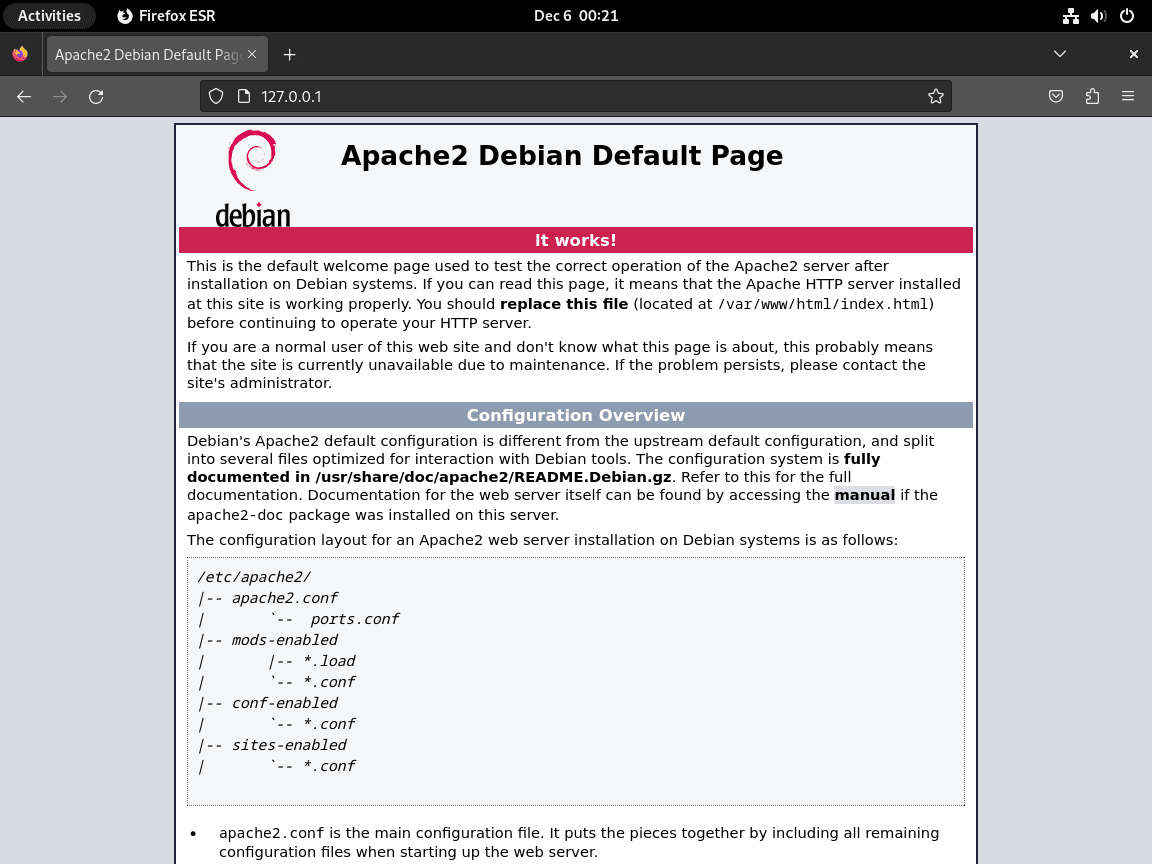
However, if you cannot access the page, you may need to configure firewall rules. The UFW firewall section later in this guide covers the complete setup.
Install MariaDB on Debian
MariaDB serves as the database backend for WordPress. Moreover, since Debian includes MariaDB by default, installation is straightforward. For those who prefer MySQL instead, consult our guide on installing MySQL 8.0 on Debian. Alternatively, to install newer MariaDB versions beyond the distribution defaults, follow our MariaDB installation guide.
Begin by installing the MariaDB server and client packages:
sudo apt install mariadb-server mariadb-client -yVerify MariaDB Installation
Subsequently, once installation completes, verify MariaDB is working correctly:
mariadb --versionFor instance, the output displays your MariaDB version (which varies by Debian release):
mariadb Ver 15.1 Distrib 10.x.x-MariaDB, for debian-linux-gnu (x86_64) using EditLine wrapper
Following that, confirm the MariaDB service is running:
systemctl status mariadbThe status output confirms MariaDB is active and running:
● mariadb.service - MariaDB 10.x.x database server
     Loaded: loaded (/lib/systemd/system/mariadb.service; enabled; preset: enabled)
     Active: active (running) since xxx
       Docs: man:mariadbd(8)
             https://mariadb.com/kb/en/library/systemd/
    Process: 123 ExecStartPre=/usr/bin/install ... (code=exited, status=0/SUCCESS)
    Process: 456 ExecStartPre=/bin/sh -c systemctl unset-environment ... (code=exited, status=0/SUCCESS)
    Process: 789 ExecStartPre=/bin/sh -c ... (code=exited, status=0/SUCCESS)
    Process: 999 ExecStart=/usr/sbin/mariadbd ... (code=exited, status=0/SUCCESS)
   Main PID: 1000 (mariadbd)
     Status: "Taking your SQL requests now..."
If MariaDB is not running, enable and start the service:
sudo systemctl enable mariadb --nowUse
sudo systemctl stop mariadbto stop the service,sudo systemctl start mariadbto start it, andsudo systemctl restart mariadbto restart after configuration changes.
Secure MariaDB Installation
Fresh MariaDB installations include default configurations that may expose your system to unauthorized access. To address this, MariaDB provides a security script to harden these settings. Therefore, run the script with the following command:
sudo mysql_secure_installationDuring the script execution, you will encounter prompts for the following security measures:
- Set a password for the root accounts
- Remove root accounts accessible from remote hosts
- Remove anonymous user accounts
- Remove the default test database
Consequently, for production servers, answer (Y) to all prompts to implement the recommended security enhancements:
$ sudo mysql_secure_installation

NOTE: RUNNING ALL PARTS OF THIS SCRIPT IS RECOMMENDED FOR ALL MariaDB
      SERVERS IN PRODUCTION USE!  PLEASE READ EACH STEP CAREFULLY!

Enter current password for root (enter for none): [Press Enter]
OK, successfully used password, moving on...

Switch to unix_socket authentication [Y/n] Y
Enabled successfully!

Change the root password? [Y/n] Y
New password: [Enter secure password]
Password updated successfully!

Remove anonymous users? [Y/n] Y
 ... Success!

Disallow root login remotely? [Y/n] Y
 ... Success!

Remove test database and access to it? [Y/n] Y
 ... Success!

Reload privilege tables now? [Y/n] Y
 ... Success!

All done!  Your MariaDB installation should now be secure.
Install PHP on Debian
PHP processes dynamic content and connects WordPress to MariaDB. Notably, each Debian version includes a different default PHP version. For specific versions or custom installations from the Sury repository, see our PHP installation guide for Debian.
Next, install PHP with the Apache module and extensions required by WordPress. Then, choose the command matching your Debian version:
For Debian 13 (Trixie), the default is PHP 8.4:
sudo apt install php libapache2-mod-php8.4 php8.4-cli php8.4-common php8.4-zip php8.4-curl php8.4-mysql php8.4-xml php8.4-mbstring php8.4-gd -yUsers of Debian 12 (Bookworm) should use PHP 8.2:
sudo apt install php libapache2-mod-php8.2 php8.2-cli php8.2-common php8.2-zip php8.2-curl php8.2-mysql php8.2-xml php8.2-mbstring php8.2-gd -yAlternatively, Debian 11 (Bullseye) utilizes PHP 7.4:
sudo apt install php libapache2-mod-php7.4 php7.4-cli php7.4-common php7.4-zip php7.4-curl php7.4-mysql php7.4-xml php7.4-mbstring php7.4-gd -yVerify PHP Installation
Afterwards, once installation completes, verify PHP is accessible from the command line:
php -vThe output shows your installed PHP version (example from Debian 13):
PHP 8.4.x (cli) (built: 2025-xx-xx) (NTS)
Copyright (c) The PHP Group
Zend Engine v4.4.x, Copyright (c) Zend Technologies
    with Zend OPcache v8.4.x, Copyright (c), by Zend Technologies
The Apache PHP module loads automatically during installation. However, as a final step, restart Apache to apply the PHP configuration:
sudo systemctl restart apache2If you need to switch PHP versions after installing from a third-party repository, disable the current version with
sudo a2dismod php8.2, enable the new version withsudo a2enmod php8.4, then restart Apache.
Install WordPress Backend
Downloading WordPress
First, to begin, download the latest version of WordPress using the following permalink from WordPress:
wget https://wordpress.org/latest.tar.gzExtract WordPress Directory
The downloaded file is a compressed tar.gz archive. Therefore, use the tar command to extract its contents. This step is vital as it unpacks all the necessary WordPress files needed for installation:
sudo tar -xzvf latest.tar.gz -C /var/www/html/Setting Permissions and Ownership
Crucially, setting the correct permissions and ownership for the WordPress directory is essential. This configuration ensures the web server can correctly access and modify files for updates, plugin installations, and other operations.
Changing Ownership
Specifically, the chown command changes the ownership of all files and directories within WordPress to the web server user, which is typically www-data. This step is critical for WordPress to function correctly on the server:
sudo chown -R www-data:www-data /var/www/html/wordpress/Modifying Permissions
Additionally, setting the right permissions is crucial for security and functionality. For this purpose, the chmod command sets directory permissions to 755 and file permissions to 644. As a result, this configuration allows WordPress to operate securely and efficiently:
sudo find /var/www/html/wordpress -type d -exec chmod 755 {} \;
sudo find /var/www/html/wordpress -type f -exec chmod 644 {} \;
Creating a Database for WordPress
WordPress requires a database to store all site data. Accordingly, in this section, you will create a new database and user for WordPress using MariaDB.
Accessing the MariaDB Shell
To start, log into MariaDB as the root user. This step allows you to create and manage databases and users:
sudo mariadb -u rootAlternatively, if you prefer MySQL:
sudo mysql -u rootCreating the WordPress Database
Once logged in, execute the SQL command to create a new database named WORDPRESSDB. Replace WORDPRESSDB with your desired database name. This database will hold all WordPress data:
CREATE DATABASE WORDPRESSDB;Creating a Secure Database User
Moreover, for enhanced security, create a unique user for WordPress. This practice limits access and reduces attack vectors. Replace ‘WPUSER’ and ‘PASSWORD’ with your chosen username and password:
CREATE USER 'WPUSER'@localhost IDENTIFIED BY 'PASSWORD';Note: WPUSER and PASSWORD can be whatever you desire. Ensure any further commands reflect what you set at this point when dealing with the database side of installing WordPress with LAMP.
Granting Privileges
Next, assign necessary privileges to the new user for managing the WordPress database. This step is crucial to ensure that WordPress can interact with its database:
GRANT ALL PRIVILEGES ON WORDPRESSDB.* TO WPUSER@localhost IDENTIFIED BY 'PASSWORD';Applying Changes
Finally, flush the privileges to apply changes and exit the MariaDB shell:
FLUSH PRIVILEGES;
EXIT;
Configuring WordPress
Now set up the WordPress configuration by editing the wp-config.php file. This involves specifying database details and other configurations.
Navigate to WordPress Directory
First, change to the WordPress installation directory:
cd /var/www/html/wordpress/Configuring wp-config.php
Then, rename the sample configuration file and edit it to include your database details:
sudo mv wp-config-sample.php wp-config.phpNext, using a text editor, bring up the newly renamed wp-config.php file. In our example, we will use nano.
sudo nano wp-config.phpSpecifically, update the file with your database name, user, and password. You can also set the database charset and collation:
// ** MySQL settings - You can get this info from your web host ** //
/** The name of the database for WordPress */
define( 'DB_NAME', 'WORDPRESSDB' );

/* MySQL database username */
define( 'DB_USER', 'WPUSER' );

/* MySQL database password */
define( 'DB_PASSWORD', 'YOUR PASSWORD' );

/* MySQL hostname, change the IP here if external DB set up */
define( 'DB_HOST', 'localhost' );

/* Database Charset to use in creating database tables. */
define( 'DB_CHARSET', 'utf8' );

/* The Database Collate type. Don't change this if in doubt. */
define( 'DB_COLLATE', '' );Furthermore, you can add configurations for direct file edits, memory limits, and table prefixes:
/* Save files direct method */
 define( 'FS_METHOD', 'direct' );

/* Increase memory limit, 256MB is recommended */
 define('WP_MEMORY_LIMIT', '256M');

/* change WordPress database table prefix if wanted */
 $table_prefix = 'wp_';
Setting WordPress Security Keys
Following this, generate unique authentication keys for WordPress. Visit the WordPress secret-key API and replace the placeholder lines in the wp-config.php file with your generated keys.
Configuring Apache for WordPress
Next, set up a virtual host for your WordPress site in Apache. This step is crucial for directing web traffic to your WordPress installation.
Creating the Virtual Host File
First, begin by creating a new configuration file for your WordPress site:
sudo nano /etc/apache2/sites-available/example.com.confThen, configure the file with your domain, document root, and necessary directives:
<VirtualHost *:80>
    ServerName yourdomain.com
    ServerAlias www.yourdomain.com
    DocumentRoot /var/www/html/wordpress
    <Directory "/var/www/html/wordpress">
        AllowOverride All
    </Directory>
    ErrorLog ${APACHE_LOG_DIR}/wordpress.error.log
    CustomLog ${APACHE_LOG_DIR}/wordpress.access.log combined
</VirtualHost>Subsequently, run a dry test of your virtual host using the following command.
sudo apache2ctl configtestSuccessful output:
Syntax OK
Given that the virtual host configuration has no errors, you can now enable your virtual host.
sudo a2ensite example.com.confFinally, restart your Apache service to apply the changes:
sudo systemctl restart apache2Install WordPress Frontend
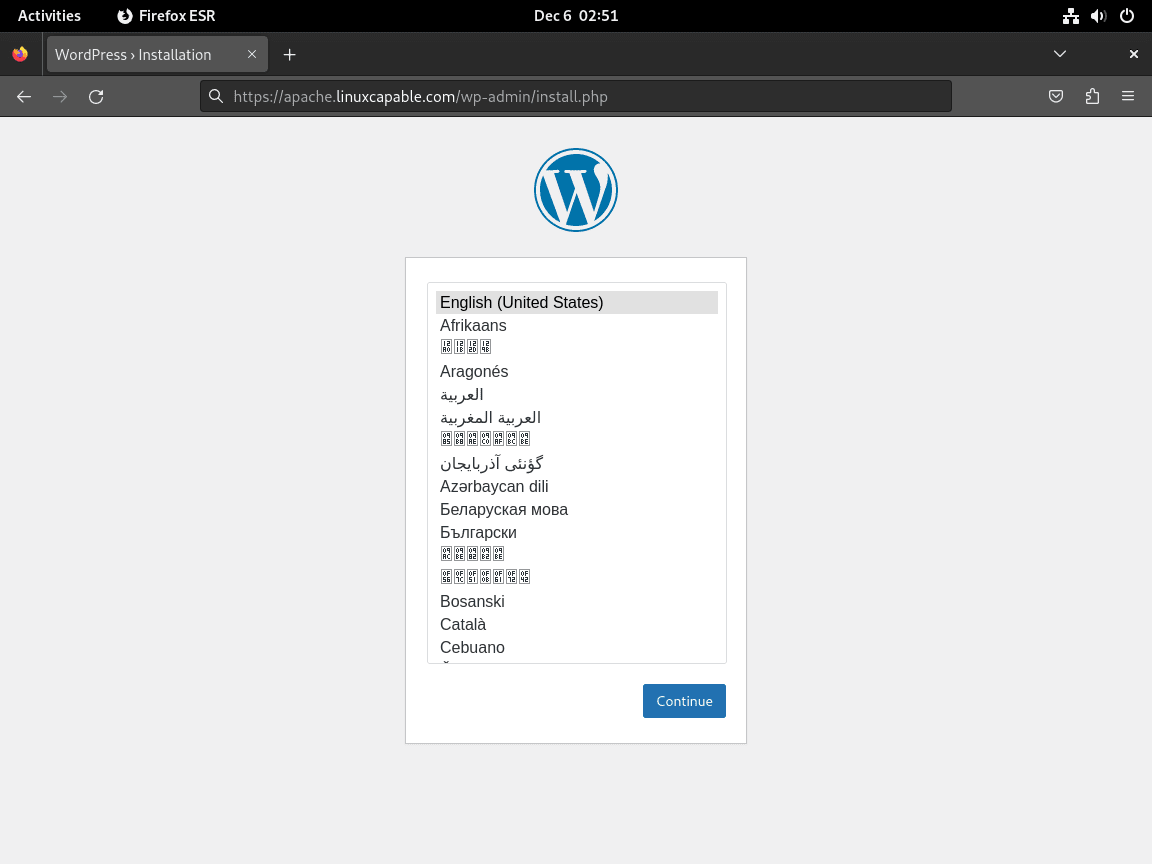
Accessing the Installation Address
Finally, to initiate the WordPress installation, navigate to your website’s domain. Use either of these URLs:
https://www.yoursite.comhttps://www.yoursite.com/wp-admin/install.php
Immediately, upon accessing the site, you’ll encounter the language settings page. Here, you can select the preferred language for your WordPress installation.
Setting Up Admin Account
Then, create your admin account. This is a crucial step as it sets up your username and password, which you’ll use for future logins. Remember, these credentials are changeable at any point.
Configuring Search Engine Visibility
Additionally, for websites under construction, it’s advisable to prevent search engines from indexing your site. Select the option “strongly discourage search engines from indexing this site” during setup. This step ensures that search engines like Google and Bing do not index your work-in-progress (WIP) website. You can change this setting once your site is ready for public viewing.


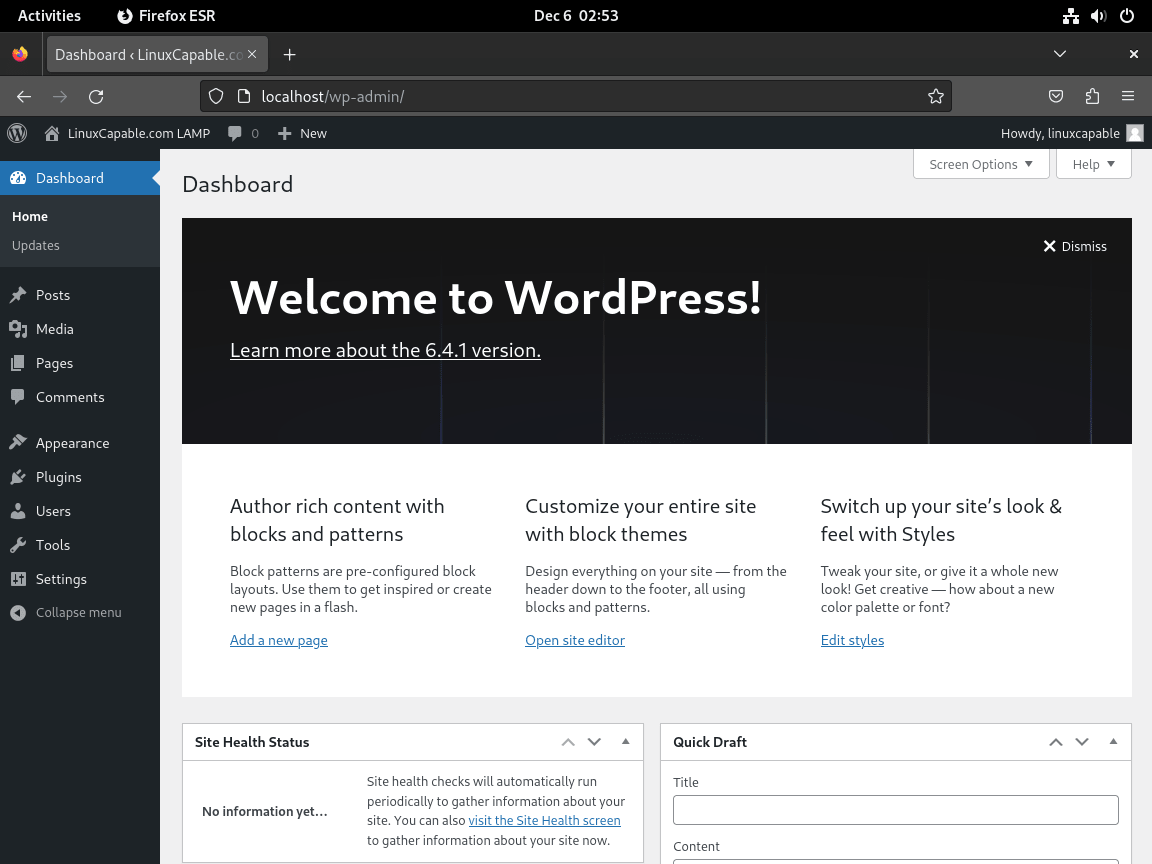
Completion of WordPress Installation
Finally, once these steps are completed and you log in, your WordPress site, powered by the LAMP Stack on Debian, is successfully installed and ready for customization and content creation.
Create a Let’s Encrypt SSL Free Certificate
Furthermore, for enhanced security on Debian, using Let’s Encrypt SSL certificates with your WordPress Apache installation is highly recommended. Let’s Encrypt is a free, automated certificate authority provided by the Internet Security Research Group (ISRG). As a result, it boosts your site’s credibility by enabling HTTPS, a protocol for secure communication over a computer network.
Installing Certbot for SSL Integration
First, install Certbot, which is a software tool that automates obtaining and installing SSL certificates. Install Certbot using the following command:
sudo apt install python3-certbot-apache -yGenerating SSL Certificate
Subsequently, after installing Certbot, generate an SSL certificate with this command:
sudo certbot --apache --agree-tos --redirect --hsts --staple-ocsp --email you@example.com -d www.example.comRemember to customize you@example.com and www.example.com with your email and domain. This step secures your site with HTTPS redirects, Strict-Transport-Security headers, and OCSP Stapling, thereby ensuring enhanced security.
Automatic Renewal of SSL Certificate
Certbot automatically configures a systemd timer to handle certificate renewal. Let’s Encrypt certificates are valid for 90 days, and Certbot attempts renewal when certificates are within 30 days of expiration. Verify the renewal timer is active:
sudo systemctl status certbot.timerSuccessful output confirms the timer is enabled and waiting:
● certbot.timer - Run certbot twice daily
     Loaded: loaded (/lib/systemd/system/certbot.timer; enabled; preset: enabled)
     Active: active (waiting) since xxx; xxxx ago
    Trigger: xxx (in yyyy)
   Triggers: ● certbot.service
Additionally, to test the renewal process without actually renewing, run a dry run:
sudo certbot renew --dry-runTransitioning to HTTPS
Once these configurations are complete, your site will use HTTPS, redirecting all HTTP traffic to a secure HTTPS connection. As a result, this ensures data encryption between your server and users’ browsers.
Setting Up UFW Firewall for LAMP Stack
Typically, when running Apache with your LAMP Stack, configuring the Uncomplicated Firewall (UFW) is important. UFW simplifies firewall management and is essential for controlling access to your server’s services.
Installing UFW
However, if UFW is not yet installed, first add it with:
sudo apt install ufw -yWarning: Before enabling UFW, allow SSH access to prevent being locked out of your server. Run
sudo ufw allow sshfirst if you connect remotely.
sudo ufw allow ssh
sudo ufw enable
Configuring Apache Profiles in UFW
Apache integrates with UFW and provides several profiles. To list these, use:
sudo ufw app listFor example, the output displays profiles like ‘Apache’ (HTTP), ‘Apache Secure’ (HTTPS), and ‘Apache Full’ (both HTTP and HTTPS). Choose the appropriate profile according to your setup.
Enabling UFW Profiles
Initially, for a basic setup without SSL, enable the Apache profile:
sudo ufw allow 'Apache'Alternatively, for HTTPS traffic (after setting up SSL), enable ‘Apache Secure’:
sudo ufw allow 'Apache Secure'Finally, to allow both HTTP and HTTPS, use:
sudo ufw allow 'Apache Full'Troubleshoot Common WordPress Issues
Resolving PHP Session Errors
Unfortunately, PHP session errors, which are often encountered when using specific WordPress plugins, are commonly due to incorrect permissions in the /var/lib/php/sessions/ directory.
Consequently, to resolve this, run the following command:
sudo chown -R www-data:www-data /var/lib/php/sessions/This command changes the ownership of the sessions directory to the www-data user and group. As a result, WordPress gains the necessary permissions to write session data, which is crucial for plugins handling automated tasks like social media integrations. Rectifying PHP session errors therefore enhances your website’s performance and user experience.
Addressing HTTPS Redirect Loop in WordPress
An HTTPS redirect loop in WordPress, which typically occurs after enabling HTTPS, can be fixed by editing the wp-config.php file. This loop happens when WordPress continually redirects to HTTPS, but the process never completes.
Modifying the wp-config.php File
Therefore, to resolve this issue, insert these lines into your wp-config.php:
define('FORCE_SSL_ADMIN', true);

if (strpos($_SERVER['HTTP_X_FORWARDED_PROTO'], 'https') !== false) {
    $_SERVER['HTTPS'] = 'on';
}
Explanation of the code:
- The FORCE_SSL_ADMIN line ensures all admin pages utilize HTTPS.
- The subsequent code checks the HTTP_X_FORWARDED_PROTO header for ‘https’. When detected, it sets the HTTPS server variable to ‘on’, signaling a secure connection.
Implementing these changes should resolve the HTTPS redirect loop, thereby ensuring the smooth operation of your WordPress site with its secure connection.
Fixing Domain Name Redirect Loop
Redirect loops in WordPress can also arise from discrepancies between the domain name in the wp-config.php file and your site’s actual domain.
Verifying the wp-config.php File
Check and adjust the domain name in your wp-config.php:
define('WP_HOME','http://example.com');
define('WP_SITEURL','http://example.com');
Ensure the domain name here matches your website’s actual domain. If the problem persists despite correct domain settings, the issue might stem from server configurations. In such cases, contacting your hosting provider for further assistance is advisable.
Remove WordPress and LAMP Stack
If you need to remove WordPress or the complete LAMP stack from your Debian system, follow these steps depending on how much you want to uninstall.
Remove WordPress Files and Database
Specifically, to remove WordPress while keeping the LAMP stack for other projects, delete the WordPress directory and remove the database:
Warning: The following commands permanently delete all WordPress files and database content. Back up any files or exports you want to keep before proceeding.
sudo rm -rf /var/www/html/wordpress/Then, remove the WordPress database and user from MariaDB:
sudo mariadb -u rootDROP DATABASE WORDPRESSDB;
DROP USER 'WPUSER'@localhost;
FLUSH PRIVILEGES;
EXIT;Replace WORDPRESSDB and WPUSER with the actual database and username you created during installation.
Remove Apache Virtual Host
Subsequently, disable and remove the WordPress virtual host configuration:
sudo a2dissite example.com.conf
sudo rm /etc/apache2/sites-available/example.com.conf
sudo systemctl reload apache2
Completely Remove LAMP Stack (Optional)
Finally, to completely remove all LAMP components from your system, uninstall Apache, MariaDB, and PHP:
sudo apt remove apache2 mariadb-server mariadb-client php libapache2-mod-php
sudo apt autoremoveAlternatively, to also remove configuration files, use purge instead of remove:
sudo apt purge apache2 mariadb-server mariadb-client php libapache2-mod-php
sudo apt autoremove
Conclusion
Your WordPress site now runs on a complete LAMP stack with Apache, MariaDB, and PHP on Debian. The SSL certificate from Let’s Encrypt provides encrypted HTTPS connections, and UFW protects your server from unauthorized access. Regularly update your WordPress installation, themes, and plugins to maintain security and performance.
If you encounter redirect loops, PHP session errors, or database connection issues, refer to the troubleshooting section. For related server configurations, see our guides on securing Apache with Let’s Encrypt on Debian and configuring unattended upgrades on Debian for automatic security updates.

mysql_secure_installation is renamed to mariadb-secure-installation
I followed your example but applied it to a multisite setup and had issues, have you done this explanation for a multisite wordpress setup?
Juan
Excellent instructions how-t!. Thanks for this, it saved me a lot of time.
Hi Joshua
I followed your instructions and achieved success. Yours is the only set of instructions I have tried that has worked. You have done a lovely piece of work with this.
regards
Neal Clements