

Visual Studio Code (VSCode) is a renowned code editor that provides a streamlined, interactive, and powerful environment for code development. If you want to install Visual Studio Code on Linux Mint 21 or 20, this guide is crafted for you. Developed by Microsoft, VSCode offers various features that make it an excellent tool for programmers in various coding languages.
Key Features of Visual Studio Code:
- Wide Language Support: VSCode supports numerous programming languages, providing syntax highlighting and autocomplete features for a smoother coding experience.
- Extensions Marketplace: Users can access a vast extensions marketplace, enhancing the editor’s functionality and allowing customization to suit individual coding needs and preferences.
- Integrated Git Control: With built-in Git control, VSCode facilitates easy tracking of changes and features for committing and pulling from within the editor.
- Intelligent Code Completion: The IntelliSense feature provides smart completions based on variable types, function definitions, and imported modules, aiding in faster and more accurate coding.
- Debugging Tools: VSCode comes equipped with a robust set of debugging tools, allowing for the testing, debugging, and seamless launching of code.
- Customizable Theme: Users can personalize their coding environment with various themes, icon sets, and fonts, creating a comfortable and personalized workspace.
- Open Source: Being open-source, VSCode has a community of contributors that continuously work towards its improvement, providing regular updates and new features.
For those working with Linux Mint 21 or the older stable release of Linux Mint 20, installing Visual Studio Code is a straightforward process. This guide will walk you through the installation steps, ensuring you have access to this powerful code editor for your development projects.
Install Visual Studio Code on Linux Mint 21 or 20 via APT
Step 1: Update Linux Mint Before VSCode Installation
Update your system before beginning installation to ensure all existing packages are current and prevent conflicts:
sudo apt update && sudo apt upgradeStep 2: Install Initial Packages For VSCode on Linux Mint
To ensure a smooth installation process, it is necessary to have the following packages installed:
sudo apt install dirmngr ca-certificates software-properties-common apt-transport-https -yStep 3: Import VSCode APT Repository on Linux Mint
You must import the Visual Studio Code repository to proceed with the installation. However, before doing so, it is essential to import the Microsoft GPG key to verify the authenticity of the installation package.
curl -fSsL https://packages.microsoft.com/keys/microsoft.asc | sudo gpg --dearmor | sudo tee /usr/share/keyrings/vscode.gpg > /dev/nullTo import the Microsoft Visual Source Repository, use the following command in your terminal.
echo deb [arch=amd64 signed-by=/usr/share/keyrings/vscode.gpg] https://packages.microsoft.com/repos/vscode stable main | sudo tee /etc/apt/sources.list.d/vscode.listStep 4: Install Visual Studio Code on Linux Mint 21 or 20 via APT Command
After adding the source repository, refresh your apt package manager sources list to proceed with the Visual Studio installation.
Use the command below in your terminal to update the sources list with the new repository:
sudo apt updateInstall the desired version of VSCode next. Most users choose the stable version. If you want to test the latest features, install the insider’s build (beta version).
Use the following command to install Visual Studio Code stable:
sudo apt install codeAlternatively, you can install the Visual Studio Code insiders build with the following command.
sudo apt install code-insidersInstall Visual Studio Code on Linux Mint 21 or 20 via Flatpak and Flathub
Flatpak provides an alternative method for installing Visual Studio Code (VSCode) on your Linux Mint system. By default, Flatpak should be available on your Linux Mint desktop.
Step 1: Activate Flatpak for VSCode Installation on Linux Mint
To activate Flatpak, launch the terminal and input the following command:
sudo flatpak remote-add --if-not-exists flathub https://flathub.org/repo/flathub.flatpakrepo
For those looking to install the latest version of Flatpak package manager from the Flatpak team, consider checking our article on “how to upgrade Flatpak on Linux Mint”.
Install Visual Studio Code on Linux Mint 21 or 20 via Flatpak Command
With Flatpak now activated, you can install Visual Studio Code on Linux Mint 21 or 20. Execute the following command in your terminal to install the software:
flatpak install flathub com.visualstudio.codeLaunch Visual Studio Code on Linux Mint 21 or 20
With the installation now complete, you can open the software. One way to quickly launch it is by using the command line terminal and entering the following command.
CLI Methods to Launch VSCode on Linux Mint
codeUsers of the insider build can use the following command instead.
code-insidersLastly, Flatpak installations need to run the following command:
flatpak run com.visualstudio.codeGUI Method to Launch VSCode on Linux Mint
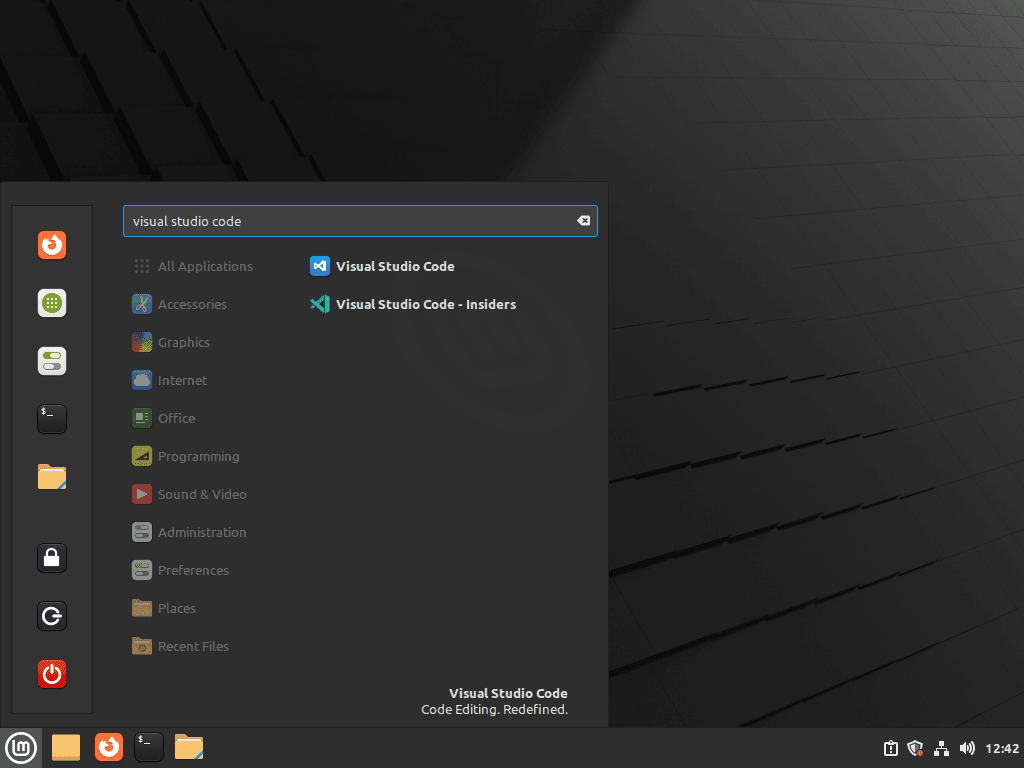
For desktop users who prefer not to use the command line terminal, the best way to open VSCode is through the GUI by following the path.
Taskbar > Programming > Visual Studio Code {Version}
Getting Started with VSCode on Linux Mint 21 or 20
Having successfully installed Visual Studio Code on Linux Mint, consider these initial tips to start using the software effectively.
General VSCode Tips with Linux Mint
- Familiarize Yourself with the Basics:
- User Interface: Understand the layout of Visual Studio Code (VS Code), including the Activity Bar, Side Bar, Status Bar, and Editor Area.
- Command Palette: Access the Command Palette (
Ctrl+Shift+PorCmd+Shift+Pon macOS) to quickly search for and run commands. - Settings: Navigate to the settings (
File > Preferences > SettingsorCtrl+,) to customize VS Code according to your preferences. - Extensions: Explore the Extensions view (
Ctrl+Shift+X) to find and install extensions that enhance the functionality of VS Code.
- Learn Keyboard Shortcuts:
- Familiarize yourself with the keyboard shortcuts of VS Code to improve your efficiency. You can also customize these shortcuts in the Keyboard Shortcuts editor (
File > Preferences > Keyboard Shortcuts).
- Familiarize yourself with the keyboard shortcuts of VS Code to improve your efficiency. You can also customize these shortcuts in the Keyboard Shortcuts editor (
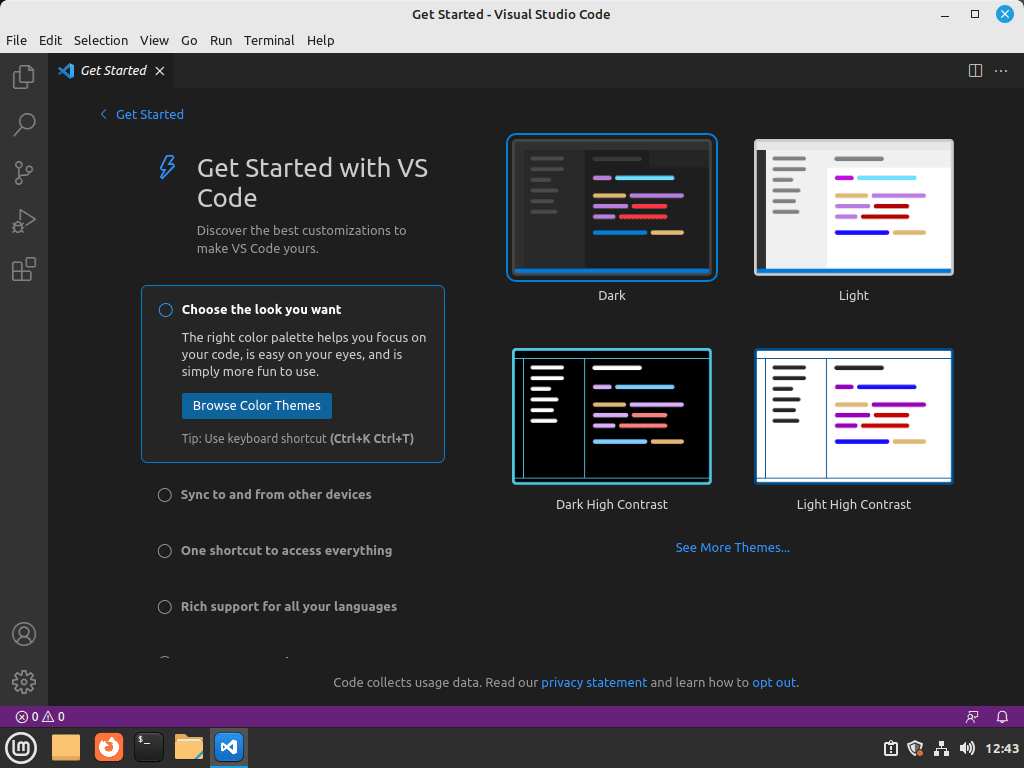
- Explore Themes:
- Customize the look of VS Code by exploring and applying different themes. Go to
File > Preferences > Color Themeto choose a color theme, andFile > Preferences > File Icon Themeto choose an icon theme.
- Customize the look of VS Code by exploring and applying different themes. Go to
- Work with Files and Folders:
- Learn how to create, open, and manage files and folders within VS Code. The Explorer (
Ctrl+Shift+E) helps in navigating through your files and folders.
- Learn how to create, open, and manage files and folders within VS Code. The Explorer (
VSCode Customizations with Linux Mint
- Customize Settings:
- Tweak the settings to match your coding style and preferences. You can edit settings in the Settings editor or the settings.json file.
- Install Extensions:
- Enhance the functionality of VS Code by installing extensions. You can browse for extensions in the Extensions view or the VS Code Marketplace.
- Create User Snippets:
- Create your own snippets to speed up your coding process. Navigate to
File > Preferences > User Snippetsto create and manage snippets.
- Create your own snippets to speed up your coding process. Navigate to
Other VSCode Tips with Linux Mint
- Version Control:
- Utilize the built-in Git support to manage version control for your projects.
- Debugging:
- Learn how to use the debugging features in VS Code to identify and fix issues in your code.
- Terminal:
- Use the integrated terminal (
Ctrl+or `` View > Terminal) to run shell commands directly within VS Code.
- Use the integrated terminal (
- Live Share:
- Collaborate with others in real-time using the Live Share extension.
These tips are essential for getting accustomed to Visual Studio Code on Linux Mint and making the most of its extensive feature set. Dive deeper by exploring the official documentation and community resources further to enhance your experience with VS Code on Linux Mint.
Additional VSCode Commands with Linux Mint 21 or 20
Update Visual Studio Code on Linux Mint 21 or 20
To check for updates using the command line, you can use the following command, which will check for updates across all APT packages.
sudo apt update && sudo apt upgradeFlatpak installations can alternatively run the following command to check all installations via Flatpak for updates:
flatpak updateRemove Visual Studio Code From Linux Mint 21 or 20
To remove Visual Studio from your system, use the following command in your terminal that matches your original installation method.
VSCode Remove APT Command Method:
sudo apt remove codeNext, you can remove the Insiders build if installed:
sudo apt remove code-insidersAfter removing the software, use the following command to remove the repository.
sudo rm /etc/apt/sources.list.d/vscode.listFor good housekeeping and security, use the following command to remove the GPG key:
sudo rm /usr/share/keyrings/vscode.gpgVSCode Remove Flatpak Command Method:
flatpak uninstall com.visualstudio.codeConclusion
And there you have it! You now know how to install Visual Studio Code on Linux Mint easily. The process may seem intimidating initially, but it’s pretty simple once you get the hang of it. Remember to update your system, import the repository and gpg key, and then run the installation command. And if you ever need to remove or update the software, the commands are also provided. With Visual Studio Code on your Linux Mint, you’ll have a powerful code editor to help you write better and more efficient code. Happy coding!
excellent article worked great. I installed vscode on Mint 21.
Thanks Ed for the feedback :). Glad it worked out.