

VirtualBox 7.0, the latest release from Oracle, marks a significant step forward in virtualization technology. This guide will demonstrate how to install VirtualBox 7.0 on Linux Mint 21 or 20, a process vital for users looking to leverage the advanced features of this new version. VirtualBox 7.0 brings a host of enhancements and new capabilities, making it an essential tool for developers, IT professionals, and enthusiasts exploring virtual environments.
Key Features of VirtualBox 7.0:
- Improved Performance: Enhanced processing speed and resource management for smoother operation.
- Enhanced Graphics Support: Advanced graphics capabilities, including better support for 3D applications.
- USB Improvements: Expanded USB device compatibility and performance.
- Cloud Integration: Simplified integration with cloud-based virtual machines.
- GUI Overhaul: A refreshed user interface for a more intuitive experience.
- Enhanced Security: Robust security features to ensure safe and secure virtualization.
By installing VirtualBox 7.0 on Linux Mint, users can take full advantage of these features, making it an ideal choice for running multiple operating systems in a virtual environment. The following sections will guide you through the installation process, ensuring a smooth transition to this powerful virtualization solution.
Import VirtualBox 7.0 APT Repository on Linux Mint 21 or 20
Step 1: Update Linux Mint Before VirtualBox 7.0 Installation
To ensure a smooth VirtualBox 7.0 installation, it’s crucial to start with an updated Linux Mint system. This step helps to avoid potential conflicts by ensuring all existing packages are current.
Execute the command below to refresh your package list:
sudo apt updateFollowing the update, bring all your system packages up to date with this command:
sudo apt upgradeStep 2: Install the Required Packages
VirtualBox 7.0 depends on specific packages for proper installation. These dependencies might already exist on your system, but it’s essential to verify and install any missing ones.
Execute the following command to install necessary packages like ‘dirmngr’, ‘dkms’, and others:
sudo apt install dirmngr dkms ca-certificates software-properties-common apt-transport-https curl -yIf installation issues arise, revisit this step to ensure all required packages are installed correctly.
Step 3: Import VirtualBox 7.0 GPG Key
Security is a priority, and verifying the authenticity of the packages you install is vital. Import the GPG key to confirm you’re obtaining the official VirtualBox packages. This step ensures the integrity and origin of the software. Use this command to import the GPG key:
curl -fSsL https://www.virtualbox.org/download/oracle_vbox_2016.asc | sudo gpg --dearmor | sudo tee /usr/share/keyrings/virtualbox.gpg > /dev/nullStep 4: Import VirtualBox APT Repository
With the GPG key added, the next step involves integrating the official VirtualBox repository into your system. Depending on your version of Linux Mint, the command varies:
If you are using the latest Linux Mint 21 release, use the following command:
echo deb [arch=amd64 signed-by=/usr/share/keyrings/virtualbox.gpg] http://download.virtualbox.org/virtualbox/debian jammy contrib | sudo tee /etc/apt/sources.list.d/virtualbox.listAlternatively, if you are still on the old stable release of Linux Mint 20, use the following command:
echo deb [arch=amd64 signed-by=/usr/share/keyrings/virtualbox.gpg] http://download.virtualbox.org/virtualbox/debian focal contrib | sudo tee /etc/apt/sources.list.d/virtualbox.listTo finalize, update your system’s repository list to recognize the newly added VirtualBox repository:
sudo apt updateInstall VirtualBox 7.0 on Linux Mint 21 or 20
Step 1: Install VirtualBox 7.0 and Linux Headers via APT Command
Initiate the installation of VirtualBox 7.0 by executing the following command. This action not only installs VirtualBox but also ensures that the Linux headers matching your current kernel version are installed. These headers are vital for the proper functioning of VirtualBox on your system:
sudo apt install virtualbox-7.0 linux-headers-$(uname -r) -yStep 2: Verify VirtualBox 7.0 Installation
As an optional but recommended step, verify the source of your VirtualBox installation. Use the apt-cache policy command to display the installed package’s details, including its version and originating repository:
apt-cache policy virtualbox-7.0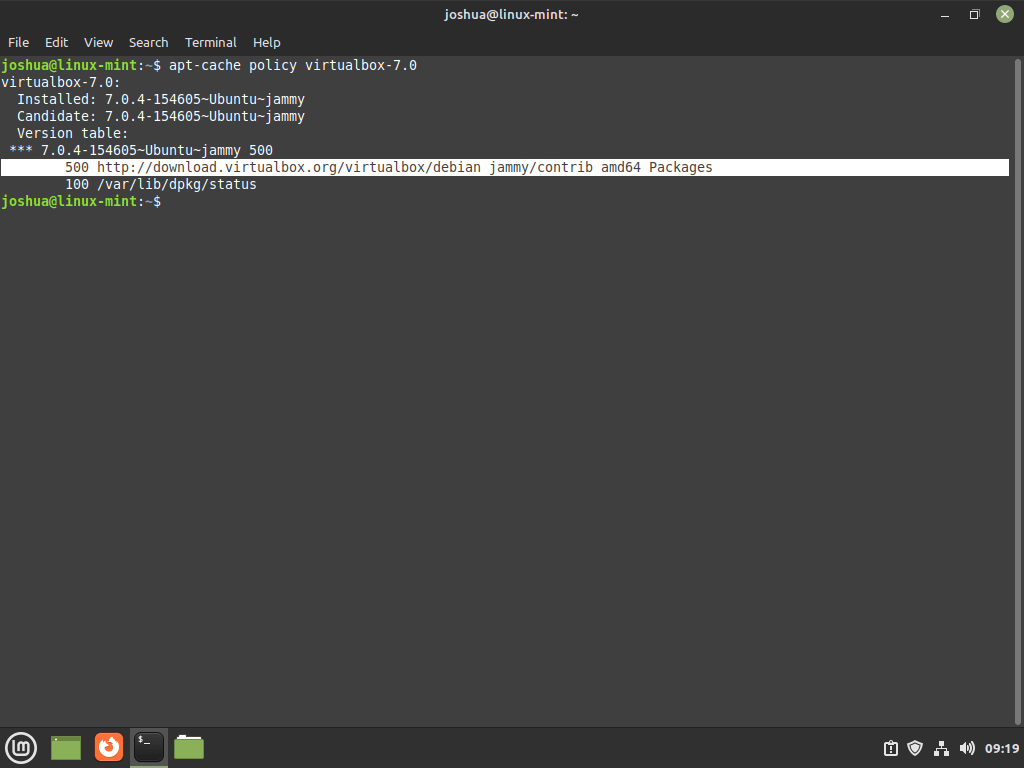
Cross-reference the output to ensure that it lists VirtualBox 7.0 and originates from the official VirtualBox repository you added previously.
Step 3: Check VirtualBox 7.0 Service Status
To confirm the operational status of the vboxdrv service, which manages the kernel modules for VirtualBox, execute the command below:
systemctl status vboxdrv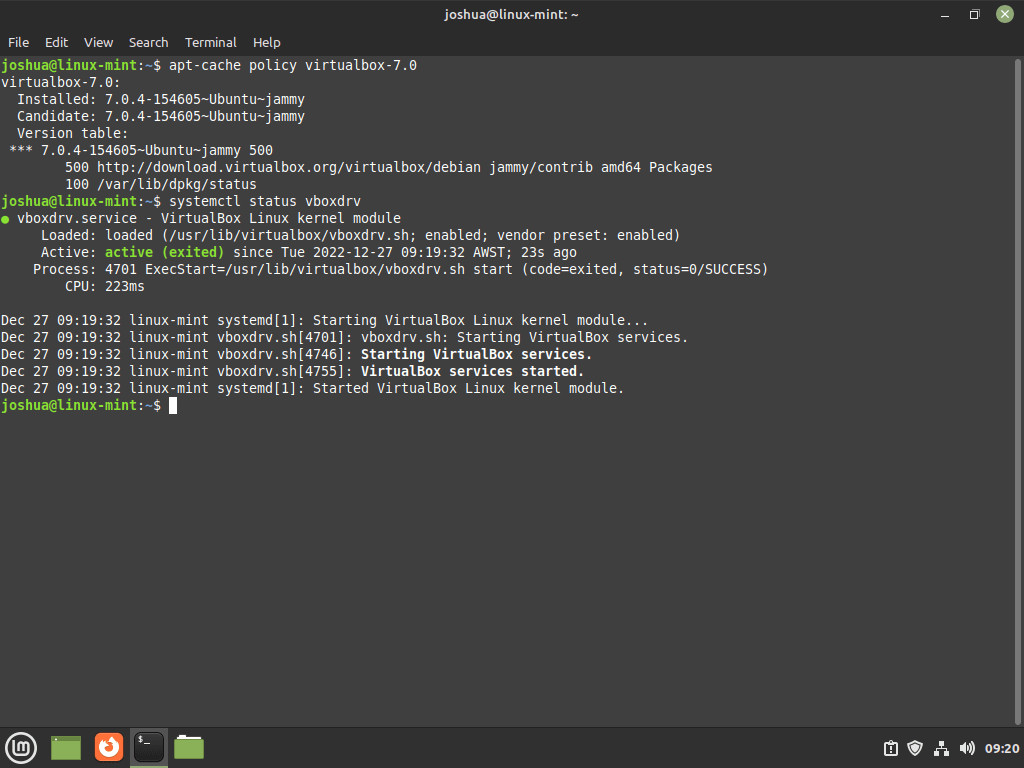
The output will indicate the service’s current state. An active and running status signifies a successful installation.
Step 4: Enable and Start the VirtualBox Service (If Necessary)
Occasionally, the vboxdrv service may not activate automatically post-installation. To ensure the service is operational and set to start on boot, use the following command:
sudo systemctl enable vboxdrv --nowExecuting this command guarantees the VirtualBox service is active and ready, thereby preparing your system for efficient use of VirtualBox 7.0.
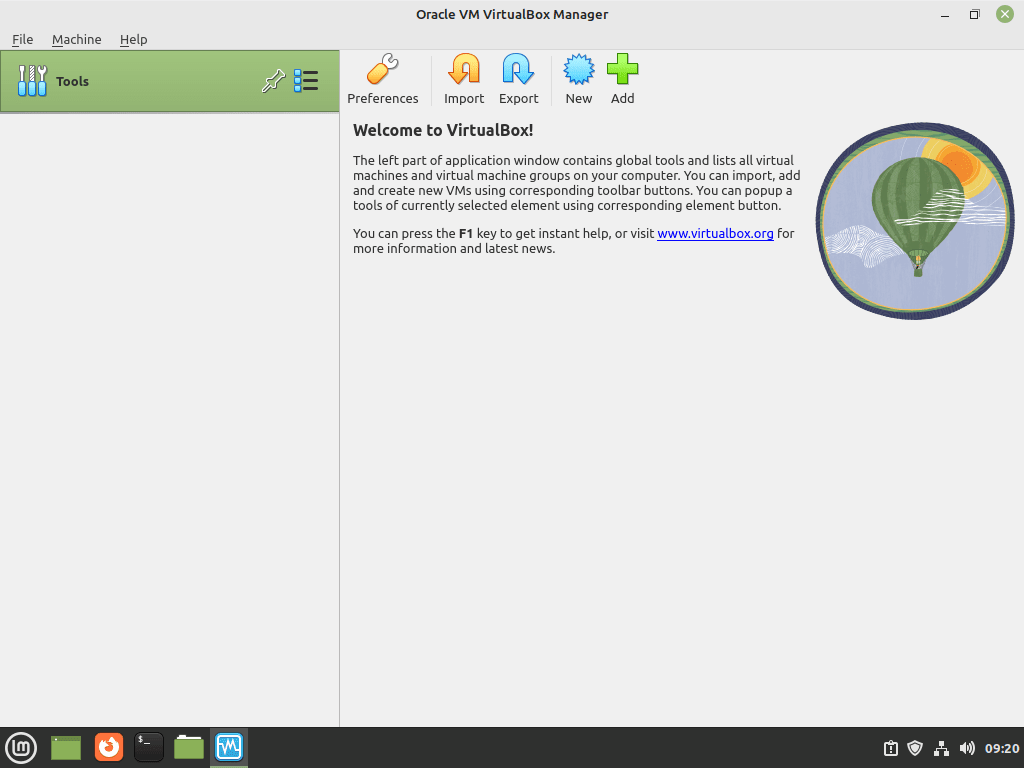
Launch VirtualBox 7.0 on Linux Mint
Now that you have successfully installed VirtualBox 7.0 and confirmed that the necessary service is running, you can launch the application to start creating and managing virtual machines.
CLI Command to Launch VirtualBox 7.0
If you prefer to launch VirtualBox directly from your terminal, run the following command:
virtualboxThis command opens the VirtualBox application, allowing you to manage virtual machines from the terminal.
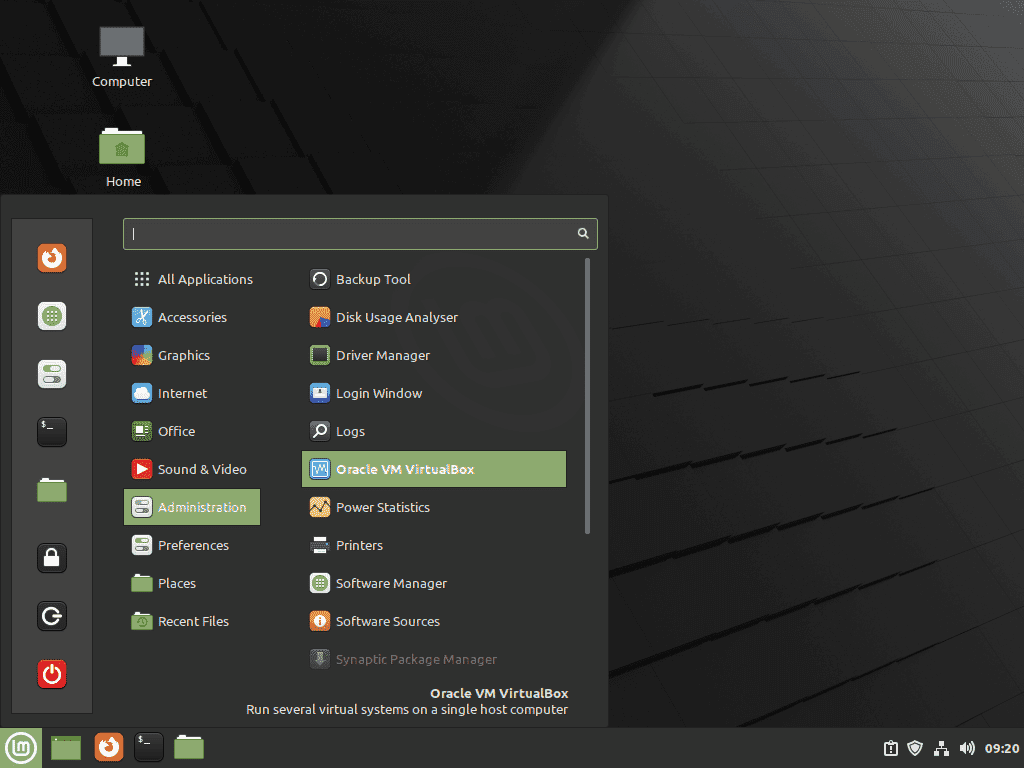
GUI Method to Launch VirtualBox 7.0
For most desktop users, launching VirtualBox through the graphical interface is more convenient. To do this, follow the steps below:
- Click on the Taskbar or Menu button, typically located at the bottom-left corner of your screen.
- Navigate to the Administration section or search for “VirtualBox” using the built-in search functionality.
- Click on Oracle VM VirtualBox to launch the application.
Install VirtualBox Extension Pack (Optional) on Linux Mint 21 or 20
Step 1: Download VirtualBox 7.0 Extension Pack
To enhance your VirtualBox setup, the Extension Pack offers additional functionalities. It’s crucial to download the version that matches your installed VirtualBox.
First, ascertain your VirtualBox version with this command:
vboxmanage -v | cut -dr -f1This command outputs the version, for example, 7.0.x. Use the following wget command to download the Extension Pack that corresponds with your version:
wget https://download.virtualbox.org/virtualbox/7.0.x/Oracle_VM_VirtualBox_Extension_Pack-7.0.x.vbox-extpackMake sure to replace 7.0.x in the URL with your specific VirtualBox version.
Step 2: Install VirtualBox 7.0 Extension Pack on Linux Mint
Once downloaded, install the Extension Pack using the vboxmanage command. This process requires administrative privileges and acceptance of Oracle’s license terms:
sudo vboxmanage extpack install Oracle_VM_VirtualBox_Extension_Pack-7.0.x.vbox-extpackWhen prompted, type “y” and press Enter to agree to the terms and proceed with the installation.
Step 3: Verify Installed Extension Pack Version
Post-installation, verify the installed Extension Pack version to ensure correct installation. Use this command to check:
vboxmanage list extpacksThis command will list all installed Extension Packs, including their version numbers.
Step 4: Add User to vboxusers Group on Linux Mint
For complete functionality in VirtualBox, your user account needs to be part of the vboxusers group. Add your account to this group with the following command:
sudo usermod -a -G vboxusers $USERAfter executing this command, reboot your system to apply these changes. Upon logging back in, verify your account’s group membership:
groups $USERThis command lists all groups associated with your user account. Confirm that vboxusers is included in this list.
Managing VirtualBox 7.0 on Linux Mint 21 or 20
Update VirtualBox 7.0 on Linux Mint
Maintaining an up-to-date VirtualBox installation is essential for security and functionality. Regularly check for and install updates using these commands in your terminal:
sudo apt update && sudo apt upgradeRegularly updating, ideally weekly, ensures your VirtualBox installation remains secure and incorporates the latest features and fixes.
Remove VirtualBox 7.0 From Linux Mint
In instances where VirtualBox is no longer needed, you can remove it from your system. To uninstall VirtualBox 7.0, execute the following command:
sudo apt remove virtualbox-7.0After removing VirtualBox, it’s advisable to also delete the repository sources file to prevent future updates. Use this command for removal:
sudo rm /etc/apt/sources.list.d/virtualbox.listAdditionally, if you wish to remove the GPG key associated with the VirtualBox repository, proceed with this command:
sudo rm /usr/share/keyrings/virtualbox.gpgThis comprehensive approach ensures that all components related to VirtualBox are completely removed from your system.
Conclusion: Installing VirtualBox 7.0 on Linux Mint
In conclusion, this guide has successfully navigated you through the installation of VirtualBox 7.0 on Linux Mint 21 or 20, along with managing the essential aspects like updating, and if needed, removing the software. As a final recommendation, it’s important to regularly update VirtualBox to ensure security and optimal performance.
Remember, staying on top of updates not only enhances your experience but also maintains the integrity of your virtual environments. Keep exploring the potential of VirtualBox and leverage its capabilities to the fullest in your tech endeavors.