

This guide will demonstrate the process of installing Videomass on Ubuntu 24.04, 22.04, or 20.04 LTS Linux releases. It utilizes a command-line terminal and a well-known LaunchPAD PPA maintained by Gianluca Pernigotto and officially endorsed by Videomass’s official website.
Videomass is a versatile video processing tool offering a wide range of features to cater to novice and experienced users. It supports a plethora of video and audio formats, making it a go-to application for converting, encoding, and managing your media files with ease. Its user-friendly interface simplifies complex tasks such as batch processing, video downloading, and preset management, ensuring a seamless experience. Here are some of the highlights:
- Wide Format Support: Videomass is compatible with virtually all video and audio formats.
- Batch Processing: Enables processing multiple files at once, saving time and effort.
- User-Friendly Interface: Designed for ease of use without sacrificing advanced functionalities.
- Custom Presets: Allows creating and managing custom presets for various tasks.
- High-Quality Output: Ensures high-quality results with customizable output settings.
- Subtitle Support: Offers comprehensive tools for embedding and editing subtitles.
- Video Downloading: Integrated video downloading capabilities from various platforms.
- Real-Time Previews: Provides real-time previews for adjustments before processing.
Transitioning into the technical aspects, installing Videomass on your Ubuntu system is straightforward.
Install Videomass on Ubuntu via APT PPA
Update Ubuntu System Packages Before Videomass Installation
The initial part of the installation process involves ensuring that your Ubuntu system packages are current. This is a crucial step as it prevents package conflicts during the subsequent installation of Videomass. The command to execute this package update is as follows:
sudo apt updateAfter updating the list of packages, the next move is to upgrade any outdated packages in your system. Upgrading your packages will ensure all system dependencies are at their latest versions. You can achieve this by executing the following command:
sudo apt upgradeImport Videomass PPA
To successfully install Videomass, you need to add a Personal Package Archive (PPA) to your Ubuntu system. A PPA is a software repository that aids the seamless installation and update of software packages. In this case, we will add the Videomass PPA by executing the command:
sudo add-apt-repository ppa:jeanslack/videomass -yRefresh Packages Index After Videomass PPA Import
Having added the new PPA to your system, it is essential to run an update command once again. This step ensures that your system acknowledges the new PPA and its associated packages. Therefore, to update the index of system packages concerning the newly imported PPA, execute the following command:
sudo apt updateInstall Videomass on Ubuntu via APT Command
With the successful addition and acknowledgment of the Videomass PPA in your system, you can begin installing Videomass on Ubuntu. The final command installs Videomass along with its associated Python dependencies:
sudo apt install python3-videomass -yLaunching VideoMass on Ubuntu via CLI or GUI
Now that we’ve successfully installed VideoMass on our Ubuntu system, the next crucial step is to launch the software. Understanding how to open the application in Ubuntu allows you to start using VideoMass’s comprehensive suite of features for your video editing needs.
You can launch the application in several ways depending on your preferences or specific circumstances.
CLI Method to Launch Videomass
One way to start VideoMass is through the terminal, a powerful tool that controls your system directly. If you’re comfortable using the command-line interface, launching VideoMass is as straightforward as executing the following command:
videomassRunning this command directs the system to start the VideoMass application. It’s a quick and efficient method, especially if the terminal is open.
GUI Method to Launch Videomass
Although the terminal is a powerful tool, not everyone prefers the command-line approach. If you’re more comfortable using Ubuntu’s graphical interface, you can launch VideoMass from your desktop.
Follow these steps to launch VideoMass using the GUI:
- Navigate to Activities in the upper left corner of your screen.
- Click on Show Applications at the bottom of your Activities overview.
- Locate and click on the VideoMass icon.
Initial VideoMass Configuration on Ubuntu
After launching VideoMass for the first time, you’ll be greeted with a setup screen. This setup process tailors VideoMass to your system and preferences, providing a more streamlined user experience.
Starting the Setup Wizard For Videomass
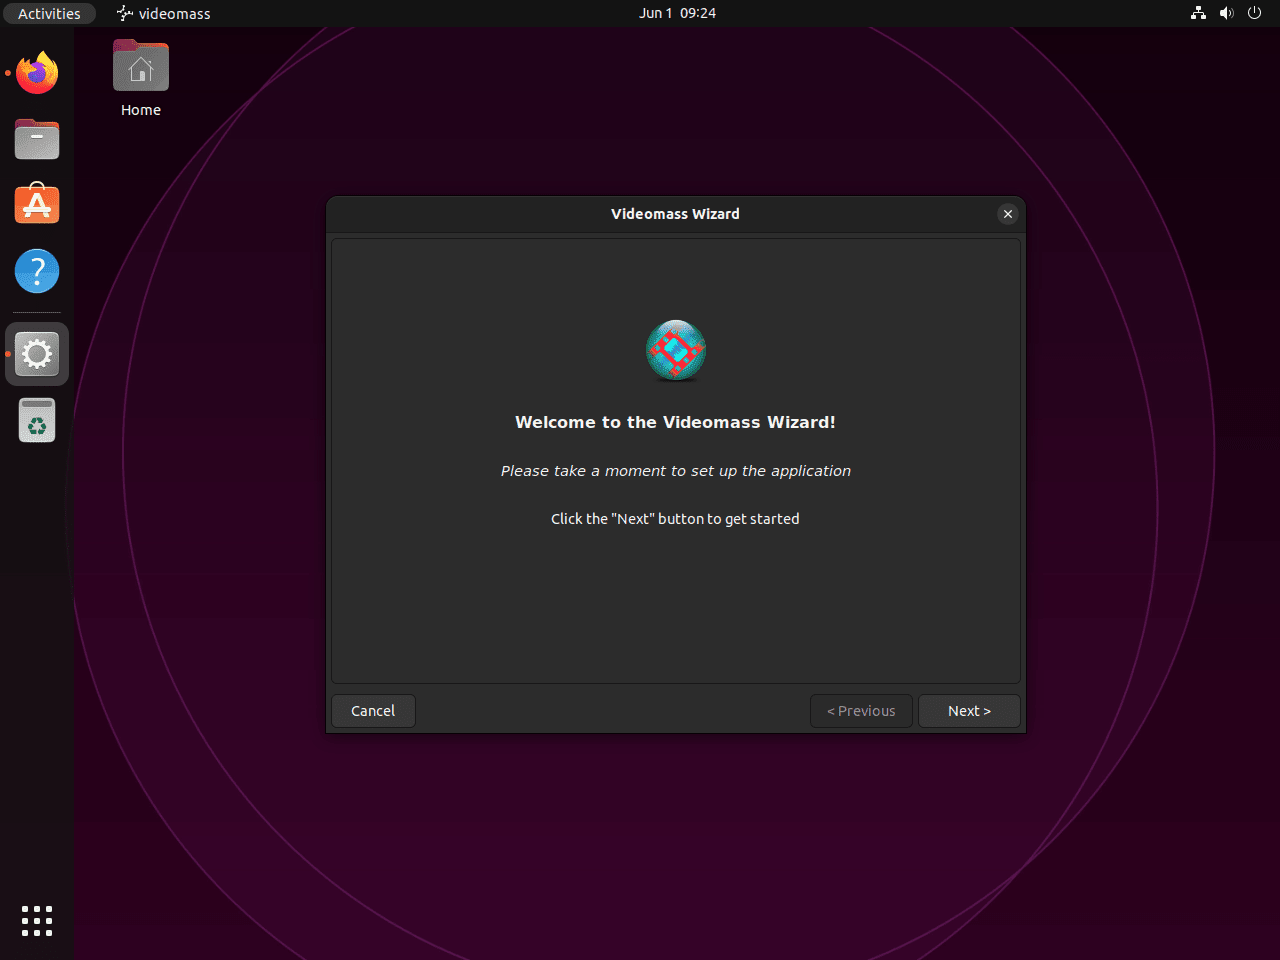
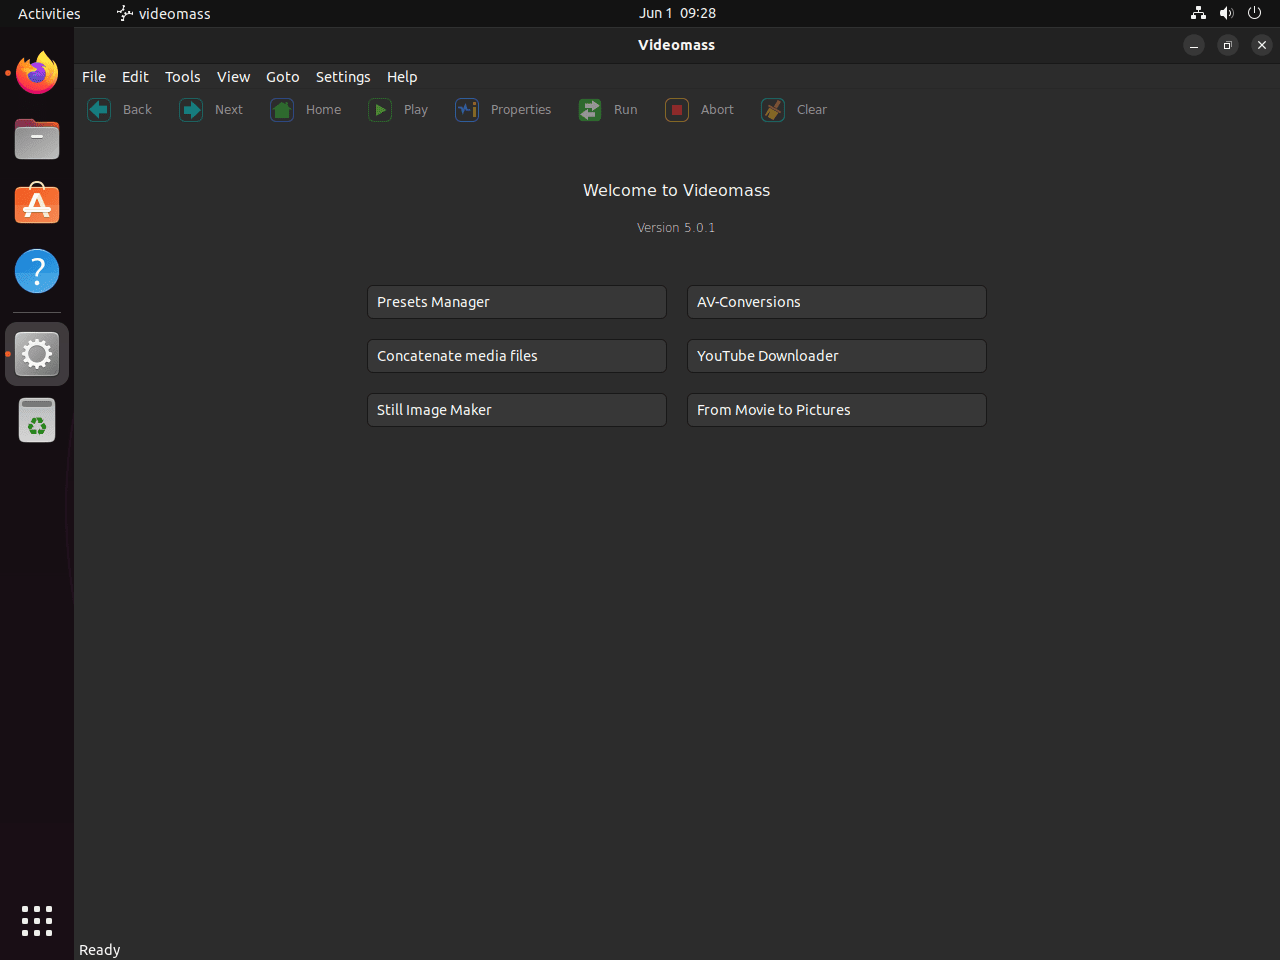
Upon launching VideoMass, a Graphical User Interface (GUI) will appear, guiding you through the initial setup process. To commence, click the “Next >” button.
Locating FFMpeg For Videomass
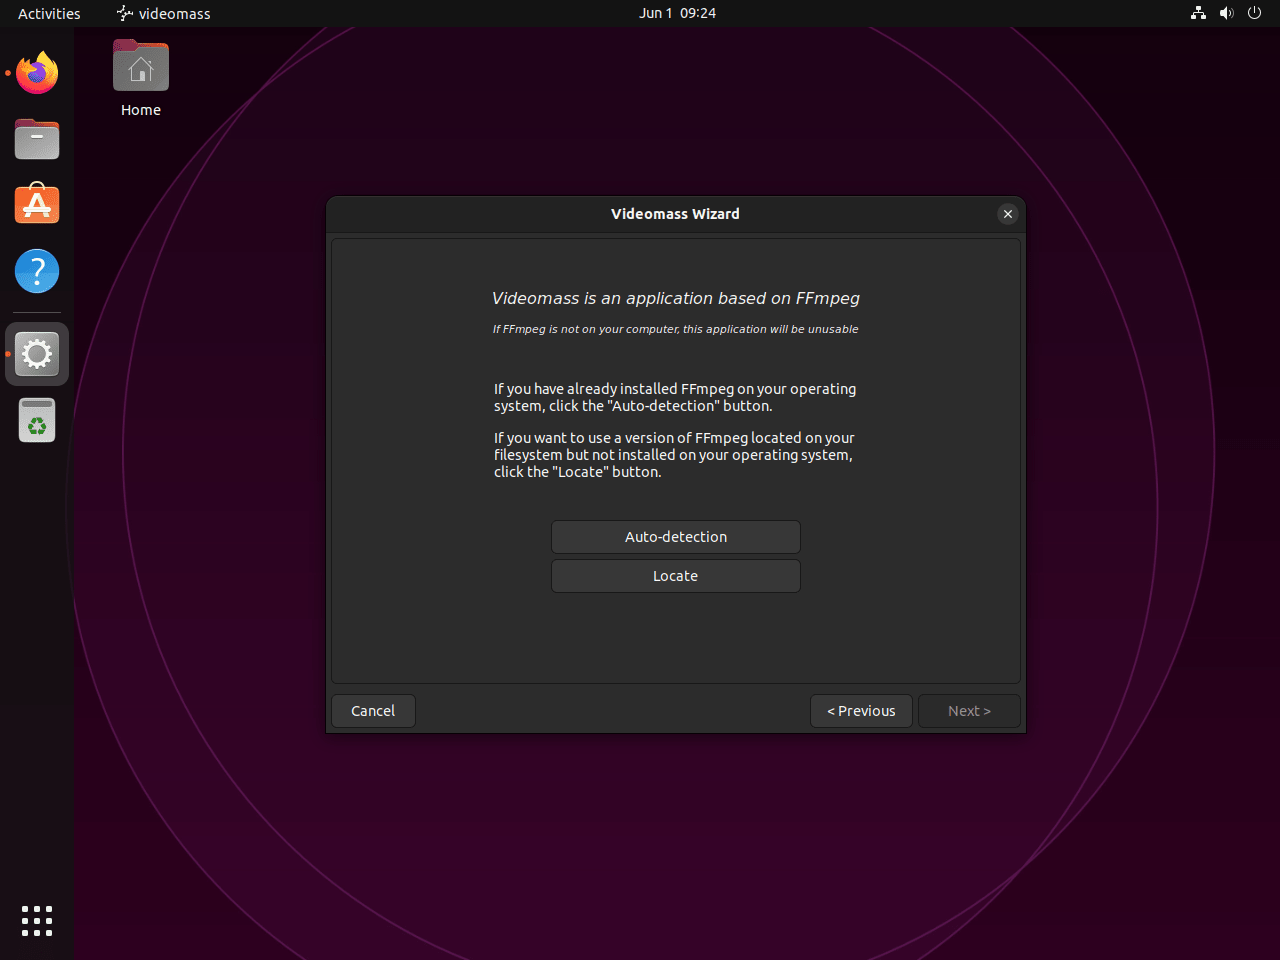
Following the welcome screen, the setup wizard will request the location of the FFMpeg software on your system. FFMpeg is a key component of VideoMass, providing the multimedia handling capabilities that the application leverages.
The “Auto-detection” option will suffice for most users, as it automates locating FFMpeg. If, however, you have a custom installation of FFMpeg, you may need to specify its location manually.
Should you not have FFMpeg installed on your system, you can install it by running the following command in the terminal:
sudo apt install ffmpegAfter addressing the FFMpeg requirement, select your preferred option and click the “Next >” button.
Enable YT-DLP Option For Videomass on Ubuntu
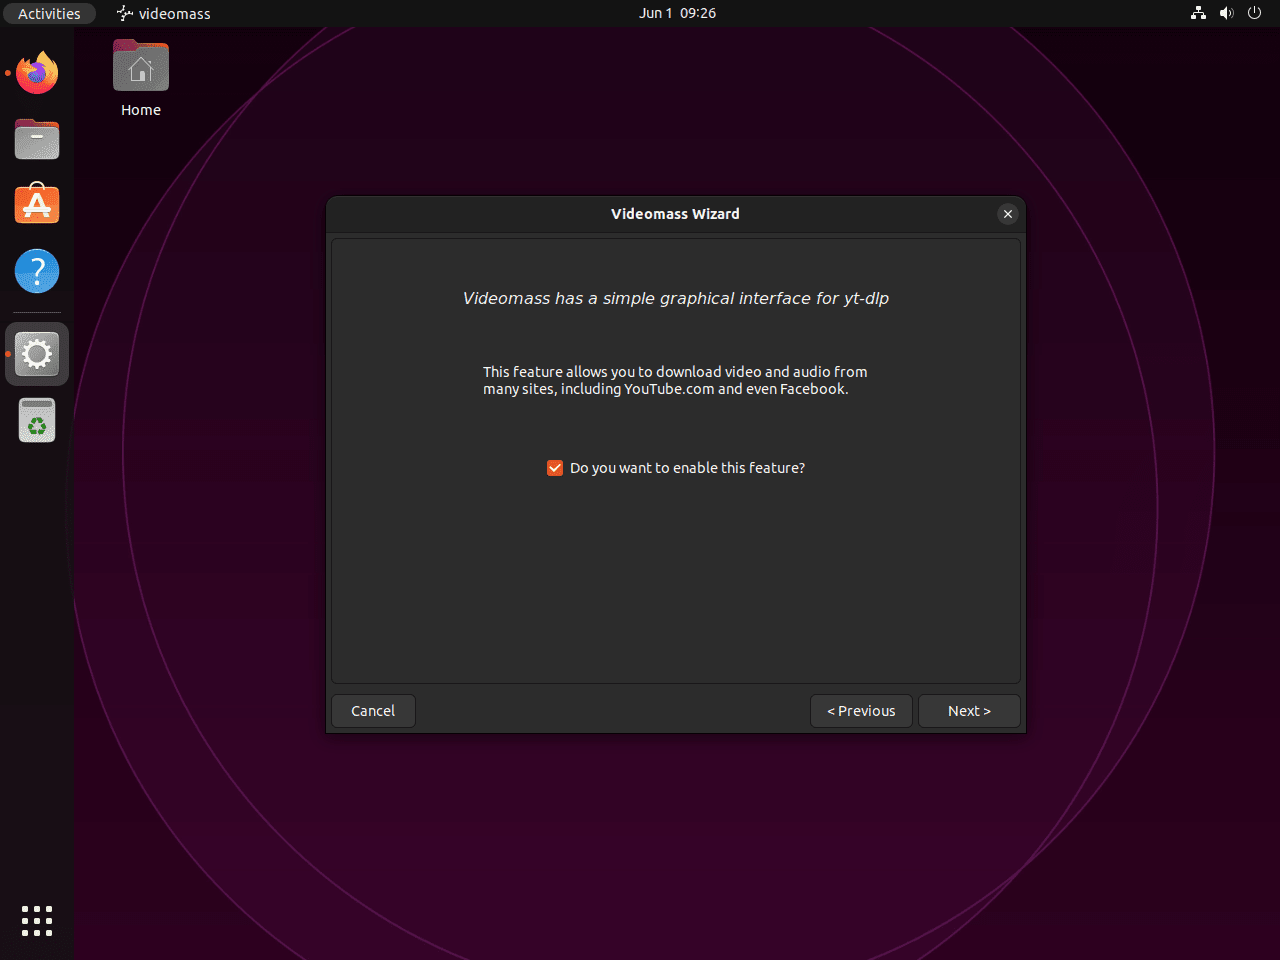
Next, the wizard presents you with a choice for the “yt_dlp“. This optional extra will enable VideoMass to download video and audio from most websites, with YouTube being a prominent example.
Select the tool, ignore the preference, and click the “Next >” button.
Completing the Setup For Videomass
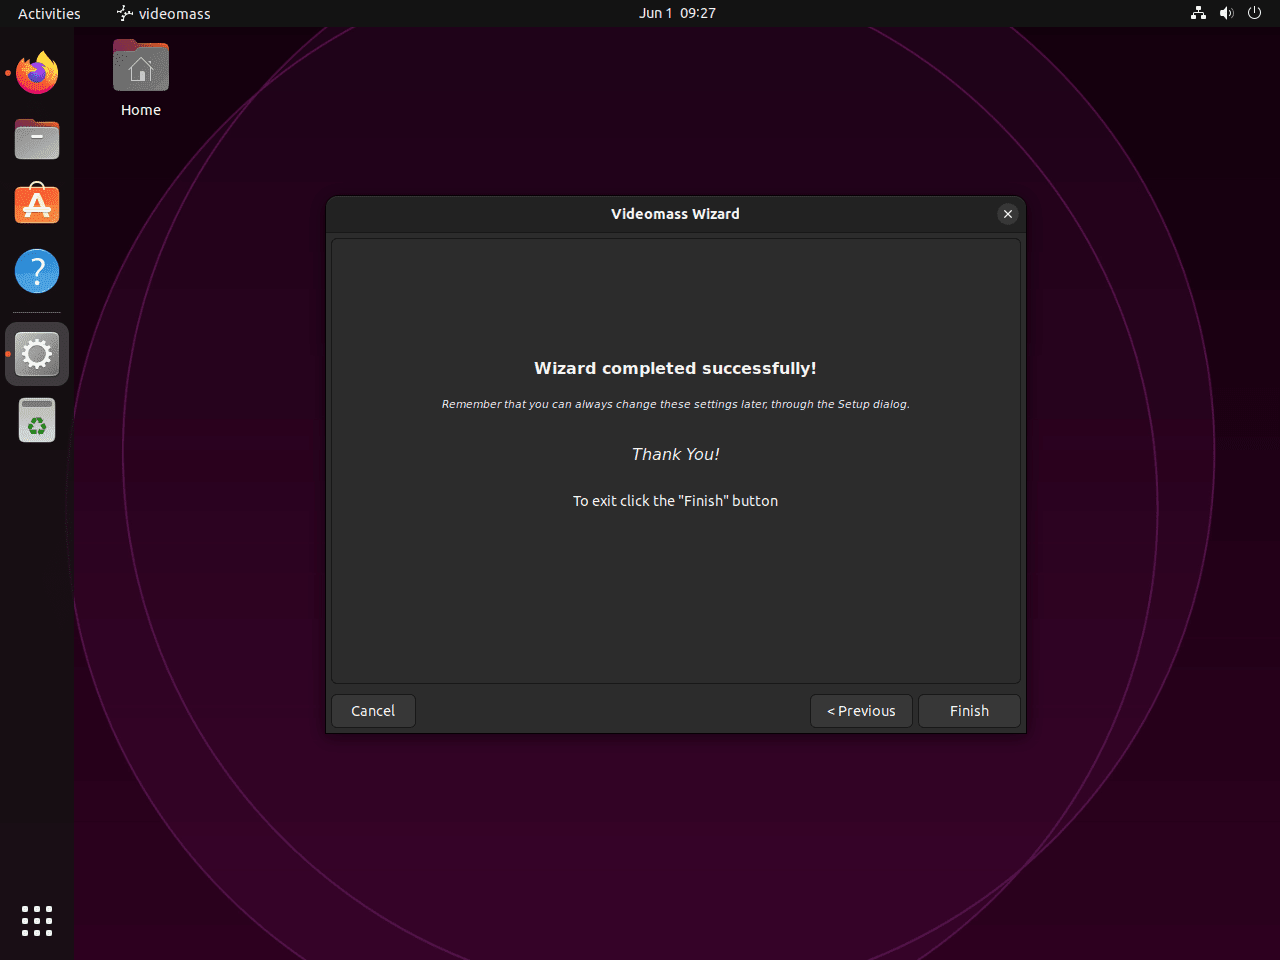
After finalizing your preferences, the setup process concludes. You should now see the complete installation screen. To finish the setup and start using VideoMass, click the “Finish” button.
First-Time Tips with Videomass on Ubuntu
Now that Videomass is installed on your Ubuntu system, let’s dive into some essential tips to get the most out of your video processing software.
Optimizing Your Workflow
Getting familiar with Videomass’s capabilities can significantly streamline your video editing and processing tasks. Here are a few pointers to set you on the right path:
- Explore the Interface: Take some time to navigate through the Videomass interface. Familiarize yourself with the layout and where key features are located.
- Configure Preferences: Access the Preferences section to tweak Videomass to your liking. Adjust settings like default output folder, format preferences, and more to suit your workflow.
- Learn About Format Compatibility: Understanding which video and audio formats are supported will help you work more efficiently, preventing unnecessary conversion steps.
- Utilize Batch Processing: Videomass excels in handling multiple files simultaneously. Experiment with batch processing to save time on large projects.
Customizing Videomass
Personalizing Videomass can enhance your video editing experience. Here are ways to make Videomass work better for you:
- Custom Presets: Dive into creating custom presets for your most common tasks. This feature can significantly speed up your workflow by applying your favorite settings with a single click.
- Adjust Output Settings: For optimal quality and performance, tailor the output settings according to your project’s needs. This includes resolution, bitrate, and codec choices.
- Subtitle Integration: Explore how to add and edit subtitles within your videos. This is crucial for creating accessible and internationally friendly content.
- Real-Time Preview: Make use of the real-time preview feature to check your edits and adjustments before finalizing the process.
Enhancing Video Quality
Achieving the best video quality involves understanding and utilizing Videomass’s tools effectively:
- Experiment with Encoders: Try different encoders to see which one offers the best balance between quality and file size for your needs.
- Understand Bitrates: Learning about bitrates and how they affect video quality can help you make better decisions for your output files.
- Use Filters Wisely: Filters can enhance or degrade your video. Use them sparingly and always preview the results before committing.
- Aspect Ratio and Resolution: Adjusting these settings can improve viewing quality on various devices. Ensure you’re using the optimal settings for your target audience.
Keyboard Shortcuts for Efficiency
Mastering keyboard shortcuts can dramatically speed up your editing process. Here are some essential shortcuts for Videomass on Linux:
- Ctrl + O: Open file dialog
- Ctrl + E: Export current project
- Ctrl + Z: Undo last action
- Ctrl + Shift + Z: Redo last action
Incorporating these tips into your Videomass usage on Ubuntu, you’ll be able to work more effectively and efficiently, allowing for a smoother video editing process. Remember, the key to mastering Videomass is practice and exploration, so don’t hesitate to try out new features and customize the application to fit your unique needs.
Additional Videomass Commands with Ubuntu
Update Videomass
To update Videomass along with other installed software on your system, execute the following command in your terminal:
sudo apt update && sudo apt upgradeThe sudo apt update command fetches the package lists from the repositories and updates them to get information about the newest versions of packages and their dependencies. The sudo apt upgrade command then installs available upgrades of all packages currently installed on the system from the sources configured via sources.list file.
Remove Videomass
Sometimes, you might find it necessary to uninstall software. Maybe you’re making room for different software, or the software doesn’t meet your needs. When installed, Videomass adds quite a few dependencies. Therefore, it’s advisable to use the autoremove command when removing Videomass, as this ensures that all the redundant dependencies are removed along with the software itself, keeping your system lean and efficient.
To uninstall Videomass and its dependencies, run the following command:
sudo apt remove videomassIf you don’t intend to reinstall Videomass, removing the Personal Package Archive (PPA) you added during installation is also recommended. This step ensures that your system’s software sources remain clean and relevant.
To remove the Videomass PPA, execute:
sudo add-apt-repository --remove ppa:jeanslack/videomass -yRecap
Throughout this guide, we’ve walked you through the steps to install Videomass on Ubuntu versions 24.04, 22.04, and 20.04 LTS, showcasing how to leverage this powerful video processing tool to your advantage. From optimizing your workflow and customizing the software to suit your needs, to enhancing video quality and mastering keyboard shortcuts, we’ve covered essential tips to get you started. Remember, the key to making the most of Videomass lies in exploring its features and tailoring it to your video editing tasks. Whether you’re a beginner or an experienced editor, this guide aims to equip you with the knowledge to elevate your video projects on Ubuntu. Happy editing!