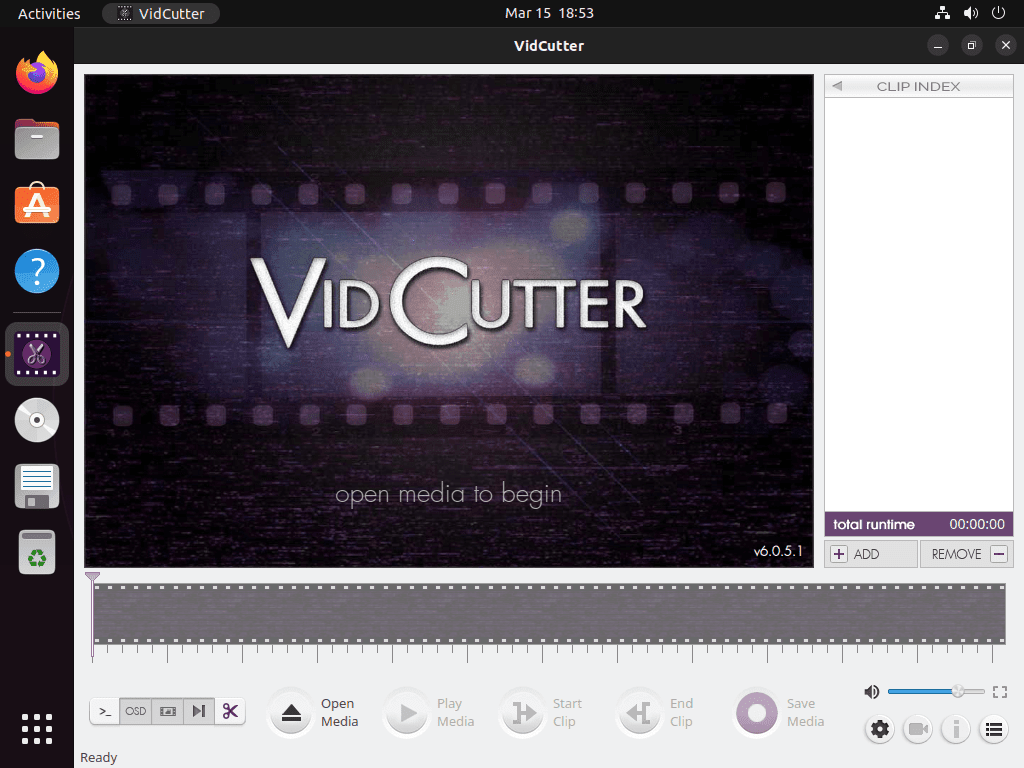
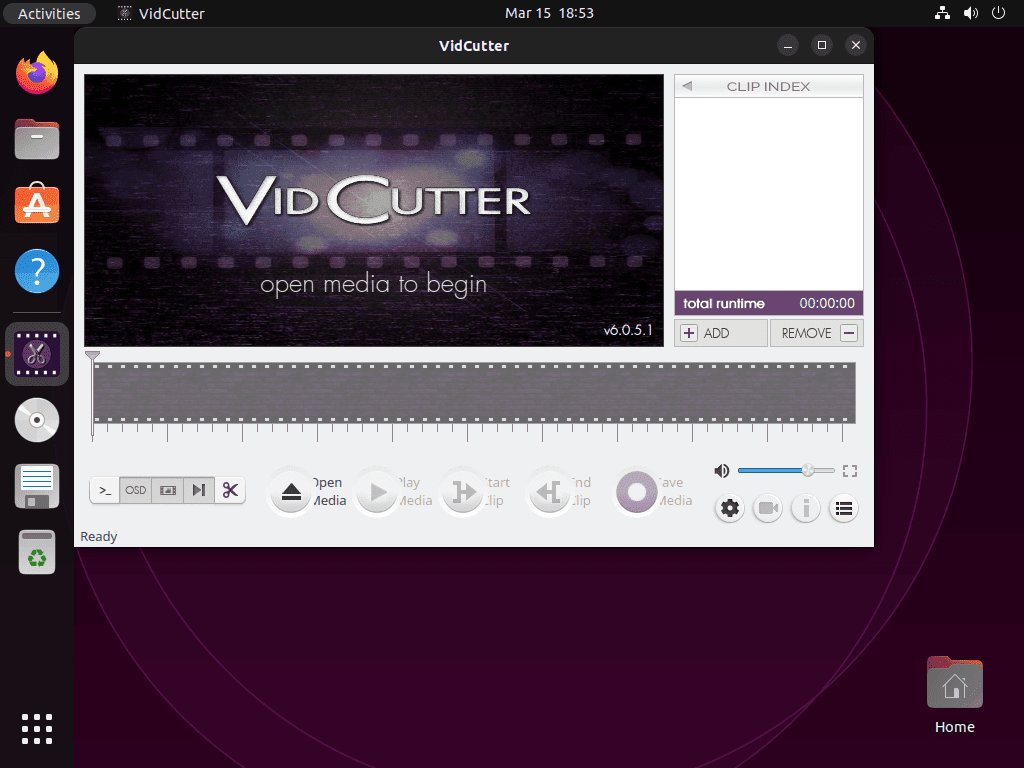
VidCutter stands out as a versatile video editing tool tailored for Ubuntu users. For those aiming to install VidCutter on Ubuntu 22.04 Jammy Jellyfish or its older stable release of Ubuntu 20.04 Focal Fossa, this introduction sheds light on its core features and the advantages it offers over other video editing software.
Key Features of VidCutter:
- User-Friendly Interface: VidCutter boasts an intuitive design, ensuring both beginners and professionals can easily navigate and utilize its features.
- Diverse Editing Capabilities: From cutting and merging to adding text overlays and transitions, VidCutter encompasses a wide range of editing tools.
- Support for Multiple Formats: VidCutter seamlessly handles various video formats, including MP4, MKV, AVI, and FLV, ensuring compatibility with most video files.
- Open-Source Advantage: Being open-source, VidCutter benefits from regular updates and enhancements from the developer community, ensuring it remains up-to-date and feature-rich.
- Optimized Performance: Designed to be lightweight, VidCutter ensures smooth editing without excessive system resources, making it suitable for various hardware configurations.
Undoubtedly, VidCutter is a top-tier video editing solution for Ubuntu, blending user-friendliness with a powerful array of features. Moving forward, this guide will offer detailed steps to install VidCutter on Ubuntu 22.04 Jammy Jellyfish or Ubuntu 20.04 Focal Fossa using the APT package manager or Snapcraft.
Install VidCutter on Ubuntu 22.04 or 20.04 via APT PPA
Step 1: Update Ubuntu Packages Before VidCutter Installation
To install VidCutter, ensure that your system packages are up-to-date. Open the terminal and execute the command below to update your package list and install any available updates:
sudo apt update && sudo apt upgradeStep 2: Import VidCutter PPA on Ubuntu
The VidCutter PPA is the recommended method for Ubuntu-based users to install the latest version of VidCutter. Run the command below in your terminal to add the VidCutter repository:
sudo add-apt-repository ppa:ozmartian/apps -yThis command will add the VidCutter repository to your Ubuntu system.
Step 3: Install VidCutter on Ubuntu 22.04 or 20.04 via APT Command
After adding the repository, update your package list and install VidCutter using the following commands:
sudo apt update
sudo apt install vidcutter
This command will install VidCutter on your Ubuntu system.
Install VidCutter on Ubuntu 22.04 or 20.04 via Snap
The second option to install VidCutter on Ubuntu is to use Snapcraft, a feature similar to Flatpak but made by the same company behind Ubuntu. Snapcraft is not as popular as Flatpak among the general Linux population, but it works well on Ubuntu, given that Canonical is pushing to use Snaps more.
To install VidCutter with Snapcraft, first install the Snap Manager on your system. If you previously removed it, use the following command to reinstall:
sudo apt install snapd -yNext, install the core files for SNAP to avoid any issues using the following command:
sudo snap install coreNow install VidCutter using the following command:
sudo snap install vidcutterThis command will install VidCutter on your Ubuntu 22.04 Jammy Jellyfish or Ubuntu 20.04 Focal Fossa using Snapcraft with the command line terminal.
Launch VidCutter on Ubuntu 22.04 or 20.04
You can launch the application from the command terminal after installing VidCutter on Ubuntu using either APT or Snapcraft. Here’s how:
CLI Methods to Launch VidCutter on Ubuntu 22.04 or 20.04
To launch VidCutter with the APT method, open the command terminal and enter the following command:
vidcutterThis will launch the VidCutter application.
To launch VidCutter with the Snap method, open the command terminal and enter the following command:
sudo snap run VidCutterGUI Method to Launch VidCutter on Ubuntu 22.04 or 20.04
If you have installed VidCutter on your system, you can easily find the application icon to launch it from your application menu. Here’s how:
- Click on the “Activities” button on the top left corner of your Ubuntu desktop.
- In the search bar, type “VidCutter”.
- Click on the VidCutter icon to launch the application.
Getting Started with VidCutter on Ubuntu Linux
Having installed VidCutter on Ubuntu, delving into the features and nuances of this tool can greatly enhance your video editing experience. Here are some invaluable tips and insights to guide you:
General Tips for VidCutter on Ubuntu
- Familiarize with the Interface: Spend a few moments exploring VidCutter’s user interface. Identifying the placement of tools and features can significantly streamline your editing process.
- Keyboard Shortcuts: Get to know VidCutter’s keyboard shortcuts. Leveraging these can make your editing workflow much more efficient.
- Check the Documentation: VidCutter offers a rich set of documentation. The built-in help section is a treasure trove for detailed guides or troubleshooting.
Customizing VidCutter on Ubuntu
- Themes: VidCutter allows for aesthetic personalization. You can toggle between various themes within the settings, providing a more tailored editing environment.
- Extensions and Plugins: Explore available plugins and extensions for VidCutter. These can introduce or enhance new functionalities, catering to your specific video editing needs.
Features to Explore in VidCutter on Ubuntu
- Frame-by-Frame Precision: One of VidCutter’s standout features is its frame-by-frame editing. This ensures high-precision cuts, which is crucial for professional-looking edits.
- Save Points: As you edit, remember to set save points. This allows you to return to specific points in your project without manually locating them again.
- Clip Indexing: VidCutter offers an efficient clip indexing system. As you segment clips, it indexes them for easy access, enabling you to modify or reorder quickly.
Be Mindful of File Formats with VidCutter on Ubuntu
VidCutter supports a variety of video file formats. However, for best results:
- Consistent Formats: Ensure your source videos are in consistent formats. Mixing formats can sometimes result in export issues.
- Export Settings: Before finalizing your edit, check the export settings to ensure compatibility with your intended playback platform.
Navigating a new software can seem daunting, but with these tips, you’ll be mastering VidCutter on your Ubuntu system in no time.
Additional VidCutter Commands with Ubuntu 22.04 or 20.04
Update VidCutter on Ubuntu 22.04 or 20.04
Keeping VidCutter up-to-date is important to ensure you have access to the latest features and bug fixes. Here’s how to update and remove VidCutter on Ubuntu Linux, depending on the method used:
APT Update Method For VidCutter on Ubuntu
To update VidCutter installed via APT, use the following command:
sudo apt upgrade && sudo apt upgradeThis command will update your package list and install any available updates.
Snap Update Method For VidCutter on Ubuntu
To update VidCutter installed via Snap, use the following command:
sudo snap refreshThis command will update VidCutter to the latest version available via Snap.
Remove VidCutter From Ubuntu 22.04 or 20.04
If you no longer require VidCutter on your system, here’s how to remove it.
APT Remove Method For VidCutter on Ubuntu
To remove VidCutter installed via APT, use the following command:
sudo apt remove vidcutterThe command will remove the VidCutter package and any unneeded dependencies from your system.
Lastly, to remove the VidCutter PPA run the following command:
sudo add-apt-repository --remove ppa:ozmartian/apps -ySnap Remove Method For VidCutter on Ubuntu
To remove VidCutter installed via Snap, use the following command:
sudo snap remove vidcutterThis command will remove the VidCutter snap from your system.
Conclusion
In conclusion, you can easily install VidCutter on Ubuntu Linux using either the APT or Snapcraft method. Once installed, you can launch VidCutter from the command terminal or the application menu. VidCutter provides basic and advanced editing features, such as adding audio tracks, text overlays, and image overlays. To maximize your use of VidCutter, learn the keyboard shortcuts and consult online tutorials or Linux community forums. Always update VidCutter and uninstall it if you no longer need it.


