

This guide will demonstrate how to install uGet on Ubuntu 24.04, 22.04, or 20.04 LTS utilizing the command-line terminal.
uGet is a versatile download manager that has garnered attention for its robust feature set and adaptability across various Linux distributions. Renowned for its lightweight framework and user-friendly interface, uGet facilitates efficient management of downloads, ensuring speed and reliability. Its integration with multiple browsers and compatibility with various file types underscores its utility in diverse computing environments. The application supports batch downloads, offers detailed download categorization, and allows users to pause and resume downloads seamlessly. Notably, uGet’s scheduling feature stands out, enabling users to plan downloads according to their convenience.
Key Features of uGet:
- Lightweight and user-friendly interface: Ensures ease of use for individuals at all technical levels.
- Cross-platform compatibility: Works seamlessly across different Linux distributions.
- Browser integration: Facilitates direct download management from various web browsers.
- Batch download support: Enables downloading multiple files simultaneously, enhancing efficiency.
- Pause and resume functionality: Offers control over the download process, allowing interruption and resumption as needed.
- Download categorization: Helps organize downloads effectively, improving accessibility.
- Scheduling capabilities: Allows users to set download times, optimizing resource usage.
- Support for various protocols: Ensures versatility in handling different types of download links.
Now, let’s dive into the technical steps to install uGet on your Ubuntu system, ensuring you can leverage its comprehensive features to streamline your download processes.
Install uGet on Ubuntu via APT
Update Ubuntu System Before uGet Installation
Before installing uGet, it’s crucial to update your Ubuntu operating system to ensure all existing packages are up to date. This guarantees your system has the latest security patches and package versions, enhancing overall stability.
To update your Ubuntu system, execute the following command in your terminal:
sudo apt update && sudo apt upgrade Install uGet via APT Command
uGet is available by default in Ubuntu’s repositories, and it’s often maintained with the latest version. This makes the installation process straightforward, as you can easily install the application using the package manager.
Run the following command to install uGet on your system:
sudo apt install ugetLaunching uGet on Ubuntu
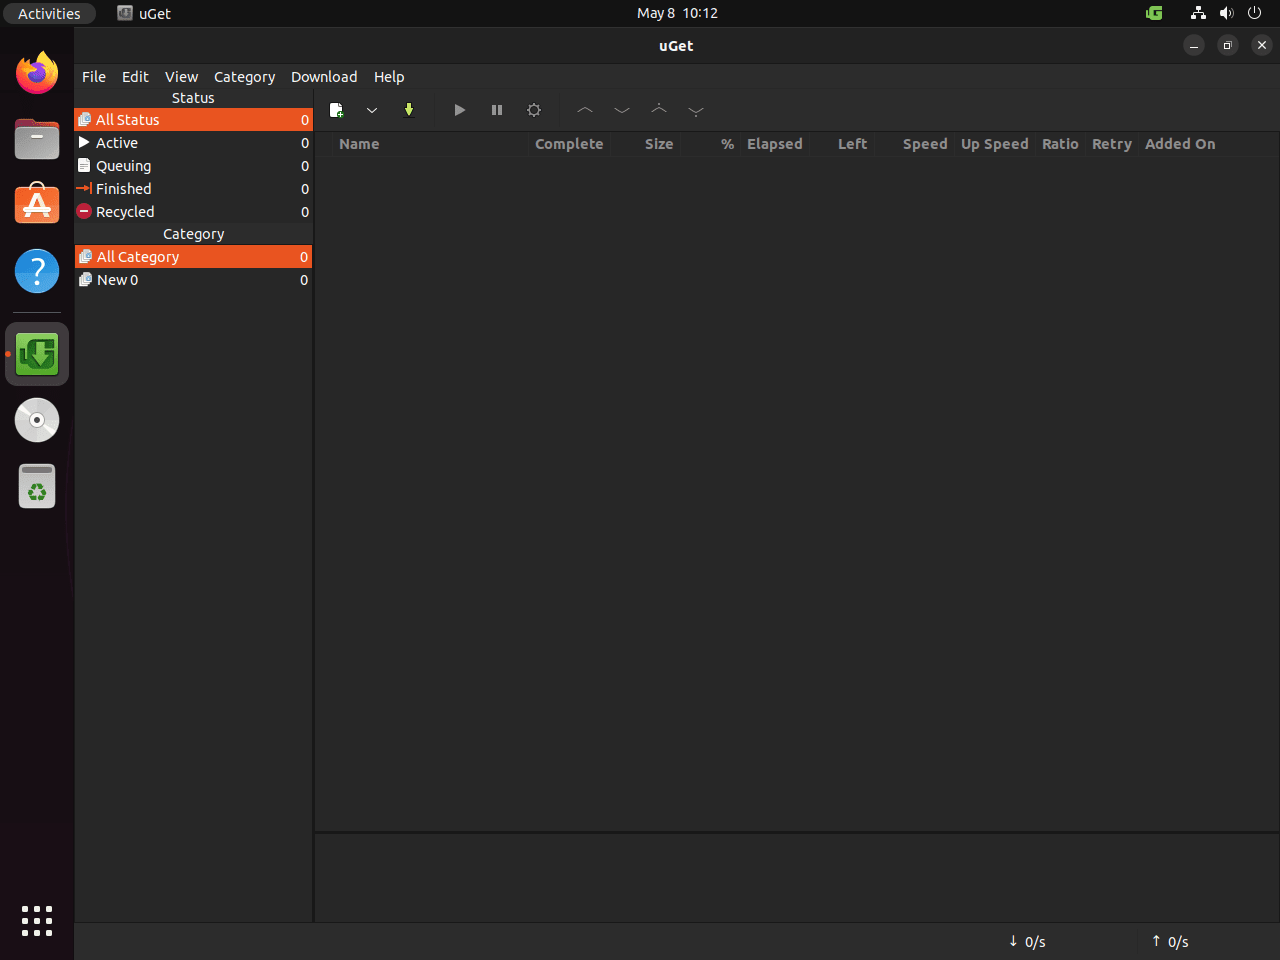
With uGet installed on your system, you can launch the application and manage your downloads. There are multiple ways to open uGet, depending on your preference.
Launch uGet from Terminal
To launch uGet from your terminal, execute the following command:
uget-gtkWhile this method is suitable for users comfortable with the command line, it might not be the most practical option for users who prefer a graphical interface.
Launch uGet from Desktop
You can launch uGet directly from your desktop environment for a more user-friendly approach. To do this, navigate through the following path on your desktop:
Activities > Show Applications > uGetFirst-Time Tips with uGet on Ubuntu
Now that you have uGet installed and launched on your Ubuntu system, it’s time to get acquainted with some tips and best practices to make the most of your downloading experience.
General Tips
- Monitor Clipboard: Enable the clipboard monitoring feature in uGet to automatically detect and add download URLs copied to your clipboard. To do this, navigate to Edit > Settings > Clipboard and check the “Monitor Clipboard” box.
- Speed Limit: To avoid consuming all your bandwidth, set a download speed limit in uGet. Go to Edit > Settings > Bandwidth and adjust the “Download Speed Limit” slider to your desired value.
- Multiple Connections: Boost your download speeds by configuring the number of connections per download. Head to Edit > Settings > Download > Connections and set the desired number of connections.
Customizations
- Change Theme: To change the appearance of uGet, access Edit > Settings > Appearance and choose your preferred theme from the “Theme” dropdown menu.
- Custom Categories: Organize your downloads by creating custom categories. Click the + button at the bottom of the Categories panel, then enter a name for your new category.
Other Tips
- Resume Incomplete Downloads: In case of interrupted downloads, you can resume them easily. Right-click on the download entry in the main window, and select “Resume” from the context menu.
- Import and Export Download List: To import or export your download list, go to File > Import Downloads or File > Export Downloads. This is particularly useful when migrating your uGet setup to a new system.
- Shortcut Keys: Master uGet’s shortcut keys for a more efficient user experience. Some essential shortcuts include Ctrl+N (New Download), Ctrl+D (Delete Download), and Ctrl+R (Resume Download). For a full list of shortcuts, check the official uGet documentation.
Additional uGet Commands with Ubuntu
Update uGet
In most cases, uGet updates automatically alongside your system packages through the APT package manager, ensuring you always have the latest version and features. However, if you want to check for updates manually, you can execute the following command in your terminal:
sudo apt update && sudo apt upgradeThis command updates the package list on your system and upgrades all installed packages, including uGet, to their latest versions.
Remove uGet
If you decide to uninstall uGet from your Ubuntu system, it’s essential to remove its dependencies as well to keep your system clean and free from unnecessary files. To uninstall uGet and its dependencies, run the following command in your terminal:
sudo apt remove ugetThis command removes uGet and any unused dependencies, helping you maintain a clutter-free system.
Closing Thoughts
We’ve walked through the steps to install uGet on Ubuntu 24.04, 22.04, or 20.04 LTS, showing you how to harness this powerful download manager to streamline your downloads. Remember, uGet isn’t just about getting files faster; it’s about organizing your downloads, scheduling them to suit your timetable, and making your download experience smoother. Give it a spin, tailor it to your needs, and see how it transforms your file management. Whether you’re a casual downloader or need serious download muscle, uGet’s got you covered on your Ubuntu system. Happy downloading!