

This guide will demonstrate how to install Skype on Ubuntu 24.04, 22.04 or 20.04 LTS releases, detailing three methods via the command-line terminal: through Skype’s APT repository offering stable or preview versions, via Snapcraft, and using Flatpak with Flathub’s third-party repository for alternative package management.
Skype, a renowned communication tool, offers an array of features catering to diverse needs, from casual conversations to professional collaborations. Its compatibility with Ubuntu, a popular Linux distribution, broadens its appeal, especially among developers and system administrators. Highlighted below are key attributes of Skype that make it a staple in digital communication:
- Ease of Access: Quick installation and setup, ensuring swift integration into daily workflows.
- Cross-Platform Communication: Enables seamless interaction across various operating systems.
- High-Quality Video and Audio Calls: Facilitates clear and reliable remote meetings and discussions.
- Screen Sharing Capabilities: Essential for demonstrations, presentations, or collaborative work.
- Group Chat and Calling Features: Supports team collaborations and group discussions.
- File Sharing: Conveniently share documents, images, and other files directly through the chat interface.
- Integration with Microsoft Services: Streamlines workflows for users reliant on Microsoft ecosystems.
As a robust tool, Skype’s installation on Ubuntu servers paves the way for efficient and effective communication. The technical aspects of its installation are straightforward, ensuring users and administrators can quickly harness Skype’s capabilities for their communication needs. The following sections delve into the technical procedures for installing Skype on Ubuntu, offering clear, step-by-step instructions for a hassle-free setup.
Install Skype on Ubuntu via APT
Update Ubuntu Before Skype Installation
Before installing any new software on your Ubuntu system, it’s a good idea to update your system to ensure that all your installed software is up to date. You can do this by running the following commands in your terminal:
sudo apt update && sudo apt upgradeInstall Initial Packages For Skype APT Installation
Before importing the GPG key and Skype repository, execute the following command that will verify and install these packages:
sudo apt install software-properties-common apt-transport-https curl ca-certificatesInstall Skype on Ubuntu via APT Command
To install Skype on Ubuntu, follow a few simple steps. Firstly, you need to download and import the GPG key with the following “curl” command:
curl -fsSL https://repo.skype.com/data/SKYPE-GPG-KEY | sudo gpg --dearmor | sudo tee /usr/share/keyrings/skype.gpg > /dev/nullOnce the GPG key is in place, you can install Skype. There are two installation options available: stable and preview (beta). Please note that it is not possible to have both repositories active simultaneously. If you wish to switch between versions, you must remove the current repository, import the desired repository, and then re-install Skype.
Option 1: Install Skype on Ubuntu – stable
The recommended option is to install the stable version of Skype. You can do this by using the following command:
echo deb [arch=amd64 signed-by=/usr/share/keyrings/skype.gpg] https://repo.skype.com/deb stable main | sudo tee /etc/apt/sources.list.d/skype.listAdd the Skype preview repository to your system, then update your repository list to access the latest package information.
Execute the following command to achieve this:
sudo apt updateThis command adds the Skype stable repository to your system. You can now install the stable version of the Skype client by running the following command:
sudo apt install skypeforlinuxOption 2: Install Skype on Ubuntu – preview (beta)
Most users are not recommended to install the unstable or preview build version of Skype, as it may contain bugs that have not been thoroughly tested. However, if you prefer to use the latest features, you can install the preview version of Skype by following the steps below.
Add the Skype preview repository to your system by using the following command:
echo deb [arch=amd64 signed-by=/usr/share/keyrings/skype.gpg] https://repo.skype.com/deb unstable main | sudo tee /etc/apt/sources.list.d/skype.listYou will then need to update your repository list to reflect the new changes by running the following command:
sudo apt updateFinally, install the preview version of Skype by running the following command:
sudo apt install skypeforlinuxInstall Skype on Ubuntu via Snapcraft
The second method we examine involves utilizing Snapcraft to install Skype on Ubuntu 24.04, 22.04 or 20.04. Snapcraft simplifies the software installation process on Ubuntu, offering a seamless approach for setting up various applications, including Skype.
Ensure Snap is Installed on Your Ubuntu System
If Snap isn’t readily available on your system, it can be installed promptly using the following command:
sudo apt install snapd -yInstall Core Snap
Installing the ‘core’ snap before any software installation is advised. This foundational Snap is crucial as it ensures a stable, functional environment for all other Snap applications. You can install the core snap with this command:
sudo snap install coreInstall Skype on Ubuntu via Snap Command
Once the core snap is installed, the system is prepared for Skype installation. Initiate the Skype installation process by running the command:
sudo snap install skypeAfter you execute this command, Snapcraft will complete the Skype installation process.
Install Skype on Ubuntu via Flatpak and Flathub
This last section explores another method to install Skype on your Ubuntu system, employing the Flatpak package manager. Flatpak facilitates isolated software deployments, creating a universal runtime environment that seamlessly allows applications to run on any Linux distribution.
Note: If Flatpak isn’t installed on your system, please refer to the detailed guide on “How to Install Flatpak on Ubuntu” for instructions on deploying the most recent and supported version of Flatpak.
Enable Flathub for Skype on Ubuntu
Before installing Skype through Flatpak on Ubuntu 24.04, 22.04, or 20.04, activating the Flathub repository, a crucial source for Flatpak applications, is imperative.
Execute the following command in your terminal to enable Flathub:
sudo flatpak remote-add --if-not-exists flathub https://flathub.org/repo/flathub.flatpakrepoBy running this command, you incorporate the Flathub repository into your Flatpak configuration, granting access to various applications, including Skype.
Install Skype on Ubuntu via Flatpak Command
With Flathub now enabled, you are set to install Skype on your Ubuntu system. Utilize the flatpak install command as shown below:
flatpak install flathub com.skype.ClientThis command directs the system to install Skype from the Flathub repository, assuring you obtain the latest version of the application.
Launching Skype on Ubuntu via CLI or GUI
After completing the installation of Skype, you can access the application in a few different ways.
CLI Commands to Launch Skype
One way to launch Skype is by opening your terminal and typing the following command:
APT Installations run command:
skypeSnap Installations run command:
snap run skypeFlatpak Installations run command:
flatpak run com.skype.ClientGUI Path to Launch Skype
However, this method is impractical as it ties up your terminal and limits your ability to use other commands. Instead, a more practical way to launch Skype is through the graphical user interface (GUI).
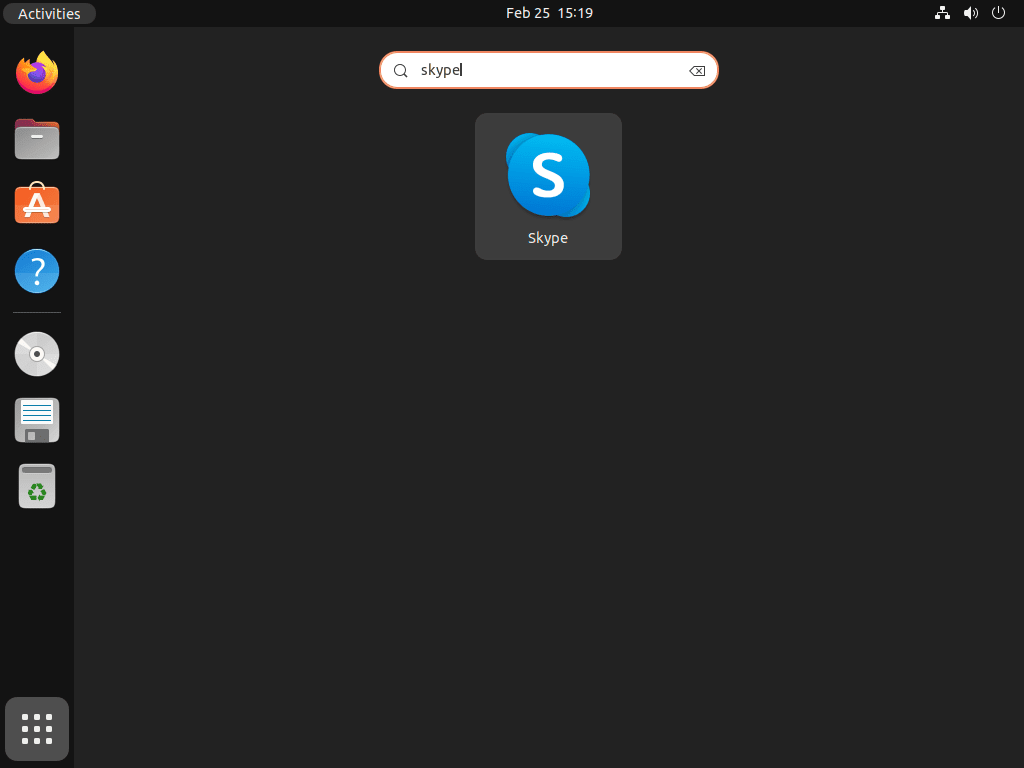
To launch Skype from the GUI, you can follow the steps below:
- Click on the “Activities” menu in the top left corner of your desktop.
- Click on “Show Applications.”
- Type “Skype” in the search bar.
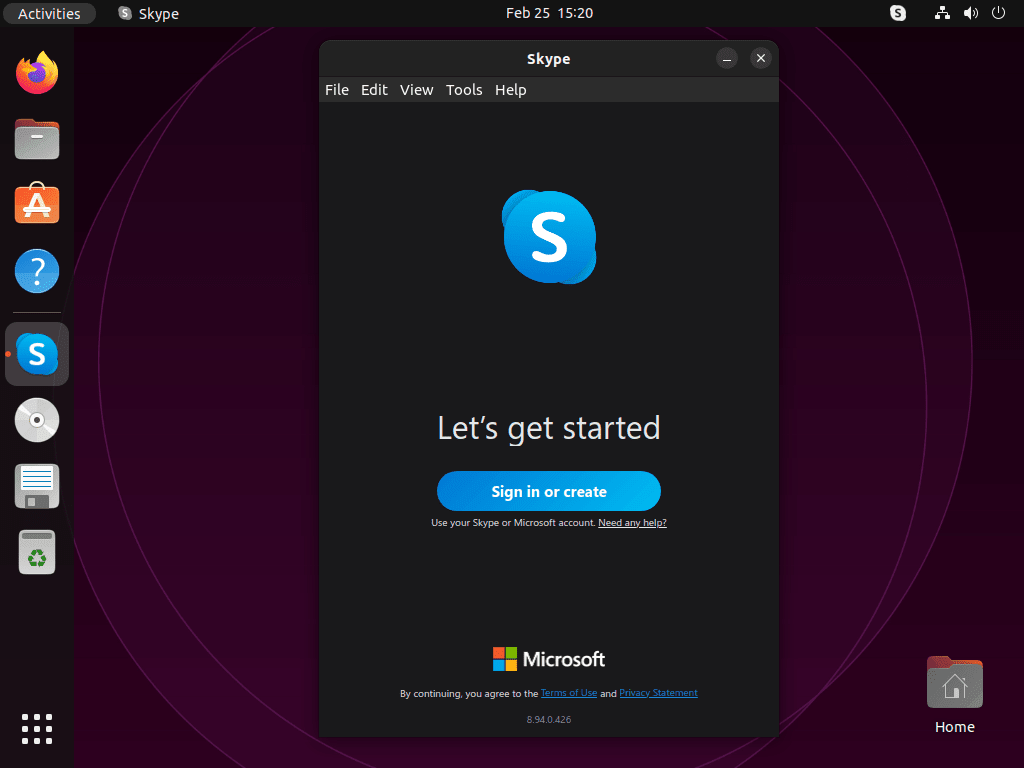
- Click on the Skype icon to launch the app quickly.
Getting Started with Skype on Ubuntu
After successfully installing Skype on Ubuntu, follow these initial tips to start using the software efficiently:
General Skype Tips with Ubuntu
- Audio and Video Setup: Skype typically prompts for audio and video setup upon first launch. Ensure your microphone, speakers, and camera are correctly connected and selected.
- Test Call: Make a test call to “Skype Test Call” or “Echo123” to ensure your audio and video setup is working correctly.
- Profile Setup: Set up your profile by adding a picture and updating your status so your contacts can quickly identify and reach you.
Skype Customization Tips with Ubuntu
Skype allows for personalization to enhance your user experience.
- Change Theme: Skype on Ubuntu allows users to switch between different themes. Go to Settings > Appearance to select a theme that suits your preference.
- Notification Settings: Customize your notifications to avoid being disturbed during important tasks. Navigate to Settings > Notifications and adjust according to your preference.
- Start Skype Minimized: If you prefer Skype running in the background upon startup, go to Settings > General > Start Skype minimized and enable this option.
Other Skype Tips with Ubuntu
- Keyboard Shortcuts: Learning keyboard shortcuts can significantly speed up your navigation and usage of Skype on Ubuntu. For instance, pressing Ctrl + I opens the Notifications panel, while Ctrl + , opens the Settings panel.
- Adding Contacts: To add contacts, click on the Contacts tab, then select New Contact. You can search by Skype username, email, or phone number.
- Screen Sharing: Skype allows you to share your screen during calls. Click on the Share Screen button during a call to start sharing your desktop or specific application window.
Additional Skype Commands with Ubuntu
Update Skype
You can run the following command in your terminal to check for updates, depending on the installation method you initially used:
APT Skype Update Command
sudo apt updatesudo apt upgradeSnap Skype Update Command Method
sudo snap refreshFlatpak Skype Update Command
flatpak updateRemove Skype
If you wish to remove Skype from your Ubuntu system, you can use the following command that matches the original installation method:
APT Skype Remove Command
sudo apt remove skypeforlinuxNext, use the following command for users who want to remove Skype altogether.
sudo rm /etc/apt/sources.list.d/skype*.listFinally, delete the GPG key.
sudo rm /usr/share/keyrings/skype*.gpgSnap Skype Remove Command
sudo snap remove skypeFlatpak Skype Remove Command
flatpak uninstall com.skype.ClientConclusion
We’ve successfully navigated through the installation of Skype on Ubuntu, covering versions 24.04, 22.04, and 20.04 with three different methods. Remember, choosing the right installation approach depends on your preference and system needs. Whether it’s via Skype’s APT repository, Snapcraft, or Flatpak, each method ensures you have Skype up and running smoothly. Don’t forget to regularly update the app for the latest features and security patches. And most importantly, enjoy the seamless communication experience Skype offers on your Ubuntu system.