Skype, developed by Microsoft, is a trusted communication platform offering voice and video calls, instant messaging, and file sharing. This guide is tailored for those considering learning to install Skype on Rocky Linux 9 or the older stable Enterprise Linux release of Rocky Linux 8.
Key Features of Skype:
- High-Quality Calls: Engage in crystal-clear voice and video conversations.
- Instant Messaging: Exchange real-time messages, files, and images.
- Affordable Long-Distance Calls: Connect internationally without breaking the bank.
- Group Communication: Host group calls and chats for collaborative sessions.
- Screen Sharing: Present or discuss directly by sharing your screen.
- Integration with Microsoft: Seamlessly work with applications like Outlook and Office.
Skype’s user-friendly interface and robust features make it a preferred choice for personal and professional use. Whether you’re catching up with family, attending business meetings, or collaborating on projects, Skype ensures a smooth communication experience.
As explained at the start, this guide will walk you through the steps to install Skype on Rocky Linux 9 or the older stable Enterprise Linux release of Rocky Linux 8, using the command line terminal. We’ll also touch upon managing and updating the application, ensuring you get the most out of your Skype experience.
Install Skype on Rocky Linux 9 or 8 via DNF
Update Rocky Linux System Before Skype Installation
Before installing Skype, it is recommended to update your system to ensure all packages are current, which will help prevent any potential conflicts during the installation of Skype.
sudo dnf upgrade --refreshMoving on to installing Skype on Rocky Linux, it’s worth noting that two versions are available: stable and unstable. While the unstable version may offer some additional features, it’s generally recommended that most users opt for the stable version, as it is updated automatically with new releases when using the Skype RPM. However, it’s important to remember that only one version of Skype can be installed on your system at any given time using these methods.
Install Skype Stable on Rocky Linux (Recommended)
The following command can automatically create and import the stable repository for Skype.
sudo tee /etc/yum.repos.d/skype-stable.repo<<EOF
[skype-stable]
name=Skype - STABLE
baseurl=https://repo.skype.com/rpm/stable/
gpgcheck=1
repo_gpgcheck=1
gpgkey=https://repo.skype.com/data/SKYPE-GPG-KEY
EOF
You may now install the Skype client’s stable version using the following command.
sudo dnf install skypeforlinux -yInstall Skype Unstable on Rocky Linux
It is worth noting that installing the unstable or preview build version of Skype is not typically recommended for the average user. However, for those curious who prefer to test developer builds, this version may be better than the stable version. You can use the following command to create and import the unstable repository for Skype automatically.
sudo tee /etc/yum.repos.d/skype-unstable.repo<<EOF
[skype-unstable]
name=Skype - UNSTABLE
baseurl=https://repo.skype.com/rpm/unstable/
gpgcheck=1
repo_gpgcheck=1
gpgkey=https://repo.skype.com/data/SKYPE-GPG-KEY
EOF
You may install the unstable version of the Skype client using the following command.
sudo dnf install skypeforlinux -yInstall Skype on Rocky Linux 9 or 8 via Flatpak and Flathub
This section will explore installing Skype on Rocky Linux 9 or 8 using Flatpak and Flathub, two prominent tools in the Linux ecosystem, as an alternative method.
What are Flatpak and Flathub?
Flatpak is a software utility designed to provide a universal package management system. Its primary goal is to ensure applications are compatible across various Linux distributions. Flatpak minimizes potential conflicts with system libraries by encapsulating applications in isolated environments.
Flathub, on the other hand, is a repository for applications packaged using Flatpak. It is a central hub where users can find and install various applications.
Setting Up Flathub for Skype on Rocky Linux
Before diving into the installation process, ensuring the Flathub repository is active on your system is essential. This step is crucial as it allows you to access and install applications available on Flathub, including Skype.
To activate the Flathub repository, execute the following command:
sudo flatpak remote-add --if-not-exists flathub https://flathub.org/repo/flathub.flatpakrepo
Once this command is successfully executed, your system can access many Flathub applications.
Installing Skype on Rocky Linux 9 or 8
With the Flathub repository now active, you can install Skype on your Rocky Linux system. The installation is straightforward and can be achieved using the flatpak install command:
flatpak install flathub com.skype.ClientUpon completion of this command, Skype will be installed and ready for use on your Rocky Linux system.
Launching Skype on Rocky Linux 9 or 8
With the installation of Skype now complete, there are various ways in which you can access and use the application. One option is to launch Skype directly from the command line terminal using the following command.
skypeAlternatively, Flatpak installations of Skype need to run the following instead:
flatpak run com.skype.ClientFor most users, the most common method to launch the Skype application would be using the following file path. This path is typically used to access and launch applications on a desktop environment.
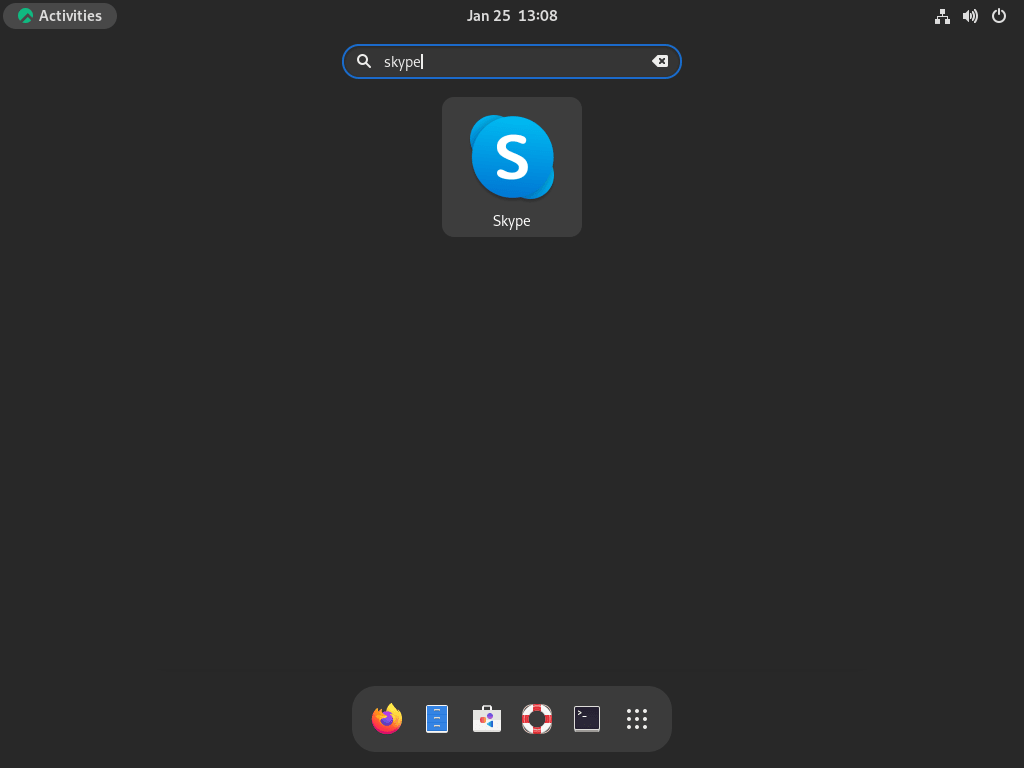
Activities > Show Applications > Skype
Tips on Getting Started with Skype on Rocky Linux 9 or 8
Now that you have installed Skype on Rocky Linux, here are some tips for first-time users looking to get started:
General Tips with Skype on Rocky Linux
- Installation Integrity: Always download Skype from the official website or Rocky Linux’s trusted repositories. Unofficial sources might pose security risks.
- Update Regularly: Skype frequently releases updates that improve performance and security. Keep an eye out for them, or automate updates if possible.
- Audio & Video Settings: Before your first call, head to
Skype > Preferences > Audio/Videoand test your microphone, speakers, and camera. This ensures you’re heard and seen clearly. - Connectivity: If you experience connectivity issues, ensure no other apps are hogging your bandwidth. Consider using a wired connection for important calls.
Customizations with Skype on Rocky Linux
- Themes: Skype on Linux supports both light and dark themes. Navigate to
Skype > Preferences > Appearanceto select the one that’s easy on your eyes. - Notifications: You can customize notifications under
Skype > Preferences > Notifications. Choose which events you want to be notified about and how. - Privacy Settings: To manage who can contact you or see your status, go to
Skype > Preferences > Privacy.
Other Tips with Skype on Rocky Linux
- Keyboard Shortcuts: Skype has a plethora of keyboard shortcuts that can make your workflow smoother. You can view these under
Skype > Preferences > Keyboard Shortcuts. - CLI Integration: For those who prefer the terminal, third-party solutions allow you to access Skype via command-line. This can be especially handy for scripting and automation.
- Backup: Regularly back up your chat history and shared files. While Skype stores conversations in the cloud, having a local backup is always a good practice.
Remember, as with any software, the key to a seamless experience is familiarizing yourself with its features and settings. Take some time to explore Skype’s options and customize it to suit your preferences.
Additional Skype Commands on Rocky Linux 9 or 8
Update Skype on Rocky Linux 9 or 8
To ensure that you have the latest version of Skype installed on your system, you can use the DNF update command in the terminal, just as you would when checking for updates for your entire system. This command will check for any available updates for Skype and prompt you to install them if any are found. It is recommended to run this command regularly to stay up-to-date with the latest features and security fixes.
sudo dnf update --refreshAlternatively, if you installed Skype via Flatpak, run the following command that will blanket check and prompt you to upgrade all packages:
flatpak updateRemove Skype From Rocky Linux 9 or 8
When you wish to remove Skype from your system, you can use the following command, regardless of whether you have installed the stable or unstable version. This command will thoroughly uninstall the application from your system.
sudo dnf remove skypeforlinuxFor those who wish to completely remove all traces of Skype from their system, including any associated repositories, you can use the following command in the terminal. This will remove Skype and all of its corresponding repositories from your system.
sudo rm /etc/yum.repos.d/skype*.repoAlternatively, Skype that was installed via Flatpak needs to run the following command to remove the application:
flatpak uninstall com.skype.ClientConclusion
In conclusion, our comprehensive how-to guide provided clear steps for installing Skype on Rocky Linux using two distinct methods: through Skype’s RPM package and by leveraging Flatpak with the Flathub repository. Both approaches are designed to simplify the installation process, ensuring users can effortlessly access Skype’s communication features on their Rocky Linux systems.


