

This guide will demonstrate how to install Shotwell on Ubuntu 24.04, 22.04, or 20.04 LTS utilizing the command-line terminal with APT or Flatpak and Flathub as an alternative.
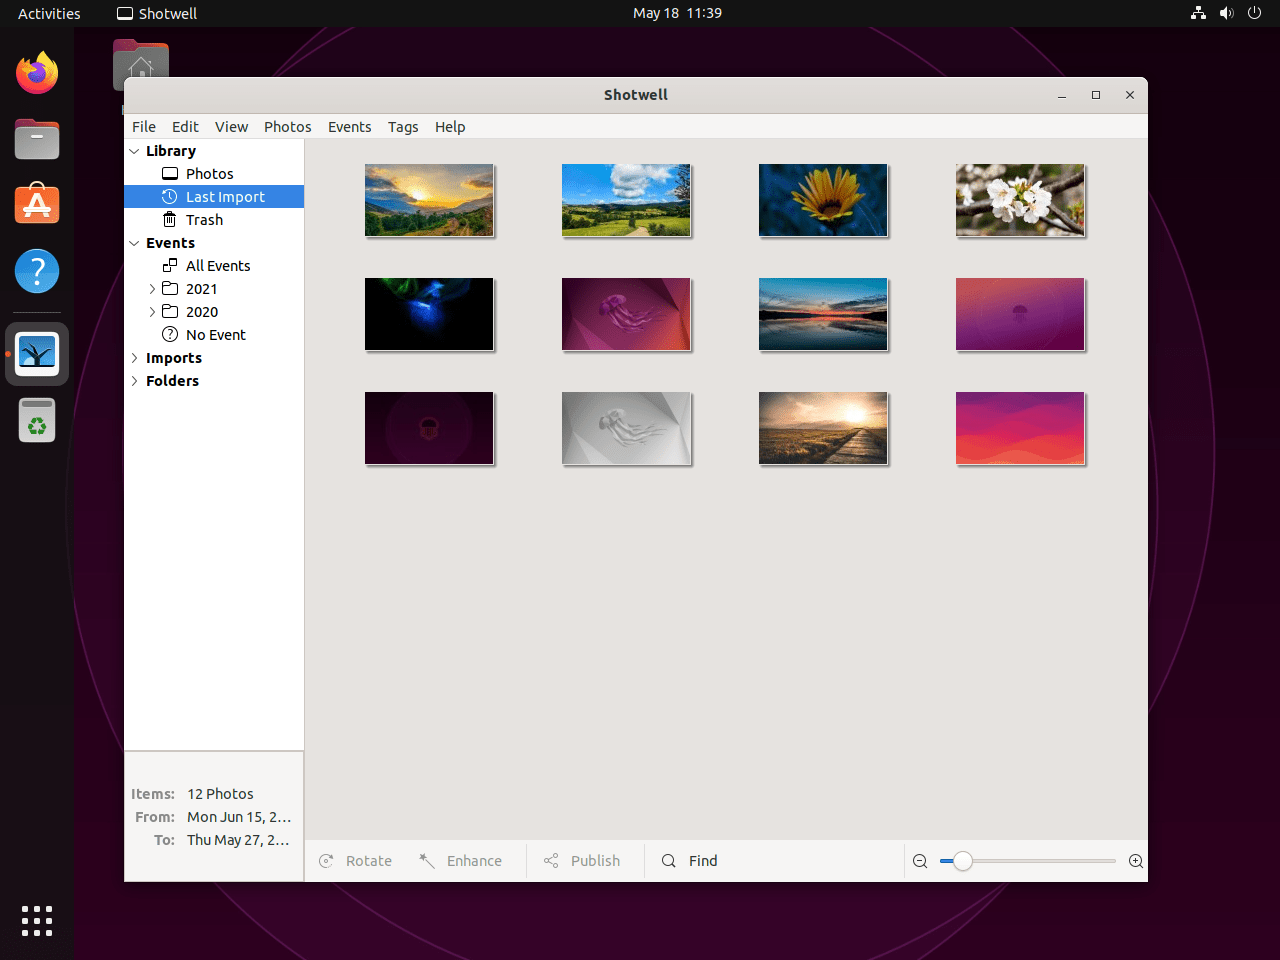
Shotwell is a versatile photo manager designed for the GNOME desktop environment, offering a comprehensive solution for organizing, viewing, and editing your digital images and videos. Its user-friendly interface and array of features make it a favorite among Ubuntu users seeking an efficient and straightforward way to manage their media collections.
Key highlights of Shotwell include:
- Easy Importing: Automatically imports and organizes photos and videos from your camera or storage device.
- Editing Tools: Provides basic editing tools for cropping, rotating, adjusting colors, and enhancing your photos.
- Tagging and Organization: Allows you to tag photos with keywords, ratings, and flags, making it easy to organize and find them later.
- Publishing Features: Offers integrated support for sharing photos to popular social media and photo-sharing websites.
- Event and Album Management: Enables you to create events and albums to categorize your media for easier access.
- Full-Screen and Slideshow Modes: Enhances viewing experiences with full-screen and slideshow options.
- Metadata Handling: Edits and searches photos by metadata, including EXIF, IPTC, and XMP information.
- Support for Various Formats: Compatible with a wide range of image and video formats, ensuring broad usability.
With Shotwell, managing your digital memories becomes a breeze, thanks to its blend of powerful features and intuitive interface. Whether you’re a casual photographer or a professional, Shotwell offers the tools you need to keep your photo and video collection organized and accessible.
Now, let’s dive into the technical steps to get Shotwell up and running on your Ubuntu system.
Install Shotwell on Ubuntu via APT
Update Ubuntu System Before Shotwell Installation
Updating your system before any new software installation helps avoid conflicts caused by outdated system files. Enter the following command in your terminal:
sudo apt update && sudo apt upgradeInstall Shotwell via APT Command
Once your system is updated, the next step is to install Shotwell. Installing Shotwell using the APT command from the Ubuntu repository is the preferred method for most Ubuntu users. This approach is recommended due to its ease of use and APT’s robust package management capabilities, including automatic resolution of dependency issues.
Type the following command in your terminal to install Shotwell:
sudo apt install shotwellThe sudo apt install shotwell command instructs the APT package manager to install the Shotwell package.
For a newer version or an alternative method of installing Shotwell, see the next section that will cover installing Shotwell with Flatpak.
Install Shotwell on Ubuntu via Flatpak and Flathub
This segment delves into an alternative method for installing Shotwell, employing the Flatpak package manager. Flatpak is a universal package system for software deployments, sandboxing, and distribution across many Linux distributions. Like Snap, Flatpak offers the benefits of receiving the most recent software versions regardless of your distribution and isolating applications for better security and stability.
Note: In case your system doesn’t have Flatpak installed yet, please refer to our dedicated guide on “How to Install Flatpak on Ubuntu” for a detailed step-by-step walk-through on installing the most recent supported version of Flatpak.
Activating the Flathub Repository for Shotwell
Before proceeding with the Shotwell installation through Flatpak, enabling the Flathub repository is essential. Flathub is a widely recognized source for Flatpak applications. It houses a vast collection of apps, thereby expanding your software library.
To integrate Flathub into your system, execute the following command in your terminal:
sudo flatpak remote-add --if-not-exists flathub https://flathub.org/repo/flathub.flatpakrepoThis command integrates the Flathub repository into your Flatpak configuration. It establishes a connection between your system and the Flathub repository, enabling access to various applications, including Shotwell.
Install Shotwell on Ubuntu via Flatpak Command
With the Flathub repository now part of your system, you can proceed to install Shotwell using the flatpak install command.
Execute the following command in your terminal:
flatpak install flathub org.gnome.Shotwell -yThis command instructs Flatpak to install the Shotwell application from the Flathub repository, ensuring you obtain the latest version.
Launching Shotwell on Ubuntu via CLI or GUI
With Shotwell now installed on your Ubuntu system, the next step is to get it up and running. Initiating Shotwell can be performed through two different methods, allowing you to choose the approach that suits your preference.
Launching Shotwell via Terminal
One straightforward way to open Shotwell is by executing a command in your terminal. This method is quite effective, mainly when you are already working in the terminal environment.
To open Shotwell, type the following command in your terminal:
shotwellIf you installed Shotwell using Flatpak, the command changes slightly. In this case, use the following command in your terminal:
flatpak run org.gnome.ShotwellRunning this command tells Flatpak to start the Shotwell application.
Launching Shotwell via Ubuntu Desktop Environment
While the terminal provides a quick and direct way to launch Shotwell, it might not be the most convenient for all users, especially those who prefer graphical interfaces. Therefore, you can also launch Shotwell directly from your Ubuntu desktop environment.
To initiate Shotwell from your desktop, navigate through the following path:
Activities > Show Applications > ShotwellHere, ‘Activities’ is the primary overview in GNOME (the default desktop environment for Ubuntu), where you can view open windows and launch applications. ‘Show Applications’ will present you with a list of all the installed applications on your system, allowing you to search for and launch Shotwell.
First-Time Tips with Shotwell on Ubuntu
Now that you have successfully installed Shotwell on Ubuntu, here are some essential tips to help you get the most out of this powerful photo management tool:
General Tips for Shotwell Users
- Understand the Library Structure: Familiarize yourself with how Shotwell organizes your photos into Events, Tags, and Albums for efficient navigation and management.
- Importing Photos: Learn the import options Shotwell offers, such as importing from a camera or a specific directory, and understand how it organizes imported photos by date.
- Backup Your Library: Regularly back up your Shotwell library to avoid losing your organized photos and edits. This can be done by copying the Shotwell data folder to another location.
- Explore the Preferences: Dive into the preferences menu to tailor Shotwell’s settings to your needs, such as adjusting the thumbnail size or setting the default folder for imports.
Customization Tips for Enhanced Usability
- Change the Thumbnail Size: Adjust the size of your thumbnails in the main view to get a better overview of your photos or to see more details at a glance.
- Modify the Interface: Use the View menu to customize the interface, such as hiding the sidebar for a more immersive photo viewing experience.
- Configure Slideshow Settings: Personalize your slideshow settings, including duration per photo and transition effects, to enhance your photo presentations.
- Utilize Plugins: Explore and enable plugins in Shotwell to extend its functionality, such as publishing to different web services or adding more editing features.
Keyboard Shortcuts for Efficiency
- Navigation: Use arrow keys to navigate through your photos quickly and Enter to view a selected photo in full screen.
- Editing Shortcuts: Learn the keyboard shortcuts for editing, like
Ctrl + Rto rotate a photo orCtrl + Eto open the editing tools. - Tagging: Use
Ctrl + Tto add tags to your selected photos, speeding up the organization process. - Search: Utilize the search bar with
Ctrl + Fto quickly find photos based on tags, titles, or metadata.
Other Useful Tips for Shotwell on Ubuntu
- Use the Timeline: Take advantage of the timeline feature to quickly navigate through your photo collection by date.
- Batch Editing: Apply edits to multiple photos at once, such as rotating or tagging, to save time in managing your collection.
- Check for Duplicates: Regularly use the duplicate finder feature to keep your library free of redundant photos.
- Experiment with Editing Tools: Explore the range of editing tools Shotwell offers, from color adjustment to red-eye reduction, to enhance your photos without needing separate software.
Incorporating these tips into your Shotwell workflow, you’ll be able to manage, edit, and enjoy your photo collection more efficiently and effectively on your Ubuntu system.
Additional Commands with Shotwell on Ubuntu
Update Shotwell
The importance of keeping software up-to-date can’t be overstated. Regular updates bring new features and improvements and rectify bugs and potential security vulnerabilities. The method for updating Shotwell will differ depending on whether you used APT or Flatpak for installation.
APT Update Command Method for Shotwell
If Shotwell was installed via APT, you can use the following command to check for updates and apply them to your software, including Shotwell:
sudo apt upgrade && sudo apt upgradeThis command first refreshes the list of available packages (sudo apt update) and then upgrades the installed packages to their latest versions (sudo apt upgrade).
Flatpak Update Command Method for Shotwell
For those who installed Shotwell through Flatpak, you should use the following command to update the software:
flatpak updateThis command checks for updates in all enabled Flatpak repositories and applies them.
Remove Shotwell
There might come a time when you no longer need Shotwell on your Ubuntu system. When such a time comes, you can safely remove the software using the appropriate command based on your installation method.
APT Remove Command Method for Shotwell
If you installed Shotwell using the APT method, the following command will remove the software from your system:
sudo apt remove shotwellThis command tells the APT package manager to remove the Shotwell package.
Flatpak Remove Command Method for Shotwell
In case Shotwell was installed via Flatpak, the uninstallation command is slightly different:
flatpak uninstall --delete-data org.gnome.Shotwell -yClosing Thoughts
Throughout this guide, we’ve walked you through the installation and initial setup of Shotwell on your Ubuntu 24.04, 22.04, or 20.04 LTS system. We’ve covered essential tips for first-time users, customization advice, and keyboard shortcuts to enhance your Shotwell experience. Remember, the key to making the most of Shotwell is to dive in and explore its features—experiment with its editing tools, organize your photos effectively, and don’t hesitate to personalize your workflow. Shotwell is a robust tool designed to streamline your photo management, so take the time to master it, and you’ll find your photo organizing tasks much more enjoyable and efficient.