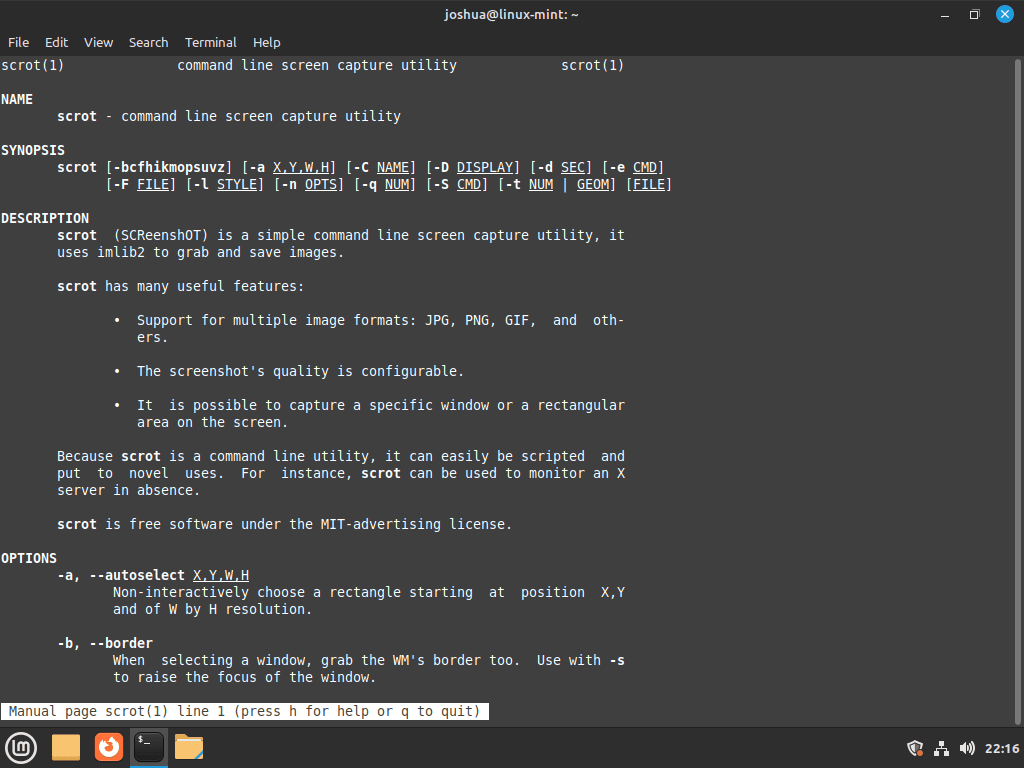
Scrot, short for ‘SCReen shOT’, is a powerful yet simple command-line tool designed for capturing screenshots on Linux systems. This guide will demonstrate how to install Scrot on Linux Mint 21 or 20, a process straightforward enough for users of all expertise levels. Scrot stands out due to its flexibility and efficiency, making it a favored choice for those who prefer a quick, command-driven approach for screen captures.
Key Features of Scrot:
- Simple Command-Line Interface: Easy to use for both beginners and advanced users.
- Customizable Screenshots: Offers options for capturing entire screen, specific windows, or select areas.
- Timed and Delayed Shots: Ability to set a delay for capturing the screenshot, perfect for capturing dropdown menus or other transient screen elements.
- Image Format Flexibility: Supports various image formats including PNG, JPEG, and GIF.
- Integration with Scripts: Seamlessly integrates with shell scripts for automated tasks.
- Minimal Resource Use: Lightweight and does not heavily tax system resources.
With Scrot, users can efficiently manage their screenshot requirements, whether it’s for documentation, tutorials, or personal use. Its installation and usage on Linux Mint provide a smooth experience, blending well with the Linux philosophy of simplicity and power. Let’s dive into the installation process and explore the utility of Scrot in detail.
Install Scrot on Linux Mint 21 or 20 via APT
Step 1: Update Your System Before Installing Scrot
To begin, launch a terminal window to ensure your Linux Mint system is fully updated. Running the system update is crucial for maintaining software compatibility and security.
Execute these commands:
sudo apt update && sudo apt upgradeThis step updates your system’s package list and then upgrades all your installed software to the latest versions. It’s a best practice to perform this update regularly, ensuring your system is secure and functioning optimally.
Step 2: Install Scrot via APT Install Command
With your system updated, you’re now ready to install Scrot. Scrot is easily installable via the APT package manager, a convenient tool for managing software on Debian-based systems like Linux Mint.
Enter the following command in your terminal:
sudo apt install scrotThis command instructs APT to locate, download, and install Scrot along with any dependencies it requires. The process is automated, saving you the hassle of manually handling software dependencies. After this process completes, Scrot will be installed on your system, ready for you to capture screenshots efficiently.
Basic Scrot Commands on Linux Mint 21 or 20
Capturing the Entire Screen
To take a full-screen screenshot, open your terminal and enter:
scrotThis command instructs Scrot to capture the entire screen. The screenshot is saved in your current directory, named with a timestamp format (e.g., 2023-04-01_12-30-45.png), facilitating easy tracking and organization.
Capturing a Specific Window
For capturing just the active window, use the command:
scrot -uThis command snaps the window that’s currently in focus. The output is an image file that exclusively shows the contents of that window, ideal for presentations or documentation purposes.
Capturing a Selected Area
To capture a custom screen area, execute:
scrot -sAfter entering this command, click and drag your mouse to select the desired area. This feature is particularly useful for focusing on specific screen segments or details.
Adjusting Quality and Compression
To modify image quality, particularly when saving in JPEG format, use:
scrot /home/Pictures/{file-name}.jpgReplace 75 with any value between 1 (lowest quality) and 100 (highest quality) to manage the balance between image quality and file size.
Saving Screenshots to a Specific Location
Direct Scrot to save screenshots in a different location:
scrot '/path/to/save/location/screenshot.pngReplace /path/to/save/location/ with your preferred directory, streamlining your file organization process.
Custom Filename and Timestamp
For a customized filename including a timestamp, use:
scrot 'screenshot_%Y-%m-%d_%H-%M-%S.png'This command creates a filename indicating the exact time of capture, like screenshot_2023-04-01_12-30-45.png, for easy identification.
Delayed Capture of a Specific Window
To delay the capture of an active window:
scrot -u -d 3The 3-second delay (adjustable) allows you to prepare the window for the screenshot.
Instant Viewing Post Capture
To immediately view your screenshot, enter:
scrot -e 'xdg-open $f'This command opens the captured image in your default image viewer instantly.
Capturing a Window with Its Border
To include the window border in your screenshot:
scrot -u -bThis command ensures the captured image includes the window’s border for a complete representation.
Creating a Thumbnail with Your Screenshot
For a screenshot and its thumbnail:
scrot -t 25This creates both a full-size screenshot and a thumbnail, which is 25% the size of the original. Thumbnails are named similarly to the main image but with a ‘_thumb’ suffix.
Managing Scrot on Linux Mint 21
Remove (Uninstall) Scrot From Linux Mint
To remove the software, run the following command:
sudo apt remove scrotConclusion
In this guide, we successfully navigated through how to install Scrot on Linux Mint 21 or 20 and delved into its essential commands. From capturing full-screen images to specific windows and custom areas, Scrot proves to be an adaptable tool for various screenshot needs. Remember, experimenting with different commands, like adding delays or saving to specific locations, can enhance your screenshot experience. Scrot stands out for its simplicity and efficiency, making it a reliable choice for both beginners and seasoned Linux users. Keep exploring its features to find the best ways it can aid in your daily tasks or projects.

