This guide meticulously outlines the process of installing Pinta on Ubuntu versions 24.04, 22.04, or 20.04 LTS. Specifically, it will cover three distinct methods: utilizing APT, Snap, or Flatpak via Flathub through the command-line terminal.
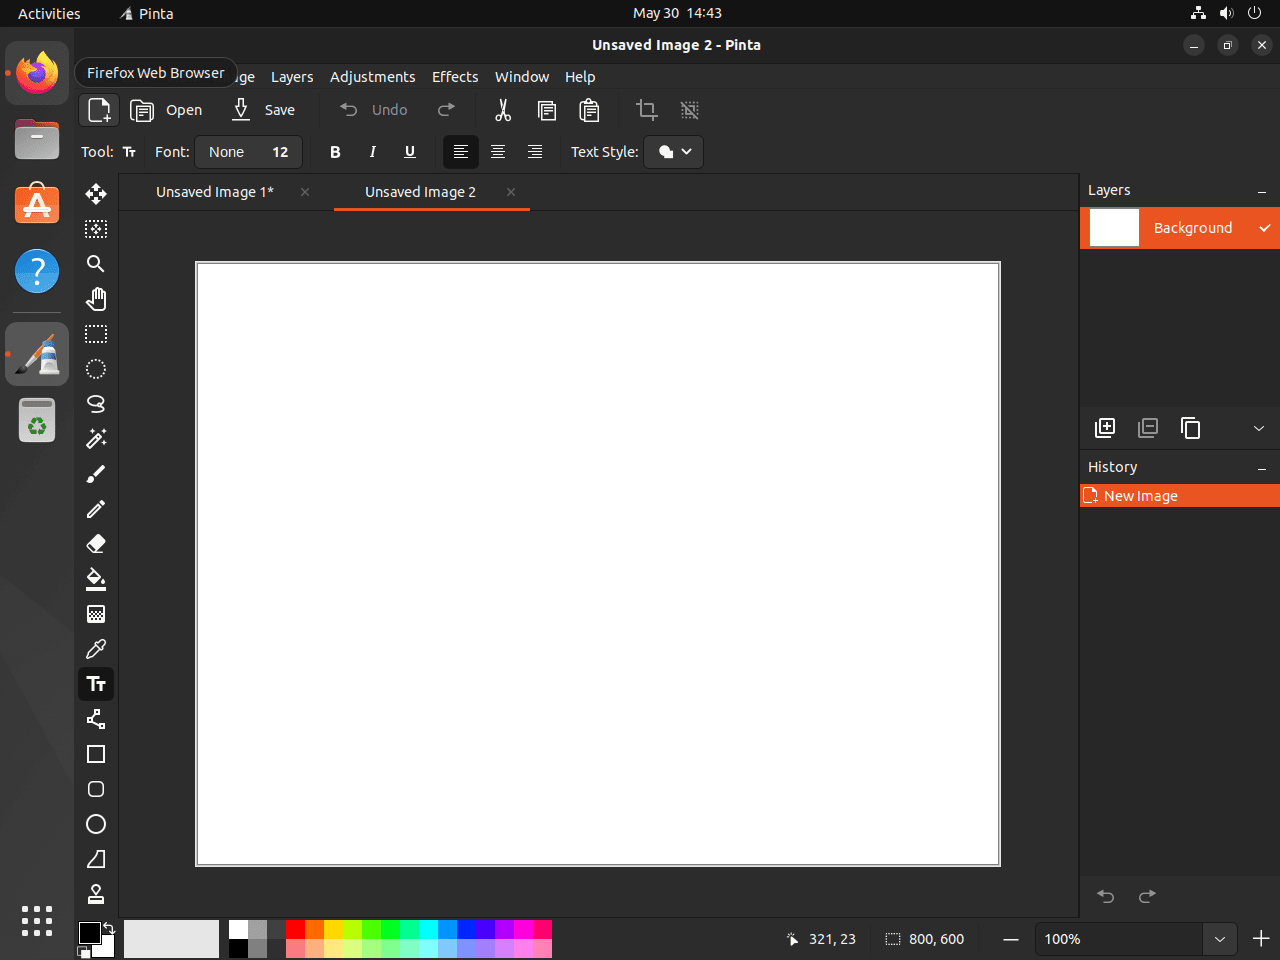
Pinta is a versatile, user-friendly image editing software for quick and efficient editing tasks. Its simplicity makes it an excellent choice for beginners, yet it packs enough power to satisfy the needs of more advanced users. With Pinta, you can easily adjust images, draw artwork from scratch, or add text and shapes to your projects. Here are some of its key features:
- Intuitive Interface: Designed to be accessible for users of all skill levels.
- Layer Management: Allows complex compositions through easy management of layers.
- Flexible Drawing Tools: Offers a variety of brushes, shapes, and drawing tools.
- Adjustment Tools: Enables users to fine-tune brightness, contrast, hue, saturation, and more.
- Unlimited Undo/Redo: Facilitates experimentation without the fear of making irreversible changes.
- Full History: Keeps a detailed record of all changes, allowing for easy revisions.
- Multiple File Formats: Supports a wide range of image formats for import and export.
- Community-Driven: Benefits from the contributions and feedback of an active user community.
Pinta stands out as a practical solution for those seeking a straightforward yet capable image editor on Linux.
Let’s delve into the technical steps to get Pinta up and running on your Ubuntu system.
Install Pinta on Ubuntu via APT
Update Ubuntu Packages Before Pinta Installation
The first step in any installation process on a Linux system involves ensuring the system’s packages are current. This helps to avoid potential conflicts between software dependencies, ensuring a smooth installation process.
To update your system packages, execute the following command in your terminal:
sudo apt update && sudo apt upgradeInstall Pinta on Ubuntu via APT Command
Once your system packages are up-to-date, the next step is installing Pinta. With our APT package manager, this becomes a straightforward process.
To install Pinta, execute the following command in your terminal:
sudo apt install pintaThe sudo apt install command installs new packages onto your system. Here, pinta is the name of the package that we’re aiming to install. The sudo prefix ensures that this command runs with root privileges, necessary for making system-wide changes like installing a new software.
Install Pinta on Ubuntu via Snap
Snap is a software packaging and deployment system developed by Canonical for operating systems that use the Linux kernel. The ‘snaps’ packages are self-contained applications bundled with their dependencies. This ensures that the application runs consistently across various Linux distributions. In this section, we’ll guide you through installing Pinta using Snap.
Ensuring Snap is Installed on Your Ubuntu System
Before installing Pinta on Ubuntu 22.04 or 20.04 using Snap, we must ensure that Snap is available on your system. While Snap comes pre-installed on Ubuntu 16.04 and later versions, you might need to install Snap manually if it has been removed or if you’re using an older version of Ubuntu.
To install Snap on Ubuntu, use the following command in your terminal:
sudo apt install snapdHere, snapd is the package that provides the Snap core and API on your system. The sudo apt install command installs new packages onto your system. The sudo prefix ensures that this command runs with root privileges necessary for system-wide changes such as installing new software.
Install Pinta on Ubuntu via Snap Command
Once Snap is available on your system, we can install Pinta. Installing applications with Snap is straightforward, thanks to its self-contained package system.
Execute the following command in your terminal to install Pinta:
sudo snap install pintaInstall Pinta on Ubuntu via Flatpak and Flathub
Flatpak is a universal package management system for Linux distributions. It allows you to install sandboxed and isolated applications across different Linux distributions, regardless of the base operating system. Flatpak offers many benefits, such as atomic upgrades, older versions of apps to run on newer systems, and applications are less likely to interfere with each other or the system, making your system more stable.
Note: If Flatpak isn’t installed on your system, kindly follow the guide in the link How to Install Flatpak on Ubuntu for detailed instructions.
Enabling Flathub for Pinta
Before installing Pinta on Ubuntu via Flatpak, we must enable Flathub, a primary hub for hosting Flatpak applications. To add the Flathub repository to your Flatpak configuration, execute the following command in your terminal:
sudo flatpak remote-add --if-not-exists flathub https://flathub.org/repo/flathub.flatpakrepoInstall Pinta on Ubuntu via Flatpak Command
With Flathub enabled, we can proceed to install Pinta using the flatpak install command. It installs applications hosted on Flathub or any other Flatpak-enabled repositories.
Run the following command in your terminal:
flatpak install flathub com.github.PintaProject.Pinta -yLaunching Pinta on Ubuntu via CLI Commands or GUI Path
Now that we’ve successfully installed Pinta on our Ubuntu system, we need to understand how to launch it. There are several ways to open Pinta, depending on the installation method you’ve chosen (APT, Snap, or Flatpak). This section will guide you through each of these methods.
Launching Pinta for APT Installation
If you have installed Pinta using the APT package manager, launching Pinta is as simple as typing the following command into the terminal:
pintaExecuting this command will immediately open the Pinta software, and you can start using it for your creative endeavors.
Launching Pinta for Snap Installation
For those who have installed Pinta using Snap, a slightly different command is used to start the application. Run the following command in your terminal:
snap run pintaHere, snap run is used to launch Snap applications, followed by the name of the application you wish to start, in this case, pinta.
Launching Pinta for Flatpak Installation on
If you’ve installed Pinta via Flatpak, you must use a distinct command to launch the application. Execute the following command in your terminal:
flatpak run com.github.PintaProject.PintaThis command uses the flatpak run command followed by the full application ID of Pinta.
Launching Pinta from the Application Menu on Ubuntu
While launching Pinta from the terminal is straightforward, it might not be the most practical method for regular use. Ubuntu offers a graphical user interface (GUI) to launch applications without using the terminal.
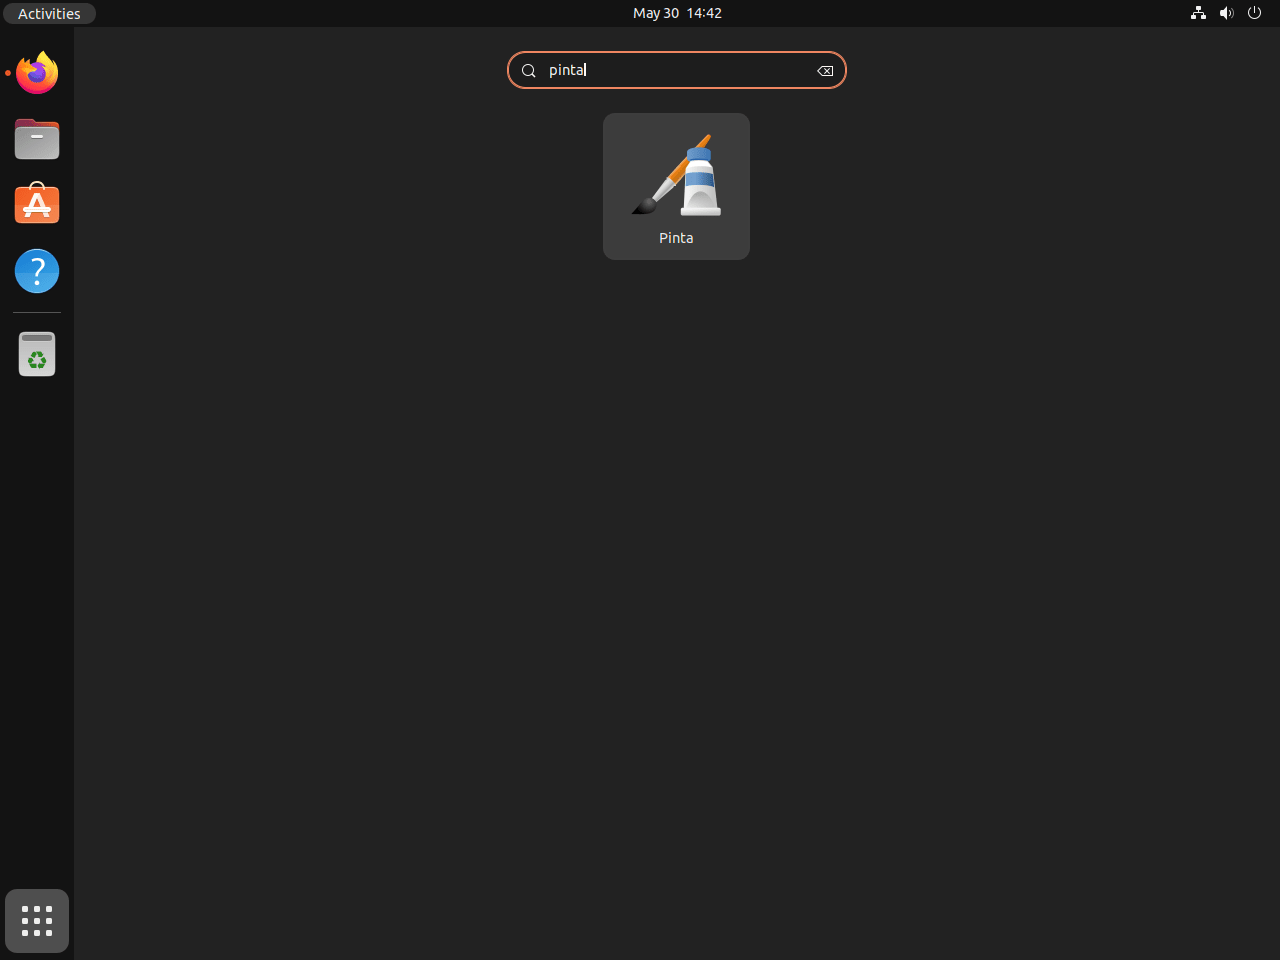
To open Pinta from the Ubuntu’s application menu, navigate to Show Applications > Pinta. This action will start Pinta, placing you directly in its user-friendly interface.
First-Time Tips with Pinta on Ubuntu
Now that you’ve successfully installed Pinta on Ubuntu, here are some first-time tips to help you get the most out of this versatile image editing software:
Optimizing Your Workflow in Pinta
Understanding the layout and features of Pinta can significantly enhance your editing experience. Here are some tips to optimize your workflow:
- Familiarize with the Interface: Spend some time exploring the Pinta interface. Identify where the tools, layers, and adjustments panels are located to streamline your editing process.
- Customize the Toolbar: Tailor the toolbar to fit your workflow by adding your most frequently used tools. This can be done through the toolbar’s context menu, allowing quick access to your favorite features.
- Use Layers Effectively: Get accustomed to working with layers from the start. They are key to non-destructive editing, allowing you to apply changes without altering the original image.
- Explore Adjustment Options: Pinta offers a range of adjustments like brightness, contrast, and saturation. Experimenting with these can help you better understand how to enhance your images.
Enhancing Images with Pinta
To make your images truly stand out, consider these enhancement tips:
- Experiment with Filters: Pinta includes several filters that can add interesting effects to your images. Don’t hesitate to experiment with them to discover new looks.
- Leverage the Clone Stamp Tool: Perfect for removing unwanted elements or imperfections, the clone stamp tool is a powerful feature for photo retouching.
- Master the Selection Tools: Whether it’s the rectangle, ellipse, or freeform selection, mastering these tools is crucial for precise edits.
- Adjust Opacity for Subtle Changes: Playing with the opacity of layers can add depth and subtlety to your edits, allowing for more nuanced effects.
Personalizing Pinta
Making Pinta feel like your own can be achieved with a few customizations:
- Theme Adjustments: Adjust Pinta’s theme to match your Ubuntu environment or personal preference, enhancing your visual comfort.
- Shortcut Keys Customization: Tailor shortcut keys through the preferences menu to fit your editing style, speeding up your workflow.
- Configure Auto-Save: Adjust the auto-save feature to ensure your work is regularly saved, preventing any loss of progress.
- Set Default Image Size and Quality: If you frequently work with images of a specific size or quality, set these as defaults in Pinta’s preferences to save time.
Keyboard Shortcuts for Pinta
Leveraging keyboard shortcuts can dramatically speed up your editing process. Here are some essential shortcuts for Pinta:
- Undo/Redo:
Ctrl + Z/Ctrl + Yfor quick undo and redo actions. - Copy/Paste:
Ctrl + C/Ctrl + Vto copy and paste selections or layers. - Zoom In/Out:
Ctrl + +/Ctrl + -for easy zoom adjustments. - Select All:
Ctrl + Ato select the entire canvas.
These tips are designed to help you seamlessly integrate Pinta into your image editing workflow on Ubuntu. By customizing the software to suit your needs and learning its shortcuts, you’ll be well on your way to becoming proficient with this powerful tool.

Additional Commands for Pinta on Ubuntu
In the lifecycle of a software application on any operating system, there are critical moments when you might want to update the application to gain access to new features or fix potential security issues. Other times, you might want to uninstall the application. The processes for updating and uninstalling Pinta on Ubuntu Linux depend on the original installation method.
Update Pinta
Updates provide crucial enhancements, fixes, and features for your Pinta software. Based on your installation method, the commands to update Pinta are:
APT Update Command for Pinta
You need to run the following command in your terminal to update Pinta when installed using the APT package manager. This command fetches the list of available updates (upgrade) and then installs them:
sudo apt upgrade && sudo apt upgradeSnap Update Command for Pinta
If you installed Pinta via Snap, you would need to run the following command in your terminal to update the application:
sudo snap refreshFlatpak Update Command for Pinta
For Pinta installations via Flatpak, you need to run this command in your terminal:
flatpak updateRemove Pinta
Should you decide you no longer need Pinta, it can be uninstalled by following the method corresponding to your original installation.
APT Remove Command for Pinta
To remove Pinta installed using APT, you need to run this command:
sudo apt remove pintaSnap Remove Command for Pinta
If Pinta was installed via Snap, you can uninstall it with the following command:
sudo snap remove pintaFlatpak Remove Command for Pinta
In the case of Flatpak installations, you need to run the following command. This command removes the application along with its associated data:
flatpak uninstall --delete-data com.github.PintaProject.PintaConclusion
Throughout this guide, we’ve walked through the steps to install Pinta on Ubuntu versions 24.04, 22.04, and 20.04 LTS, showcasing three different methods: APT, Snap, and Flatpak. We delved into first-time tips to kickstart your journey with Pinta, optimizing workflows, personalizing the software, and making the most of its image editing capabilities. As you embark on your creative projects, remember to explore Pinta’s features and customize it to fit your needs. It’s a powerful tool that can enhance your editing tasks, whether you’re a beginner or an experienced user. Happy editing, and may your images turn out just as you envision!


