

This guide demonstrates how to install OpenRGB on Linux Mint 21 or 20, a versatile software solution designed to unify and control RGB lighting across various hardware. OpenRGB stands out for its cross-vendor compatibility, enabling users to manage RGB lighting without needing multiple vendor-specific apps. Whether you’re a gamer, a creative professional, or simply an enthusiast looking to enhance your computer’s aesthetics, OpenRGB offers a streamlined approach.
Key Features of OpenRGB:
- Unified Control: Easily manage RGB lighting from various manufacturers in one place.
- Custom Lighting Effects: Create and apply custom lighting patterns and effects.
- Compatibility: Supports many devices, including motherboards, GPUs, and peripherals.
- Open Source: Benefit from community-driven development and transparency.
- No Proprietary Software Required: Avoids the need for vendor-specific applications.
- Profile Management: Save and switch between multiple lighting profiles effortlessly.
Following these highlights, the next sections will guide you through a step-by-step process to get OpenRGB up and running on your Linux Mint system. This includes prerequisites, installation steps, and initial configuration, ensuring a hassle-free setup experience. Let’s dive into the world of streamlined RGB control with OpenRGB.
Install OpenRGB on Linux Mint 21 or 20 via PPA
Step 1: Update Linux Mint Packages Before OpenRGB Installation
To begin, update your Linux Mint system. This step ensures all existing packages are up-to-date, reducing the risk of compatibility issues when installing OpenRGB.
Execute the following command in your terminal:
sudo apt update && sudo apt upgradeOpenRGB is not a standard part of the Linux Mint software repository. To access the most recent version of OpenRGB, add the Personal Package Archive (PPA) maintained by Thomas Karl Pietrowski. This PPA is regularly updated with the latest versions of OpenRGB.
Step 2: Import OpenRGB PPA on Linux Mint
Next, add the OpenRGB PPA to your system. This step is crucial as it allows your system to retrieve OpenRGB software from a source specifically maintained for it.
Use the command below, tailored for Linux Mint:
sudo add-apt-repository ppa:thopiekar/openrgb -yAfter adding the PPA, it’s important to update your package list to recognize the newly added source. This can be done with the following command:
sudo apt updateStep 3: Install OpenRGB via APT Command
With the PPA in place, you’re now ready to install OpenRGB. This is done through the APT package manager, which handles the installation process efficiently.
Install OpenRGB using:
sudo apt install openrgbOnce the installation is complete, it’s a good practice to verify the installation. Check the installed version of OpenRGB with:
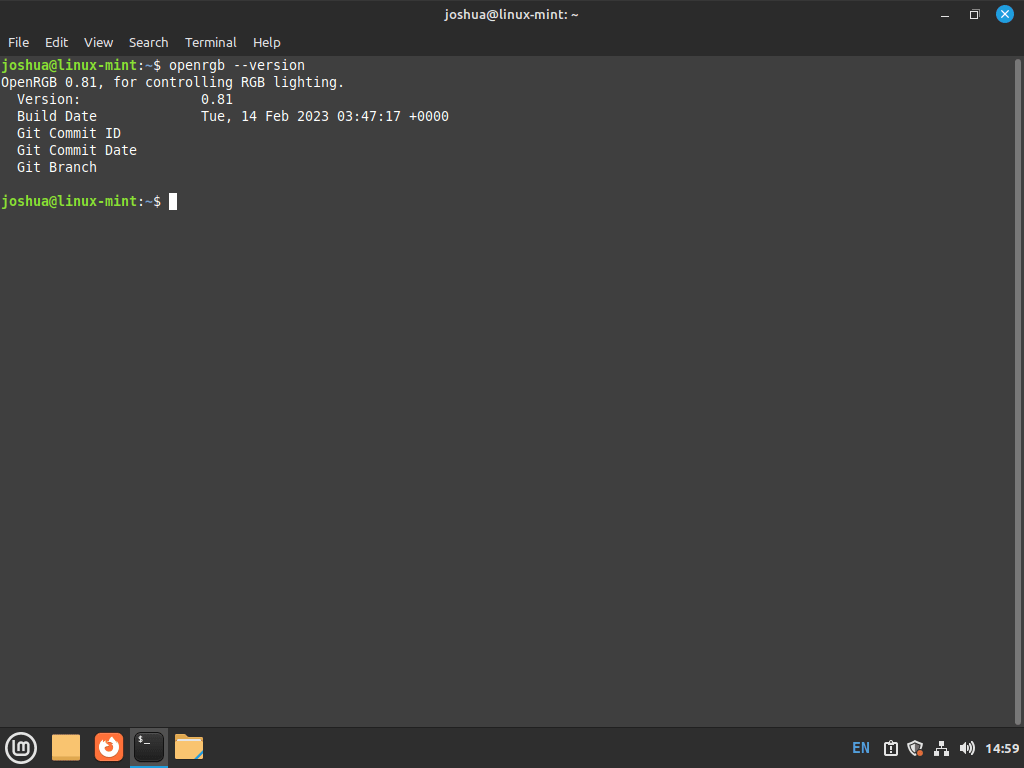
openrgb --versionYou should expect to see an output indicating the version of OpenRGB that has been installed. This output confirms the successful installation of OpenRGB on your Linux Mint system.
Install OpenRGB on Linux Mint 21 or 20 via Flatpak and Flathub
Step 1: Activate Flathub for Flatpak
On Linux Mint, Flatpak serves as a secondary utility for application installation and management. It replaces Snapcraft, which is not enabled on Linux Mint. To begin installing OpenRGB via Flatpak, first enable the Flathub repository. Flathub is a widely used source for Flatpak applications, offering a vast array of software choices.
Run the following command to add Flathub to Flatpak:
flatpak remote-add --if-not-exists flathub https://flathub.org/repo/flathub.flatpakrepoThis command ensures that Flathub is added to Flatpak’s list of repositories, only if it isn’t already present.
Step 2: Install OpenRGB using Flatpak
With Flathub activated, you can proceed to install OpenRGB. This method streamlines the process, handling the installation and management of dependencies.
Execute this command to install OpenRGB:
flatpak install -y flathub org.openrgb.OpenRGBThis command initiates the download and installation of OpenRGB, alongside any required dependencies.
Launch OpenRGB on Linux Mint 21 or 20
After the successful installation of OpenRGB on your Linux Mint system, there are multiple methods to launch the application, catering to different user preferences.
CLI Commands to Launch OpenRGB
For users comfortable with the command line, launching OpenRGB is straightforward. In a terminal window, the application can be started with a simple command.
To launch OpenRGB, type and enter:
openrgbIf you have installed OpenRGB via Flatpak, the command varies slightly. This specific command ensures that the Flatpak version of the application is initiated:
flatpak run org.openrgb.OpenRGBUsing these commands, you can quickly access OpenRGB directly from the command line, offering a fast and efficient way to start the application.
GUI Method to Launch OpenRGB
For users who prefer a graphical interface, OpenRGB can be accessed easily through the Linux Mint desktop environment. This method is ideal for those who are more comfortable navigating through a graphical user interface rather than using command-line instructions.
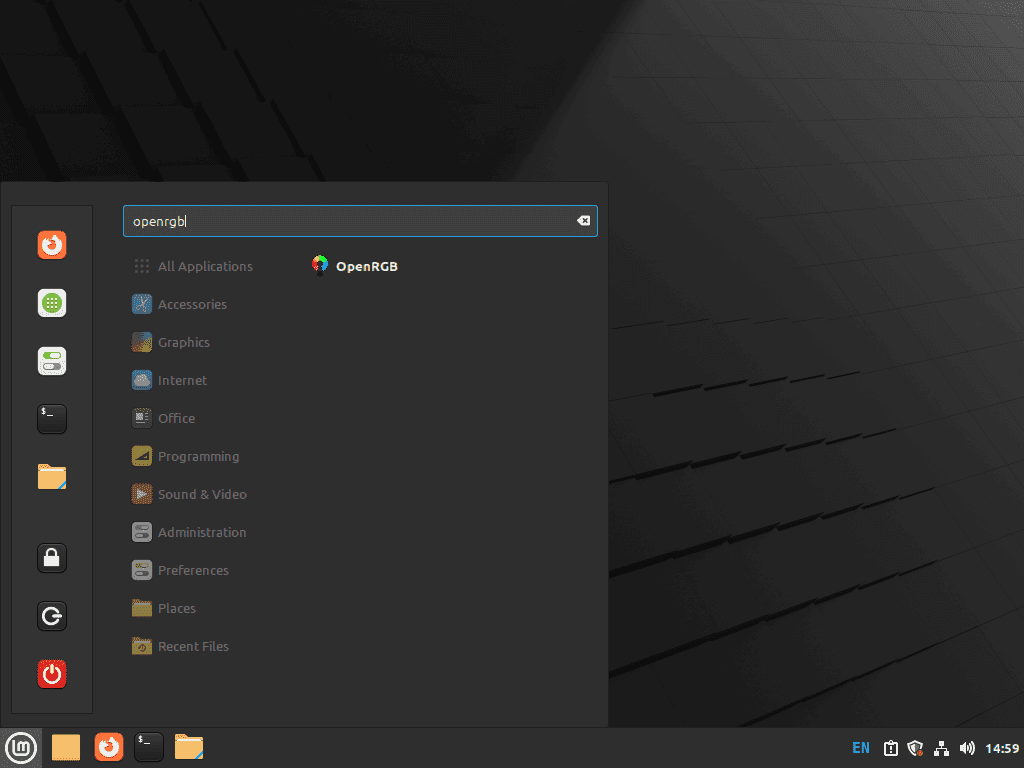
To open OpenRGB via the GUI, follow these steps:
- Click on the Taskbar.
- Navigate to the Accessories menu.
- Select OpenRGB from the list of applications.
Getting Started with OpenRGB on Linux Mint 21 or 20
Now that you have successfully installed OpenRGB on Linux Mint, here are some first-time tips to help you make the most out of the software:
General Tips for OpenRGB on Linux Mint
- Check Compatibility: Before diving into customizations, ensure that your hardware is compatible with OpenRGB. This includes checking support for motherboards, GPUs, and RGB peripherals.
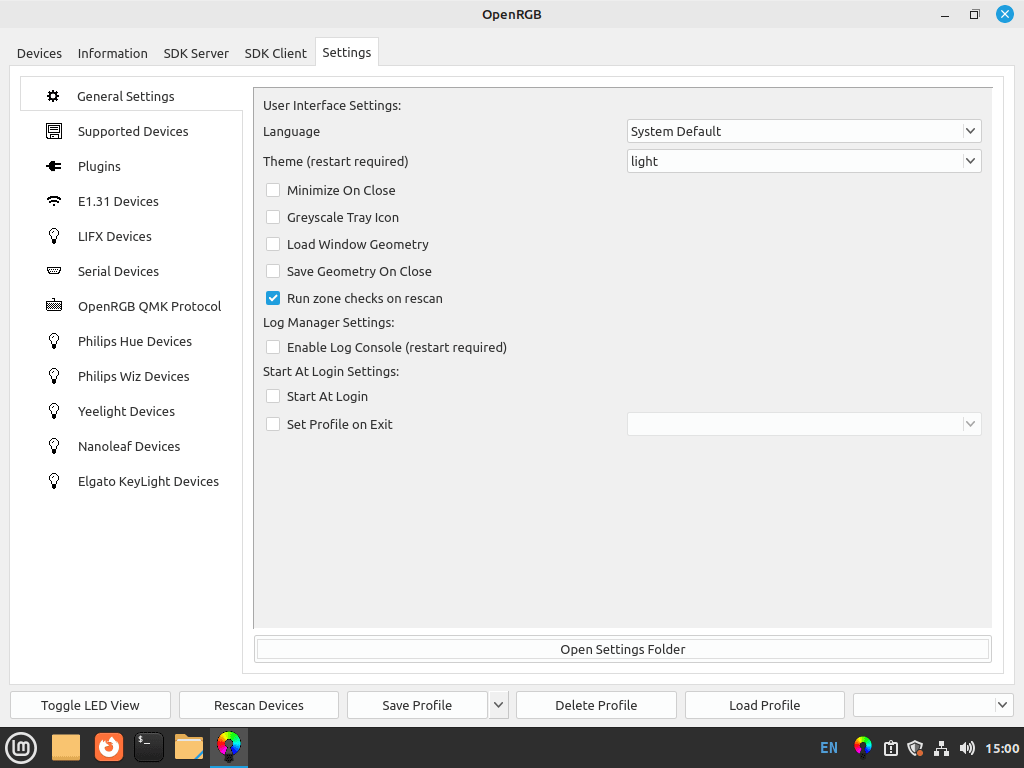
- Understand the User Interface: Familiarize yourself with OpenRGB’s interface. Understand the layout, where to find key features, and how different settings interact with your hardware.
- Explore Device Detection: OpenRGB automatically detects compatible devices. If a device isn’t detected, verify the connection and compatibility. Sometimes, a reboot can help with detection issues.
- Utilize Profiles: OpenRGB allows you to save different lighting setups as profiles. This is useful for quickly switching between setups for different tasks or moods.
Customizations in OpenRGB on Linux Mint
- Personalize Lighting Effects: Experiment with various lighting effects available in OpenRGB. From static colors to dynamic patterns, you have a range of options to personalize your setup.
- Adjust Brightness and Speed: Don’t overlook the basic settings. Adjusting the brightness and speed of effects can significantly change the aesthetics of your setup.
- Synchronize Devices: If you have multiple RGB devices, use OpenRGB to synchronize their lighting. This creates a cohesive and visually appealing environment.
- Explore Third-Party Plugins: OpenRGB supports plugins that can extend its functionality. Explore the community for plugins that add new effects or integration with other software.
Additional OpenRGB Tips for Enhancing Your Experience on Linux Mint
- Monitor Performance: Keep an eye on system resources. While OpenRGB is generally lightweight, extensive customizations or additional plugins might impact system performance.
- Join the Community: The OpenRGB community is a valuable resource. Join forums or Discord channels to get tips, share profiles, and stay updated on new features.
- Stay Secure: Always download OpenRGB and its plugins from official or trusted sources to avoid security risks.
- Regularly Check for Updates: While not focusing on updating, be aware that software updates can bring new features, compatibility improvements, and bug fixes.
These tips are designed to help you get a solid start with OpenRGB on Linux Mint. As you grow more comfortable with the software, you’ll discover even more ways to enhance your experience.
Managing OpenRGB on Linux Mint 21 or 20
Update OpenRGB on Linux Mint
Regularly updating OpenRGB ensures optimal performance and access to the latest features. Even though Linux Mint often notifies users of available updates, it’s good practice to manually check for updates.
Execute the following command in the terminal to update your system, including OpenRGB:
sudo apt update && sudo apt upgradeThis command first updates the list of available packages and then upgrades any outdated software. Running it periodically guarantees you’re not missing out on important updates that automatic notifications might not cover.
Remove (Uninstall) OpenRGB From Linux Mint
If you decide that OpenRGB is no longer needed on your system, use the command below to uninstall it:
sudo apt remove openrgbThis command removes OpenRGB but leaves behind the Personal Package Archive (PPA). Since these are not required after uninstallation, you can remove them with:
sudo add-apt-repository --remove ppa:thopiekar/openrgb -yRemoving the PPA ensures that your system does not continue to check for updates for software that’s no longer installed, keeping your update process clean and efficient.
Conclusion
To wrap up, we’ve explored how OpenRGB, a dynamic RGB customization tool, seamlessly integrates with Linux Mint, offering extensive personalization capabilities for your devices. Whether you choose the PPA or Flatpak method, setting up and maintaining OpenRGB is straightforward, enabling you to craft an ideal lighting environment for your gaming setup or professional workspace. Remember to regularly check for updates to keep the software running smoothly and to make the most of its evolving features.