

OBS Studio is the open-source standard for screen capture and live streaming on Linux. It overlays screen captures, webcam feeds, game windows, and audio inputs into reusable scenes, then sends them to Twitch, YouTube, or any RTMP endpoint. Common uses include recording gameplay, producing screen-capture tutorials, streaming live events, and running a virtual webcam for video calls. Three installation methods cover every Ubuntu setup, with post-install configuration for Wayland screen capture, hardware encoding, and PipeWire audio sources.
Choose Your OBS Studio Installation Method for Ubuntu
Ubuntu offers multiple ways to install OBS Studio. The Ubuntu repository provides a stable, distro-tested version. The OBS Project PPA (Personal Package Archive) delivers the latest releases directly from the developers through Launchpad, Ubuntu’s software hosting platform. Flatpak offers sandboxed installation, meaning OBS runs in an isolated environment separate from your system, with automatic updates from Flathub. Choose based on your preference for stability versus new features.
| Method | Channel | Stability | Best For |
|---|---|---|---|
| Ubuntu Repository | Official Ubuntu repos | Stable, distro-tested | Users who prefer system-integrated packages |
| OBS Project PPA | Launchpad PPA | Latest stable releases | Users who want new features quickly |
| Flatpak | Flathub | Latest with sandboxing | Users who prefer isolated applications |
For most users, the Ubuntu repository provides a reliable starting point with minimal setup. Choose the OBS Project PPA if you need recent features or bug fixes, or Flatpak if you want automatic updates independent of your Ubuntu release cycle.
| Ubuntu Release | Ubuntu Repository | OBS Project PPA | Notes |
|---|---|---|---|
| Ubuntu 26.04 LTS | OBS Studio 32.0.x | Not available | PPA has no Resolute builds; Ubuntu repository ships 32.0.x |
| Ubuntu 24.04 LTS | OBS Studio 30.2.x | OBS Studio 32.0.x | PPA recommended for latest features on Noble |
| Ubuntu 22.04 LTS | OBS Studio 27.2.x | OBS Studio 30.2.x | PPA strongly recommended; repository version is significantly older |
These steps apply to Ubuntu 26.04 LTS, 24.04 LTS, and 22.04 LTS. The OBS Project PPA supports Ubuntu 24.04 and 22.04 only; Ubuntu 26.04 already ships OBS Studio 32.0.x in the official repository, making the PPA unnecessary. Flatpak remains compatible across all supported releases.
Method 1: Install OBS Studio on Ubuntu with APT
Update System Packages
Refresh your package index and upgrade existing packages before installing new software. This prevents dependency conflicts and ensures you have the latest security patches:
sudo apt update && sudo apt upgradeThis guide uses
sudofor commands that require root privileges. If your user is not in the sudoers file, run commands as root or follow our guide on how to add and manage sudo users on Ubuntu.
Select OBS Studio Installation Source
Install OBS Studio from the Ubuntu repository for stability, or add the OBS Project PPA for the latest features:
Option 1: Install OBS Studio with Ubuntu Repository
Installing OBS Studio directly from the Ubuntu repository is ideal for maintaining a stable system environment. However, this method may not provide the most recent updates, bug fixes, or improvements to OBS Studio, as the repository can lag behind the latest releases.
sudo apt install obs-studioVerify the installation by checking the version:
obs --versionOBS Studio - 30.2.3
The version output reflects Ubuntu 24.04 (Noble). Ubuntu 26.04 ships 32.0.x and Ubuntu 22.04 provides 27.2.x from the official repository. See the version table above for full details. For newer releases on Ubuntu 22.04 and 24.04, use the OBS Project PPA option below.
Option 2: Install OBS Studio via OBS Project PPA
Add the OBS Project PPA to receive the latest stable builds directly from the developers:
sudo add-apt-repository ppa:obsproject/obs-studio -yThe OBS Project also maintains an unstable PPA with nightly master builds for testing upcoming features. Only add this if you want early access to new functionality and can tolerate potential bugs:
sudo add-apt-repository ppa:obsproject/obs-studio-unstable -ysudo apt updatesudo apt install obs-studio -yobs --versionOBS Studio - 32.0.2
The version above reflects Ubuntu 24.04 (Noble). On Ubuntu 22.04 (Jammy), the PPA provides version 30.2.x instead. The OBS Project PPA does not publish builds for Ubuntu 26.04 (Resolute); Ubuntu 26.04 users should install from the Ubuntu repository or use Flatpak.
Method 2: Install OBS Studio on Ubuntu with Flatpak
Flatpak provides an alternative installation method that keeps OBS Studio isolated from your system packages. This approach ensures you receive updates directly from the OBS Project regardless of your Ubuntu version, and the sandboxed environment prevents conflicts with system libraries.
If Flatpak is not installed on your system, follow our guide on how to install Flatpak on Ubuntu before continuing.
Enable Flathub Repository
Enable the Flathub repository to access OBS Studio and other Flatpak applications:
sudo flatpak remote-add --if-not-exists flathub https://flathub.org/repo/flathub.flatpakrepoInstall OBS Studio from Flathub
Install OBS Studio from Flathub:
sudo flatpak install flathub com.obsproject.Studio -yVerify the Flatpak installation:
flatpak list | grep -i obsOBS Studio com.obsproject.Studio 32.0.2 stable flathub
Launch OBS Studio on Ubuntu
After installation, launch OBS Studio from the terminal or your desktop environment’s application menu.
Launch OBS Studio from Terminal
Launch OBS Studio from a terminal:
obsFor those who installed OBS Studio via Flatpak:
flatpak run com.obsproject.StudioLaunch OBS Studio from Applications Menu
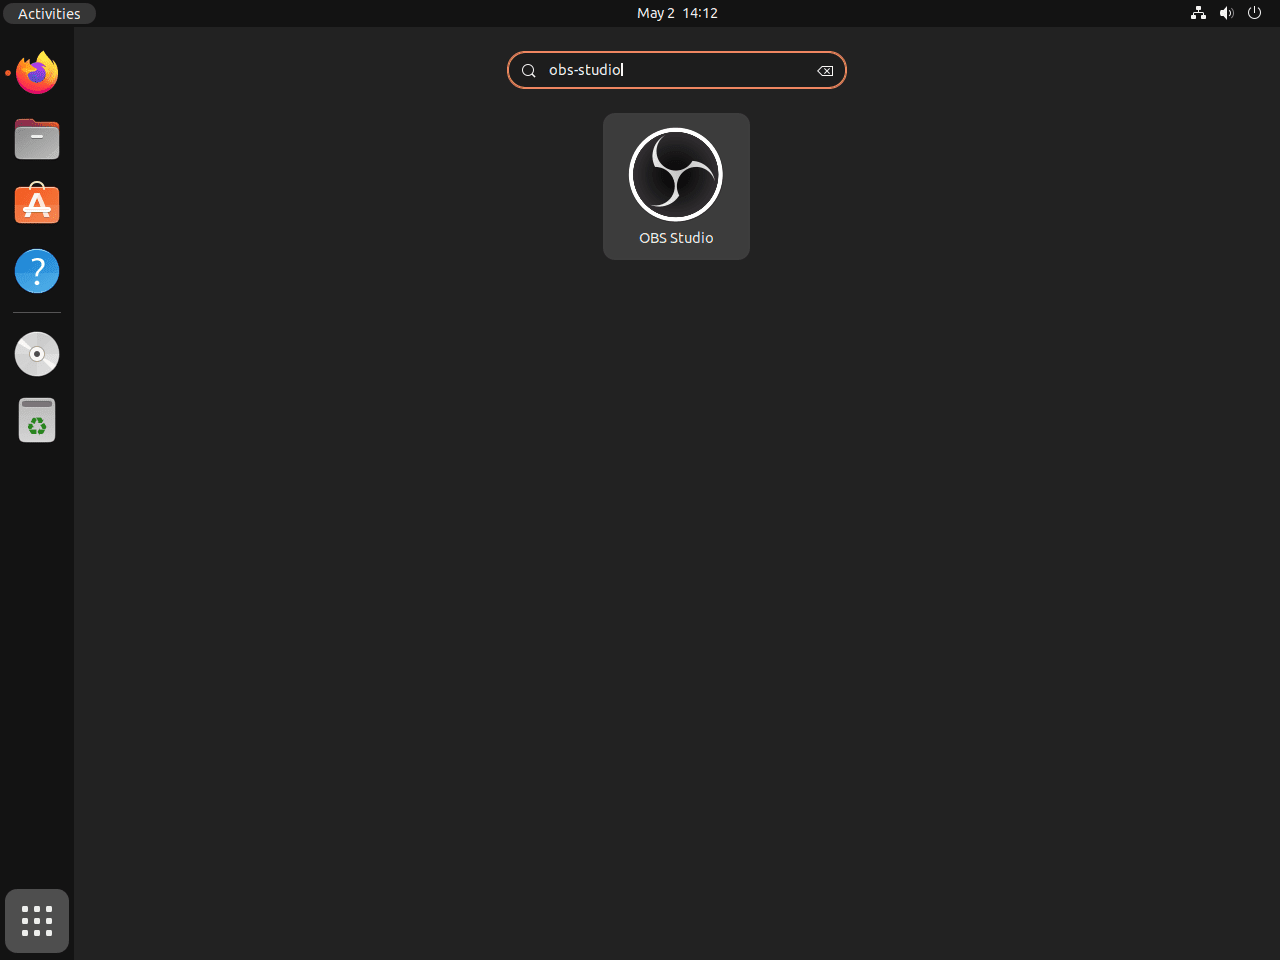
Alternatively, launch OBS Studio from the application menu:
- Click on Show Applications or Activities (depending on your desktop environment).
- Search for OBS Studio in the search bar.
- Click on the OBS Studio icon to start the application.
Complete OBS Studio First-Time Setup on Ubuntu
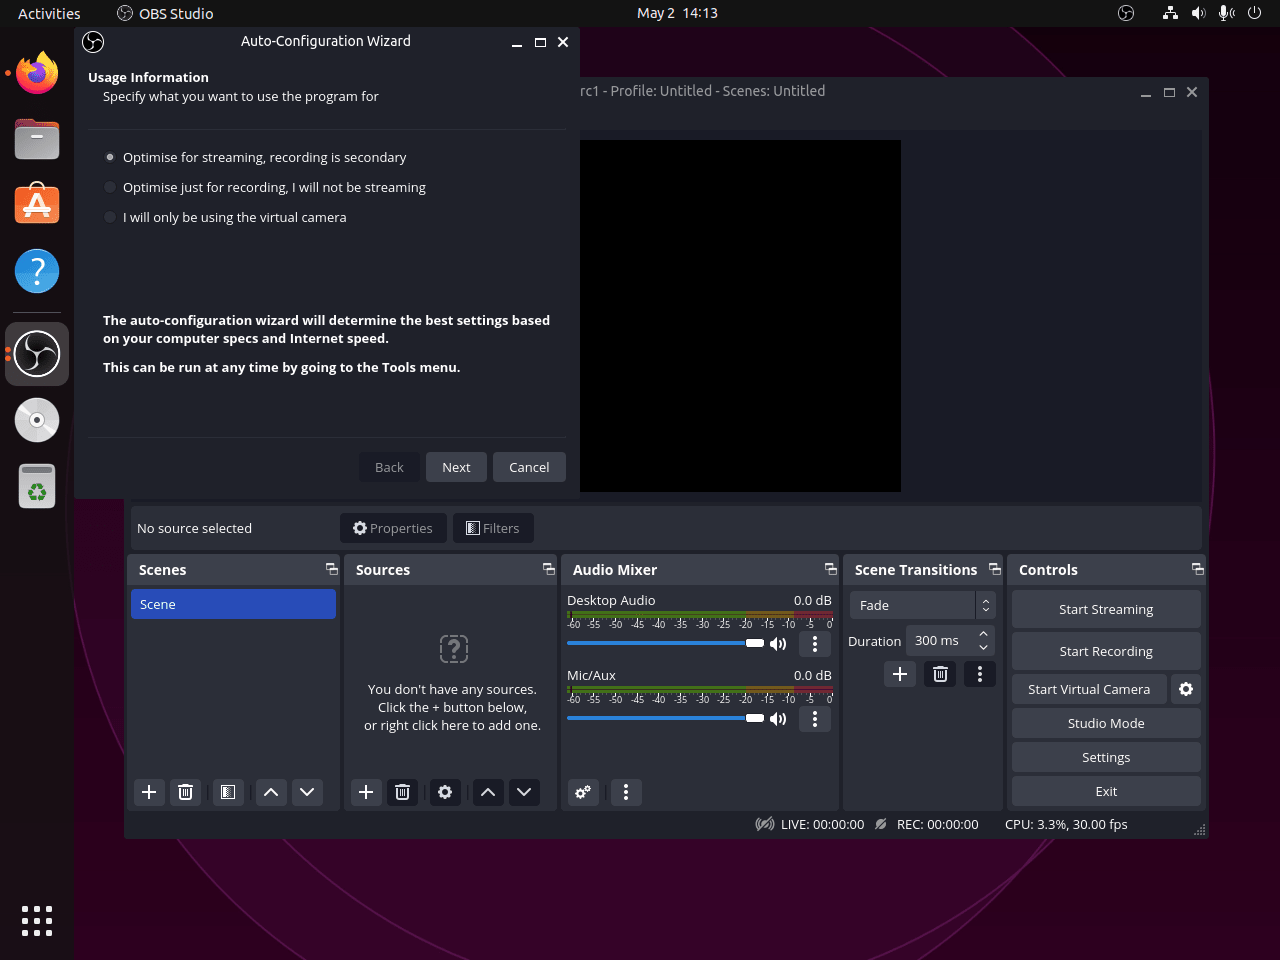
When you launch OBS Studio for the first time, the Auto-Configuration Wizard appears. This wizard optimizes settings based on your hardware and intended use:
- Select your primary use case: streaming, recording, or both.
- Choose your streaming service (Twitch, YouTube, etc.) or skip if recording only.
- Allow OBS to run hardware tests to determine optimal encoding settings.
- Review the suggested settings and apply them.
After setup, add your first source by clicking the plus icon under Sources. Common sources include Display Capture for screen recording, Window Capture for specific applications, and Video Capture Device for webcams.
Manage OBS Studio on Ubuntu
Update OBS Studio
For APT installations, refresh the package index and upgrade OBS Studio:
sudo apt update
sudo apt install --only-upgrade obs-studio
For Flatpak installations, update with:
sudo flatpak updateRemove OBS Studio
Remove APT Installation
Remove OBS Studio and clean up any orphaned dependencies left behind:
sudo apt remove obs-studio
sudo apt autoremove
Remove any PPAs you added. For detailed PPA management options, see our guide on how to remove a PPA from Ubuntu:
sudo add-apt-repository --remove ppa:obsproject/obs-studio -yIf you added the unstable PPA, remove it as well:
sudo add-apt-repository --remove ppa:obsproject/obs-studio-unstable -y
sudo apt update
Verify removal is complete:
dpkg -l obs-studiodpkg-query: no packages found matching obs-studio
Remove Flatpak Installation
sudo flatpak uninstall com.obsproject.StudioRemove OBS Studio Configuration Files
OBS Studio stores your scene collections, streaming profiles, hotkeys, and preferences in
~/.config/obs-studio/. Flatpak installations also write to~/.var/app/com.obsproject.Studio/. These directories are not removed automatically. Delete them only if you no longer need your recording configuration. This action is permanent and cannot be undone.
rm -rf ~/.config/obs-studio/
rm -rf ~/.var/app/com.obsproject.Studio/
Troubleshoot Common OBS Studio Issues on Ubuntu
Screen Capture Shows Black Screen on Wayland
OBS Studio requires PipeWire for screen capture on Wayland sessions. If Display Capture shows only a black rectangle, first verify you are running Wayland:
echo $XDG_SESSION_TYPEwayland
If the output confirms Wayland, check that the PipeWire package is installed:
sudo apt install pipewireVerify PipeWire is running:
systemctl --user status pipewire● pipewire.service - PipeWire Multimedia Service
Loaded: loaded
Active: active (running)
In OBS, remove the existing Display Capture source and add a new Screen Capture (PipeWire) source instead. A portal dialog will appear asking which screen or window to share. The Flatpak version includes PipeWire support by default and handles this automatically.
Enable Hardware Encoding for Better Performance
If OBS Studio uses excessive CPU during recording or streaming, hardware encoding offloads the work to your GPU. First, check which encoders OBS detects by navigating to Settings, Output, and switching Output Mode to Advanced. The Encoder dropdown shows available options.
For NVIDIA GPUs, verify your driver supports NVENC:
nvidia-smi --query-gpu=name,driver_version --format=csvname, driver_version NVIDIA GeForce RTX 3070, 535.154.05
If the command fails, install the NVIDIA drivers on Ubuntu. For advanced GPU compute features, optionally add the CUDA toolkit. Once drivers are installed, select NVENC H.264 or NVENC HEVC in the OBS encoder dropdown.
For AMD and Intel GPUs, the VA-API encoder provides hardware acceleration. Verify VA-API is available:
vainfo 2>&1 | head -5vainfo: VA-API version: 1.20 (libva 2.20.1)
vainfo: Driver version: Intel iHD driver for Intel(R) Gen Graphics - 24.1.5
vainfo: Supported profile and entrypoints
VAProfileH264Main : VAEntrypointVLD
VAProfileH264Main : VAEntrypointEncSlice
VAProfileH264High : VAEntrypointEncSlice
VAProfileHEVCMain : VAEntrypointEncSlice
Select VA-API H.264 in the OBS encoder settings. If vainfo returns an error or shows no encoding profiles, install the appropriate Mesa driver package for your GPU (intel-media-va-driver for Intel, mesa-va-drivers for AMD). Hardware encoding significantly reduces CPU usage and maintains consistent frame rates during intensive recordings.
Fix Missing Audio Sources
If OBS does not detect your microphone or desktop audio, first verify your audio server is running:
pactl info | grep "Server Name"Server Name: PulseAudio (on PipeWire 0.3.65)
If the command returns an error or shows no server, restart the PipeWire services:
systemctl --user restart pipewire pipewire-pulseList available audio sources to find the correct device names:
pactl list sources short46 alsa_input.usb-Blue_Microphones-00.analog-stereo PipeWire s32le 2ch 48000Hz RUNNING 47 alsa_output.pci-0000_00_1f.3.analog-stereo.monitor PipeWire s32le 2ch 48000Hz IDLE
In OBS Studio, navigate to Settings > Audio and set Desktop Audio to the .monitor source, which is the loopback device that captures whatever audio your system is outputting (game sounds, music, browser audio). Set Mic/Auxiliary Audio to your microphone input. Click Apply and verify levels appear in the Audio Mixer panel.
Frequently Asked Questions
Yes. The Ubuntu repository includes OBS Studio on all three supported LTS releases: version 27.2.x on Ubuntu 22.04, 30.2.x on Ubuntu 24.04, and 32.0.x on Ubuntu 26.04. Adding the OBS Project PPA is worthwhile only on Ubuntu 22.04 or 24.04 when you need a newer version than the repository provides. On Ubuntu 26.04, the repository already ships version 32.0.x, so no third-party repository is needed.
Yes. OBS Studio installs and runs on Ubuntu 22.04, 24.04, and 26.04. The Ubuntu repository provides a packaged version for each release. The OBS Project PPA supplies newer builds for Ubuntu 22.04 and 24.04 only; Ubuntu 26.04 already ships OBS Studio 32.0.x in its official repository, so no third-party PPA is needed.
On Ubuntu desktops running Wayland, OBS Studio requires a PipeWire screen capture source. Remove any existing Display Capture source, add a new Screen Capture (PipeWire) source, and confirm PipeWire is running with systemctl --user status pipewire. The Flatpak version of OBS Studio includes PipeWire support and handles this automatically.
The Ubuntu repository packages OBS Studio specifically for each Ubuntu release, prioritizing stability. Ubuntu 22.04 ships version 27.2.x and Ubuntu 24.04 ships 30.2.x. The OBS Project PPA provides developer-maintained builds that track upstream releases more closely, offering OBS Studio 30.2.x on Ubuntu 22.04 and 32.0.x on Ubuntu 24.04. The PPA is not available for Ubuntu 26.04.
Conclusion
OBS Studio is installed and ready on Ubuntu with hardware encoding via NVENC or VA-API, Wayland screen capture through PipeWire, and audio routing configured for both desktop output and microphone input.
To extend OBS Studio’s capabilities, explore plugins from the OBS Resources forum for virtual backgrounds, advanced scene switching, and stream overlays. For post-production, use Videomass on Ubuntu to batch-convert and process recordings, Handbrake on Ubuntu to compress and convert video files, or VLC on Ubuntu for format testing and playback.

Formatting tips for your comment
You can use basic HTML to format your comment. Useful tags currently allowed in published comments:
<code>command</code>command<strong>bold</strong><em>italic</em><blockquote>quote</blockquote>