OBS Studio, also known as Open Broadcaster Software Studio, serves content creators, streamers, and video professionals as top-tier open-source software. To install OBS Studio on Ubuntu 22.04 Jammy Jellyfish or the earlier stable version, Ubuntu 20.04 Focal Fossa, you must understand its core features.
Key Features of OBS Studio:
- Versatile Video Sources: OBS Studio lets users seamlessly integrate various video sources, from webcams and game captures to screen recordings, offering a dynamic content creation experience.
- Enhanced Audio Controls: The software ensures top-notch audio output, complementing the visual content with comprehensive audio controls.
- Broad Platform Support: With availability on Windows, macOS, and Linux, OBS Studio caters to a diverse user base. It also offers compatibility with major streaming platforms like Twitch, YouTube, and Facebook.
- Community-Driven Development: The open-source nature of OBS Studio fosters a vibrant community that continually refines the software. This community support extends to tutorials, forums, and other resources, enhancing user experience.
Installation Methods: For those using Ubuntu, there are three primary methods to get OBS Studio up and running:
- Utilizing Ubuntu’s official repository.
- Leveraging the OBS Studio PPA for the most recent stable or developmental versions.
- Opting for Flatpak with Flathub through the command line terminal.
Now, on to the main parts of installing OBS Studio on Ubuntu.
Install OBS Studio on Ubuntu 22.04 or 20.04 via APT
Step 1: Update Ubuntu Before OBS Studio Installation
To ensure a smooth installation process and maintain good practice, updating your Ubuntu system before installing OBS Studio is essential. This helps prevent potential issues during installation and ensures compatibility with the latest packages. To update your Ubuntu system, open the terminal and run the following command:
sudo apt update && sudo apt upgradeStep 2: Install OBS Studio on Ubuntu 22.04 or 20.04 via APT Command
There are two methods for installing OBS Studio using APT:
Method 1: Install OBS Studio with Ubuntu Repository
Installing OBS Studio directly from the Ubuntu repository is ideal for maintaining a stable system environment. However, this method may not provide the most recent updates, bug fixes, or improvements to OBS Studio, as the repository can lag behind the latest releases.
To install OBS Studio from the Ubuntu repository, run the following command in your terminal:
sudo apt install obs-studioIf you prefer a more updated, stable, or nightly version, consider using the OBS Project PPA in Method 2 below.
Method 2: Install OBS Studio on Ubuntu 22.04 or 20.04 OBS Project PPA
The first step in this method is to import the PPA containing the latest stable OBS Studio version maintained by the OBS Project team. Run the following command in your terminal:
sudo add-apt-repository ppa:obsproject/obs-studio -yAlternatively, you can install the unstable master build version if you prefer. The unstable and stable versions share the same installation process, so importing the unstable version will allow you to access the latest stable version if there are issues with the unstable build.
To add the unstable version, run the following command:
sudo add-apt-repository ppa:obsproject/obs-studio-unstable -yAfter adding the desired PPA, run an APT update command to synchronize your package manager with the new repository:
sudo apt updateFinally, install the latest stable version of OBS Studio with the following terminal command:
sudo apt install obs-studio -yInstall OBS Studio on Ubuntu 22.04 or 20.04 via Flatpak and Flathub
This section will explore an alternative method to install OBS Studio using the Flatpak package manager. Flatpak is a universal packaging format for Linux applications, similar to Snap, which offers benefits like sandboxing and easy updates. Installing OBS Studio with Flatpak ensures you have the latest version of the software while keeping it isolated from the rest of your system.
Step 1: Enable Flathub For OBS Studio on Ubuntu
Before installing OBS Studio through Flatpak, you must enable the Flathub repository, a primary source for Flatpak applications. To enable Flathub, execute the following command in your terminal:
sudo flatpak remote-add --if-not-exists flathub https://flathub.org/repo/flathub.flatpakrepoThis command adds the Flathub repository to your Flatpak configuration, ensuring you have access to various applications, including OBS Studio.
If your system does not have Flatpak installed, please refer to our own guide on “How to Install Flatpak on Ubuntu” for step-by-step instructions on installing the most recent supported version of Flatpak.
Step 2: Install OBS Studio on Ubuntu 22.04 or 20.04 via Flatpak Command
With Flathub enabled, you can now install OBS Studio using the flatpak install command. Run the following command in your terminal:
flatpak install flathub com.obsproject.Studio -yThis command installs OBS Studio from the Flathub repository, providing you with the latest version of the application.
Launch OBS Studio on Ubuntu 22.04 or 20.04
With OBS Studio installed on your system, you can use several methods to launch the software. This guide will outline these methods, catering to command-line enthusiasts and desktop users, so you can start OBS Studio the way you prefer.
CLI Methods to Launch OBS Studio on Ubuntu
If you have the terminal open, you can launch OBS Studio directly using the following command:
obsFor those who installed OBS Studio via Flatpak, you can run the following command instead:
flatpak run com.obsproject.StudioGUI Method to Launch OBS Studio on Ubuntu
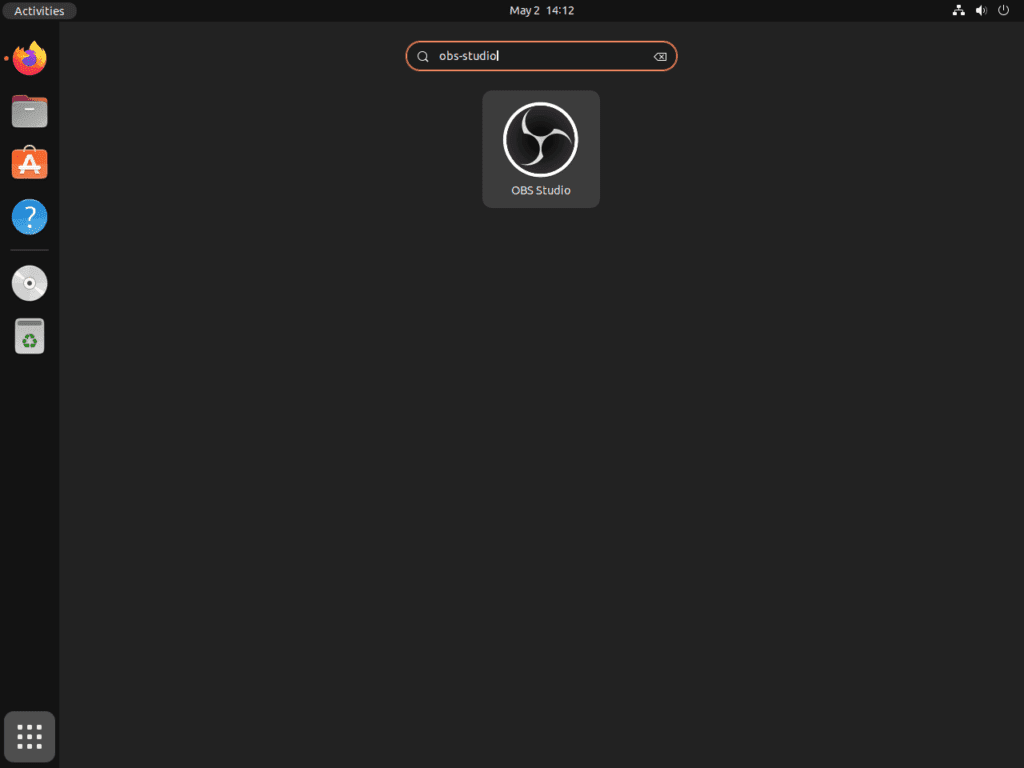
For desktop users who prefer not to open a terminal constantly, you can easily access OBS Studio using the graphical interface. To launch OBS Studio, follow these steps:
- Click on Show Applications or Activities (depending on your desktop environment).
- Search for OBS Studio in the search bar.
- Click on the OBS Studio icon to start the application.
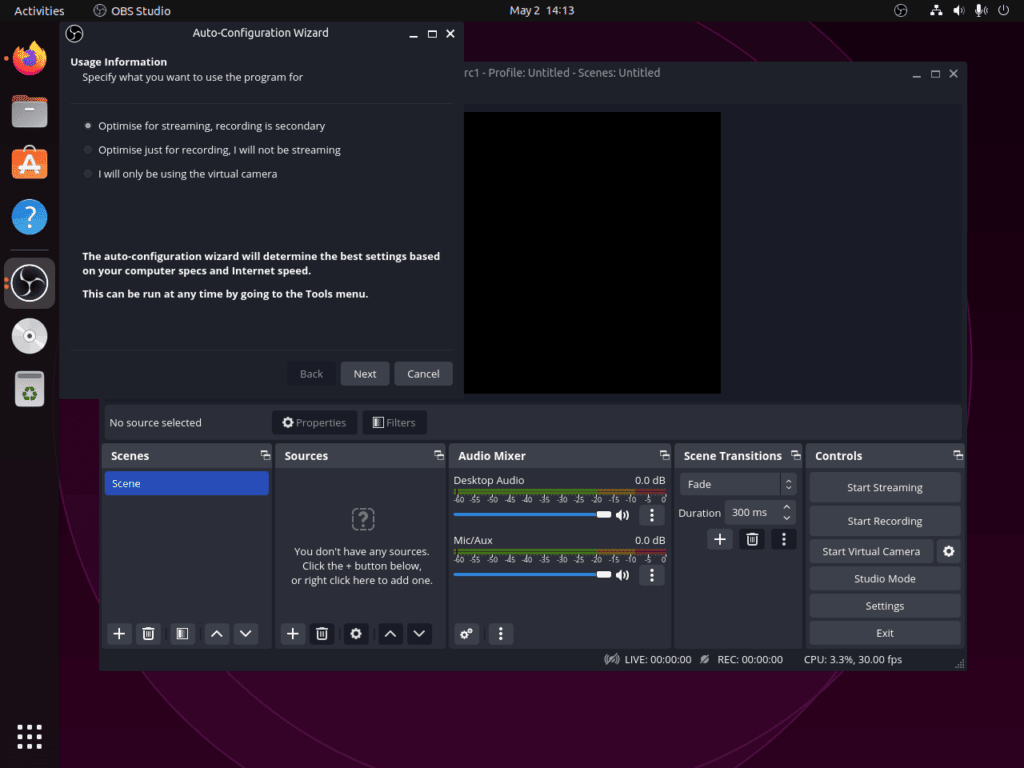
Getting Started with OBS Studio on Ubuntu 22.04 or 20.04
This section offers tips and tricks to start with OBS Studio on Ubuntu Linux. Use these tips to improve your streaming and recording experience with OBS Studio.
Configure OBS Studio Settings on Ubuntu
Before you start streaming or recording, it’s essential to configure OBS Studio settings to optimize your experience:
- Video settings: Go to
Settings > Videoand set the Base (Canvas) Resolution and Output (Scaled) Resolution according to your monitor’s resolution and desired streaming quality. - Audio settings: Navigate to
Settings > Audioto configure your audio devices, such as selecting the proper microphone and speakers. - Streaming settings: If you plan to stream, go to
Settings > Streamto set up your streaming service, stream key, and server.
Customize OBS Studio Interface on Ubuntu
OBS Studio allows you to customize the interface to suit your preferences:
- Move and resize panels: Click and drag the panel headers to rearrange them or use the edges to resize the panels.
- Enable/disable panels: Go to
View > Docksto toggle the visibility of various panels, such as the audio mixer or the scene transitions. - Change the theme: If you prefer a different color scheme, go to
Settings > Generaland select a theme from the Theme dropdown menu.
Set up Scenes and Sources on Ubuntu
To create engaging content, it’s crucial to set up scenes and sources in OBS Studio:
- Add a scene: Click the
+button in the Scenes panel to create a new scene. - Add sources: With a scene selected, click the
+button in the Sources panel to add elements like your display capture, window capture, webcam, or media files. - Resize and reposition sources: Click and drag the edges of the sources in the preview window to resize them or drag them around to change their position.
Utilize Hotkeys on Ubuntu
To make your OBS Studio experience more efficient, you can set up hotkeys for various actions:
- Go to
Settings > Hotkeys. - Scroll through the list to find the actions you want to assign a hotkey.
- Click on the corresponding field and press the key or key combination you want to use as a hotkey.
These hotkeys will help you manage your streaming and recording sessions more effectively without clicking through the interface.
Install OBS Studio Plugins on Ubuntu
OBS Studio supports a variety of plugins to extend its functionality:
- Visit the OBS Project’s forum to discover plugins that might enhance your OBS Studio experience.
- To install a plugin, follow the plugin developer’s instructions, usually involving copying the plugin files to the OBS Studio plugin directory.
Additional OBS Studio Commands with Ubuntu 22.04 or 20.04
This section will cover additional commands related to OBS Studio on Ubuntu Linux, including updating and uninstalling the software. These commands will help you maintain the application and ensure you have the latest version.
Update OBS Studio on Ubuntu 22.04 or 20.04
OBS Studio integrates its updates with standard system updates. If you want to check for updates more often, enter the following command in your terminal:
sudo apt upgrade && sudo apt upgradeThis command will update your system’s package index and upgrade OBS Studio to the latest version, if applicable.
For alternative installations with the Flatpak package manager, use the following command to check for updates for OBS Studio and any other Flatpak application or package you have installed:
flatpak updateRemove OBS Studio From Ubuntu 22.04 or 20.04
If you no longer need OBS Studio, you can remove it from your system using one of the following commands, depending on your installation method:
For users who installed OBS Studio with APT:
sudo apt remove obs-studioAfter removing the software and if you used one of the PPAs, it’s a good practice to remove it for security and system maintenance purposes.
To do so, run the following command:
sudo add-apt-repository --remove ppa:obsproject/obs-studio -yIf you installed OBS Studio from the unstable repository, execute this command in addition to the one above:
sudo add-apt-repository --remove ppa:obsproject/obs-studio-unstable -yFor users who installed OBS Studio using Flatpak, you can remove the software by running the following command:
flatpak uninstall com.obsproject.StudioClosing Thoughts
In this article, we explored different ways to install OBS Studio on Ubuntu Linux: through default repositories, PPAs, and Flatpak. We also explained how to start the application, shared practical tips for beginners, and provided commands to update and uninstall OBS Studio. These guidelines allow you to efficiently set up and maintain OBS Studio on your Ubuntu system.


