

This guide will demonstrate how to install Nmap on AlmaLinux 9 or 8 using two methods through the command-line terminal: utilizing AlmaLinux’s default appstream or downloading, compiling, and installing the Nmap source binary on AlmaLinux.
Nmap, short for Network Mapper, is a versatile tool for network discovery and security auditing. It serves as an invaluable resource for system administrators, cybersecurity professionals, and network enthusiasts. With its ability to scan large networks or single hosts, Nmap offers insights into network configurations, available services, and potential security vulnerabilities. Below are some of its standout features:
- Network Discovery: Effortlessly identifies devices connected to a network.
- Port Scanning: Enumerates open ports on network hosts.
- Version Detection: Determines software versions running on detected services.
- OS Detection: Capable of identifying the operating systems of networked devices.
- Scriptable Interactions: Features a scripting engine for automating a wide range of networking tasks.
- Security Auditing: Assists in identifying security weaknesses within the network.
Nmap’s adaptability and robust feature set make it a go-to network analysis and security management tool. It’s particularly useful in preemptively detecting potential vulnerabilities and ensuring that networks remain secure against unauthorized access or malicious activities. Its open-source nature further enhances its versatility, allowing for customization and integration into various IT and security workflows.
Transitioning into the technical aspect, the process of installing Nmap on AlmaLinux involves a straightforward approach, whether you choose to utilize the distribution’s default appstream or opt for the manual compilation of the source binary.
Install Nmap on AlmaLinux via DNF Appstream
Update AlmaLinux Before Installing Nmap
To start, update your AlmaLinux system. This step ensures that all your existing packages are current. Run the following command:
sudo dnf upgrade --refreshInstall Nmap on AlmaLinux via DNF Command
Nmap is included in AlmaLinux’s official repository. As AlmaLinux often incorporates the latest stable releases, the version of Nmap is typically current, simplifying the installation process without needing third-party repositories.
Proceed with the installation by executing:
sudo dnf install nmap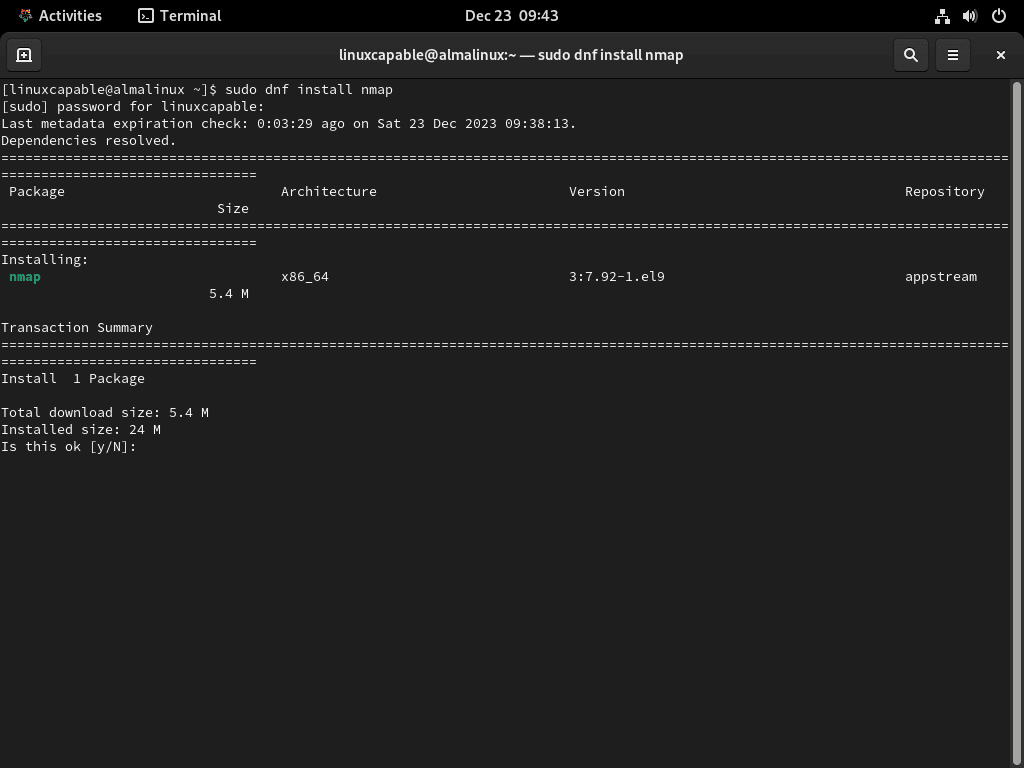
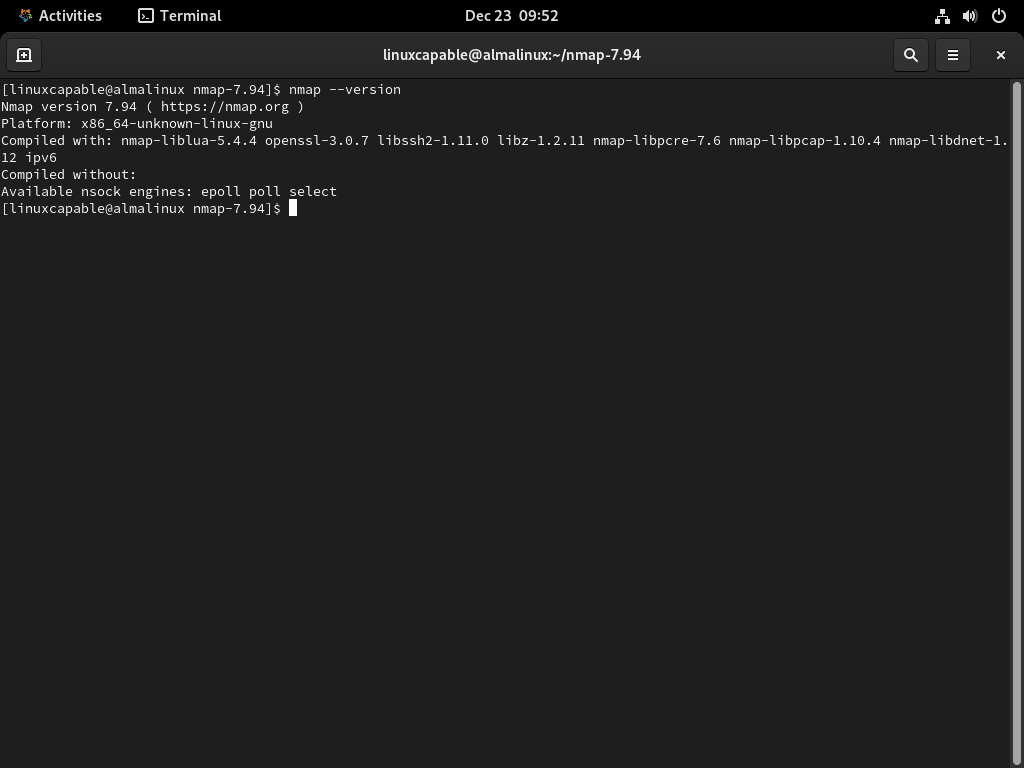
After installing, confirm the installation by checking Nmap’s version and build information:
nmap --version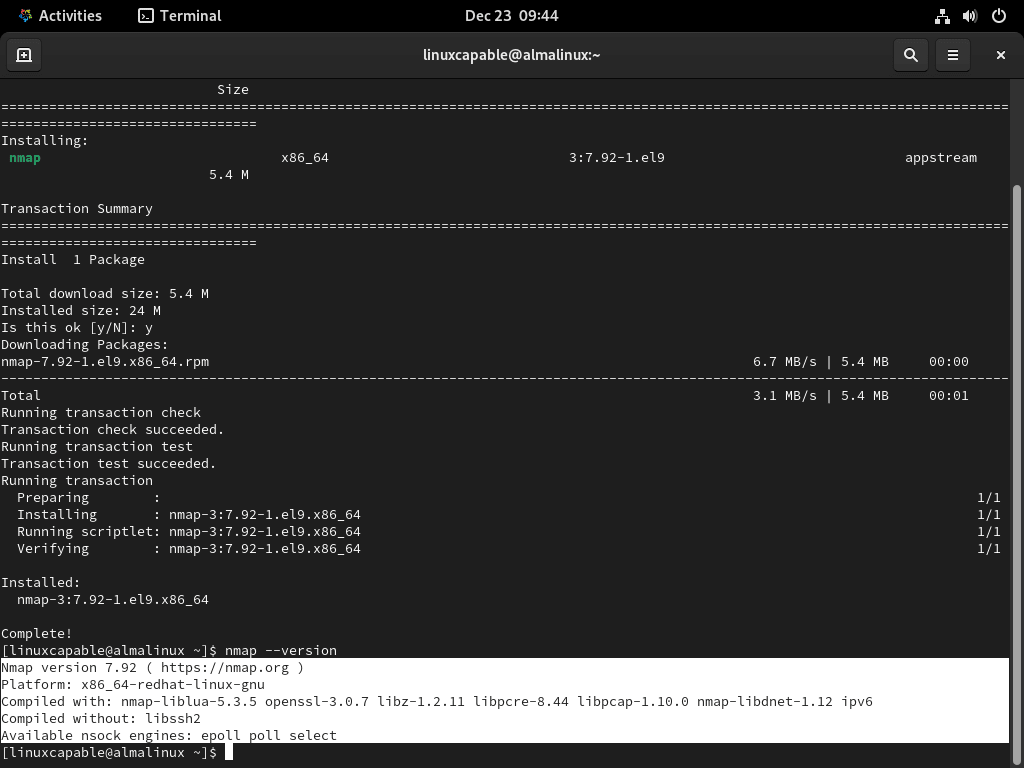
This step ensures that Nmap has been installed correctly and is ready for use. For those that require the latest version, the next section will demonstrate how to compile and install the Nmap binary on AlmaLinux.
Install Nmap on AlmaLinux from Source
Install Required Packages for Nmap Compilation
Begin by preparing your AlmaLinux system with essential tools for source code compilation. This includes the GCC compiler and ‘make’ utility, which are fundamental for building packages.
Run this command in your terminal to install these tools:
sudo dnf install make automake gcc gcc-c++Next, install development tools and other necessary packages for Nmap building:
sudo dnf groupinstall "Development Tools"
sudo dnf install libssh2-devel openssl-devel python3-devel
Download Nmap Source Archive
With the tools in place, proceed to download the Nmap source code. Check the official Nmap download page for the latest stable release. Use wget to fetch the source:
wget https://nmap.org/dist/nmap-7.94.tar.bz2Always verify the current version number on the Nmap website.
Extract the Nmap Source Code
Once downloaded, extract the Nmap source code:
bzip2 -cd nmap-7.94.tar.bz2 | tar xvf -
cd nmap-7.94
Note: Remember to replace 7.94 with your Nmap version, as this does change every so often.
Configure Nmap Build
Initiate the configuration process to prepare the Nmap source for compilation on your system. This step ensures compatibility and optimized performance.
Configure the build with:
./configureFor a custom directory installation, use:
./configure --with-localdirs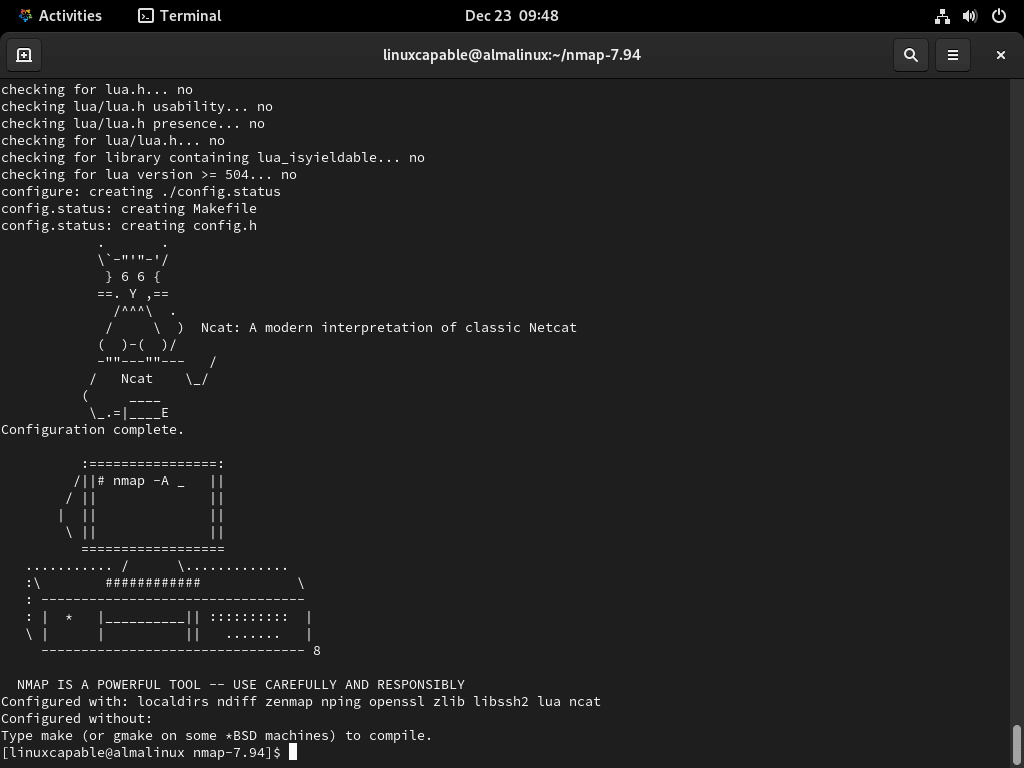
Compile Nmap with the make command
Now, compile the source code using make. This reads the Makefile in the Nmap directory and compiles the code:
make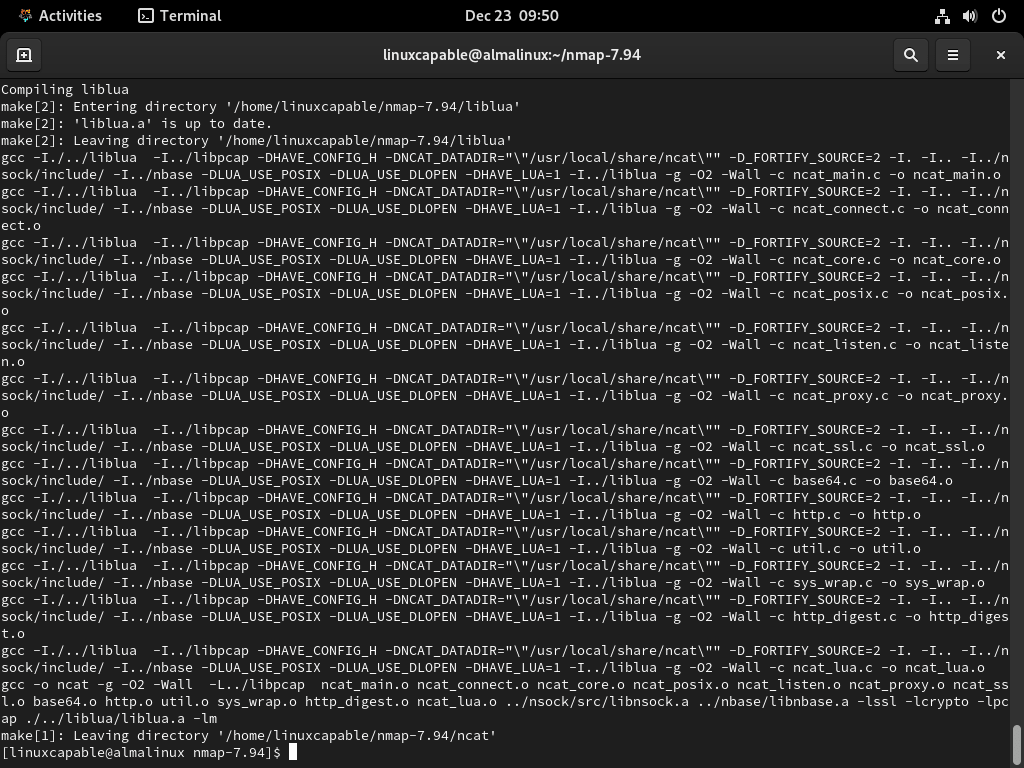
Install Nmap Binary with the make install command
After compilation, install Nmap by placing the program in the appropriate system directories:
sudo make installVerify Nmap Installation
Finally, verify the installation and version of Nmap with:
nmap --versionThis confirms the successful installation of the latest Nmap version from the source on your AlmaLinux system.
Basic Nmap Scanner Commands on AlmaLinux
Understanding Nmap Port States
Before using Nmap, familiarize yourself with the port states it identifies:
- Closed: The port is not accepting connections, indicating no service is listening or it’s not configured for incoming connections.
- Open: The port is actively accepting connections, with a service running and ready for incoming connections.
- Filtered: Nmap is unable to determine if the port is open or closed due to filtering, likely by a firewall or network device.
- Unfiltered: The port is reachable, but its status as open or closed is undetermined.
- Closed | Filtered: Nmap reaches the target but can’t ascertain the port’s status.
- Open | Filtered: It’s unclear whether the port is closed or filtered.
Initiate a Host or IP Address Scan with Nmap
Scanning a Single Host
To scan a single host:
nmap <hostname or IP address>Example: Scan IP address 192.168.1.1:
nmap 192.168.1.1Scanning a Range of IP Addresses
To scan a range of IP addresses:
nmap <start IP address>-<end IP address>Example: Scan IP range 192.168.1.1 to 192.168.1.254:
nmap 192.168.1.1-192.168.1.254Conduct an Operating System Scan with Nmap
Scanning a Single Host for OS Detection
To detect an operating system on a single host:
nmap -O <hostname or IP address>Example: OS detection for IP address 192.168.1.1:
nmap -O 192.168.1.1Scanning a Range of IP Addresses for OS Detection
For OS detection on a range of IP addresses:
nmap -O <start IP address>-<end IP address>Example: Detect OS for IP range 192.168.1.1 to 192.168.1.254:
nmap -O 192.168.1.1-192.168.1.254Specifying Ports and Scan Order with Nmap
Scanning Specific Ports on a Single Host
To scan specified ports on a host:
nmap -p <port1,port2,port3,...> <hostname or IP address>Example: Scan ports 80, 443, 8080 on IP address 192.168.1.1:
nmap -p 80,443,8080 192.168.1.1Scanning Ports in Order on a Range of IP Addresses
To scan ports in a specific order across a range:
nmap -p <port1,port2,port3,...> --top-ports <number> <start IP address>-<end IP address>Example: Scan top 10 ports on IP range 192.168.1.1 to 192.168.1.254:
nmap -p- --top-ports 10 192.168.1.1-192.168.1.254Conducting a Services Scan with Nmap
Scanning Services on a Single Host
To perform a service scan on a single host:
nmap -sV <hostname or IP address>Example: Service scan for IP address 192.168.1.1:
nmap -sV 192.168.1.1Scanning Services on a Range of IP Addresses
For a service scan across a range of IP addresses:
nmap -sV <start IP address>-<end IP address>Example: Service scan for IP range 192.168.1.1 to 192.168.1.254:
nmap -sV 192.168.1.1-192.168.1.254Initiating a TCP SYN Scan with Nmap
TCP SYN Scan on a Single Host
To perform a TCP SYN scan on a single host:
nmap -sS <hostname or IP address>Example: TCP SYN scan for IP address 192.168.1.1:
nmap -sS 192.168.1.1TCP SYN Scan on a Range of IP Addresses
For a TCP SYN scan on a range of IP addresses:
nmap -sS <start IP address>-<end IP address>Example: TCP SYN scan for IP range 192.168.1.1 to 192.168.1.254:
nmap -sS 192.168.1.1-192.168.1.254Final Thoughts
That’s a wrap on our journey through Nmap on AlmaLinux 9 or 8! We’ve covered everything from basic installations to diving deep into port states and OS detection. Remember, keeping Nmap updated and regularly brushing up on your command skills can really make a difference in your network security game. Don’t be afraid to experiment with different commands to get the hang of it.