
MusicBrainz’s own downloads page points Linux users toward managed packages instead of a one-size-fits-all installer, which fits a desktop tagger better than chasing a random download. To install MusicBrainz Picard on Ubuntu, choose between Ubuntu’s own package, the MusicBrainz PPA for older supported LTS releases, the official Snap Store package, or the Flathub build.
Picard is a graphical music tagger powered by the MusicBrainz database and AcoustID fingerprints, so it can identify tracks, rename files, and fill in metadata even when your library starts out incomplete. If you are looking for an MP3Tag-style Linux tagger, Picard is the native MusicBrainz-focused option rather than a manual tag editor clone. On Ubuntu it works as a desktop application, while commands like picard --help and picard --version are mostly useful for quick terminal checks.
Install MusicBrainz Picard on Ubuntu
Ubuntu 26.04 already ships Picard 2.13.3 in the Ubuntu repositories, while Ubuntu 24.04 and 22.04 carry older builds. That makes the default package the simplest path on the newest LTS release, the MusicBrainz stable PPA the newer APT option for 24.04 and 22.04, and Snap or Flatpak the cross-release choices when you want a store-managed release line across Ubuntu releases.
| Method | Source | Package or Channel | Updates | Best For |
|---|---|---|---|---|
| Ubuntu repositories | Ubuntu archive package | 26.04: 2.13.3; 24.04: 2.11; 22.04: 2.7.3 | APT | Ubuntu 26.04 users and anyone who prefers Ubuntu-managed packages |
| MusicBrainz stable PPA | Launchpad PPA | Stable PPA packages for 24.04 and 22.04; no 26.04 suite | APT-managed updates | Ubuntu 24.04 or 22.04 users who want a newer APT build |
| Snap | Snap Store | latest/stable Snap channel | Automatic Snap refreshes | Ubuntu desktop users who want the upstream-published Snap package |
| Flatpak | Flathub | Flathub stable app ref | Flatpak app and runtime updates | Readers who already use Flathub or want the same package across Linux distributions |
- Use the Ubuntu repository on 26.04 if you want Picard 2.13.3 without another software source to maintain.
- Use the MusicBrainz stable PPA on 24.04 or 22.04 if you want a newer APT-managed package than Ubuntu ships by default.
- Use Snap when you want the upstream-published Snap Store package and normal automatic Snap refreshes on Ubuntu.
- Use Flatpak when you already use Flathub or want the same app ref across Ubuntu and other Linux distributions.
Supported Ubuntu releases for this workflow are 26.04, 24.04, and 22.04. Ubuntu’s repository package, the Snap package, and the Flathub build work across all three supported LTS releases, but the MusicBrainz stable PPA currently publishes packages for Ubuntu 24.04 and 22.04 only, not Ubuntu 26.04.
Check Official MusicBrainz Picard Downloads for Ubuntu
The official MusicBrainz Picard downloads page lists Linux options for Flatpak, Snap, distribution packages, Ubuntu PPAs, and source archives. It does not publish a standalone Ubuntu .deb installer; Windows files such as picard-setup-2.13.3 are not Ubuntu packages. The daily PPA is labeled unstable, so the install methods below stay on stable Ubuntu, PPA, Snap, and Flathub paths.
Install MusicBrainz Picard from Ubuntu Repositories
This is the lowest-maintenance method, and it already gives Ubuntu 26.04 the current 2.13.3 release. Picard lives in Ubuntu’s Universe repository on all three supported LTS releases.
sudo apt updateThese commands use
sudofor package changes. If your account does not have admin access yet, follow how to add a new user to sudoers on Ubuntu before you continue.
If apt cannot find picard, enable Universe first. The same steps in enable Universe and Multiverse in Ubuntu also cover systems where the extra repository components were turned off earlier.
sudo apt install picard -yCheck the installed package version and confirm that the desktop launcher command is on your path.
dpkg-query -W -f='${Package} ${Version}\n' picard
command -v picard
picard 2.13.3-1ubuntu1 /usr/bin/picard
Ubuntu 24.04 prints picard 2.11-1, and Ubuntu 22.04 prints picard 2.7.3-1. The launcher path stays /usr/bin/picard across all three supported releases.
Install MusicBrainz Picard from the MusicBrainz Stable PPA
The MusicBrainz stable PPA matters on Ubuntu 24.04 and 22.04, where it raises Picard to 2.13.3 while keeping APT-style updates. Ubuntu 26.04 already ships Picard 2.13.3, and the stable PPA does not currently publish a usable resolute Release file.
. /etc/os-release

case "$VERSION_CODENAME" in
  noble|jammy)
    sudo apt install software-properties-common -y
    sudo add-apt-repository -y ppa:musicbrainz-developers/stable
    sudo apt update
    ;;
  *)
    echo "The MusicBrainz stable PPA currently supports Ubuntu 24.04 (noble) and 22.04 (jammy), not $VERSION_CODENAME."
    ;;
esac
On Ubuntu 24.04 or 22.04, install Picard after the new source is available in APT.
sudo apt install picard -yVerify the newer package build and the launcher path.
dpkg-query -W -f='${Package} ${Version}\n' picard
command -v picard
picard 2.13.3-0~ppa26~ubuntu24.04.1 /usr/bin/picard
Ubuntu 22.04 prints the same upstream release with a Jammy suffix, 2.13.3-0~ppa26~ubuntu22.04.1. If you later switch back to the Ubuntu package, remove the PPA first so only one source controls future Picard updates.
Install MusicBrainz Picard with Snap on Ubuntu
The Snap package is published by the MetaBrainz Foundation account in the Snap Store. Ubuntu desktop installs normally have Snap ready already, so this method is short and stays on the latest/stable channel unless you choose a preview channel yourself.
If snap is missing on a minimal or customized Ubuntu installation, install snapd first, then open a new terminal session before installing Picard.
sudo apt update
sudo apt install snapd -y
Install the Picard Snap after the snap command is available.
sudo snap install picardVerify the installed Snap package with Snap metadata rather than launching the graphical app from a terminal.
snap list picardName Version Rev Tracking Publisher Notes picard 2.13.3 1812 latest/stable metabrainz-apps** -
Install MusicBrainz Picard with Flatpak on Ubuntu
Flatpak is another way to keep the same Picard build across Ubuntu 26.04, 24.04, and 22.04. Treat it as a packaging and update-cadence choice rather than a strict privacy sandbox, because current Flathub metadata grants Picard broad access to local music files and devices so it can tag a normal desktop library.
Flatpak is not installed by default on Ubuntu. If you need the base setup first, install Flatpak on Ubuntu before you add Flathub here.
Add the Flathub remote with the current canonical repository URL. The --if-not-exists flag makes the command safe to rerun later.
sudo flatpak remote-add --if-not-exists flathub https://dl.flathub.org/repo/flathub.flatpakrepoConfirm that Flathub is available at system scope before you install the app.
flatpak remotes --columns=name,options | grep -E '^flathub[[:space:]]'flathub system
Install the Picard Flatpak package from Flathub.
sudo flatpak install flathub org.musicbrainz.Picard -yCheck the installed Flatpak metadata after the install finishes.
flatpak info org.musicbrainz.Picard | grep -E '^[[:space:]]*(Ref|Version|Installation):' Ref: app/org.musicbrainz.Picard/x86_64/stable
Version: 2.13.3
Installation: system
Launch MusicBrainz Picard on Ubuntu
MusicBrainz Picard installs cleanly from a shell, but the application itself still opens as a desktop program. The picard command starts the graphical interface rather than a text-only tagging mode.
Launch MusicBrainz Picard from the Terminal on Ubuntu
Use the normal launcher command when you installed Picard through Ubuntu’s repositories or the MusicBrainz PPA.
picardUse snap run when you installed the Snap package. This launcher form does not depend on your current shell already seeing /snap/bin.
snap run picardUse the Flatpak runtime wrapper when you installed the Flathub build instead.
flatpak run org.musicbrainz.PicardCheck MusicBrainz Picard CLI Options on Ubuntu
Picard is still a desktop app, but its launcher also supports command-line checks and batch-style options. That makes it easy to confirm the install from a terminal or inspect the available flags before you hand files to a running Picard session. These options do not turn Picard into a headless MusicBrainz server; normal tagging still expects a graphical session.
picard --help
picard --version
usage: picard [-h] [-a AUDIT] [-c CONFIG_FILE] [-d] [-e COMMAND [COMMAND ...]]
[-M] [-N] [-P] [--no-crash-dialog] [-s] [-v] [-V]
[FILE_OR_URL ...]
MusicBrainz Picard 2.13.3
Ubuntu 24.04 prints MusicBrainz Picard 2.11, and Ubuntu 22.04 prints MusicBrainz Picard 2.7.3 when you use the default Ubuntu package. The official Picard command-line options also cover -e and --exec for passing commands or files to a running instance, which is useful for batch processing without turning Picard into a fully text-only tagger.
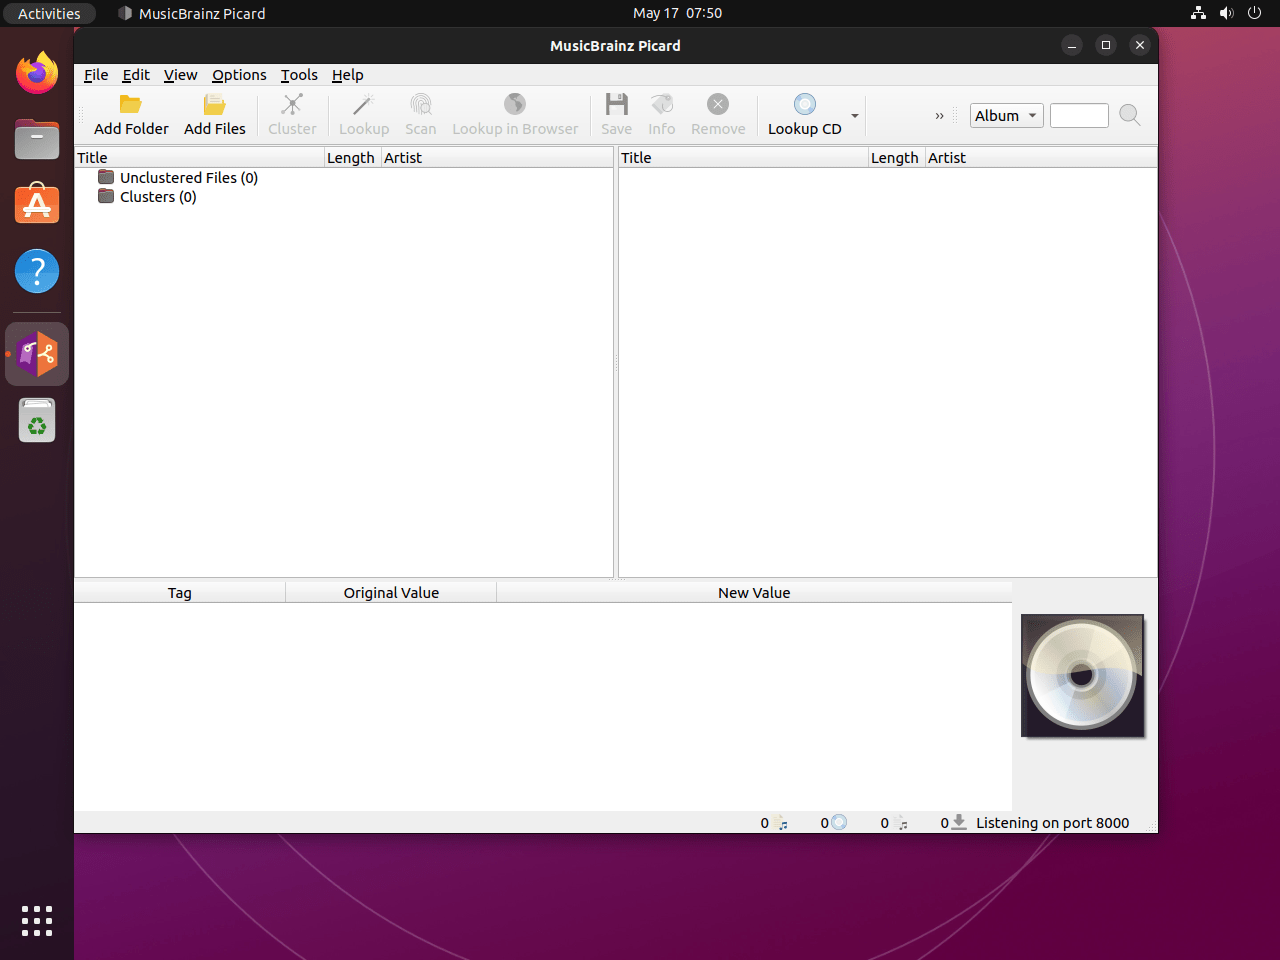
Launch MusicBrainz Picard from the Ubuntu Applications Menu
Use the desktop menu if you would rather start Picard like any other Ubuntu app.
- Open Activities in the top-left corner of the desktop.
- Select Show Applications.
- Search for MusicBrainz Picard and open the launcher.
Update or Remove MusicBrainz Picard on Ubuntu
Picard stays easy to maintain once it is installed, but the exact commands depend on whether you chose APT, Snap, or Flatpak. The sections below keep those workflows separate so you do not remove a source, package, or runtime you never used.
Update APT Installations of MusicBrainz Picard
This one command works for the Ubuntu repository package and the MusicBrainz stable PPA build.
sudo apt update && sudo apt install --only-upgrade picard -yUse the installed package version to confirm the update that is now on your system.
dpkg-query -W -f='${Package} ${Version}\n' picardpicard 2.13.3-1ubuntu1 picard 2.13.3-0~ppa26~ubuntu24.04.1
Update the Snap Build of MusicBrainz Picard
Snap refreshes installed apps automatically. To check Picard manually, ask Snap for an immediate refresh first.
sudo snap refresh picardThen verify the installed channel and publisher metadata.
snap list picardName Version Rev Tracking Publisher Notes picard 2.13.3 1812 latest/stable metabrainz-apps** -
Update the Flatpak Build of MusicBrainz Picard
Keep the system-wide Flatpak build current with Flatpak’s app update command.
sudo flatpak update org.musicbrainz.Picard -yVerify the installed version and scope after the update completes.
flatpak info org.musicbrainz.Picard | grep -E '^[[:space:]]*(Version|Installation):'Version: 2.13.3 Installation: system
Remove APT Installations of MusicBrainz Picard
Remove the Ubuntu or PPA package first, then review optional orphan cleanup separately.
sudo apt remove picard -yVerify that no installed picard package remains before you review optional cleanup.
dpkg-query -W -f='${db:Status-Abbrev} ${binary:Package}\n' picard 2>/dev/null | grep '^ii' || echo "picard not installed"picard not installed
Preview any orphaned dependencies before removing them. Continue only if the list contains packages you no longer need.
sudo apt autoremove --dry-runIf the preview is acceptable, run the cleanup command without --dry-run.
sudo apt autoremoveRemove the MusicBrainz stable PPA after package removal if you no longer want that repository on Ubuntu 24.04 or 22.04. The rm -f line clears generated Ubuntu 22.04 PPA trust files if they exist; newer releases may not create those files.
sudo add-apt-repository --remove -y ppa:musicbrainz-developers/stable
sudo rm -f /etc/apt/trusted.gpg.d/musicbrainz-developers-ubuntu-stable.gpg /etc/apt/trusted.gpg.d/musicbrainz-developers-ubuntu-stable.gpg~
sudo apt update
Check that only the Ubuntu candidate remains after PPA cleanup.
apt-cache policy picardpicard: Installed: (none) Candidate: 2.13.3-1ubuntu1
Ubuntu 24.04 shows Candidate: 2.11-1, and Ubuntu 22.04 shows Candidate: 2.7.3-1. If you still see a Launchpad entry in the version table after removing the PPA, the source file is still active.
Remove the Snap Build of MusicBrainz Picard
Close Picard first, then remove the snap. The --purge flag skips Snap’s automatic recovery snapshot for this app.
sudo snap remove --purge picard
snap list picard 2>/dev/null || echo "picard not installed"
picard removed picard not installed
If you launched the Snap build and want to remove its per-user settings too, inspect ~/snap/picard before deleting anything from your home directory.
Remove the Flatpak Build of MusicBrainz Picard
Remove the app first.
sudo flatpak remove org.musicbrainz.Picard -yThen use the app list to confirm that Flatpak no longer sees the Picard package.
flatpak list --app --columns=application | grep -Fx org.musicbrainz.Picard || echo "not-installed"not-installed
Clean up orphaned Flatpak runtimes afterward only after reviewing Flatpak’s confirmation list, because those runtimes can be shared by other Flatpak apps.
sudo flatpak uninstall --unusedTo remove personal Picard data too, inspect your home directory first instead of deleting a guessed path. Picard only creates user-data folders after you launch it, and the exact location can differ between the APT, Snap, and Flatpak builds.
Troubleshoot MusicBrainz Picard on Ubuntu
The two failures that matter most on Ubuntu are missing package sources and missing display access. Both are easy to confirm before you start changing repositories or desktop settings.
Fix Missing MusicBrainz Picard Packages on Ubuntu
Check the current candidate first, then see whether a MusicBrainz source file is active. The second line uses the grep command in Linux with examples to show only MusicBrainz-related source entries.
apt-cache policy picard
grep -R "musicbrainz-developers" /etc/apt/sources.list.d/ 2>/dev/null || echo "PPA not configured"
picard: Installed: (none) Candidate: 2.13.3-1ubuntu1 PPA not configured
If the Ubuntu package still shows Candidate: (none), enable Universe first and try the repository method again. If you are on Ubuntu 26.04 and the second command prints a MusicBrainz PPA file, remove that source and use the Ubuntu package, Snap, or Flatpak instead, because the stable PPA does not publish a usable resolute repository.
Fix Display Errors When Launching MusicBrainz Picard on Ubuntu
Picard needs a graphical desktop session, so the usual cannot open display error means it was started outside the normal Ubuntu desktop.
Sign in to the Ubuntu desktop first, then start Picard from the applications menu or from a terminal window opened inside that desktop session. If you launched it from a plain console login, background shell, or another environment without an active graphical session, close that terminal and start Picard again from the desktop.
Conclusion
MusicBrainz Picard is ready on Ubuntu with the package format that best fits your setup, whether that means Ubuntu’s own repository, the newer PPA on 24.04 and 22.04, the upstream-published Snap, or the Flathub build. When you want to move from installation into actual tagging, the official Picard documentation is the best next stop.

Formatting tips for your comment
You can use basic HTML to format your comment. Useful tags currently allowed in published comments:
<code>command</code>command<strong>bold</strong><em>italic</em><blockquote>quote</blockquote>