

MusicBrainz Picard, a versatile and open-source music tagging software, simplifies organizing your music library. This guide will demonstrate how to install MusicBrainz Picard on Fedora Linux, highlighting its user-friendly interface and compatibility with various audio formats. Whether you’re a music enthusiast or a professional, Picard offers a range of features to enhance your music collection experience. Below are some key features of MusicBrainz Picard:
- Automatic Tagging: Uses AcoustID to identify songs and fetches metadata from the MusicBrainz database.
- File Renaming: Enables customizing file naming conventions based on tags.
- Plugin Support: Enhances functionality with various plugins.
- Multi-Format Support: Works with popular audio formats like MP3, FLAC, and OGG.
- Advanced Tag Editing: Offers detailed editing of tags for precise organization.
- Cover Art Fetching: Automatically downloads and embeds album art in files.
This introduction paves the way for a technical how-to on installing and utilizing MusicBrainz Picard, specifically on Fedora Linux. Following this guide, users can transform their music libraries into well-organized, easily accessible collections.
Install MusicBrainz Picard via the Fedora Repository
Step 1: Update Fedora Linux Before MusicBrainz Picard Installation
Initiating the installation process for MusicBrainz Picard on Fedora Linux requires an up-to-date system. Updating Fedora ensures compatibility and security, which is crucial for a smooth installation.
To update your system, access the terminal and run the command:
sudo dnf upgrade --refreshThis command refreshes the repository cache and upgrades all the packages to their latest versions, reducing the risk of conflicts or security vulnerabilities while installing new software.
Step 2: Install MusicBrainz Picard via DNF Command
Installing MusicBrainz Picard is most efficiently done using Fedora’s DNF package manager. With Fedora’s regular release cycle and consistent updates, it usually provides a current or nearly recent version of MusicBrainz Picard.
To install, enter this command in your terminal:
sudo dnf install picardThis command searches the Fedora repository for the Picard package and installs it with any dependencies. It’s a straightforward method, ensuring you receive a version compatible with your system.
For those preferring Flatpak, an alternative package management tool, a different set of instructions applies. Flatpak offers the benefit of sandboxed applications and wider software availability. Users can install MusicBrainz Picard through Flatpak by following the next section.
Install MusicBrainz Picard on Fedora via Flatpak and Flathub
Step 1: Enable Flathub for MusicBrainz Picard Installation
Using Flatpak, an alternative package manager on Fedora, offers the latest software versions like MusicBrainz Picard. First, ensure Flathub, the main repository for Flatpak apps, is enabled. This step is vital for accessing the wide range of applications Flathub offers. In your terminal, enter:
sudo flatpak remote-add --if-not-exists flathub https://flathub.org/repo/flathub.flatpakrepoThis command checks if Flathub is already added and, if not, adds it to your system. It’s a critical step for setting up Flatpak and ensures access to the latest version of MusicBrainz Picard.
Step 2: Install MusicBrainz Picard via Flatpak and Flathub
Once Flathub is enabled, proceed to install MusicBrainz Picard. In your terminal, execute:
flatpak install flathub org.musicbrainz.Picard -yThis command tells Flatpak to install MusicBrainz Picard directly from Flathub, using the -y flag to automatically answer ‘yes’ to prompts, streamlining the installation process.
Troubleshooting Flathub Installation Issues with MusicBrainz Picard
If you encounter an error such as “Unable to load summary from remote flathub,” it indicates Flathub is disabled. To resolve this, enable Flathub using:
flatpak remote-modify --enable flathubAfter enabling Flathub, retry the installation command for MusicBrainz Picard. This step is crucial for a successful installation and should resolve common issues related to Flathub accessibility.
Launch MusicBrainz Picard on Fedora Linux
CLI Commands to Launch MusicBrainz Picard
Once MusicBrainz Picard is installed on your Fedora Linux system, it can be launched swiftly via the command line interface (CLI). This method is favored by users who prefer keyboard shortcuts over graphical interfaces.
For a standard installation, open your terminal and type:
picardThis command initiates MusicBrainz Picard directly, offering a quick and efficient way to start the application.
If you’ve installed MusicBrainz Picard via Flatpak, the command differs slightly to accommodate the Flatpak environment. In your terminal, use:
flatpak run org.musicbrainz.PicardThis specific command is called the Flatpak version of MusicBrainz Picard, ensuring that the correct instance of the application is launched in systems where multiple package managers are in use.
GUI Method to Launch MusicBrainz Picard
For those who prefer a graphical user interface (GUI), launching MusicBrainz Picard is equally straightforward. This method benefits users more comfortable with visual interactions on their desktop.
Here are the steps:
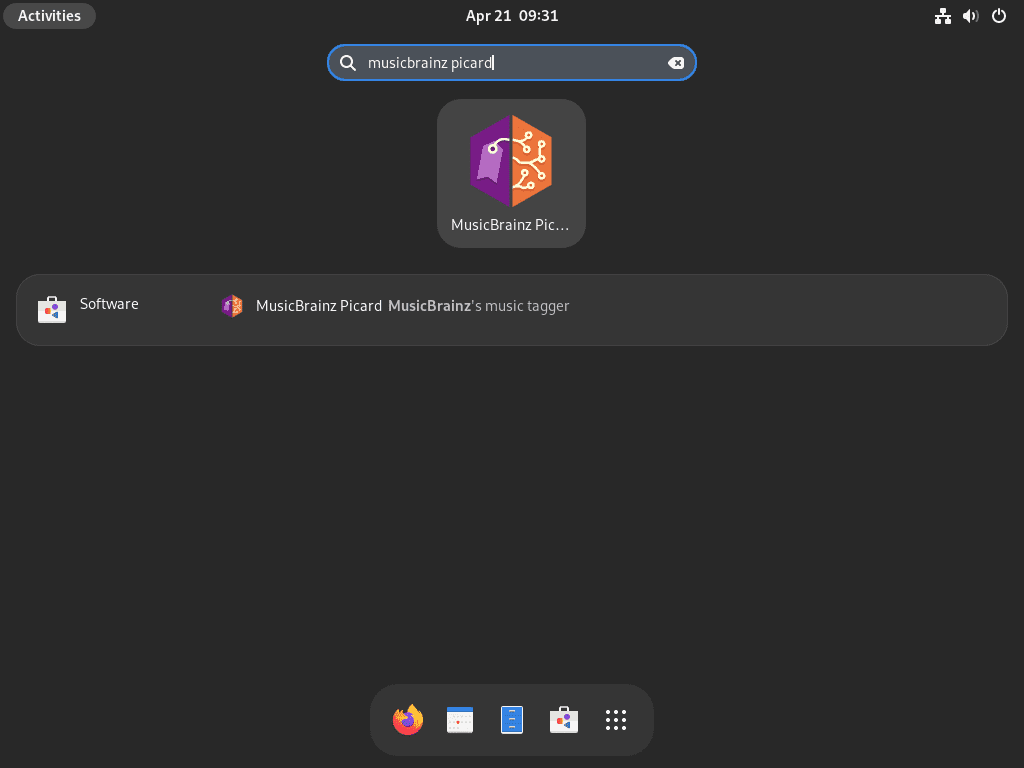
- Click on Activities (typically located in the upper left corner of your screen).
- Select Show Applications (usually represented by a grid icon).
- Search for MusicBrainz Picard in the application list or search bar.
- Click on the MusicBrainz Picard icon to launch the application.
First-Time Tips with MusicBrainz Picard on Fedora
This section will explore tips and customizations to help you get the most out of MusicBrainz Picard on Fedora Linux. These tips are tailored to Fedora Linux users and will not cover platform-specific features exclusive to other operating systems.
Configure MusicBrainz Picard General Settings on Fedora
To enhance your experience with MusicBrainz Picard, it’s essential to configure the general settings according to your preferences. Access the settings by following these steps:
- Launch MusicBrainz Picard.
- Click on Edit in the menu bar.
- Select Preferences.
In the Preferences window, you can customize various settings, such as:
- Metadata: Configure how Picard fetches and writes metadata to your files.
- Cover Art: Define your preferred sources and rules for downloading cover art.
- File Naming: Create custom file naming schemes and folder structures.
- Plugins: Enable or disable specific plugins to extend Picard’s functionality.
Use the MusicBrainz Picard Scripting Feature on Fedora
Picard’s powerful scripting feature allows you to create custom scripts that modify how metadata is fetched, formatted, and saved. To access the scripting options:
- Open Preferences (as described in Tip 1).
- Navigate to the Scripting tab.
Here, you can create and modify scripts to tailor Picard’s behavior to your needs. For example, you can create a script to change the format of the album artist tag or automatically remove specific characters from track titles.
Organize MusicBrainz Picard Files Automatically on Fedora
Picard can help you automatically organize your music files based on their metadata. To enable this feature:
- Open Preferences (as described in Tip 1).
- Go to the File Naming tab.
- Check the box next to Move files when saving.
- Customize the Destination directory and Naming scheme as needed.
With these settings, Picard will move and rename your files according to your specified naming scheme and folder structure, ensuring a well-organized music library.
Leverage Plugins for Additional Features on MusicBrainz Picard with Fedora
MusicBrainz Picard supports a variety of plugins that extend its functionality. To access the available plugins:
- Open Preferences (as described in Tip 1).
- Navigate to the Plugins tab.
- Click on Options and then Install plugins… to view and install available plugins.
Popular plugins include:
- Last.fm.ng: Fetches genre tags from Last.fm.
- Classical Extras: Provides additional metadata for classical music.
- AcousticBrainz: Retrieves high-level acoustic information about tracks.
Leveraging these tips and customizations, you can enhance your experience with MusicBrainz Picard on Fedora Linux, creating a more efficient and personalized music management workflow.

Managing MusicBrainz Picard Commands with Fedora
Update MusicBrainz Picard on Fedora
Keeping MusicBrainz Picard updated on your Fedora system is vital for maintaining its functionality and security. Regular updates ensure you have the latest features and fixes. Depending on your installation method, use the following commands:
DNF MusicBrainz Picard Update Command:
For those who installed MusicBrainz Picard using DNF, the Fedora package manager, updating is straightforward. Open your terminal and enter:
sudo dnf update --refreshThis command updates MusicBrainz Picard, refreshes the entire package database, and updates all installed applications, ensuring your system stays current.
Flatpak MusicBrainz Picard Update Command:
For Flatpak installations, the update process differs slightly. In your terminal, type:
flatpak updateThis command checks for updates across all Flatpak applications, including MusicBrainz Picard, and applies them accordingly. It’s a comprehensive way to ensure all your Flatpak apps are up-to-date.
Remove MusicBrainz Picard From Fedora
When you no longer need MusicBrainz Picard, removing it from your Fedora system contributes to a clean and efficient environment. The method of uninstallation depends on the initial installation approach:
DNF MusicBrainz Picard Remove Command:
Use the following command to uninstall Picard if you installed it via DNF:
sudo dnf remove picardThis command removes MusicBrainz Picard and any dedicated dependencies installed with it, freeing up space and resources on your system.
Flatpak MusicBrainz Picard Remove Command:
For those who installed Picard through Flatpak, the removal command is:
flatpak uninstall --delete-data org.musicbrainz.PicardThis command uninstalls the application and deletes its associated data, ensuring a complete cleanup of MusicBrainz Picard from your system.
Conclusion
In this guide, we’ve walked through the crucial processes of installing, updating, and uninstalling MusicBrainz Picard on Fedora Linux. Along the way, we shared helpful tips to enhance your experience with this powerful music management tool. Following these straightforward steps, you’re now well-equipped to effectively organize and maintain your music library on Fedora, ensuring a smooth and enjoyable music management journey.