
Navigating document compatibility issues on Linux Mint? Microsoft fonts like Arial and Times New Roman are often essential for professional and personal tasks, yet they’re not included by default in Linux Mint distributions. This guide will show you how to install Microsoft fonts on Linux Mint 21 or its older stable release, Linux Mint 20, effectively bridging the gap between your Linux system and Microsoft-centric platforms.
Why Install Microsoft Fonts on Linux Mint?
- Compatibility: Ensure that Microsoft Office documents display as intended.
- Web Browsing: Enhance your browsing experience on websites optimized for Microsoft fonts.
- Professional Standards: Meet the document requirements of businesses that standardize on Microsoft Office.
We’ll utilize the ttf-mscorefonts-installer package, a legally sanctioned method for obtaining Microsoft fonts like Arial and Times New Roman. Once these fonts are installed, they become available across all compatible applications, improving text rendering and document compatibility on your Linux Mint system.
Update Linux Mint Before Microsoft Fonts Installation
Before we start, ensuring that your system is current is essential. Open a terminal and run the following commands:
sudo apt update && sudo apt upgradeThis will update your package list and upgrade any packages that need updating.
Install the Microsoft Core Fonts Package on Linux Mint 21 or 20
The easiest way to install Microsoft fonts on Linux Mint is to use the ttf-mscorefonts-installer package. This package contains a collection of fonts that Microsoft has released for use on Linux. To install the package, open a terminal and run the following command:
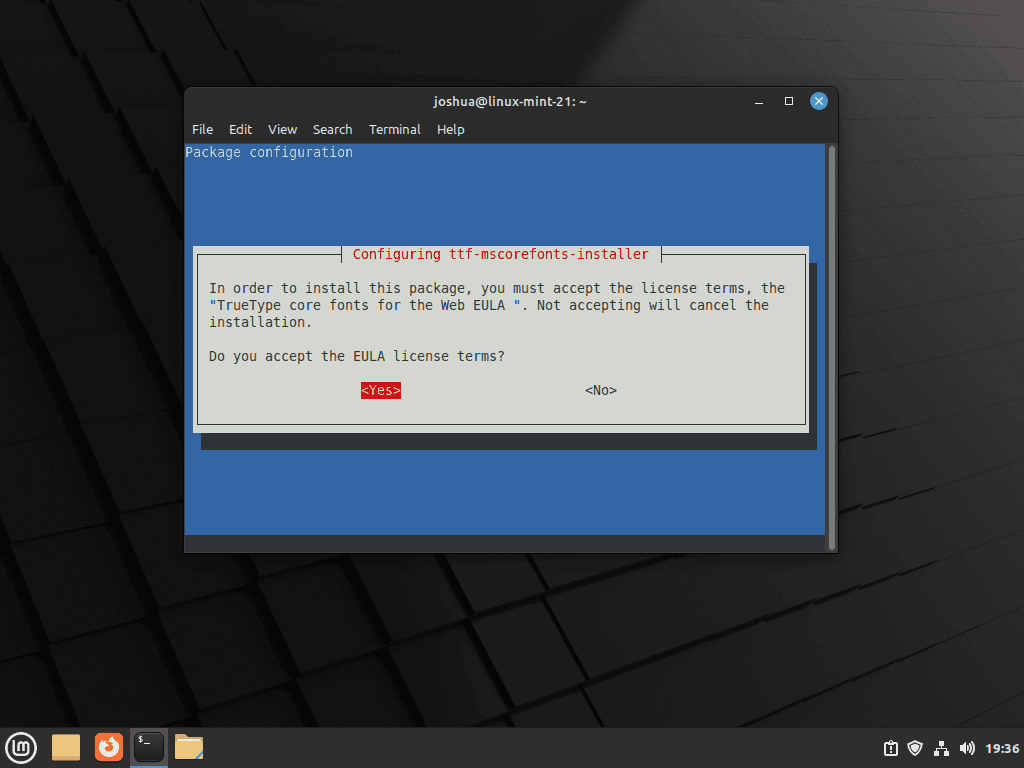
sudo apt install ttf-mscorefonts-installerDuring installation, you will be prompted to accept the Microsoft EULA (End User License Agreement). Use the Tab key to navigate to the “OK” button and press Enter to accept the agreement.
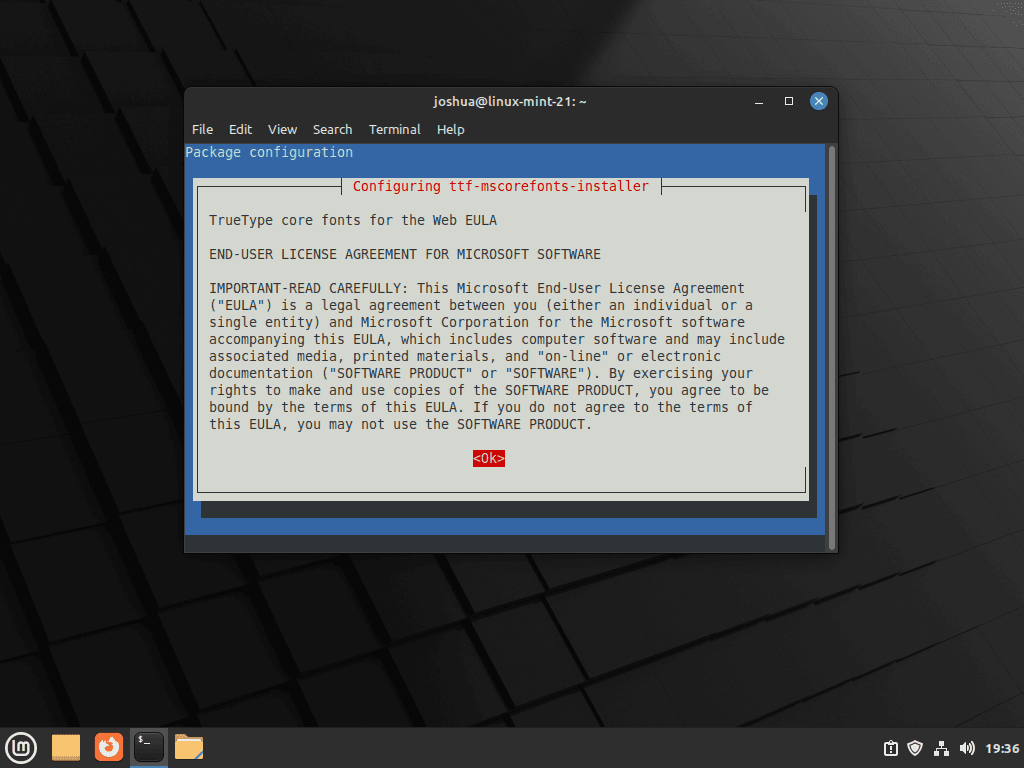
To proceed with the installation, press the TAB key to navigate to the “OK” button and then press the ENTER key. This will prompt you to accept the End User License Agreement (EULA).
Once you’ve reviewed the agreement, press the ENTER key to accept and continue with the installation process.
Step 3: Verify Microsoft Fonts Installation on Linux Mint 21 or 20
Once the installation is complete, the Microsoft fonts should be available in most applications on your Linux Mint system. To confirm that the fonts are installed and available, you can launch the fonts application by following this path:
Taskbar > Accessories > Fonts

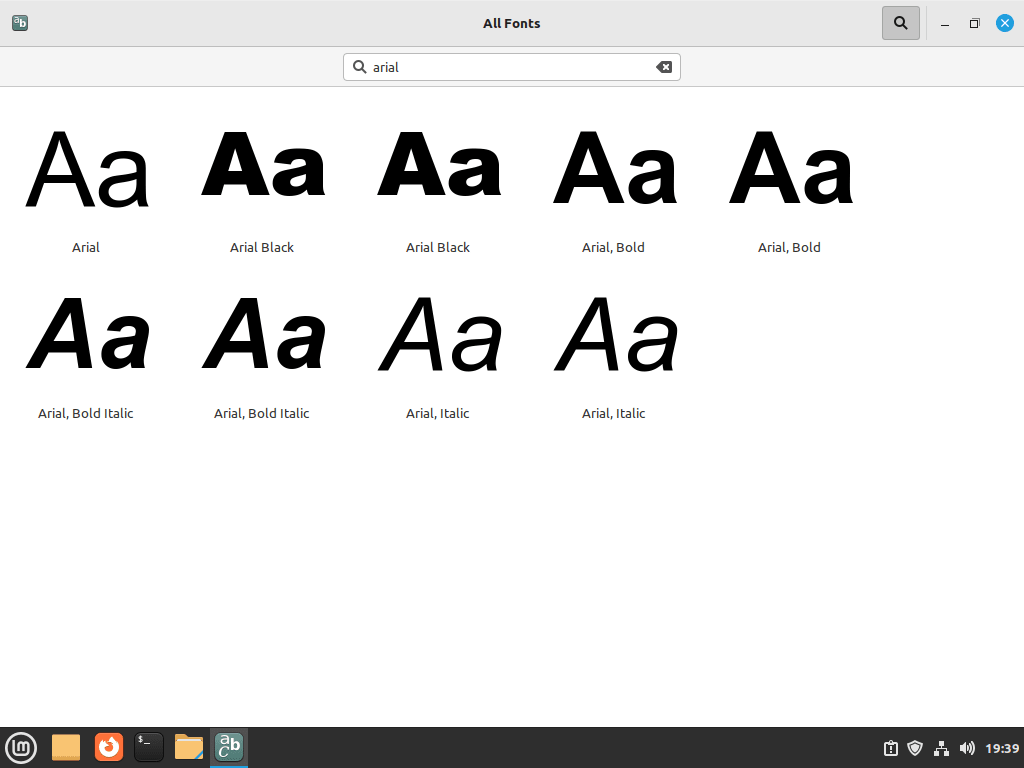
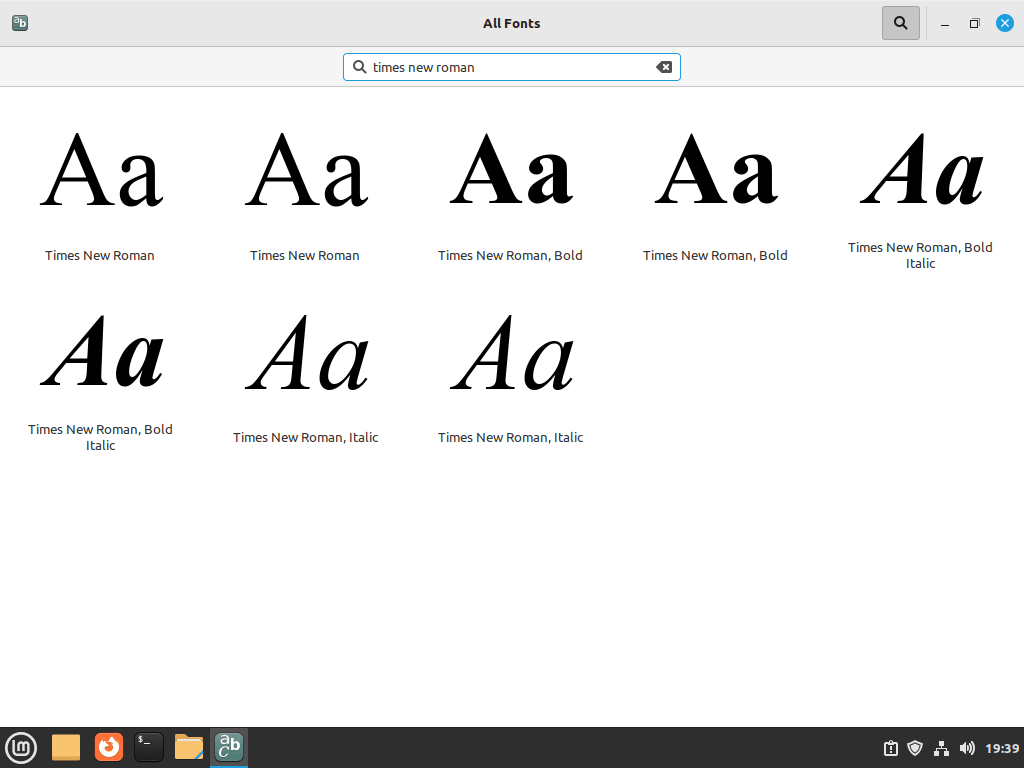
After launching the fonts application, you can use the search function to confirm that the Microsoft fonts are installed on your system. To check the most common fonts from Microsoft, you can search for them by name.
For example, you can search for “Arial” to see if it’s immediately available, which would confirm that the fonts are installed and being used correctly. Additionally, you can use the search function to check for other popular Microsoft fonts such as Calibri, Times New Roman, and Verdana.
Additional Tips with Microsoft Fonts Package on Linux Mint
Remove (Uninstall) Microsoft Fonts from Linux Mint
If you no longer wish to have the Microsoft fonts installed on your system, you can remove them using the following command. This command will remove the fonts for all users who have them installed:
sudo apt remove ttf-mscorefonts-installerConclusion
Now that you have installed the Microsoft fonts on your Linux Mint system, you can view Microsoft documents without issues. This simple process will save you a lot of time and hassle.