
To install Microsoft Fonts on Fedora Linux, users can enhance their system’s font library for better compatibility with documents created in Windows environments.
Here’s why adding these fonts is beneficial:
- Seamless Document Sharing: Ensures documents appear consistent across different operating systems.
- Professional Aesthetics: Preserves the professional look of documents that rely on Microsoft’s typography.
- User Experience: Improves readability and user experience by providing familiar font options.
With these advantages in mind, let’s proceed to the main article, where we’ll explore the installation process in detail.
Install Microsoft Fonts on Fedora Linux via msttcore-fonts-installer
Step 1: Update Fedora before Microsoft Fonts Installation
To minimize the risk of installation issues, start by updating your Fedora system. Open your terminal and execute the command below to refresh and upgrade your system packages:
sudo dnf upgrade --refreshStep 2: Install Microsoft Fonts on Fedora
Before installing Microsoft Fonts, you must ensure the necessary tools are on your system. These tools include curl for downloading files, cabextract for extracting Microsoft font files, and fontconfig for managing and customizing font access. Most Fedora installations will have these by default, but it’s good practice to check and install any missing ones.
Use this command to install them:
sudo dnf install curl cabextract xorg-x11-font-utils fontconfigOnce the prerequisites are in place, proceed to download and install the Microsoft Core Fonts package using the following command:
sudo rpm -i https://downloads.sourceforge.net/project/mscorefonts2/rpms/msttcore-fonts-installer-2.6-1.noarch.rpmStep 3: Confirm Microsoft Fonts Installation in Terminal
After running the installation command, Fedora should display a confirmation message. This message signifies that the Microsoft Fonts package has been successfully installed on your system.
Verify Microsoft Fonts on Fedora Linux via Fonts Application
Accessing the Font Viewer
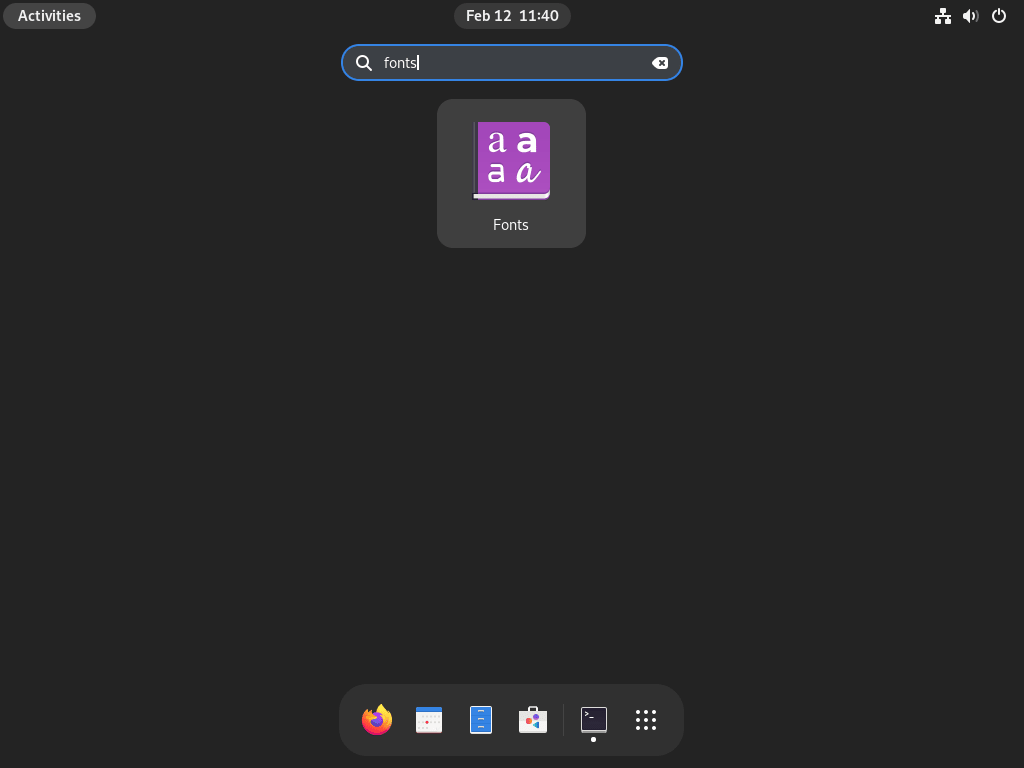
After installing Microsoft Fonts, they should be integrated into your Fedora system and readily accessible across various applications. To verify their presence, navigate to the Font Viewer:
- Click on “Activities” at the top left corner of your screen.
- Select “Show Applications” at the bottom of the sidebar.
- Type “Fonts” in the search bar or find the Fonts application icon and open it.
Confirming Font Installation
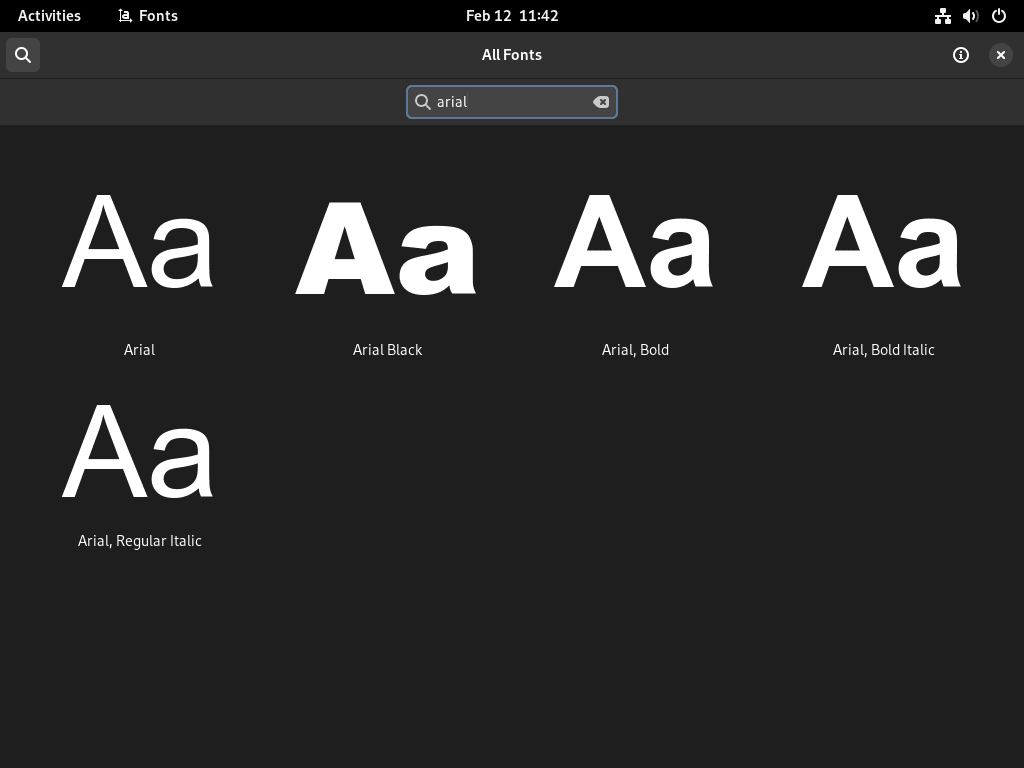
Within the Font Viewer, you can confirm the installation of specific Microsoft Fonts by searching for them. Look for widely recognized fonts such as Arial, Calibri, and Times New Roman by typing their names into the search bar.
Checking Arial Font
Type “Arial” in the search bar of the Font Viewer to check if the Arial font is available.
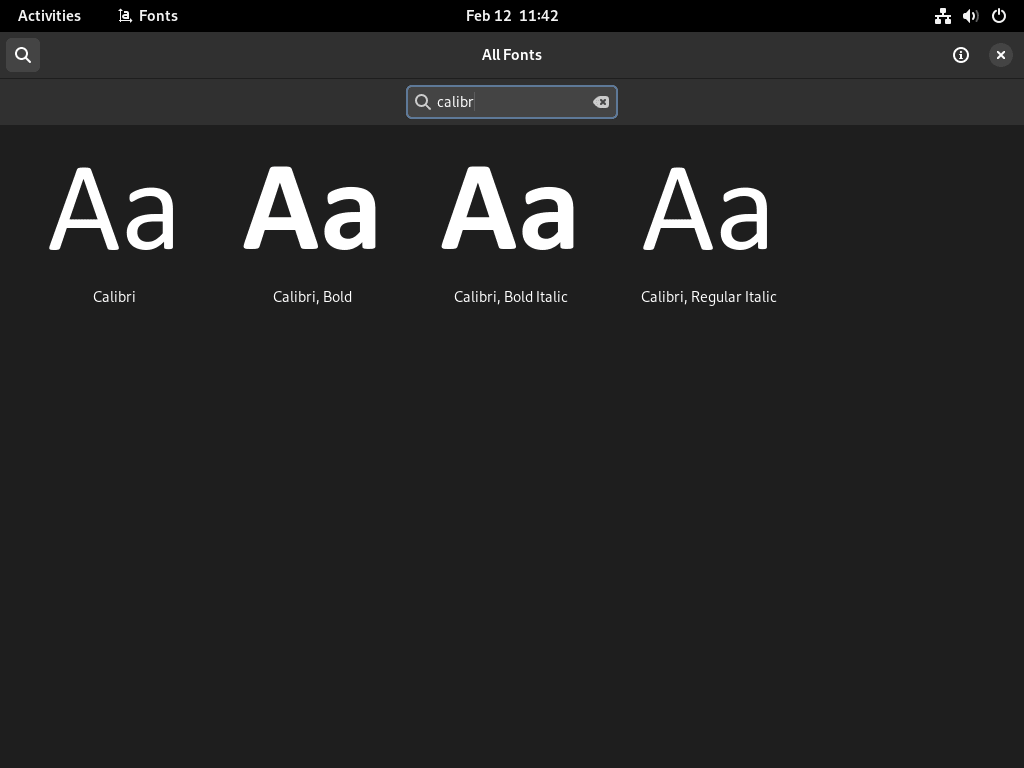
Checking Calibri Font
Similarly, search for “Calibri” to confirm the Calibri font’s installation.
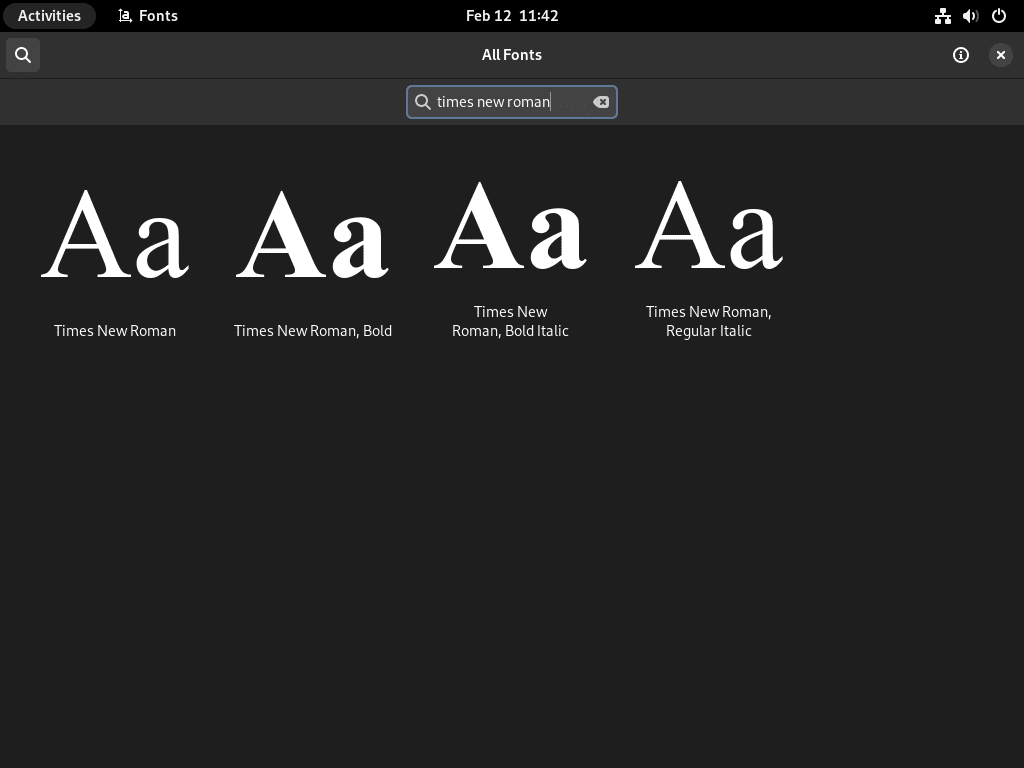
Checking Times New Roman Font
Lastly, verify the Times New Roman font by searching for it within the application.
Additional Commands with Microsoft Fonts on Fedora Linux
Remove Microsoft Fonts from Fedora
If you need to uninstall Microsoft Fonts from your Fedora system, perhaps for troubleshooting or system cleanup, the process is straightforward. Execute the following command in the terminal:
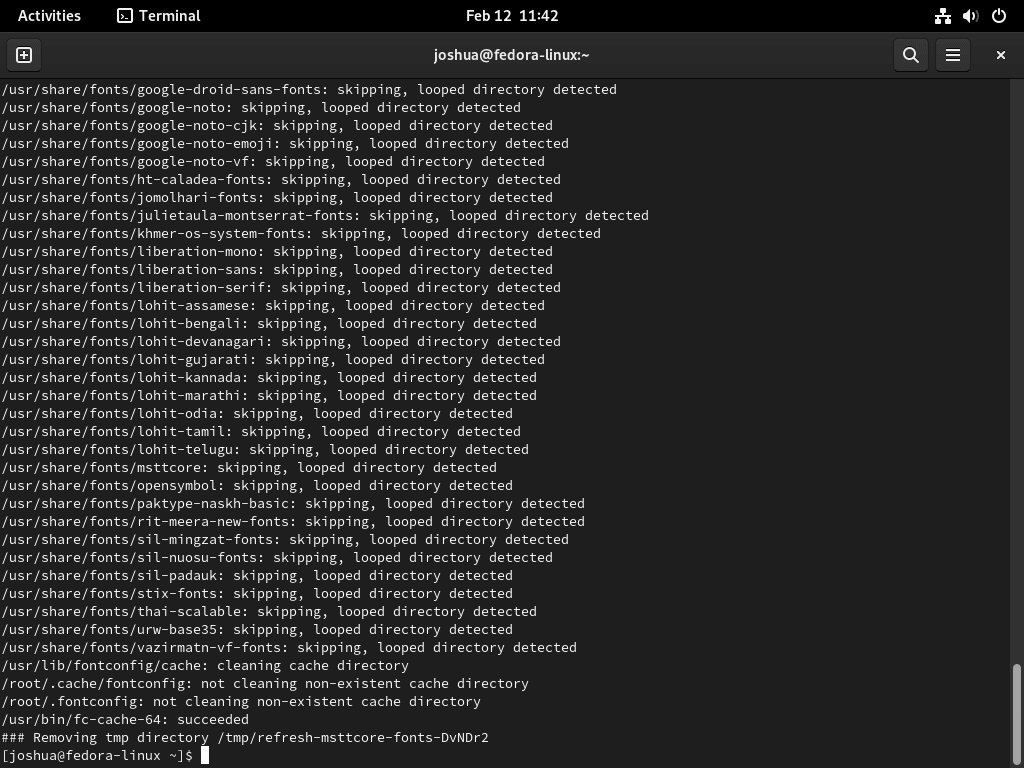
sudo dnf remove msttcore-fonts-installerThis command initiates the removal of the msttcore-fonts-installer package, which is responsible for the presence of Microsoft Fonts on your Fedora system. Once the command is executed, the package and associated Microsoft Fonts will be uninstalled.
Conclusion: Installing Microsoft Fonts on Fedora
In conclusion, installing Microsoft Fonts on Fedora Linux is a quick and straightforward process. Following the steps outlined in this guide, you can install Microsoft Fonts on your system in just a few minutes. Whether you are a Windows user who has recently switched to Fedora or need Microsoft Fonts for your work, this guide will provide you with the information you need to get started.