

“How to Install LXDE on Ubuntu 22.04 Jammy Jellyfish or its older release of Ubuntu 20.04 Focal Fossa” is a question many Ubuntu users ask when seeking an alternative desktop environment. LXDE, the Lightweight X11 Desktop Environment, is an open-source project promising a blend of user-centric features and efficient system resource management. This desktop environment, tailored for Ubuntu 22.04 and 20.04 versions, is a beacon of performance and user-friendliness, offering a refreshing departure from the default GNOME desktop environment.
LXDE’s Noteworthy Features:
- Efficiency: LXDE is renowned for its minimal resource consumption, making it ideal for systems with paramount performance and speed.
- Modularity: The components of LXDE operate independently. Users can choose specific elements without affecting the system’s overall functionality, granting unparalleled customization.
- User-Friendly: LXDE’s interface is intuitive, catering to both novices and seasoned users without necessitating a steep learning curve.
- Cross-Compatibility: Beyond Linux, LXDE is compatible with various Unix-like systems, including BSD, expanding its utility across diverse platforms.
LXDE vs. GNOME: A Brief Overview
While GNOME serves as Ubuntu’s default desktop environment, LXDE presents distinct advantages that cater to specific user needs:
- Resource Management: LXDE’s design inherently requires fewer system resources than GNOME.
- Customizability: LXDE’s structure allows for more tailored desktop experiences than GNOME.
- Aesthetics: GNOME offers a contemporary design, whereas LXDE maintains a classic, straightforward look.
- User Experience: GNOME emphasizes a modern, streamlined user interface, while LXDE offers a more traditional desktop feel.
LXDE’s hallmark lies in its lightweight design, adaptability, and performance-driven approach. Whether rejuvenating older hardware or optimizing the latest systems, LXDE offers a refreshing alternative.
In the subsequent sections, we’ll guide you through how to install LXDE on Ubuntu 22.04 Jammy Jellyfish or Ubuntu 20.04 Focal Fossa LTS Linux. It’s worth noting that while the installation process remains consistent, visual elements like wallpapers might differ between Ubuntu versions.
Section 1: Install LXDE on Ubuntu 22.04 or 20.04 via APT
Step 1: Updating Ubuntu System Packages Before LXDE Installation
The very first procedure involves updating your Ubuntu system packages. An up-to-date system ensures all software functionalities run with the latest enhancements and security patches. Keeping your system updated is crucial as it minimizes vulnerabilities and conflicts arising while installing new software.
Updating the system in Ubuntu is straightforward using the apt (Advanced Package Tool) command line tool. The sudo apt update command retrieves information about the newest versions of packages and their dependencies:
sudo apt updateNext, the sudo apt upgrade command is used to install available upgrades of all packages currently installed on the system from the sources configured via sources.list file:
sudo apt upgradeFollowing a major upgrade of packages or a Linux Kernel upgrade, it’s advisable to reboot your system. This restarts your system, loading the new kernel version or the upgraded software with all the new features and patches.
Step 2: Install LXDE on Ubuntu 22.04 or 20.04 via APT Command
The Lightweight X11 Desktop Environment (LXDE) is a fast-performing and energy-saving desktop environment that maintains a beautiful user interface. It’s conveniently accessible via Ubuntu’s default repositories, making its installation rather simple and swift.
The installation of LXDE can be initiated with the following command. Here, sudo is necessary to execute the command with administrative privileges, while apt install instructs your system to download and install the specified software.
sudo apt install lxdeDuring the installation, a “Configuring lightdm” prompt appears. LightDM is a cross-desktop display manager whose main goal is to be lightweight, fast, and aesthetically pleasing. It manages user sessions, providing functions such as user authentication and session selection.
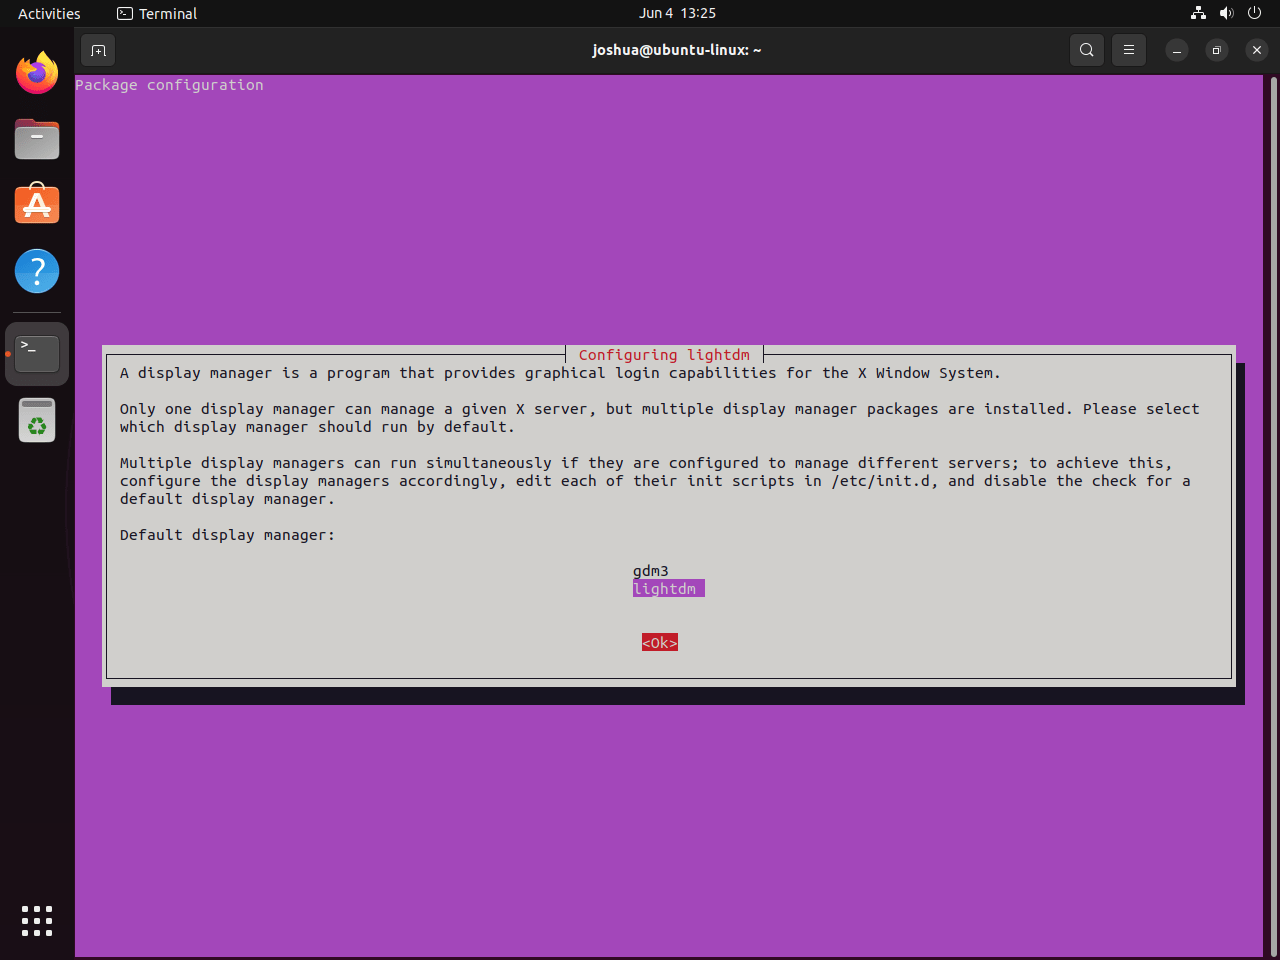
LXDE is recommended to run using lightdm. You can select
<Ok>by pressing the TAB key and confirming your selection with the ENTER key.
Post-installation, it’s paramount to restart your system. This ensures that the newly installed LXDE environment integrates correctly with your system. Typing reboot into your terminal prompts the system to restart immediately.s
sudo rebootSection 2: Accessing the LXDE Desktop Environment on Ubuntu 22.04 or 20.04
Step 1: Logging Into LXDE Desktop Environment on Ubuntu
After successfully installing LXDE and rebooting your system, the next step is to log in to your freshly installed LXDE Desktop Environment.
Upon reaching the login screen, you’ll notice that the system should, by default, have LXDE pre-selected as the desktop environment for your session. This is due to the fresh installation of LXDE on your system.
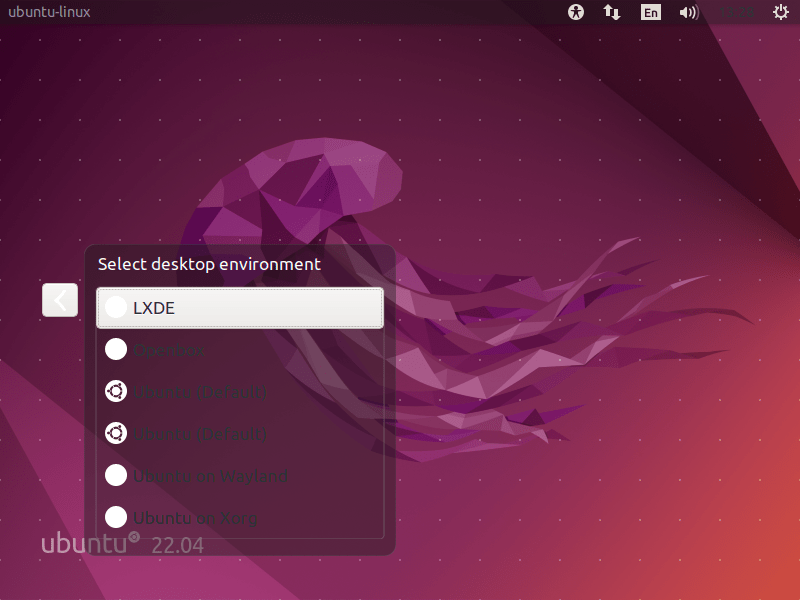
If LXDE isn’t pre-selected for some reason, don’t worry. You can manually select it from the session options. The session option is typically located in the upper left-hand corner of the login screen. Instead of the default “Ubuntu” or any other previously installed/selected environment, click on the option and select “LXDE”.
This change ensures that your session launches with LXDE as your desktop environment, allowing you to explore its lightweight and highly customizable features, while enjoying its sleek, user-friendly interface. The next time you log in, LXDE should be automatically selected, provided you didn’t switch back to another desktop environment during your previous session.
Remember, switching between desktop environments isn’t a one-time decision. You can change your desktop environment any time you log in, allowing you to continue using other environments even after installing LXDE. This flexibility is one of the many benefits of using Linux and its versatile desktop environment options.
Section 3: Getting Started with LXDE on Ubuntu 22.04 or 20.04
When you’ve successfully installed and logged into LXDE on your Ubuntu system, there are some helpful tips to get you started. These recommendations focus on enhancing your experience with LXDE on your Linux-based system.
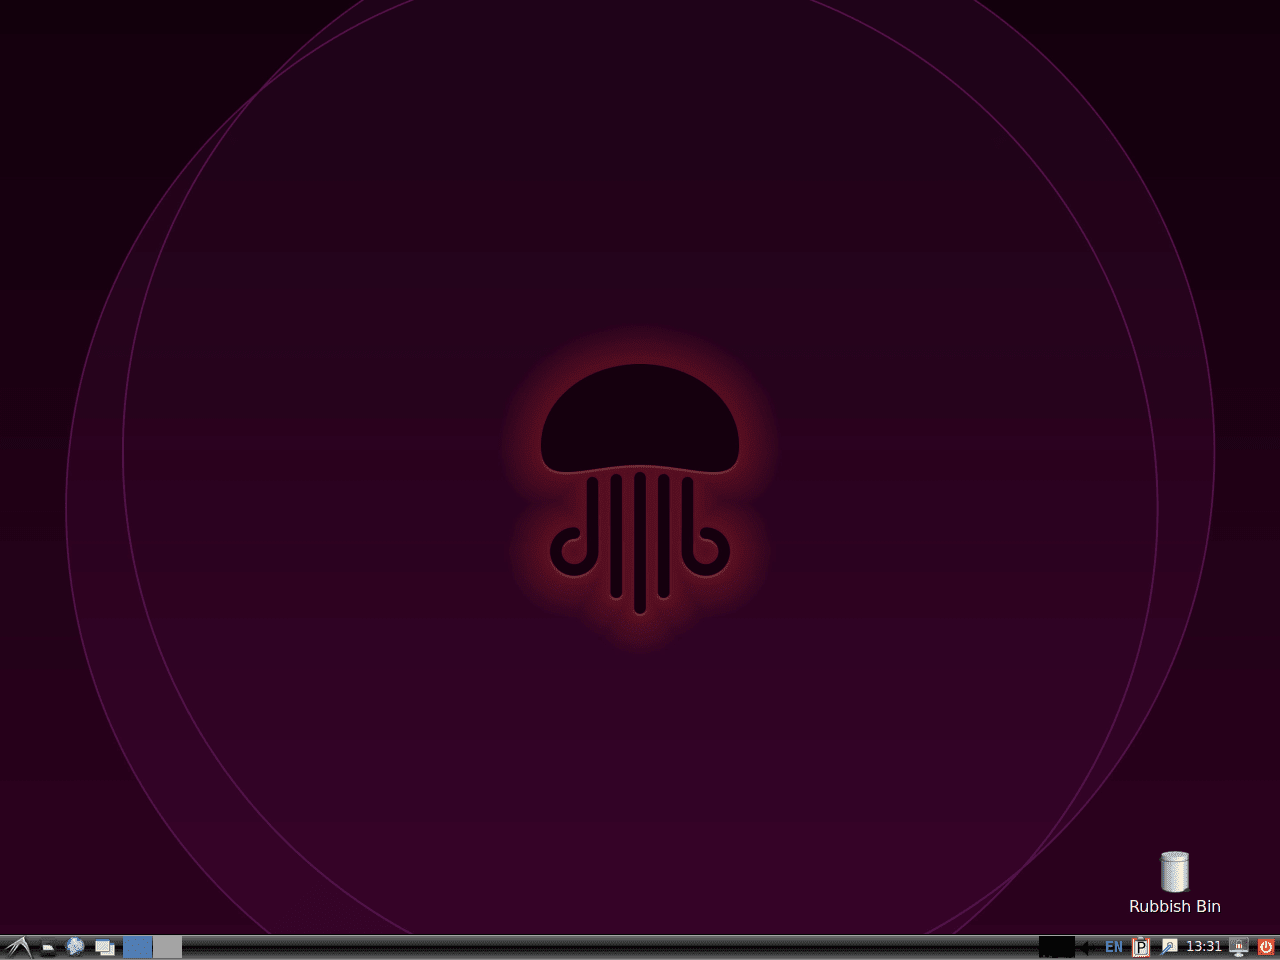
1. Set a Desktop Background with LXDE on Ubuntu
Upon your first login, you might notice that LXDE doesn’t automatically set a desktop background. It’s one of the many ways LXDE stays lean and efficient. Here’s how you can set one up:
Open the PCManFM file manager, then click on Edit > Preferences. Navigate to the Desktop tab and in the Wallpaper mode dropdown, select your preferred style. You can then browse for an image file of your choice by clicking on the folder icon.
2. Customize Your Panel with LXDE on Ubuntu
LXDE’s panel is highly customizable. You can change its location, size, and appearance by right-clicking the panel and selecting Panel Settings. You can add or remove items by selecting the Panel Applets tab in the Panel Preferences dialog box.
3. Manage Windows with Openbox and LXDE on Ubuntu
LXDE uses the Openbox window manager, which is incredibly flexible and allows you to control how your windows behave. You can access Openbox settings through the Openbox Configuration Manager from the main menu.
4. Enhance Your File Management with PCManFM and LXDE on Ubuntu
PCManFM is the default file manager in LXDE. It’s lightweight but feature-rich, and it supports tabbed browsing and a customizable interface. Explore the Edit > Preferences menu to customize PCManFM to suit your needs.
5. Take Advantage of Multiple Desktops with LXDE on Ubuntu
LXDE supports multiple desktops, a great way to organize your workspace. You can switch between desktops using the desktop switcher on the panel. You can customize the number of desktops through Desktop Preferences > Virtual Desktops.
Getting to know LXDE is an exciting process. The above tips should help you customize your LXDE environment to make it truly your own while exploring some of the features that make LXDE such an efficient and flexible desktop environment.
Section 4: Managing LXDE on Ubuntu 22.04 or 20.04
In the course of operating your Ubuntu system equipped with LXDE, it’s possible you might want to revert back to the GNOME Desktop Environment along with its default display manager, GDM. This change requires a transition away from the LXDE Desktop Environment and the LightDM display manager it utilizes. Let’s walk through the steps you’d need to take in this scenario.
Switching Default Display Managers with LXDE on Ubuntu
The first step to reverting back to GNOME from LXDE involves returning to the display manager selection screen, the same one you encountered during the LXDE installation process. This can be accomplished by opening a terminal and executing the following command:
sudo dpkg-reconfigure lightdmExecuting this command launches the configuration process for the LightDM display manager, presenting you with the opportunity to select an alternate default option, such as GDM for GNOME. It’s crucial to keep in mind that whenever you switch display managers or desktop environments, you should reboot your system to ensure all changes are effectively implemented.
Remove (Uninstalling) LXDE from Ubuntu 22.04 or 20.04
In some scenarios, you may decide to uninstall LXDE. Perhaps you’re interested in experimenting with another desktop environment or wish to return to your previously established configuration. If you find yourself in such a situation, here’s how you can go about removing LXDE:
Open a terminal and run the following command:
sudo apt-get remove lxde*The above command will purge LXDE and any related files from your system, restoring your desktop environment to its former state.
After LXDE removal, it’s likely you’ll need to reinstall the GNOME Desktop Environment. The uninstallation process of LXDE might have led to removal of some packages that GNOME relies on. Therefore, to reinstall GNOME, update your package list and install the ubuntu-gnome-desktop package:
sudo apt update && sudo apt install ubuntu-gnome-desktop --reinstallBefore restarting your computer, ensure that GDM is activated. If you overlook this step, your system might start up to a terminal or a server-style login interface. Should that occur, you can restore your GNOME Desktop login by executing:
sudo systemctl enable gdm --nowFinally, to ensure all alterations are effectively applied, reboot your system:
sudo rebootFinal Thoughts
In the realm of desktop environments, LXDE presents itself as a compelling, lightweight choice for Ubuntu Linux users. With its minimal system requirements and simplicity, it’s an attractive alternative for those looking to maximize system performance or bring new life to older hardware. By covering everything from the installation process, logging in, getting started, and even system management and potential uninstallation, we’ve strived to provide a comprehensive view of the LXDE experience on Ubuntu Linux.