For desktop users seeking enhanced performance in multimedia, gaming, and real-time applications, the Liquorix kernel, rooted in the Zen kernel, offers a tailored solution. This custom Linux kernel has features that elevate system responsiveness and efficiency. If you aim to install the Liquorix Kernel on Debian 12 Bookworm, Debian 11 Bullseye, or Debian 10 Buster, this guide will provide a comprehensive overview of its unique attributes and benefits.
Key Features of the Liquorix Kernel:
- Zen Interactive Tuning: Prioritizes responsiveness, enhancing the desktop user experience.
- Optimized I/O Scheduler: Incorporates the Budget Fair Queue (BFQ) scheduler for high throughput and low latency and optimizes DM-Crypt workqueues.
- Enhanced Virtual Memory: Implements improvements like background-reclaim for huge pages and refined compact settings.
- PDS/BMQ CPU Scheduler: Offers fair scheduling for gaming and multimedia, with a reduced 2ms scheduling timeslice.
- High-Resolution Scheduling: Features a 1000Hz tick rate for precise task scheduling and a preemptible RCU suitable for real-time systems.
- Kernel Preemption: Provides aggressive preemption for responsive system performance under intense workloads.
- TCP BBR2 Congestion Control: Maximizes throughput, outperforming the default Cubic algorithm.
- Compressed Swap & LRU: Uses LZ4 for swap storage compression and an improved LRU algorithm for better performance under high memory pressure.
- Binary Builds & Drop-in Replacement: Offers binary builds for Debian and Ubuntu, providing comprehensive kernel replacement with extensive hardware support.
With these insights into the Liquorix Kernel’s benefits, let’s delve into its installation process on Debian.
Install Liquorix Kernel on Debian 12, 11, or 10 via APT
Step 1: Update Debian Before Liquorix Kernel Installation
Before installing the Liquorix kernel, ensure your Debian operating system is up to date. This helps to prevent potential conflicts with existing packages. In your terminal, run the following command:
sudo apt update && sudo apt upgradeThis command first updates the package list (sudo apt update) and then upgrades all installed packages to their latest versions (sudo apt upgrade).
Step 2: Install Required Packages For Liquorix Kernel
To import and install the Liquorix kernel, some additional packages are needed. In your terminal, run the following command to install these required packages:
sudo apt install curl lsb-release apt-transport-httpsThis command installs curl (used for downloading files), lsb-release (provides distribution-specific information), and apt-transport-https (allows using HTTPS for package management).
Step 3: Install Liquorix Kernel via APT Command on Debian
The Liquorix Kernel team provides a convenient bash script to streamline installation. This script imports the required GPG keys, adds the Liquorix repository, updates your sources list, and installs the custom kernel on your Debian system.
Execute the following command to run the script and install the kernel:
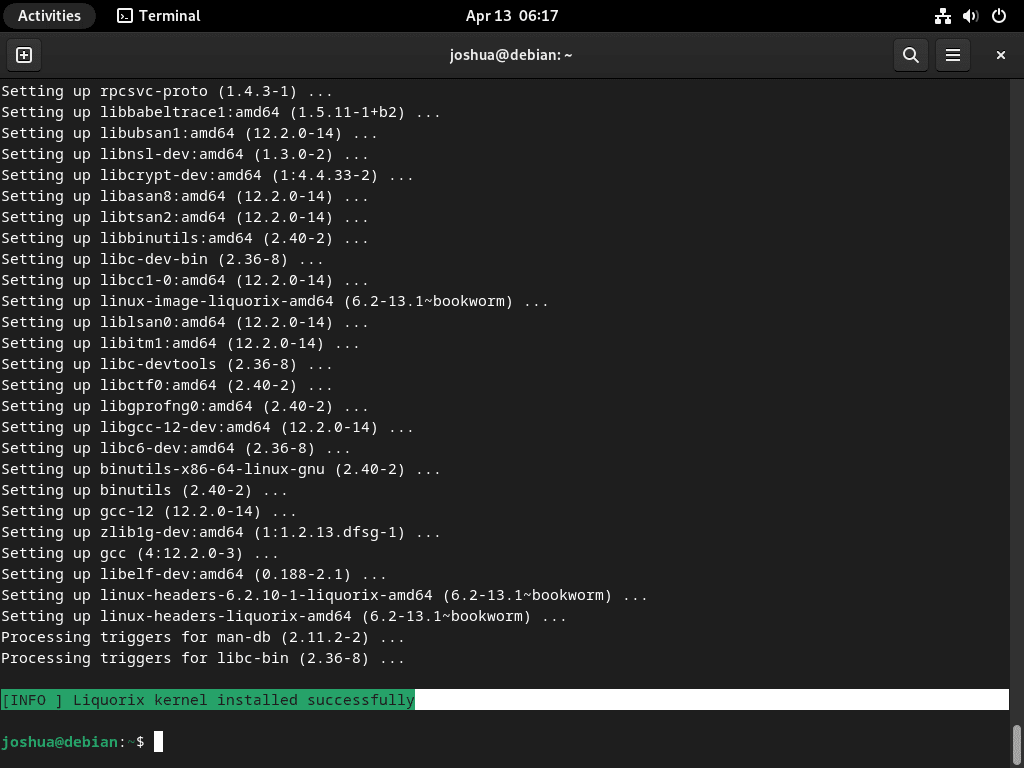
curl 'https://liquorix.net/add-liquorix-repo.sh' | sudo bashDuring the installation, the linux-image-liquorix-amd64 package (containing the Liquorix kernel) and the linux-headers-liquorix-amd64 package (providing the necessary kernel headers for building kernel modules) will be installed.
Upon successful completion, you should see the output in your terminal indicating a successful installation:
Step 4: Reboot Your System to Complete Liquorix Installation
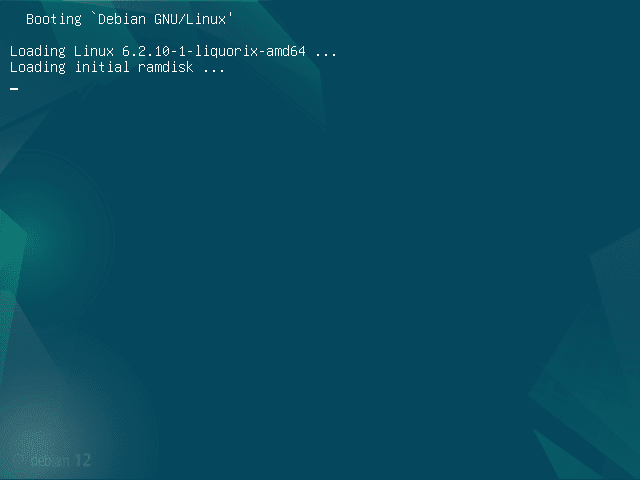
After successfully installing the Liquorix kernel packages, you must reboot your system to activate the new kernel. In your terminal, execute the following command:
sudo rebootThis command gracefully restarts your system, allowing it to boot with the newly installed Liquorix kernel.
Step 5: Confirm Liquorix Kernel Installation on Debian
Once your system has rebooted, verify that the Liquorix kernel is active. In your terminal, run either of the following commands:
hostnamectlThis command displays system information, including the active kernel version.
Alternatively, use the cat command to check the /proc/version file:
cat /proc/versionThis command outputs the contents of the /proc/version file, which contains information about the currently running kernel.
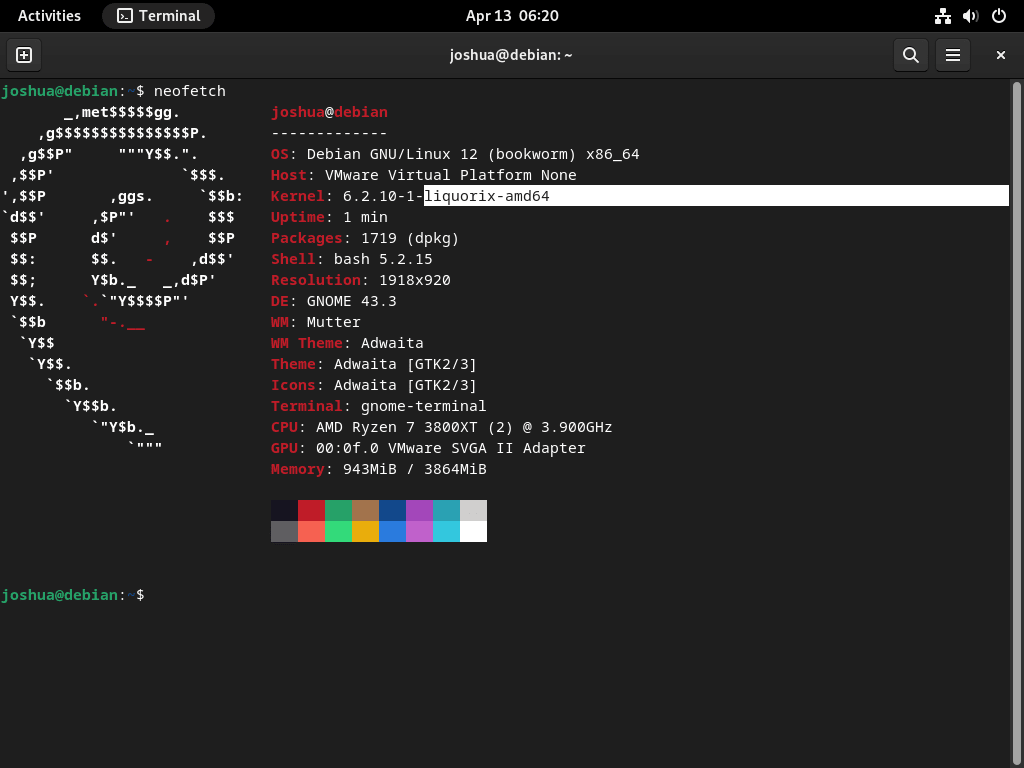
If the Liquorix kernel has been installed and is active, you will see its version in the output of either command.

Additional Commands For Liquorix Kernel on Debian 12, 11 or 10
Update Liquorix Kernel on Debian
To keep the Liquorix kernel up to date, you can use the standard apt update and apt upgrade commands.
Check for updates with the following command:
sudo apt updateIf an upgrade is available, update the Liquorix kernel by running:
sudo apt upgradeRemove Liquorix Kernel From Debian
Step 1: Remove the Liquorix Kernel APT Repository
To remove the Liquorix repository, execute the following command:
sudo rm /etc/apt/sources.list.d/liquorix.listStep 2: Remove the Liquorix Kernel
To uninstall the Liquorix kernel, execute the following command:
sudo apt autoremove linux-image-*.*.*-liquorix-amd64 linux-headers-*.*.*-liquorix-amd64 --purgeThis command removes the Liquorix kernel packages along with any unused dependencies.
During the removal process, you will encounter a prompt asking to confirm the removal of the Liquorix kernel. Ensure you select the appropriate option to proceed with the removal. However, do not reboot your system immediately; continue with the instructions provided in the following steps.
Step 3: Check or Re-install the Default Kernel
Before proceeding, ensure you have an existing Linux kernel installed. Run the following command to install the Debian default kernel:
sudo apt install linux-image-amd64By default, this command installs the Debian default kernel. Failing to do this may result in an unbootable system.
Step 4: Update Grub and Initramfs
Run a quick update for GRUB and initramfs:
sudo update-initramfs -u && sudo update-grubStep 5: Reboot System
Restart your computer to finalize the removal of the Liquorix kernel:
sudo rebootStep 6: Verify Default Kernel Re-installed
After rebooting, verify that the default kernel is active by running either of the following commands:
hostnamectlor
cat /proc/versionThese commands display the currently running kernel version, confirming the default kernel is re-installed.
Conclusion
Installing the Liquorix kernel on a Debian Linux system can provide an enhanced desktop experience, especially for those seeking improved responsiveness and performance for gaming, multimedia, and real-time workloads. The process is straightforward and involves adding the Liquorix repository, updating the package list, installing the kernel, and rebooting the system. While the Liquorix kernel is unnecessary for every user, it can be a valuable addition to those requiring specific optimizations.


Above mentioned process is applicable to Linux Mint DE 6 Faye?
As it has been tried on LM DE 6 but it doesn’t work!!
Is there another process that needs to be performed?
Hi Sebastiano,
It should work just fine I would of thought honestly. I do not do LMDE guides anymore, but I will add this to my notes to test out. I probably should look at LMDE more, as more people are switching to it.
I will provide an update in next few days.
Thanks.