

Linux Kernel 6.4 is the open-source operating system’s latest and most robust update. This new version, now part of the Ubuntu Mainline Kernel repository, is a culmination of meticulous development, embodying numerous enhancements, new features, and broader hardware compatibility.
Here’s a closer look at the key elements that differentiate Linux Kernel 6.4:
Hardware Enablement and Support:
- New chipset compatibility from tech giants Intel and AMD.
- Extended driver support for Lenovo Yoga laptops, inclusive of ‘tablet mode’ switch functionality.
- Advanced support for Apple Silicon, catering to the MacBook’s M1 and M2 chips’ keyboard backlights.
- Recognizes AMD’s “Van Gogh” APU on the much-anticipated Steam Deck through the AMDGPU kernel driver.
- Integrates drivers for Realtek Wi-Fi devices and offers compatibility with Turtle Beach Xbox controllers.
- Offers mainline support for older Genius graphics tablets.
Filesystem and Performance Improvements:
- System upgrades and refinements for the in-kernel NTFS3, EXT4, and BTRFS file systems.
- Includes Rust code in the kernel, marking a significant stride toward usable Rust drivers.
- Streamlines the x86 memory copy code, courtesy of Linus Torvalds.
- Excludes SLOB memory allocator and the SELinux runtime disable feature.
- Introduces a novel process-level same-page merging control and a new module_memory mechanism.
- Enhances VDUSE performance, an effort led by Bytedance engineers.
Why should users consider upgrading to Linux Kernel 6.4? The answers are numerous:
- Increased Hardware Compatibility: Upgrading ensures optimal performance and compatibility with the latest hardware. This mainly benefits users with newer CPUs, GPUs, or specialized hardware.
- Enhanced Security: Kernel 6.4 introduces several security enhancements and fixes, providing improved protection against known vulnerabilities.
- Improved System Performance: Notable improvements in memory handling, filesystem performance, and code execution significantly boost overall system performance.
- Up-to-date Features: Staying current with the latest kernel provides access to the newest features, drivers, and improvements, resulting in a superior user experience.
With the wealth of enhancements and features offered by Linux Kernel 6.4, upgrading the kernel is a sensible choice, particularly for users desiring optimal performance, heightened security, and an expanded feature set.
The Linux Kernel 6.4 can be readily installed from the Ubuntu Mainline Kernel repository. Pop!_OS, a Linux distribution based on Ubuntu, benefits from this availability, making it an ideal platform for Kernel 6.4 installation.
Now, equipped with this understanding, you’re prepared to proceed with the technical steps of the Linux Kernel 6.4 installation on Pop!_OS. A comprehensive guide follows, detailing every step of the process to ensure a successful installation.
Section 1: Install Ubuntu Mainline Kernel Installer for Pop!_OS
The Ubuntu Mainline Kernel Installer repository from Launchpad PPA ppa:cappelikan/ppa presents an efficient approach for incorporating the latest Linux Kernel into Ubuntu-based distributions, such as Pop!_OS. This method grants you access to the recent Linux Kernel source, enabling seamless download and integration into your system through either a command-line interface (CLI) or a graphical user interface (GUI). Furthermore, this utility allows for installing any version of the Linux Kernel.
Step 1: Updating Pop!_OS
Before proceeding with installing Linux Kernel 6.4, it is imperative to ensure your system is up-to-date. This measure ensures all packages on your system are updated, minimizing potential conflicts during the installation or upgrading.
Update the package list with the command:
sudo apt updateIf updates are available, initiate the upgrade process by executing the following command:
sudo apt upgradeIn cases where a significant number of packages have been updated, which might include the Linux Kernel, it may be prudent to reboot your system before the installation of a new Linux kernel such as 6.4:
sudo rebootStep 2: Import Ubuntu Mainline Kernel Installer PPA
To add the Ubuntu Mainline PPA to your system, execute the following command:
sudo add-apt-repository ppa:cappelikan/ppa -yStep 3: Update Packages Index
Following the successful import of the PPA, updating the package list on your system is recommended. This step ensures your system recognizes the newly added PPA and the packages it provides. Accomplish this by running the command:
sudo apt updateYou must execute the following command in the terminal to install the Ubuntu Mainline Kernel Installer on your system. This command initiates the installation process:
sudo apt install mainline -ySection 2: GUI-Based Install of Linux Kernel 6.4 on Pop!_OS
This segment elaborates on installing Linux Kernel 6.4 on Pop!_OS, employing the Mainline Kernel tool through a graphical user interface. The Mainline Kernel tool is an intuitive solution for managing and installing various Linux kernel versions.
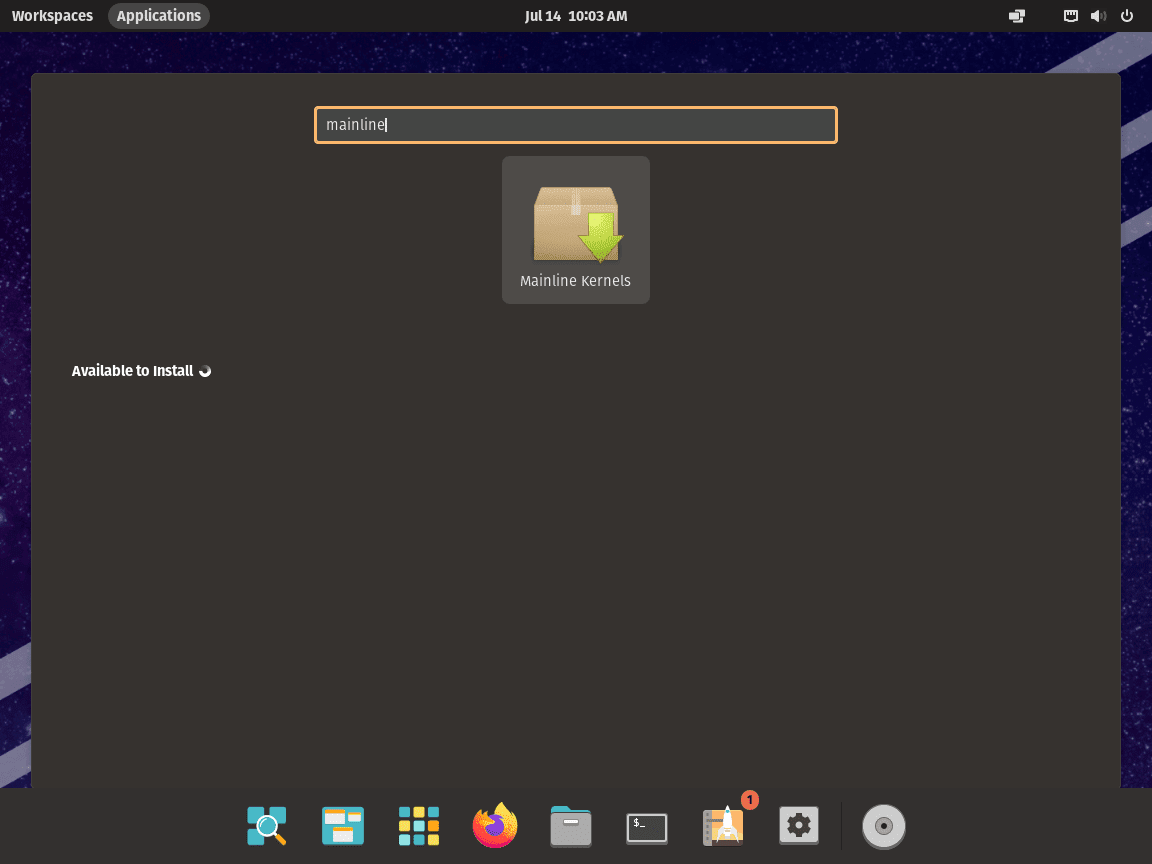
Step 1: Initiating the Mainline Kernel Tool
Kick-start the process by opening your terminal and executing the command mentioned below. This command launches the Mainline Kernel tool:
mainlineFor users who prefer the desktop environment, the tool can also be accessed by traversing through the following path:
Show Applications > Ubuntu Mainline Kernel Installer
An illustration of launching the Ubuntu Kernel Mainline on Pop!_OS:
Step 2: Sync Cache to Access Latest Kernel Versions
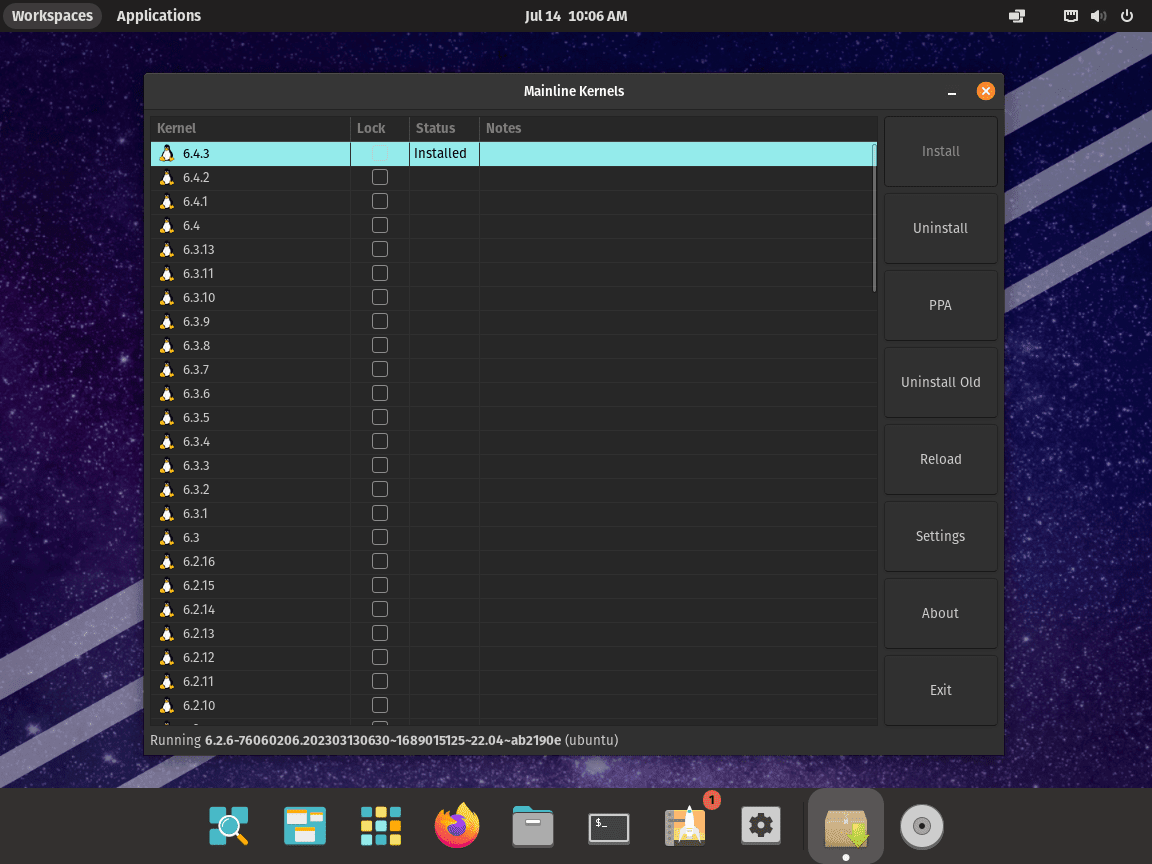
Upon successfully launching the Mainline Kernel tool, you will be greeted with a list that displays various kernel versions. To ensure that the most recent kernels are within your grasp, it is crucial to synchronize the cache. Simply click the Sync button located on the application window’s toolbar. This operation refreshes the cache, bringing the newest kernel versions, including Linux Kernel 6.4, to the forefront.
Step 3: Selecting Linux Kernel 6.4
After synchronization, navigate through the list to find Linux Kernel 6.4. Once located, click on it to finalize your selection. With the selection of Linux Kernel 6.4, the Install button will be enabled to proceed to install the new mainline kernel.
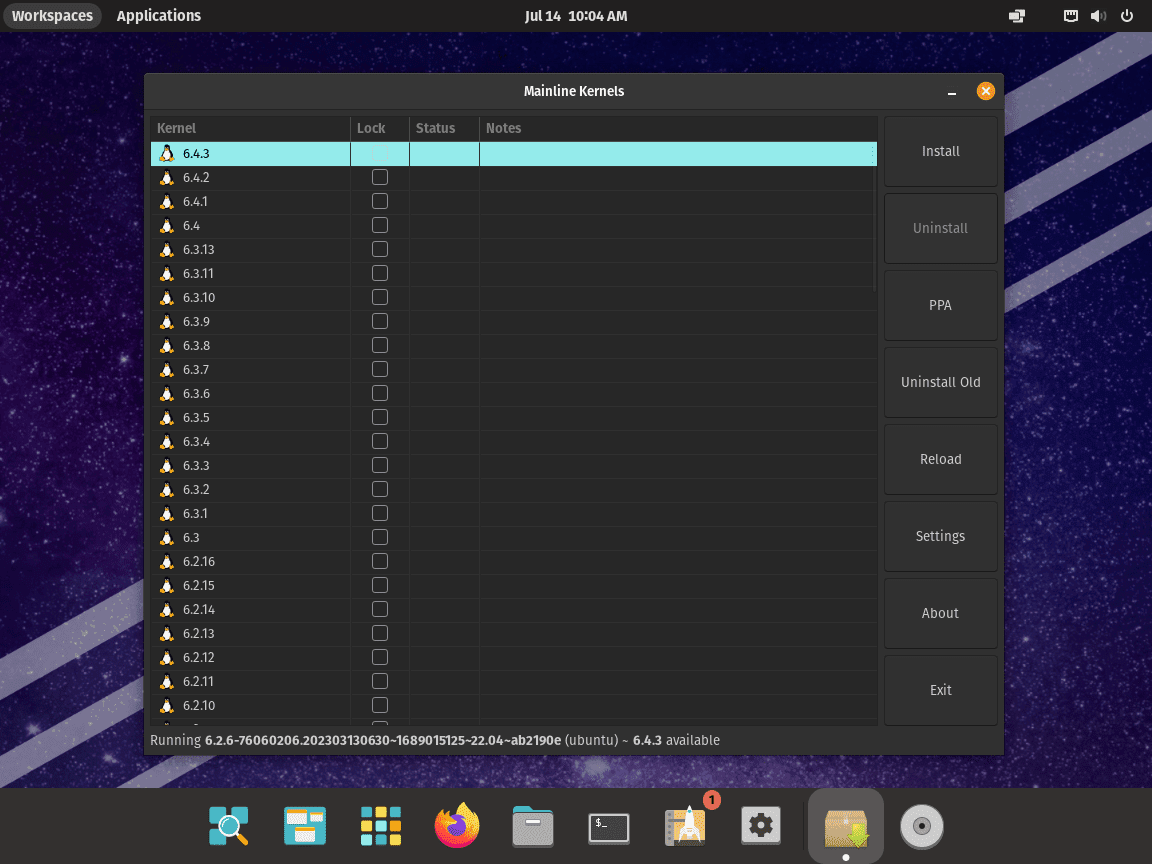
Here are some examples you will see during the installation:
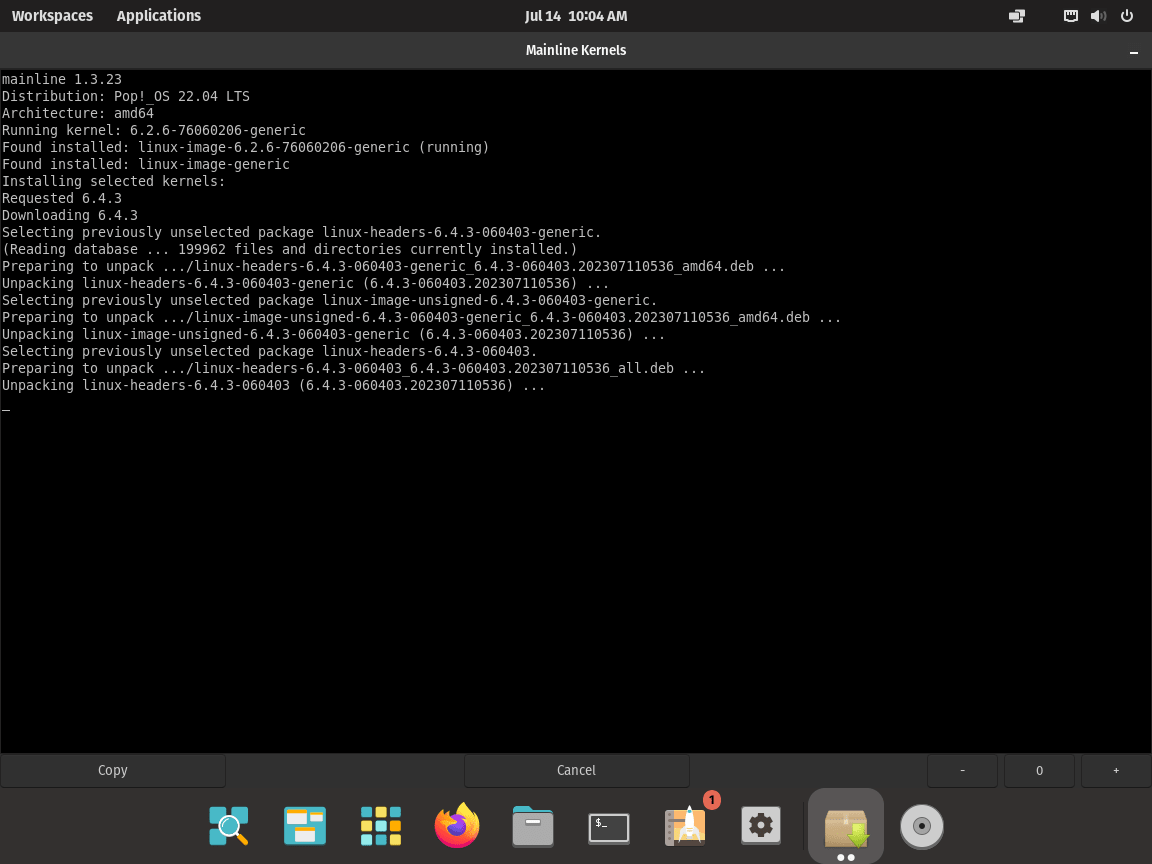
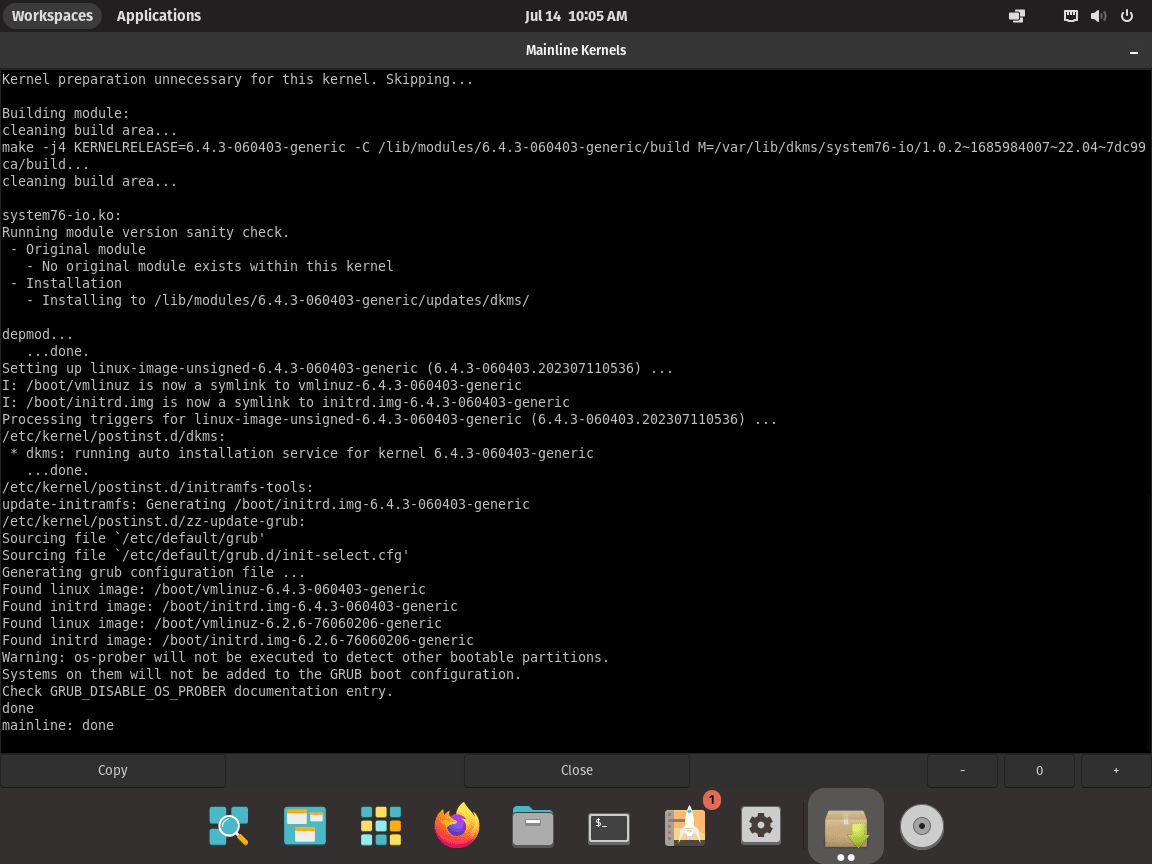
Step 4: Kick-starting the Installation of Linux Kernel 6.4
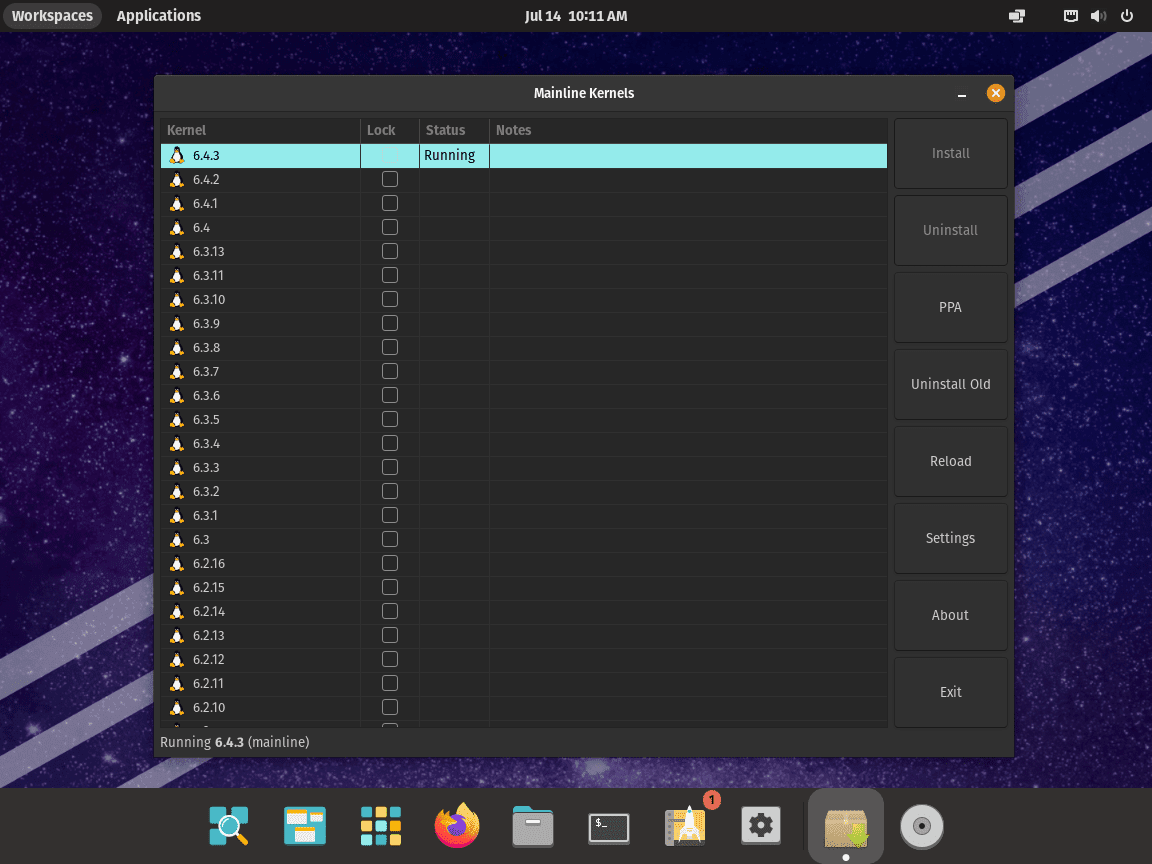
Next, click the now-activated Install button. As the installation proceeds, a progress bar will appear, illustrating the progress of the installation. Upon completion of the installation process, a confirmation message validating the successful installation will appear.
Step 5: System Reboot to Implement Changes
After successfully installing Linux Kernel 6.4, a system reboot is paramount. This ensures the changes are implemented, and the system starts operating on the newly installed kernel version. Reboot your system via the terminal with the following command:
sudo rebootVerifying the Installation
To affirm the successful installation of Linux Kernel 6.4, execute the following command:
mainline --list-installedThe installed kernels, including Linux Kernel 6.4, should now be listed. Another method to verify the successful installation is by launching the Mainline Kernel tool, where Linux Kernel 6.4 should now appear as installed.
Section 3: Implementing Linux Kernel 6.4 via the Command Line Interface (CLI) in Pop!_OS
This section delves into the systematic procedure of deploying Linux Kernel 6.4 using the Command Line Interface (CLI) offered by the Mainline tool in Pop!_OS. Being a powerful facilitator, the CLI empowers users with the capabilities to perform various operations – from downloading to installing, viewing, and managing kernels.
Step 1: Enumerating Available Kernel Versions
Kick off the process by evaluating the available kernel versions that can be installed. Run the following command to obtain a comprehensive list:
mainline --listStep 2: Identifying Currently Installed Kernels
To gain insights into which kernels are already operating on your Pop!_OS system, execute the following command:
mainline --list-installedStep 3: Fetching a Specific Kernel Version (Optional)
If you desire to download a specific kernel version without installing it right away, you can make use of this command:
mainline --download <version>In this command, replace <version> with your desired kernel version, such as 6.4.
Note: The install command triggers an automatic kernel download. This step is optional, predominantly intended for situations that require multiple version downloads or those with bandwidth limitations.
Step 4: Installing the Downloaded Kernel
To activate the kernel version that you’ve procured, implement the following command:
mainline --install <version>For the Linux Kernel 6.4, use this command:
mainline --install 6.4For minor version increments, substitute x with the specific minor version number:
mainline --install 6.4.xStep 5: System Reboot to Activate the New Kernel
Once the kernel installation concludes, it’s essential to reboot the system. This action effectively loads the new kernel into operation. When the system prompts, initiate a reboot with the following:
sudo rebootStep 6: Authenticating the Installed Kernel Version
After the system reboots, it’s paramount to authenticate that Linux Kernel 6.4 has been successfully installed. To do so, execute the following:
mainline --list-installedStep 7: Designating Boot Order for Installed Kernels (Optional)
For scenarios where multiple kernels are installed, and a default one needs to be assigned for booting, run:
mainline --set-default <version>Make sure to replace <version> with the kernel version you want to set as the default.
Step 8: Kernel Uninstallation (Optional)
If you need to uninstall a particular kernel version, you can employ this command:
mainline --uninstall <version>Step 9: Cleaning Up Outdated Kernel Versions to Reclaim Disk Space (Optional)
To discard obsolete kernel versions and reclaim disk space, this command is beneficial:
mainline --remove-oldThis command retains the two most recent kernels and discards the rest and their headers.
Step 10: Gaining Assistance with Mainline Tool’s Command Line Interface (Optional)
For an exhaustive list of commands and options associated with the Mainline tool, use the following command:
mainline --helpSection 4: Enabling the Use of Linux Kernel 6.4 Release Candidates in Pop!_OS
This part of our discussion revolves around activating Linux Kernel 6.4 Release Candidates (RCs) on your Pop!_OS system. To bring you up to speed, a Release Candidate is essentially a beta version of a software release almost ready for final public rollout, yet it’s still subject to further testing. While not usually recommended for production environments due to their pre-release nature, RCs are often employed by developers and testers who actively contribute to Linux kernel evolution. They offer an early look at the new features and improvements in the forthcoming kernel release.
Please note: While exploring RCs can be a captivating experience, bear in mind that they could carry potential bugs or stability issues given they’re still in the testing phase.
Step 1: Facilitating Release Candidates via the Graphical User Interface (GUI)
If you’re more comfortable using Pop!_OS with a Graphical User Interface (GUI) and prefer interactive visual methods for managing software, enabling RCs can be readily achieved through the settings tab of the Mainline tool. Here’s a simplified procedure:
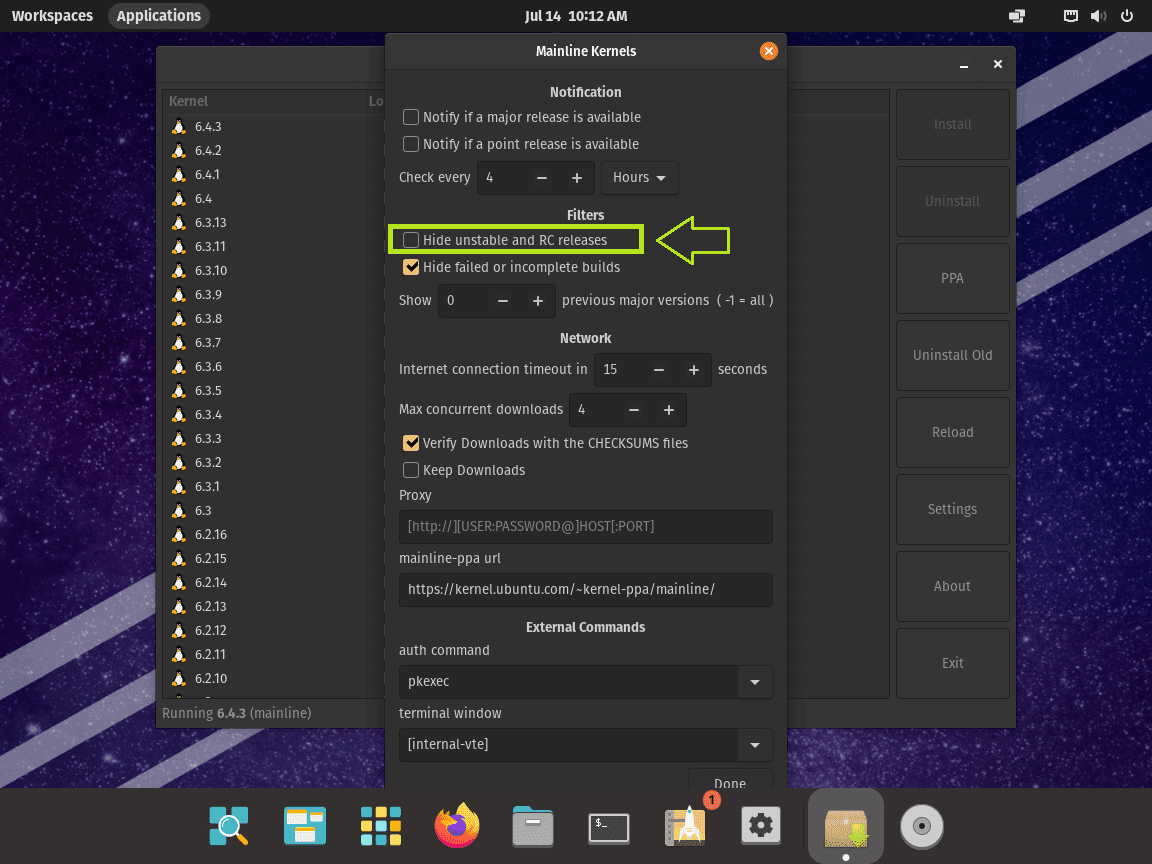
1.1. Launch the Settings Tab of Mainline
The Settings tab is the gateway to several customization options, including the one that lets you toggle the visibility of unstable kernel versions and release candidates.
1.2. Navigating the ‘Hide Unstable and RC Releases’ Option
In the settings tab, look for an option labeled “Hide unstable and RC releases.”
1.3. Modify the Visibility Setting for Unstable Kernels and RCs
This option is typically checked by default to prevent unintended usage of potentially unstable kernel versions. To enable the visibility of RCs, you need to deselect the checkbox adjacent to this option.
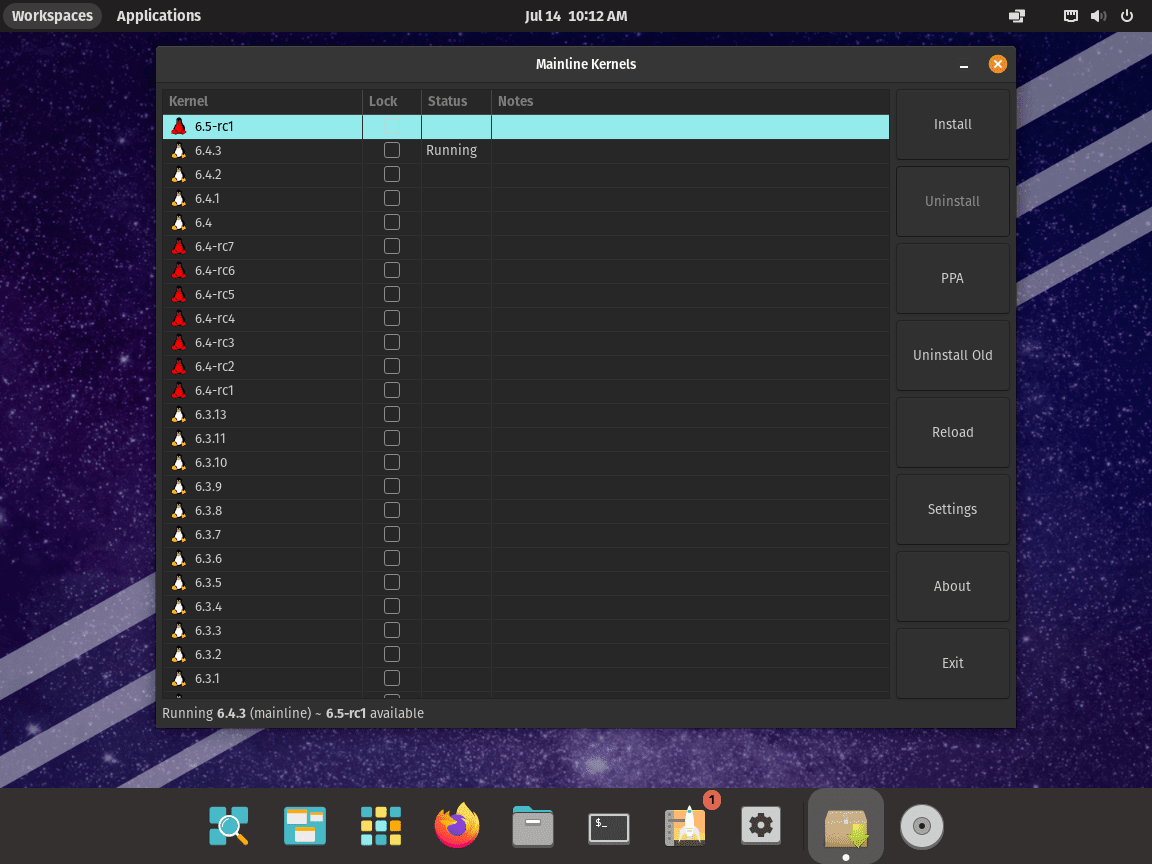
By performing this action, you’re instructing the system to display release candidates in the list of available kernels, allowing you to explore upcoming features such as the Linux Kernel 6.5 Release candidates.
Step 2: Enabling Release Candidates via the Terminal
If you prefer working in a terminal-based environment or love using the terminal for its speed and directness, you can enable RCs by executing a simple command. This step provides a walkthrough for such terminal enthusiasts:
2.1. Issue the Command to Display Unstable Kernels and RCs
Run the following command to instruct the system to display release candidates:
mainline --list --include-unstableThis command triggers the Mainline tool to refresh the kernel cache and includes release candidates in the list of kernels. It’s important to note that the kernel versions are presented in descending order, with the latest stable release or release candidate shown at the top.
To dissect the above command:
mainlineis the utility used for managing kernels in Pop!_OS--listis an option instructing the utility to generate a list of accessible kernels--include-unstableis an option guiding the utility to include release candidates and unstable kernels in the list
Conclusion and Final Thoughts
As we wrap up this insightful discussion on installing Linux Kernel 6.4 on Pop!_OS, we must reflect upon the key topics we delved into. We started by understanding the basics, then moved on to the actual process of downloading and installing the kernel, and concluded by exploring how to enable the use of Linux Kernel 6.4 Release Candidates. This knowledge empowers you to tailor your system to your needs, whether for development, testing, or getting a glimpse into the upcoming features.
Our final recommendation is to proceed with due diligence while handling kernel installations or updates. Always ensure that the stability of your system is not compromised while exploring new kernel versions or release candidates. Remember, it is your system, and you are its maestro.