
LEMP, an acronym for Linux, Nginx, MariaDB, and PHP, is a sought-after software stack integral to web development and hosting. This introduction delineates its core advantages and distinctive attributes for those contemplating how to install LEMP on CentOS Stream 9 or its subsequent releases, such as the older enterprise-base release of CentOS Stream 8.
Core Components:
- Nginx: A high-performance web server known for its efficiency and scalability.
- MariaDB: A robust SQL database offering reliability and advanced features.
- PHP: A widely used server-side scripting language essential for dynamic web content.
Why Choose LEMP on CentOS Stream:
- Optimized Performance: LEMP ensures swift response times and can handle high traffic volumes.
- Enhanced Security: The combination of CentOS Stream with LEMP components offers reinforced security measures.
- Maintenance Ease: Regular updates and an active community make managing and maintaining the stack straightforward.
- Adaptable Framework: LEMP supports many programming languages and frameworks, granting developers flexibility.
- Customization: Tailor the stack components to meet specific project requirements, ensuring optimal outcomes.
The LEMP stack on CentOS Stream presents a harmonious blend of performance, security, and adaptability. The subsequent sections will guide you meticulously through the LEMP installation on CentOS Stream, ensuring you’re equipped to harness its full potential for your web endeavors.
Update CentOS Stream Before LEMP Installation
Before we begin, it is essential to update the system to ensure that all packages are up-to-date. You can do this by running the following command.
sudo dnf upgrade --refreshInstall Nginx on CentOS Stream For LEMP
To install Nginx on CentOS Stream, you can use the following command.
sudo dnf install nginxOnce the installation is complete, you can start the Nginx service by running the following command.
sudo systemctl enable nginx --nowTo check the status of the Nginx service, you can use the following command.
systemctl status nginx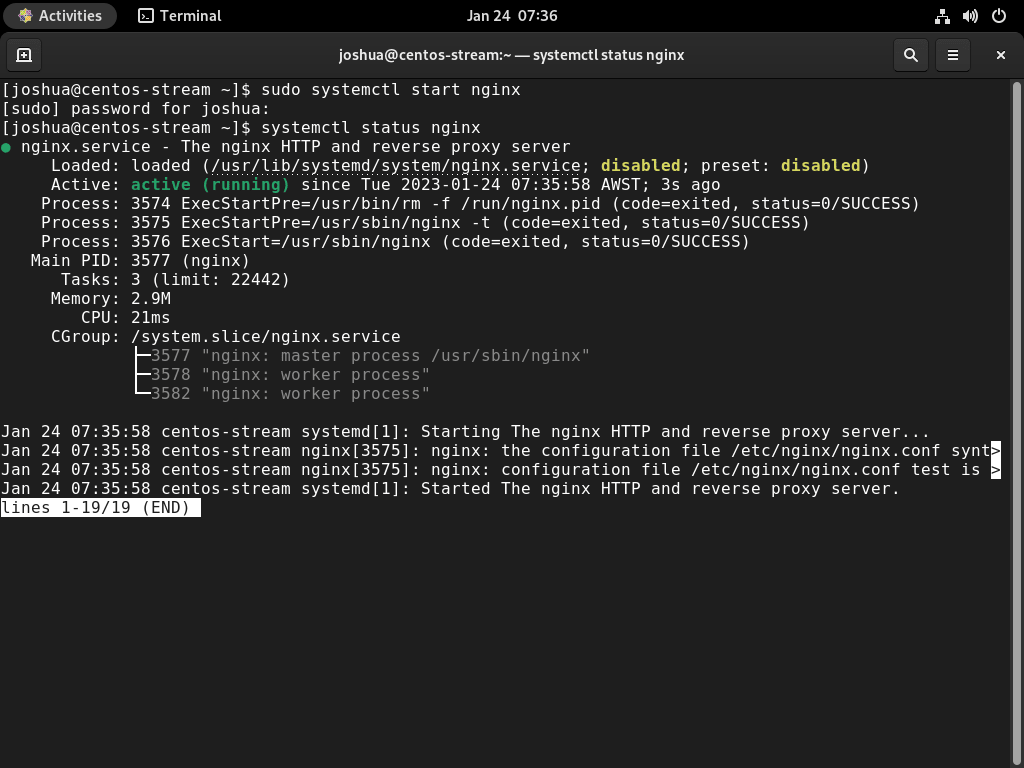
Configure Nginx Firewall Rules on CentOS Stream
When installing Nginx, firewall rules for the standard port 80 or 443 ports are not automatically added. Before proceeding, you must set the appropriate rules for the ports you plan to use. The following options are provided for reference.
Open port 80 or HTTP:
sudo firewall-cmd --permanent --zone=public --add-service=httpOpen port 443 or HTTPS:
sudo firewall-cmd --permanent --zone=public --add-service=httpsApply the changes by reloading the firewall.
sudo firewall-cmd --reloadInstall MariaDB on CentOS Stream For LEMP
To install MariaDB on CentOS Stream, you can use the following command.
sudo dnf install mariadb-server mariadbOnce the installation is complete, you can start the MariaDB service by running the following command.
sudo systemctl enable mariadb --nowTo check the status of the MariaDB service, you can use the following command.
systemctl status mariadb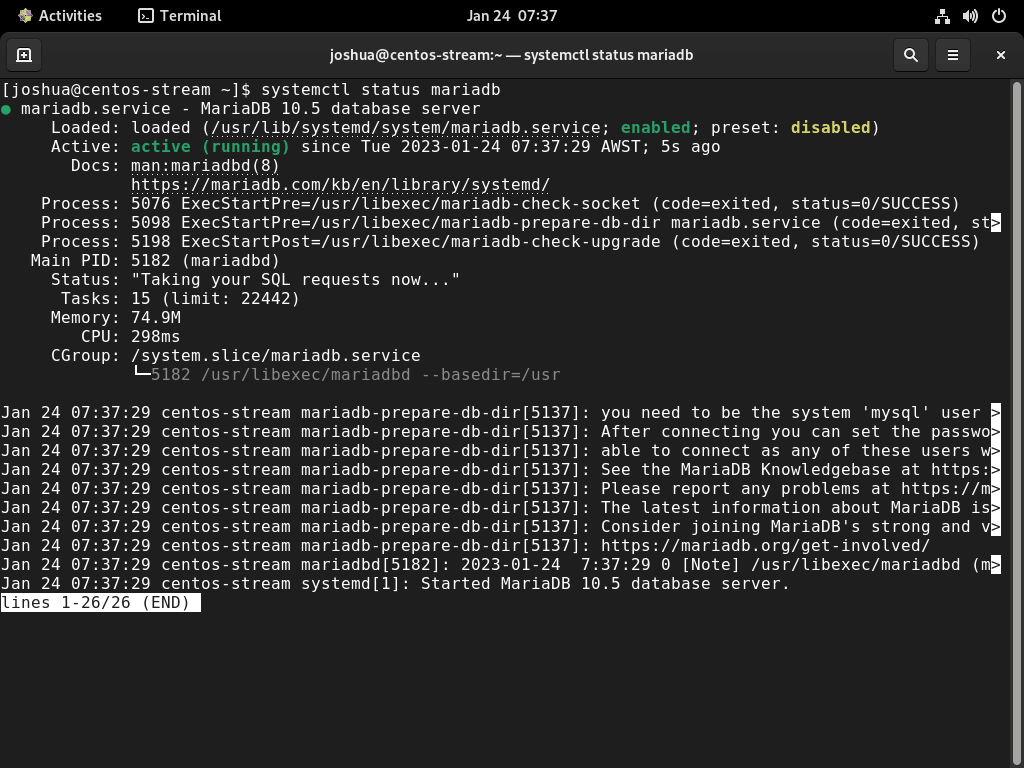
MariaDB Security Configuration Command on CentOS Stream
When installing a new version of MariaDB, industry standards often consider the default settings weak and may pose a security risk. Running the installation security script during the MariaDB installation process is recommended to mitigate this concern. This script will help to secure the installation and prevent potential intrusions or exploits by hackers.
To begin, use the following command to execute the mysql_secure_installation.
sudo mariadb-secure-installationThe next step is to proceed through the mysql_secure_installation settings and configure the root password, disallow remote access from external sources, remove anonymous user accounts, and delete the test database.
NOTE: RUNNING ALL PARTS OF THIS SCRIPT IS RECOMMENDED FOR ALL MariaDB
      SERVERS IN PRODUCTION USE!  PLEASE READ EACH STEP CAREFULLY!

In order to log into MariaDB to secure it, we'll need the current
password for the root user. If you've just installed MariaDB, and
haven't set the root password yet, you should just press enter here.

Enter current password for root (enter for none):
OK, successfully used password, moving on...

Setting the root password or using the unix_socket ensures that nobody
can log into the MariaDB root user without the proper authorisation.

You already have your root account protected, so you can safely answer 'n'.

Switch to unix_socket authentication [Y/n] Y <---- Type Y then press the ENTER KEY.
Enabled successfully!
Reloading privilege tables..
 ... Success!


You already have your root account protected, so you can safely answer 'n'.

Change the root password? [Y/n] Y <---- Type Y then press the ENTER KEY.
New password:
Re-enter new password:
Password updated successfully!
Reloading privilege tables..
 ... Success!


By default, a MariaDB installation has an anonymous user, allowing anyone
to log into MariaDB without having to have a user account created for
them.  This is intended only for testing, and to make the installation
go a bit smoother.  You should remove them before moving into a
production environment.

Remove anonymous users? [Y/n] Y <---- Type Y then press the ENTER KEY.
 ... Success!

Normally, root should only be allowed to connect from 'localhost'.  This
ensures that someone cannot guess at the root password from the network.

Disallow root login remotely? [Y/n] Y <---- Type Y then press the ENTER KEY.
 ... Success!

By default, MariaDB comes with a database named 'test' that anyone can
access.  This is also intended only for testing, and should be removed
before moving into a production environment.

Remove test database and access to it? [Y/n] Y <---- Type Y then press the ENTER KEY.
 - Dropping test database...
 ... Success!
 - Removing privileges on test database...
 ... Success!

Reloading the privilege tables will ensure that all changes made so far
will take effect immediately.

Reload privilege tables now? [Y/n] Y <---- Type Y then press the ENTER KEY.
 ... Success!

Cleaning up...

All done!  If you've completed all of the above steps, your MariaDB
installation should now be secure.

Thanks for using MariaDB!
Install PHP on CentOS Stream For LEMP
To install PHP on CentOS Stream, you can use the following command.
sudo dnf install php php-fpm php-cli php-mysqlndOnce the installation is complete, you can start the PHP-FPM service by running the following command.
sudo systemctl enable php-fpm --nowTo check the status of the PHP-FPM service, you can use the following command.
systemctl status php-fpm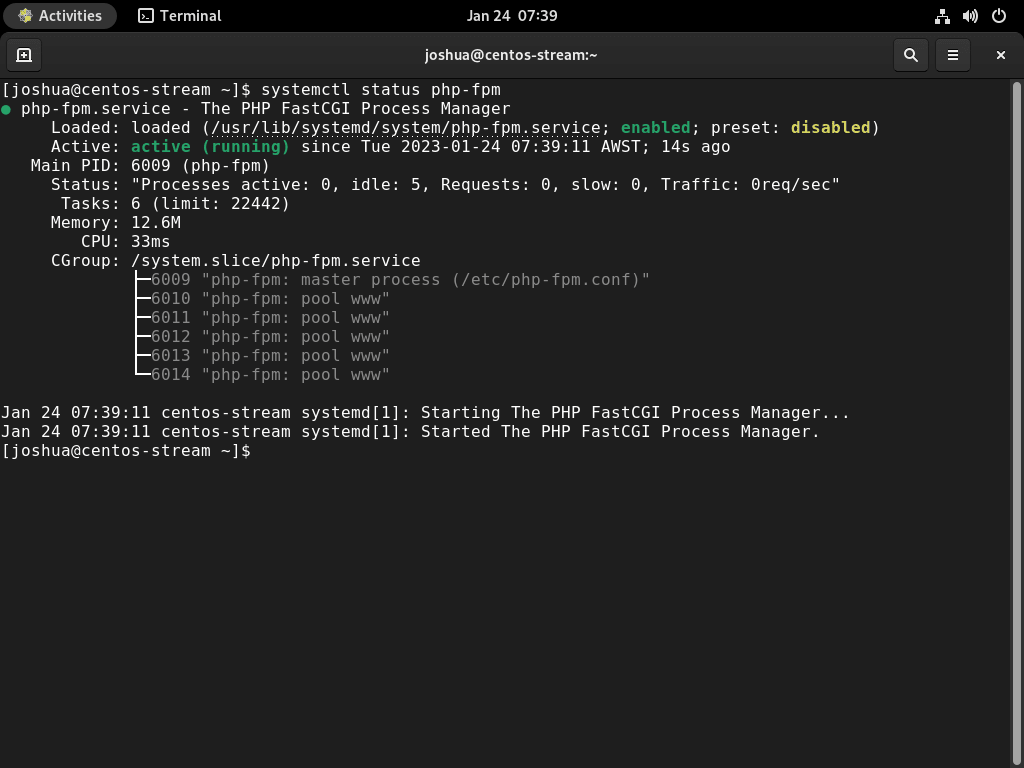
At this stage, the backend packages have been installed. The following section will cover examples of setting up Nginx server blocks and switching PHP-FPM user from Apache to Nginx.
Configure Nginx Server Block on CentOS Stream For LEMP
To configure Nginx to work with PHP, you must change the configuration file. The file is located at /etc/nginx/nginx.conf. You will need to add the following lines to the server block.
location ~ \.php$ {
    include fastcgi.conf;
    fastcgi_pass unix:/run/php-fpm/www.sock;
}
Once you have made the changes, test to ensure no errors occur in your syntax.
sudo nginx -tNow, you must restart the Nginx service for the changes to take effect.
sudo systemctl restart nginxConfigure Nginx & PHP-FPM on CentOS Stream For LEMP
When installing PHP-FPM on distributions like Debian/Ubuntu, the “www-data” user is often used. However, this is not the default for installations on the RHEL family. By default, the PHP-FPM service is configured to run under the “Apache” user, which is unsuitable for Nginx use. Therefore, adjustments need to be made.
First, open the configuration file (www.conf) with the following command.
sudo nano /etc/php-fpm.d/www.confThen, substitute the (Apache) user and group with the (Nginx) user and group.
Example from:

Example to:
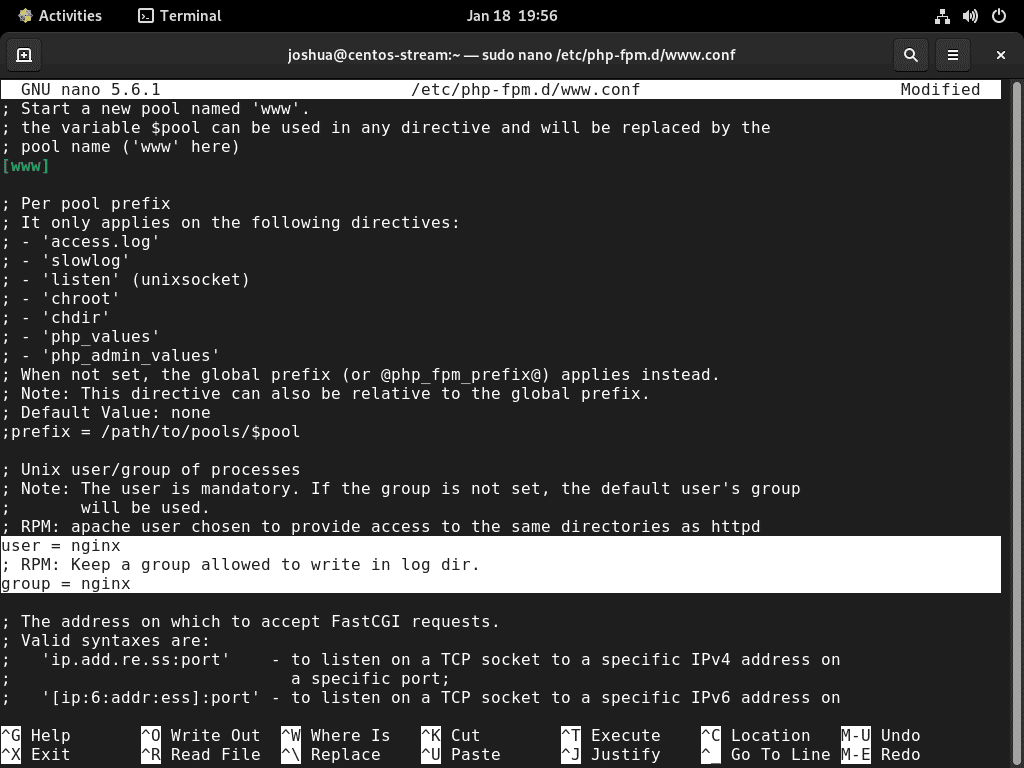
To save, press (CTRL+O), then exit (CTRL+X).
Now, you can restart your PHP-FPM service.
sudo systemctl restart php-fpmCreate a Test PHP File on CentOS Stream For LEMP
You can create a test PHP file to test that PHP works correctly with Nginx. You can make this file in the Nginx web root directory, typically located at /usr/share/nginx/html/. Create a file called info.php and paste the following code.
<?php
phpinfo();
?>
Test the Installation LEMP Installation on CentOS Stream
After completing the installation, you can test that everything works correctly by visiting the test PHP file in a web browser. Open a web browser and visit the following URL:
http://your-server-ip/info.phpYou should see a page displaying information about your PHP installation.
Conclusion
This guide demonstrated how to install LEMP (Linux, Nginx, MySQL, and PHP) on a CentOS Stream server and covered the steps to install and configure Nginx, MySQL, and PHP, as well as how to test the installation to ensure everything is working correctly. By following this guide, you should now have a fully functional LEMP stack that you can use to build and run web applications. Remember to keep your system updated and regularly back up your important data to ensure that your web applications are always running smoothly.