How to Install Linux Kernel 6.5 on Linux Mint 21 or 20

For those immersed in the Linux Mint ecosystem, the release of Linux Kernel 6.5 is more than just news—it’s an opportunity for system enhancement. You may wonder, “How to Install Linux Kernel 6.5 on Linux Mint 21 or the older stable Linux Mint 20 release?” You’re in the perfect spot to find out.

In this comprehensive guide, we’ll take you through the nuances of utilizing the Mainline Kernel Installer to upgrade your kernel effortlessly. Whether you’re on the latest Linux Mint 21 or sticking with the stable Linux Mint 20, you’ll navigate your system by the end of this tutorial with the advanced features that Linux Kernel 6.5 offers. For an in-depth look at these features, read our extensive article on Linux Kernel 6.5: What’s New and Changed.

Be mindful of the following considerations when employing this approach on Linux Mint:

  • Secure boot must be disabled because these kernels are not signed.
  • If you have previously set up NVIDIA drivers, you may encounter conflicts with GCC.

In case you run into issues related to NVIDIA drivers, you have a few options:

  1. Think about updating your GCC package by following a guide similar to the one we offer.
  2. Your course of action for resolving NVIDIA-related issues may vary based on how you initially installed the drivers:
    • a. Remove the existing NVIDIA drivers.
    • b. Update GCC.
    • c. Install Linux Kernel 6.5.
    • d. Reinstall the NVIDIA drivers.

For GCC installation guidance, you can refer to this link: How to Install GCC on Linux Mint 21 or 20.

Section 1: Install Ubuntu Mainline Kernel Installer on Linux Mint

One of the best methods for installing the latest Linux Kernel on Ubuntu-based distributions, such as Linux Mint, is by using the Ubuntu Mainline Kernel Installer repository from Launchpad PPA ppa:cappelikan/ppa. This method lets you quickly download the latest Linux Kernel source and install it on your Linux Mint machine using either the command-line interface (CLI) or a graphical user interface (GUI). Additionally, this tool enables you to install any Linux Kernel version.

Step 1: Update Linux Mint Before Linux Kernel 6.5 Installation

Before installing Linux Kernel 6.5, ensuring your system is up-to-date is crucial. This process involves updating all packages on your system to prevent potential conflicts during installation or upgrading.

sudo apt update

Run the specified command to initiate the upgrade process if updates are available:

sudo apt upgrade

If a large number of packages have been updated, including the Linux Kernel, it can be beneficial to reboot your system before installing a new Linux kernel such as 6.5:

reboot

Step 2: Import Ubuntu Mainline Kernel Installer PPA on Linux Mint

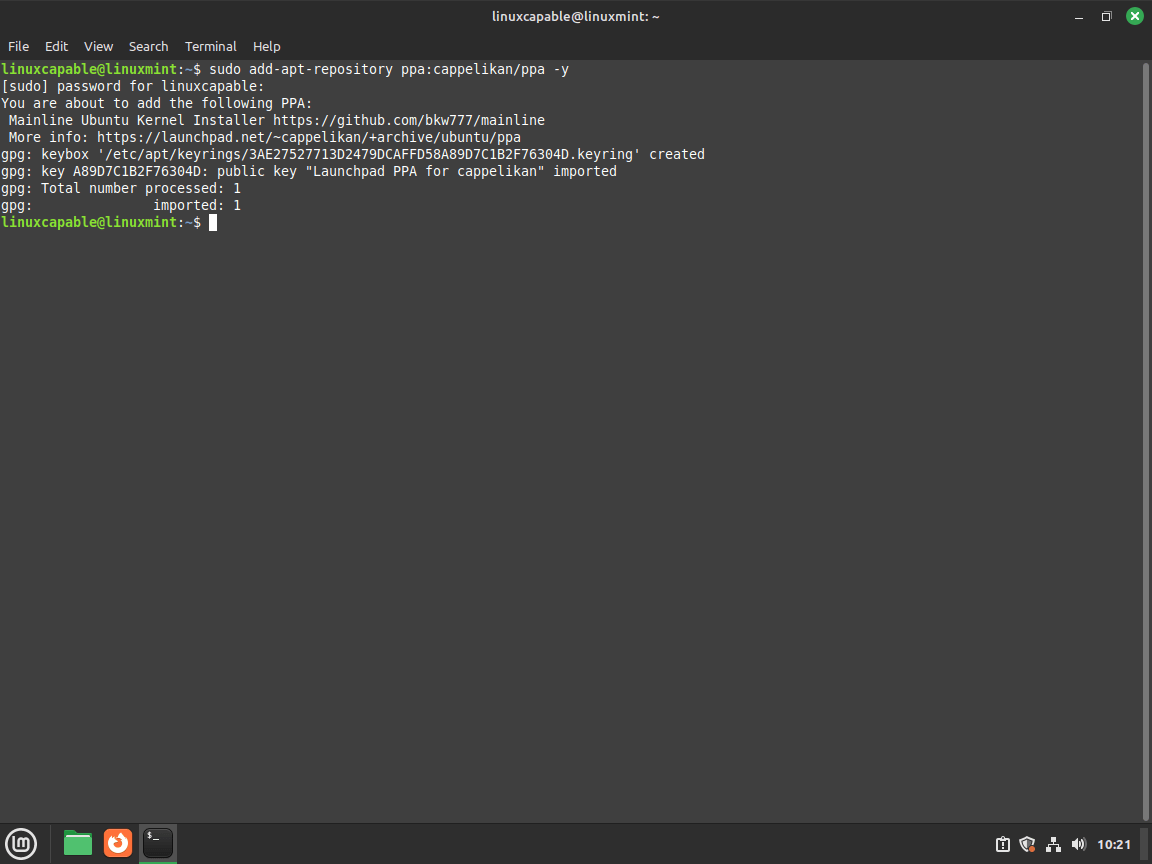
Run the following command to import the Ubuntu Mainline PPA:

sudo add-apt-repository ppa:cappelikan/ppa -y

Step 3: Update Packages Index for Linux Kernel 6.5

After importing the PPA, it is recommended to update the package list on your system by executing the following command:

sudo apt update

To install the Ubuntu Mainline Kernel Installer on your system, execute the following command in the terminal to initiate the installation process:

sudo apt install mainline -y

Section 2: Install Linux Kernel 6.5 with GUI (Desktop) on Linux Mint

This section will focus on installing Linux Kernel 6.5 on Linux Mint by employing the Mainline Kernel tool through a graphical user interface. This tool offers an intuitive way to manage and install different Linux kernel versions.

Step 1: Launch the Mainline Kernel Tool on Linux Mint

To begin with, open your terminal and execute the command below to open the Mainline Kernel tool:

mainline

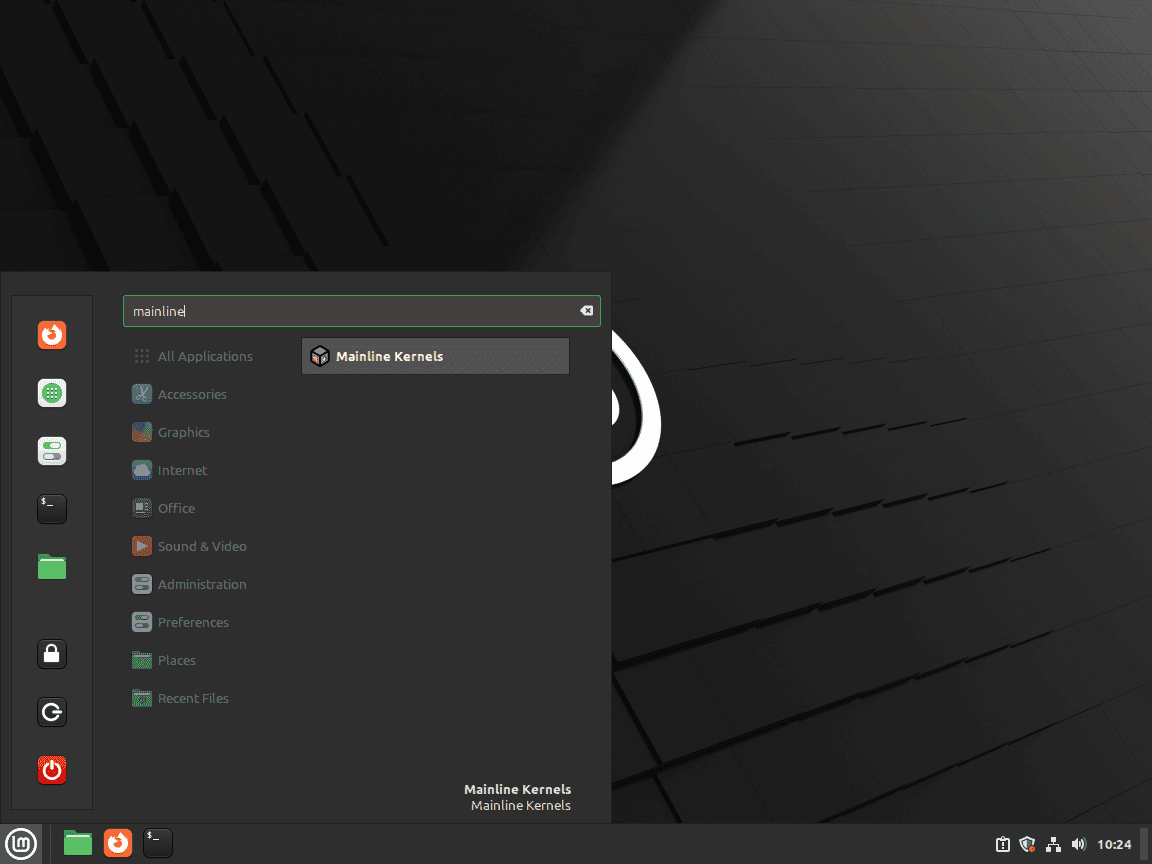
For those using the desktop environment, you can also open the tool by navigating through the following path:

Taskbar > Administration > Ubuntu Mainline Kernel Installer
Ubuntu mainline kernel installer icon in Administration tab on Linux Mint taskbarPin
The official icon for the Ubuntu mainline kernel installer in Linux Mint.

Step 2: Synchronize Cache to Retrieve Latest Kernels

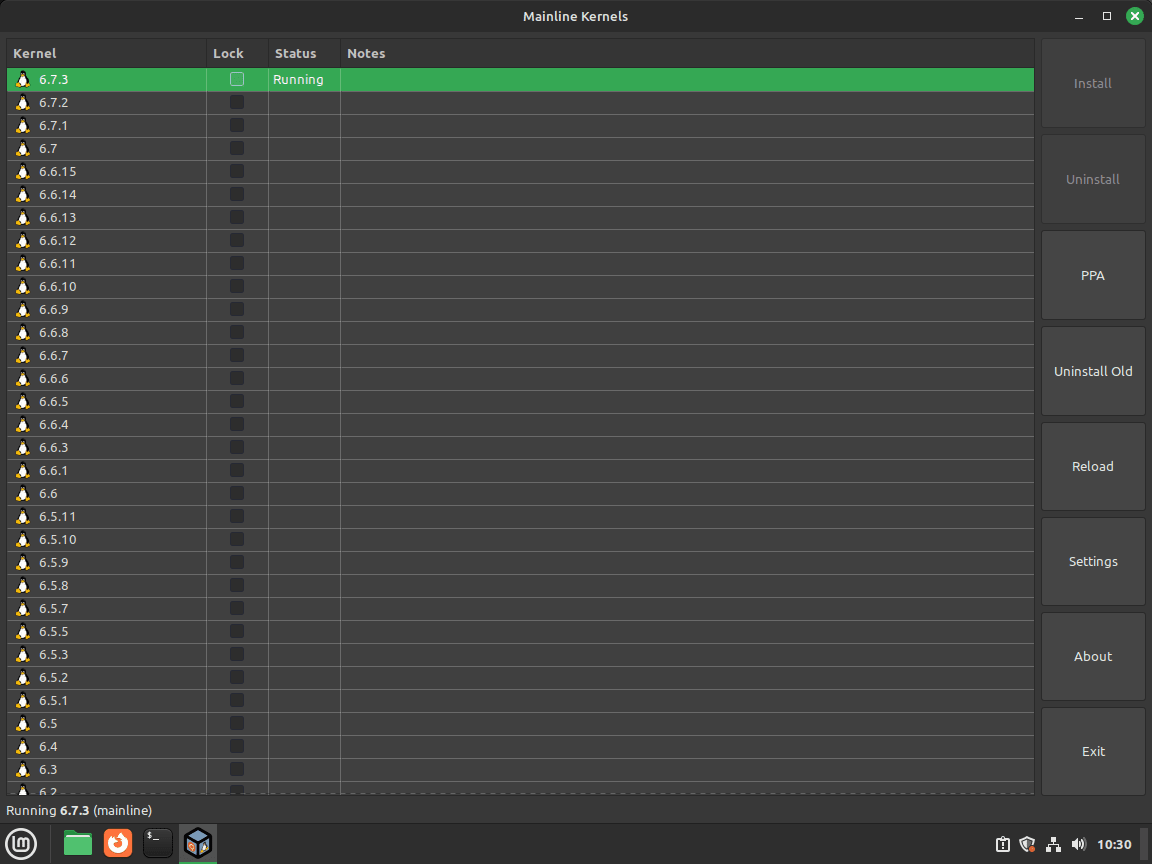
Once the Mainline Kernel tool is up and running, you will encounter a list showcasing various kernel versions. To ascertain that you have access to the most current kernels, you must synchronize the cache. Click the Sync button situated in the application window’s toolbar. This action refreshes the cache, making the newest kernel versions, including Linux Kernel 6.5, visible.

Step 3: Choosing Linux Kernel 6.5

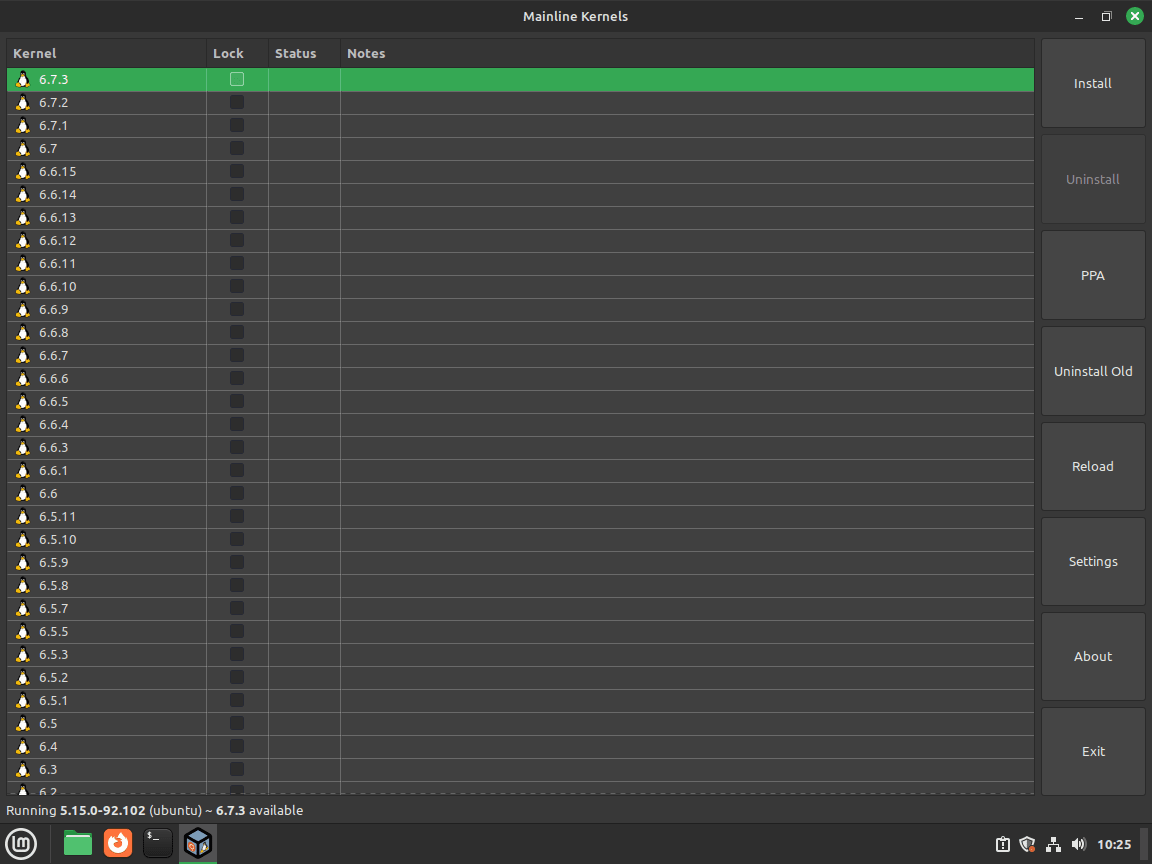
Post synchronization, scan through the list to locate Linux Kernel 6.5. Click on it to make your selection. Upon choosing Linux Kernel 6.5, the Install button will be activated.

Linux Kernel 6.5 listed in desktop GUI on Linux MintPin
Visual representation of Linux Kernel 6.5 as it appears in the desktop GUI of Linux Mint.

Step 4: Commence the Installation of Linux Kernel 6.5

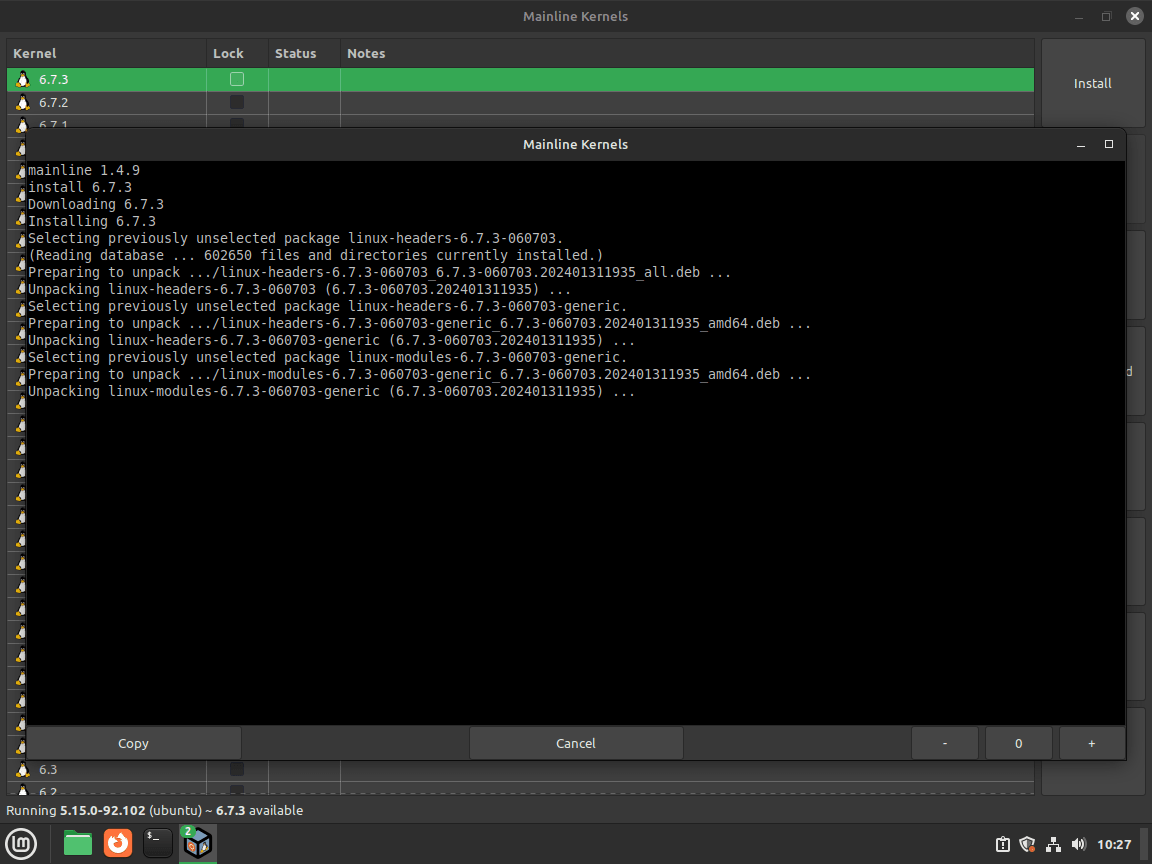
Now, click the Install button. You will witness a progress bar that keeps track of the installation. Once the installation culminates, a message confirming the successful installation will materialize.

Installing Linux Kernel 6.5 via desktop GUI on Linux MintPin
Step-by-step visual guide on installing Linux Kernel 6.5 using the desktop GUI on Linux Mint.

Step 5: Reboot to Apply Changes for Linux Kernel 6.5 on Linux Mint

It is crucial to reboot your system post-installation of Linux Kernel 6.5 to effectuate the alterations and initialize the utilization of the new kernel version. To reboot your system via terminal, input the command:

sudo reboot

Alternatively, you can reboot using the graphical interface by charting this course:

Taskbar > Power Off / Log Out > Restart

Verifying the Linux Kernel 6.5 Installation on Linux Mint

To corroborate the successful installation of Linux Kernel 6.5, execute the following command:

mainline --list-installed

You can also verify by launching the Mainline Kernel tool, where Linux Kernel 6.5 should now be listed as installed.

Confirmation screen showing Linux Kernel 6.5 running on Linux Mint after rebootPin
Visual confirmation that Linux Kernel 6.5 is successfully running after a system reboot.

Section 3: Install Linux Kernel 6.5 Using Command Line Interface (CLI) on Linux Mint

This section will explore how to install Linux Kernel 6.5 using the Mainline tool’s Command Line Interface (CLI) on Linux Mint. The CLI has the advantage of performing various operations such as downloading, installing, viewing, and managing kernels.

Step 1: Listing Available Kernel Versions on Linux Mint

Initiate by assessing the kernel versions that are accessible for installation. Execute the command below to obtain a list:

mainline list

Step 2: Checking Currently Installed Kernels

To ascertain which kernels are already installed on your Linux Mint system, issue the following command:

mainline list-installed

Step 3: Downloading a Specific Kernel Version (Optional)

If you need to download a particular kernel version without immediately installing it, employ this command:

mainline download <version>

Here, <version> should be replaced with the kernel version you wish to download, such as 6.5.

Note: If you use the install command, it automatically downloads the kernel. This step is optional and is more relevant for instances where you need to download multiple versions or have bandwidth constraints.

Step 4: Installing the Downloaded Kernel

To install the kernel version you’ve downloaded, execute:

mainline install <version>

For Linux Kernel 6.5, use the command:

mainline install 6.5

In case of a minor version, replace x with the minor version number:

mainline install 6.5.x

Step 5: Rebooting Your System

After installing the kernel, it’s imperative to reboot the system so that the new kernel is effectively loaded. The system will prompt you for a reboot. Run:

sudo reboot

Step 6: Verifying the Installed Kernel Version on Linux Mint

Post-reboot, it’s prudent to validate that Linux Kernel 6.5 was installed successfully. Run:

mainline list
Terminal output confirming Linux Kernel 6.5 running on Linux MintPin
Terminal view that confirms Linux Kernel 6.5 is running on Linux Mint.

or

mainline list-installed
Terminal listing all installed kernels with Linux Kernel 6.5 highlighted on Linux MintPin
Terminal view showcasing all installed kernels, with Linux Kernel 6.5 highlighted.

Step 7: Configuring the Boot Order of Installed Kernels (Optional)

If you have multiple kernels and you need to set a default one for booting, issue:

mainline set-default <version>

Remember to replace <version> with the kernel version you wish to set as default.

Step 8: Uninstalling a Kernel (Optional)

If you require to uninstall a specific kernel, make use of:

mainline uninstall <version>

Step 9: Cleaning Up Old Kernel Versions to Free Disk Space (Optional)

To eradicate old kernel versions and liberate disk space, this command comes in handy:

mainline remove-old

This will preserve the two latest kernels and remove the others along with their headers.

Step 10: Obtaining Help with Mainline Tool’s Command Line Interface (Optional)

For a detailed list of commands and options for the Mainline tool, execute the following command:

mainline --help

This will display a list of available command line options and their descriptions.

Section 4: Activating Release Candidate Linux Kernels (Optional) on Linux Mint

This section elucidates the steps to enable release candidate (RC) Linux kernels, which are essentially versions nearing final release but are still undergoing testing. While release candidates are beneficial for gaining insights into new features and enhancements, they may contain bugs. Though not suitable for production environments due to their experimental status, release candidates are instrumental for developers and testers who aim to contribute to Linux kernel development.

Step 1: Activating Release Candidates through Graphical User Interface (GUI)

For individuals utilizing Linux Mint with a graphical user interface (GUI) and prefer an interactive visual method, enabling release candidates can be achieved through the settings tab.

  • Launch the settings tab
  • Navigate for an option titled “Hide unstable and RC releases”
  • Deselect the checkbox adjacent to this option

By performing this action, you essentially instruct the system to display release candidates. It is vital to comprehend that this option is generally enabled by default to avert accidental use of potentially unstable versions.

Releasing candidate kernels using desktop GUI on Linux MintPin
Demonstration of how to release candidate kernels using the desktop GUI on Linux Mint.
Complete list of release candidate kernels displayed in desktop GUI on Linux MintPin
A complete listing of release candidate kernels as shown in the desktop GUI.

Step 2: Activating Release Candidates through Terminal (For Terminal-Based Environments)

For users who operate in a terminal-based environment or have a preference for terminal usage, this step offers guidance.

Execute the command:

mainline --list --include-unstable

This command directs the system to refresh the kernel cache and incorporate release candidates in the listing. It’s worth observing that the list is presented in descending order, with the latest release or release candidate appearing at the top.

Terminal method for listing all release candidate kernels on Linux Mint in server environmentsPin
Terminal view demonstrating how to list all release candidate kernels in a server environment.

Understanding the Command Components

To understand the command’s functionality:

  • mainline refers to the utility employed for managing Linux Mint kernels
  • --list is an option indicating the requirement to exhibit a list of accessible kernels
  • --include-unstable is an option guiding the utility to incorporate release candidates in the list

Conclusion

Throughout this guide, we’ve explored the substantial improvements and features that Linux Kernel 6.5 brings. We’ve delved into how the upgrade significantly enhances hardware compatibility, bolsters security, optimizes system performance, and introduces cutting-edge features. Upgrading to Linux Kernel 6.5 is prudent for Linux Mint users, especially those utilizing recent hardware or requiring optimal system performance.

As a final recommendation, it’s essential to ensure that you follow the installation steps carefully and always back up your data before making significant system changes. Upgrading to Linux Kernel 6.5 on Linux Mint is about staying up-to-date and harnessing your system’s full potential through an enhanced kernel.

Comments are closed.

Share to...