
KeePassXC helps you store and manage passwords, SSH keys, TOTP tokens, and other sensitive credentials in a single encrypted database file. Whether you need to organize login details for dozens of online accounts, securely share credentials with team members, or auto-type passwords into applications and websites, KeePassXC provides a reliable offline solution that keeps your data under your control. By the end of this guide, you will have KeePassXC installed and verified on Fedora, ready to create your first password database.
Choose Your KeePassXC Installation Method
Fedora offers two straightforward ways to install KeePassXC, each with different trade-offs. The comparison table below summarizes both options to help you decide which approach fits your workflow.
| Method | Channel | Version | Updates | Best For |
|---|---|---|---|---|
| DNF | Fedora Repos | Stable | Automatic via dnf upgrade | Most users who prefer distro-tested packages |
| Flatpak | Flathub | Latest stable | Automatic via flatpak update | Users who want sandboxing or the newest release |
For most users, the DNF method is recommended because Fedora’s repositories typically provide recent versions with minimal delay, and updates arrive alongside your regular system upgrades. Choose the Flatpak method if you specifically want application sandboxing or need features from the very latest release before Fedora packages it.
Method 1: Install KeePassXC via DNF
The DNF package manager provides the simplest installation path. Additionally, Fedora’s repositories include KeePassXC with security patches and version updates tested against the current release.
Update Fedora Before Installation
Before installing new software, refresh your package metadata and apply any pending updates. This ensures compatibility and avoids dependency conflicts during installation.
sudo dnf upgrade --refreshThe --refresh flag forces DNF to download fresh repository metadata even if the cache has not expired, so you always see the latest available packages.
Install KeePassXC via DNF Command
With your system updated, install KeePassXC by running the following command:
sudo dnf install keepassxcDNF will display the package details and any dependencies. Next, press y when prompted to confirm the installation.
Verify DNF Installation
After installation completes, confirm that KeePassXC is accessible by checking its version. The CLI tool provides a quick verification without launching the full GUI:
keepassxc-cli --versionExpected output:
2.x.x
If you see a version number, then the installation succeeded. Additionally, you can verify the installed package details:
rpm -q keepassxcExpected output:
keepassxc-2.x.x-1.fcXX.x86_64
Method 2: Install KeePassXC via Flatpak and Flathub
Alternatively, Flatpak provides an installation method with built-in application sandboxing. Furthermore, the Flathub repository often has the latest stable release available before distribution packages catch up, making this a good choice if you need new features immediately.
Verify Flathub Repository
Fedora Workstation includes Flatpak by default; however, the Flathub repository may not be enabled. First, check your current remotes:
flatpak remotesIf flathub appears in the output, skip to the installation step. Otherwise, add the Flathub repository:
sudo flatpak remote-add --if-not-exists flathub https://dl.flathub.org/repo/flathub.flatpakrepoThe --if-not-exists flag ensures the command succeeds even if Flathub is already configured, making this command safe to run regardless of your current setup.
Install KeePassXC via Flatpak Command
With Flathub configured, install KeePassXC using the following command:
sudo flatpak install flathub org.keepassxc.KeePassXC -yThe -y flag automatically confirms the installation prompts. However, if you prefer to review the runtime dependencies before proceeding, omit this flag and confirm manually.
If you encounter the error “Unable to load summary from remote flathub: Can’t fetch summary from disabled remote ‘flathub'”, enable the remote first:
sudo flatpak remote-modify --enable flathubVerify Flatpak Installation
After installation completes, verify that KeePassXC appears in your Flatpak application list:
flatpak list --app | grep -i keepassExpected output:
KeePassXC org.keepassxc.KeePassXC 2.x.x stable system
Launch KeePassXC
Once installed, you can launch KeePassXC using either the graphical interface or the command line. Consequently, the method you choose depends on your preference.
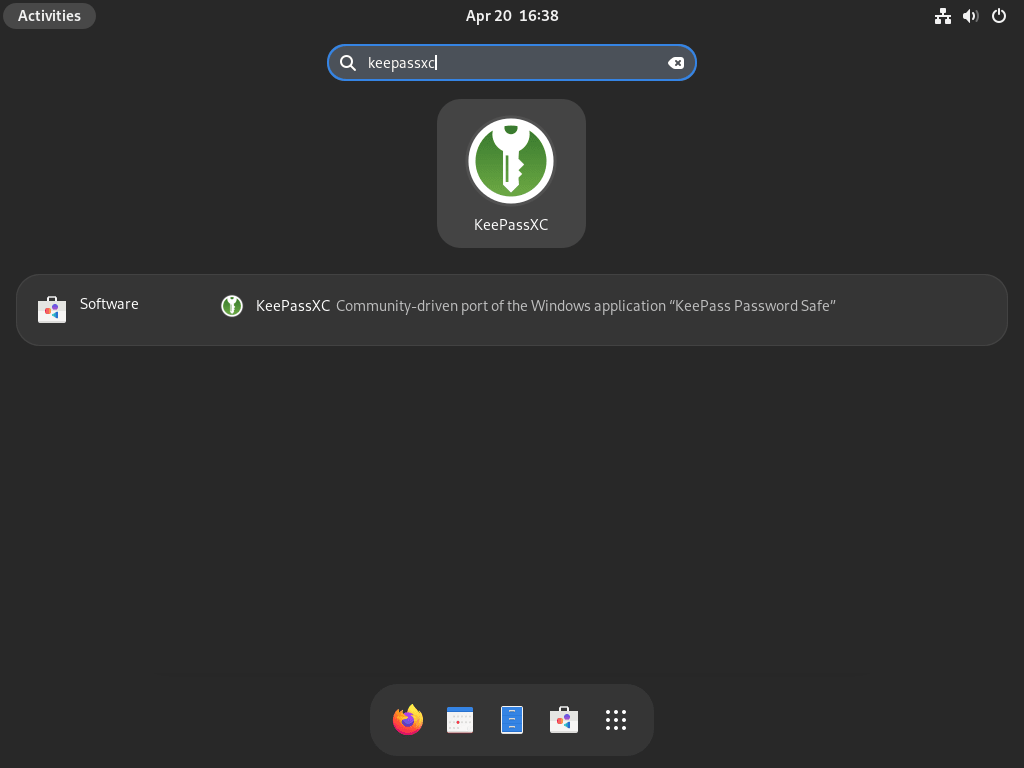
Launch from Applications Menu
Simply search for “KeePassXC” in Activities and click the application icon. This approach works regardless of which installation method you used.
Launch from Terminal
For DNF installations, launch KeePassXC directly from the terminal:
keepassxcAlternatively, for Flatpak installations, use the Flatpak run command instead:
flatpak run org.keepassxc.KeePassXCIn particular, launching from the terminal can be helpful for troubleshooting, as any error messages will appear in the terminal output.
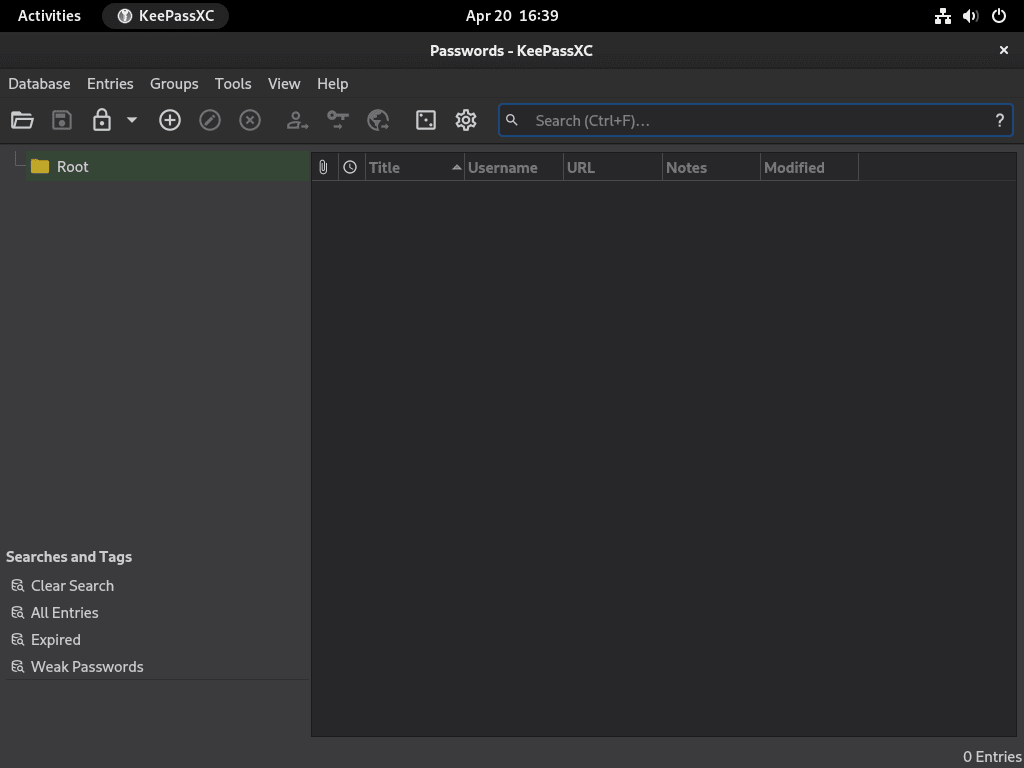
Getting Started with KeePassXC
After launching KeePassXC for the first time, you will need to create a new database or open an existing one. Here are the essential first steps to get started.
Create a New Database
First, click Create new database on the welcome screen. Next, choose a location to save your .kdbx file and set a strong master password. Since this single password protects all entries in your database, choose something memorable but difficult to guess. Consider using a passphrase of four or more random words.
Enable Browser Integration
For automatic password filling in web browsers, you should enable the browser integration feature. Navigate to Tools → Settings → Browser Integration and check the box for your preferred browser (Firefox, Chrome, Chromium, or others). Afterward, install the official KeePassXC-Browser extension from your browser’s extension store.
Command-Line Interface
Moreover, KeePassXC includes a powerful CLI tool for scripting and automation. You can list available commands with:
keepassxc-cli --helpCommon operations include generating passwords, adding entries, and retrieving credentials from the command line. For instance, to generate a random passphrase:
keepassxc-cli diceware -W 5This generates a five-word passphrase suitable for a master password or other high-security use.
Manage KeePassXC
This section covers routine management tasks, including updates and removal for both installation methods.
Update KeePassXC
Regular updates ensure you have the latest security patches and features. The update process depends on your installation method.
DNF Update Method
If you installed via DNF, KeePassXC updates arrive with your regular system upgrades:
sudo dnf upgrade --refreshThis command updates all installed packages, including KeePassXC, to their latest versions in the Fedora repositories.
Flatpak Update Method
On the other hand, if you installed via Flatpak, update your applications separately from system packages:
sudo flatpak updateConsequently, this updates all Flatpak applications and their runtimes to the latest available versions.
Remove KeePassXC
If you no longer need KeePassXC, remove it using the method that matches your original installation.
DNF Removal Method
To remove a DNF-installed KeePassXC and its unused dependencies:
sudo dnf remove keepassxcDNF will automatically remove orphaned dependencies that were installed alongside KeePassXC. Subsequently, verify the package is gone:
rpm -q keepassxcExpected output:
package keepassxc is not installed
Flatpak Removal Method
To remove a Flatpak-installed KeePassXC and its associated data:
sudo flatpak uninstall org.keepassxc.KeePassXC --delete-dataSpecifically, the --delete-data flag removes application configuration stored within the Flatpak sandbox.
Your
.kdbxdatabase files are stored in your home directory (typically~/Documentsor wherever you saved them), not within the Flatpak sandbox. These files remain intact after uninstallation, so you can safely reinstall KeePassXC later without losing your passwords.
Finally, after removing the application, clean up unused runtimes:
sudo flatpak uninstall --unusedTroubleshooting
If you encounter issues with KeePassXC, these common problems and solutions may help.
Browser Integration Not Working
If browser integration fails to connect, verify that the KeePassXC application is running and that you have enabled browser integration in Tools → Settings → Browser Integration. For Flatpak installations, additional configuration may be required because Flatpak sandboxing restricts communication between applications. If your browser was installed via DNF while KeePassXC is installed via Flatpak (or vice versa), you may need to adjust Flatpak permissions using flatpak override or install both applications through the same method for simpler integration.
Application Fails to Start
To diagnose the issue, launch KeePassXC from the terminal to see error messages. For DNF installations:
keepassxc 2>&1 | head -20For Flatpak installations:
flatpak run org.keepassxc.KeePassXC 2>&1 | head -20Common issues include missing display server connections or Qt library problems. Generally, rebooting after a system upgrade often resolves library-related errors.
Auto-Type Not Working on Wayland
KeePassXC’s Auto-Type feature has limitations on Wayland due to its security model. If Auto-Type fails, try using the browser integration for web logins, or switch to an X11 session for applications that require Auto-Type. Fedora Workstation uses Wayland by default (and GNOME on Fedora 43+ is Wayland-only), so some workarounds may require using a different desktop environment with X11 support.
Additional Resources
For more information about KeePassXC and related Fedora security topics, explore these resources:
- KeePassXC Getting Started Guide provides comprehensive documentation for all features.
- Install Fail2Ban with Firewalld on Fedora helps protect your server from brute-force attacks.
- Install ClamAV on Fedora adds antivirus scanning to your security toolkit.
- Install chkrootkit on Fedora provides rootkit detection and system integrity checking.
Conclusion
You now have KeePassXC installed on Fedora and ready to manage your passwords securely. As a result, the application stores all credentials in an encrypted offline database that you control, eliminating reliance on cloud-based password managers. With browser integration configured, you can auto-fill login forms directly from your database. Therefore, keep your master password secure and back up your .kdbx file regularly to a safe location.

Formatting tips for your comment
You can use basic HTML to format your comment. Useful tags currently allowed:
<code>command</code>command<strong>bold</strong><em>italic</em><blockquote>quote</blockquote>