

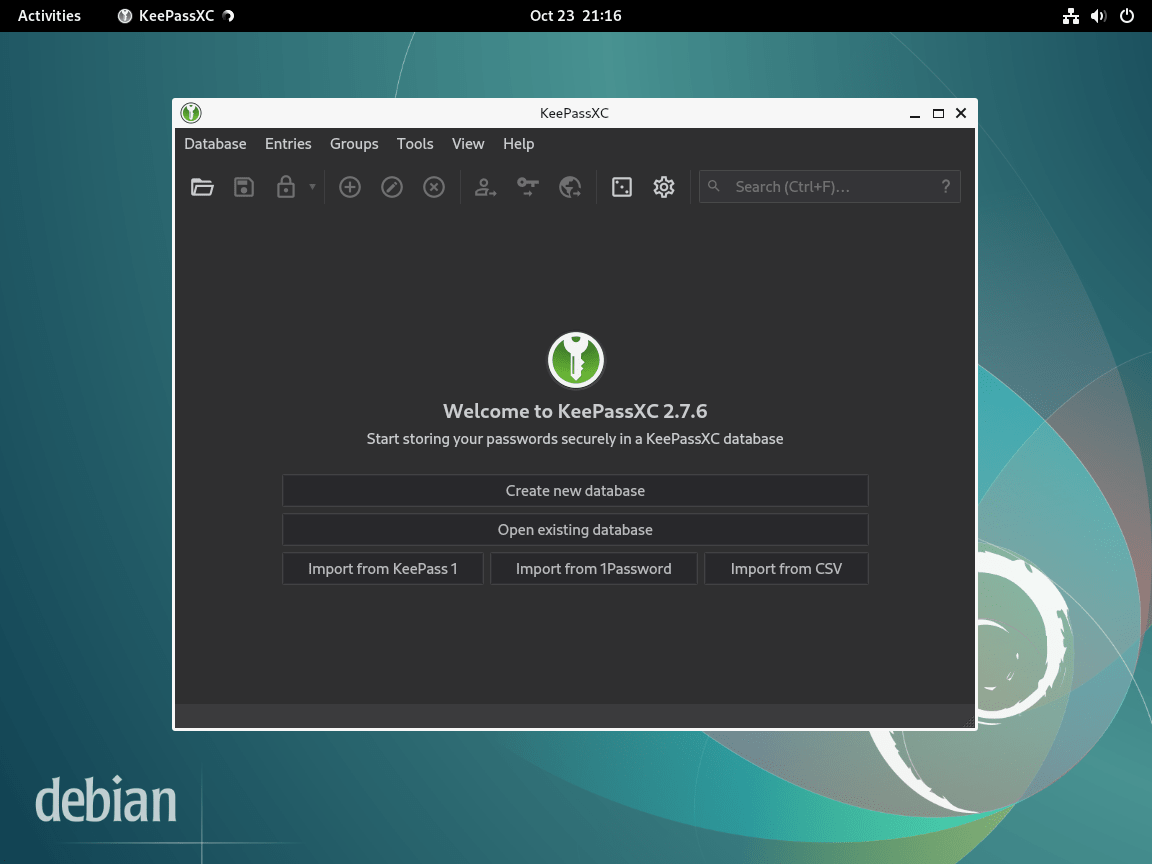
KeePassXC stores all your passwords, SSH keys, and TOTP tokens in an encrypted database that a single master password protects. Whether you need to manage dozens of login credentials, generate strong passwords, or integrate with browser extensions for autofill, KeePassXC provides a secure, offline solution that keeps your data under your control. Unlike cloud-based password managers, your sensitive data never leaves your device. By the end of this guide, you will have KeePassXC installed on Debian using your preferred method, verified and ready for password management.
Choose Your KeePassXC Installation Method
Debian offers multiple ways to install KeePassXC, and each method has distinct trade-offs. The comparison table below helps you choose the method that best fits your needs:
| Method | Channel | Version | Updates | Best For |
|---|---|---|---|---|
| Default APT | Debian Repos | Stable (distro-tested) | Automatic via apt upgrade | Most users who prefer stability and minimal configuration |
| NotesAlexp Repository | NotesAlexp | Latest stable | Automatic via apt upgrade | Users on Debian 11/12 who want newer releases |
| Flatpak | Flathub | Latest stable | Automatic via Flatpak updates | Users who prefer sandboxed apps with newer versions |
| Compile from Source | GitHub | Any version | Manual rebuild | Developers and users needing custom features |
We recommend the default APT method for most users because it provides automatic security updates and requires no additional configuration. Furthermore, Debian 13 (Trixie) includes a recent version in the default repositories, so the third-party repository offers little benefit on that release.
Update Your Debian System
Before installing any new software, update your package index and upgrade existing packages to ensure you have the latest security patches:
sudo apt update && sudo apt upgradeInstall KeePassXC via APT Methods
Option 1: Install from Default Debian Repository
The simplest installation method uses Debian’s default repositories. As a result, you get a stable, distro-tested version with automatic updates through your regular system maintenance. This approach requires no additional configuration and works immediately after installation.
To begin, install KeePassXC with a single command:
sudo apt install keepassxcOnce installation completes, verify that KeePassXC is accessible from your terminal:
keepassxc --versionYou should see output similar to:
KeePassXC 2.x.x
The version number varies depending on your Debian release. Specifically, Debian 13 (Trixie) includes version 2.7.10, while Debian 12 (Bookworm) provides 2.7.4, and Debian 11 (Bullseye) offers 2.6.2. Nevertheless, all versions are functional for standard password management.
Option 2: Install from NotesAlexp Third-Party Repository
Alexander Pozdnyakov maintains a third-party repository that provides newer KeePassXC versions for Debian. Consequently, this method is most beneficial for Debian 11 and 12 users who want access to recent features without waiting for the next Debian release. However, Debian 13 (Trixie) users should use the default APT method since the repository version is already current.
First, install the prerequisite packages that repository management requires:
sudo apt install curl gnupg lsb-release ca-certificates -yNext, download and install the repository GPG key. This key verifies that packages you download genuinely come from the NotesAlexp repository and haven’t been tampered with:
curl -fsSL https://notesalexp.org/debian/alexp_key.asc | sudo gpg --dearmor -o /usr/share/keyrings/alexp_key.gpgOnce you install the key, add the repository using the DEB822 .sources format. This format is more explicit and easier to maintain than legacy .list files:
cat <<EOF | sudo tee /etc/apt/sources.list.d/alexp.sources
Types: deb
URIs: https://notesalexp.org/debian/$(lsb_release -cs)/
Suites: $(lsb_release -cs)
Components: main
Architectures: $(dpkg --print-architecture)
Signed-By: /usr/share/keyrings/alexp_key.gpg
EOF
Then, update your package index to include the new repository:
sudo apt updateFinally, install KeePassXC. APT will now prefer the newer version from the NotesAlexp repository:
sudo apt install keepassxcOnce installation completes, verify the package source to confirm you received the version from the third-party repository:
apt-cache policy keepassxcYou should see output similar to the following (version numbers will vary):
keepassxc:
  Installed: 2.7.x-x
  Candidate: 2.7.x-x
  Version table:
 *** 2.7.x-x 500
        500 https://notesalexp.org/debian/[your-release] [your-release]/main amd64 Packages
Install KeePassXC via Flatpak
Flatpak provides a sandboxed installation that runs independently of your system libraries. As a result, you always have the latest version regardless of your Debian release, and the application runs in an isolated environment that limits its access to your system.
If you have not yet installed Flatpak on your system, follow our Flatpak installation guide for Debian to set up the Flatpak framework and add the Flathub repository. This typically takes under five minutes and enables access to thousands of applications.
After you configure Flatpak with Flathub, install KeePassXC with the following command:
flatpak install flathub org.keepassxc.KeePassXC -yOnce the installation finishes, verify KeePassXC appears in your Flatpak applications:
flatpak list | grep -i keepassYou should see output similar to:
KeePassXC org.keepassxc.KeePassXC 2.7.x stable flathub
Alternatively, launch the Flatpak version from the command line:
flatpak run org.keepassxc.KeePassXCCompile KeePassXC from Source
Building KeePassXC from source gives you complete control over which features to enable and also allows you to use the absolute latest development version. However, this method requires more effort and is primarily valuable for developers or users who need specific build configurations. If you only need a recent stable version, consider the Flatpak or NotesAlexp repository methods instead.
Install Build Dependencies
First, install the build toolchain and all required development libraries. If you don’t already have CMake or Git installed, this command adds them along with the compiler tools. These packages work across Debian 11, 12, and 13:
sudo apt install build-essential cmake g++ asciidoctor git -yNext, install the Qt framework and library dependencies that the graphical interface and security features require:
sudo apt install qtbase5-dev qtbase5-private-dev qttools5-dev qttools5-dev-tools \
  libqt5svg5-dev libargon2-dev libminizip-dev libbotan-2-dev libqrencode-dev \
  libkeyutils-dev zlib1g-dev libreadline-dev libpcsclite-dev libusb-1.0-0-dev \
  libxi-dev libxtst-dev libqt5x11extras5-dev -y
Clone and Build KeePassXC
Clone the KeePassXC repository from GitHub. After cloning, checkout the latest stable release tag. You can find the current version on the KeePassXC releases page:
git clone https://github.com/keepassxreboot/keepassxc.git
cd keepassxc
git tag -l | grep -E '^[0-9]+\.[0-9]+\.[0-9]+$' | sort -V | tail -1
git checkout $(git tag -l | grep -E '^[0-9]+\.[0-9]+\.[0-9]+$' | sort -V | tail -1)
The third command displays the latest stable version tag (for example,
2.7.11). The fourth command checks out that version. If you prefer a specific version, replace the command substitution with the exact tag:git checkout 2.7.11.
Next, create a build directory and configure the build with all features enabled:
mkdir build && cd build
cmake -DWITH_XC_ALL=ON -DCMAKE_BUILD_TYPE=Release ..
If successful, CMake will check for all dependencies and configure the build. You should see output similar to:
-- Configuring done
-- Generating done
-- Build files have been written to: /home/user/keepassxc/build
The
-DWITH_XC_ALL=ONflag enables all optional features including browser integration, SSH agent support, YubiKey authentication, and KeeShare synchronization. See the KeePassXC build documentation for individual feature flags if you want a minimal build.
With configuration complete, compile the source code. The -j$(nproc) flag uses all available CPU cores to speed up compilation, which typically takes 5-15 minutes depending on your hardware:
make -j$(nproc)Once compilation completes successfully, install KeePassXC to your system:
sudo make installFinally, verify the installation:
keepassxc --versionLaunch KeePassXC
Launch from Terminal
For APT and source-compiled installations, you can launch KeePassXC directly from the terminal:
keepassxcLaunch from Applications Menu
Alternatively, to launch KeePassXC from the graphical interface, open the applications menu:
Activities > Show All Applications > KeePassXC
Manage KeePassXC
Update KeePassXC
The update method depends on how you originally installed KeePassXC:
APT installations (default or NotesAlexp repository):
sudo apt update && sudo apt install --only-upgrade keepassxcFlatpak installation:
flatpak update org.keepassxc.KeePassXCSource-compiled installation: To update a source-compiled installation, fetch the latest tags from the repository and checkout the newest stable release:
cd ~/keepassxc
git fetch --tags
git checkout $(git tag -l | grep -E '^[0-9]+\.[0-9]+\.[0-9]+$' | sort -V | tail -1)
cd build
cmake -DWITH_XC_ALL=ON -DCMAKE_BUILD_TYPE=Release ..
make -j$(nproc)
sudo make install
Remove KeePassXC
If you no longer need KeePassXC, you can remove it using the method that matches your installation. Note that the removal process does not delete your password database files, which you must handle separately.
Remove APT installation:
sudo apt remove --purge keepassxc
sudo apt autoremove
Additionally, if you installed from the NotesAlexp repository and want to remove it as well, delete the repository configuration and GPG key:
sudo rm /etc/apt/sources.list.d/alexp.sources
sudo rm /usr/share/keyrings/alexp_key.gpg
sudo apt update
Remove Flatpak installation:
flatpak uninstall org.keepassxc.KeePassXCRemove source-compiled installation:
cd ~/keepassxc/build
sudo make uninstall
Warning: Removing KeePassXC does not delete your password database files. Your
.kdbxdatabase files remain in whatever location you saved them (commonly~/Documents/or~/.local/share/keepassxc/). Keep these files safe or delete them manually if you no longer need them.
Troubleshooting
Browser Integration Not Working
If the KeePassXC browser extension cannot connect to the application, the native messaging host may not have the correct configuration. First verify that you have installed and enabled the browser extension. Then check that native messaging is enabled in KeePassXC:
Tools > Settings > Browser Integration > Enable browser integration
For Flatpak installations, however, browser integration requires additional permissions. Refer to the KeePassXC browser integration documentation for Flatpak-specific configuration.
Database Created with Newer Version Cannot Open
KeePassXC databases are forward-compatible but may use features unavailable in older versions. Therefore, if you cannot open a database created on a newer system, update KeePassXC to the same version or newer using the methods described above.
YubiKey or Hardware Key Not Detected
For YubiKey or other hardware token support, first ensure your user account has access to USB devices. Add your user to the plugdev group if not already a member:
sudo usermod -aG plugdev $USERNext, log out and back in for the group change to take effect. Additionally, verify that you have pcscd and its libraries installed:
sudo apt install pcscd libpcsclite1Conclusion
You now have KeePassXC installed on Debian and ready to manage your passwords securely. As a result, the encrypted database keeps your credentials offline and under your control, whether you chose the stable APT method, the sandboxed Flatpak approach, or a custom source-compiled build. Additionally, consider enabling browser integration for convenient autofill functionality, and remember to back up your database file regularly.
Useful Links
For more information about KeePassXC, explore these official resources:
- KeePassXC Official Website: Download options, feature overview, and news about the project.
- KeePassXC Documentation: Getting started guides, configuration reference, and FAQ.
- KeePassXC GitHub Repository: Source code, issue tracker, and contribution guidelines.
- NotesAlexp Repository: Third-party Debian packages for KeePassXC and other software built for specific Debian releases.

Formatting tips for your comment
You can use basic HTML to format your comment. Useful tags currently allowed:
<code>command</code>command<strong>bold</strong><em>italic</em><a href="URL">link</a><blockquote>quote</blockquote>