
Kdenlive’s upstream Linux packages move faster than the Ubuntu base packages inside Linux Mint, so the install method you choose controls how quickly the editor receives new fixes. To install Kdenlive on Linux Mint, use the AppImage or Flatpak path when you want Kdenlive-team-supported Linux packages, or use APT when you prefer the lower-maintenance repository build.
Standard Linux Mint desktop installs already include Flatpak with Flathub enabled. The AppImage workflow adds a reusable updater because manual downloads otherwise leave readers without a clean maintenance path, while APT remains useful for systems that should stay entirely inside the Ubuntu base repositories.
Install Kdenlive on Linux Mint
Choose the Kdenlive Installation Method on Linux Mint
| Method | Source or Channel | Update Behavior | Best For | Trade-offs |
|---|---|---|---|---|
| AppImage | KDE download page, official Kdenlive Linux package | update-kdenlive-appimage | Most desktop users who want the newest stable upstream build without changing package sources | x86_64 package format with an article-owned helper for install, menu integration, and updates |
| Flatpak | Flathub, official Kdenlive Linux package | sudo flatpak update org.kde.kdenlive | Mint users who want Flathub-managed app and KDE runtime updates | Current Flathub metadata grants broad host and device access, so treat it as a packaging path rather than strict isolation |
| APT package | Ubuntu Universe through Linux Mint’s Ubuntu base | Linux Mint Update Manager or apt | Systems that prefer repository packages and do not need the newest upstream branch | Mint 22.x follows Ubuntu 24.04 packages, while Mint 21.x follows older Ubuntu 22.04 packages |
For most Linux Mint desktops, AppImage or Flatpak should be the first choice because Kdenlive’s Linux installation documentation names those as the official package formats maintained by Kdenlive. The Kdenlive 26.04.1 release also fixed a serious malicious-project-file issue, so verify that your chosen package source offers 26.04.1 or later before opening .kdenlive project files from outside your trusted workflow.
The old Kdenlive PPAs are not a current Mint install path. The Kdenlive Launchpad team page says those PPAs stopped receiving updates in May 2024, and Kdenlive’s own documentation says PPA packages are no longer supported.
Snapcraft also lists a Kdenlive snap under KDE’s verified publisher account, but Snap is not a normal Linux Mint method for this workflow because Mint blocks snapd by default and Kdenlive’s Linux documentation points users to AppImage and Flatpak. If you deliberately use Snap apps on Mint, set up Snap on Linux Mint first and keep its update and removal path separate from AppImage, Flatpak, and APT.
Update Linux Mint Package Metadata
Refresh APT metadata before installing repository packages or AppImage prerequisites:
sudo apt updateThese commands use
sudofor package management and system file changes. If your account does not have administrator access yet, follow the guide to create and add users to sudoers on Linux Mint before continuing.
Install Kdenlive with APT on Linux Mint
The APT method installs Kdenlive from the Ubuntu base repositories that Linux Mint uses. It is the simplest lifecycle path, but it follows the Ubuntu package branch for your Mint series instead of the newest upstream Kdenlive release.
sudo apt install kdenlive mediainfoThe mediainfo package is recommended by the Ubuntu package and helps Kdenlive inspect media files. Confirm the installed package source after APT finishes:
apt-cache policy kdenlive
dpkg-query -W -f='${binary:Package} ${db:Status-Abbrev}\n' kdenlive mediainfo
On current package metadata, Mint 22.x resolves Kdenlive through the Ubuntu 24.04 noble/universe package branch, while Mint 21.x resolves through the Ubuntu 22.04 jammy/universe branch. Use AppImage or Flatpak instead when the upstream security fix or current feature branch matters more than repository maintenance.
Install Kdenlive AppImage on Linux Mint
KDE publishes the stable x86_64 Kdenlive AppImage as an official Linux package. The helper resolves the latest stable AppImage from KDE’s download directory, verifies the matching SHA256 file, installs the file under /opt/kdenlive-appimage, creates a kdenlive-appimage launcher, extracts Kdenlive’s bundled icon, and refreshes the desktop entry during installs and no-op update checks.
Install AppImage Prerequisites on Mint 22.x
Linux Mint 22.x uses the Ubuntu 24.04 base, where the FUSE 2 compatibility library is packaged as libfuse2t64. Install it with the runtime libraries Kdenlive’s AppImage expects from the host system:
sudo apt install curl libopengl0 libxcb-cursor0 libfuse2t64Install AppImage Prerequisites on Mint 21.x
Linux Mint 21.x uses the Ubuntu 22.04 base, where the FUSE 2 compatibility library still uses the older libfuse2 package name:
sudo apt install curl libopengl0 libxcb-cursor0 libfuse2Create the Kdenlive AppImage Update Helper
Create a reusable update-kdenlive-appimage command. It checks KDE’s stable AppImage directory, compares the installed file with the newest available version, downloads the AppImage and SHA256 file to a temporary directory, verifies the checksum, and replaces the installed AppImage only after those checks pass.
sudo tee /usr/local/bin/update-kdenlive-appimage > /dev/null <<'SCRIPT_EOF'
#!/usr/bin/env bash
set -euo pipefail

if [ "$(id -u)" -eq 0 ]; then
  echo "Run this command as your regular user; it will ask for sudo when needed."
  exit 1
fi

if [ "$(uname -m)" != "x86_64" ]; then
  echo "The upstream Kdenlive AppImage method currently targets x86_64 systems."
  exit 1
fi

CHECK_ONLY=0
case "${1:-}" in
--check)
  CHECK_ONLY=1
  ;;
"") ;;
*)
  echo "Usage: update-kdenlive-appimage [--check]"
  exit 1
  ;;
esac

for cmd in curl dpkg-query find grep readlink sed sort mktemp install sha256sum; do
  if ! command -v "$cmd" >/dev/null 2>&1; then
    echo "Error: $cmd is required but not installed."
    echo "Install the AppImage prerequisites, then rerun this command."
    exit 1
  fi
done

BASE_URL="https://download.kde.org/stable/kdenlive"
TARGET_DIR="/opt/kdenlive-appimage"
CURRENT_LINK="$TARGET_DIR/kdenlive.AppImage"
ICON_NAME="kdenlive-appimage"
DESKTOP_ID="org.kde.kdenlive"
DESKTOP_FILE="/usr/share/applications/$DESKTOP_ID.desktop"
LEGACY_DESKTOP_FILE="/usr/share/applications/kdenlive-appimage.desktop"
ICON_THEME_DIR="/usr/share/icons/hicolor"

install_desktop_integration() {
  local appimage_path=$1
  local extract_dir icon_count icon_ext icon_file icon_target_dir rel_dir

  printf '%s\n' '#!/usr/bin/env bash' 'exec /opt/kdenlive-appimage/kdenlive.AppImage "$@"' | sudo tee /usr/local/bin/kdenlive-appimage >/dev/null
  sudo chmod 0755 /usr/local/bin/kdenlive-appimage

  if dpkg-query -S "$DESKTOP_FILE" >/dev/null 2>&1 && ! grep -q '^Exec=/usr/local/bin/kdenlive-appimage' "$DESKTOP_FILE" 2>/dev/null; then
    echo "A package-managed Kdenlive desktop entry already exists at $DESKTOP_FILE."
    echo "Remove the APT Kdenlive package or use only one Kdenlive installation method before installing the AppImage desktop launcher."
    exit 1
  fi

  extract_dir="$(mktemp -d)"
  if ! (cd "$extract_dir" && "$appimage_path" --appimage-extract usr/share/icons >/dev/null); then
    rm -rf "$extract_dir"
    echo "Could not extract the Kdenlive icon from the AppImage."
    exit 1
  fi

  icon_count=0
  while IFS= read -r icon_file; do
    rel_dir="${icon_file#"$extract_dir/squashfs-root/usr/share/icons/hicolor/"}"
    rel_dir="${rel_dir%/apps/*}"
    icon_ext="${icon_file##*.}"

    case "$rel_dir" in
    scalable | [0-9]*x[0-9]*) ;;
    *)
      continue
      ;;
    esac

    case "$icon_ext" in
    png | svg | svgz | xpm) ;;
    *)
      continue
      ;;
    esac

    icon_target_dir="$ICON_THEME_DIR/$rel_dir/apps"
    sudo install -d -m 0755 "$icon_target_dir"
    sudo install -m 0644 "$icon_file" "$icon_target_dir/$ICON_NAME.$icon_ext"
    icon_count=$((icon_count + 1))
  done < <(find "$extract_dir/squashfs-root/usr/share/icons/hicolor" -type f -path '*/apps/kdenlive.*' | sort -V)

  rm -rf "$extract_dir"

  if [ "$icon_count" -eq 0 ]; then
    echo "Could not find a Kdenlive application icon inside the AppImage."
    exit 1
  fi

  sudo install -d -m 0755 /usr/share/applications
  sudo tee "$DESKTOP_FILE" >/dev/null <<DESKTOP_EOF
[Desktop Entry]
Name=Kdenlive AppImage
Comment=Edit video with Kdenlive
Exec=/usr/local/bin/kdenlive-appimage %F
TryExec=/usr/local/bin/kdenlive-appimage
Icon=$ICON_NAME
Type=Application
Categories=Qt;KDE;AudioVideo;AudioVideoEditing;
MimeType=application/x-kdenlive;video/mp4;video/x-matroska;video/x-msvideo;video/quicktime;
StartupWMClass=kdenlive
StartupNotify=true
DESKTOP_EOF
  sudo rm -f "$LEGACY_DESKTOP_FILE" /usr/local/share/applications/kdenlive-appimage.desktop
  sudo update-desktop-database /usr/share/applications >/dev/null 2>&1 || true
  sudo update-desktop-database /usr/local/share/applications >/dev/null 2>&1 || true
  if command -v gtk-update-icon-cache >/dev/null 2>&1; then
    sudo gtk-update-icon-cache -q "$ICON_THEME_DIR" >/dev/null 2>&1 || true
  fi
}

printf '%s\n' "Checking KDE stable AppImage directory..."
SERIES="$(curl -fsSL "$BASE_URL/" | grep -oE 'href="[0-9]+\.[0-9]+/"' | sed -E 's#href="([0-9]+\.[0-9]+)/"#\1#' | sort -V | tail -n 1)"
if [ -z "$SERIES" ]; then
  echo "Could not detect the latest Kdenlive stable series."
  exit 1
fi

APPIMAGE_NAME="$(curl -fsSL "$BASE_URL/$SERIES/linux/" | grep -oE 'kdenlive-[0-9]+\.[0-9]+(\.[0-9]+)?-x86_64\.AppImage' | sort -V | tail -n 1)"
if [ -z "$APPIMAGE_NAME" ]; then
  echo "Could not find a matching x86_64 Kdenlive AppImage."
  exit 1
fi

APPIMAGE_URL="$BASE_URL/$SERIES/linux/$APPIMAGE_NAME"
VERSION="$(printf '%s\n' "$APPIMAGE_NAME" | sed -E 's/^kdenlive-([0-9]+\.[0-9]+(\.[0-9]+)?)-x86_64\.AppImage$/\1/')"
TARGET_FILE="$TARGET_DIR/$APPIMAGE_NAME"

CURRENT_VERSION="none"
if [ -e "$CURRENT_LINK" ] || [ -L "$CURRENT_LINK" ]; then
  CURRENT_TARGET="$(readlink -f "$CURRENT_LINK" 2>/dev/null || true)"
  CURRENT_BASE="${CURRENT_TARGET##*/}"
  CURRENT_VERSION="$(printf '%s\n' "$CURRENT_BASE" | sed -nE 's/^kdenlive-([0-9]+\.[0-9]+(\.[0-9]+)?)-x86_64\.AppImage$/\1/p')"
  CURRENT_VERSION="${CURRENT_VERSION:-installed}"
fi

printf 'Current version: %s\n' "$CURRENT_VERSION"
printf 'Latest version:  %s\n' "$VERSION"

if [ "$CHECK_ONLY" -eq 1 ]; then
  printf 'Latest AppImage URL: %s\n' "$APPIMAGE_URL"
  printf 'Checksum file:      %s.sha256\n' "$APPIMAGE_URL"
  curl -fsSL "$APPIMAGE_URL.sha256" | sed -n '1p'
  printf '\n'
  echo "Check-only mode; no files changed."
  exit 0
fi

if [ "$CURRENT_VERSION" = "$VERSION" ] && [ -x "$CURRENT_LINK" ]; then
  install_desktop_integration "$CURRENT_LINK"
  echo "Already up to date. Desktop entry and icon refreshed."
  exit 0
fi

TMP_DIR="$(mktemp -d)"
trap 'rm -rf "$TMP_DIR"' EXIT

printf 'Downloading %s\n' "$APPIMAGE_URL"
curl -fL --progress-bar -o "$TMP_DIR/$APPIMAGE_NAME" "$APPIMAGE_URL"
curl -fsSL -o "$TMP_DIR/$APPIMAGE_NAME.sha256" "$APPIMAGE_URL.sha256"
test -s "$TMP_DIR/$APPIMAGE_NAME"
(cd "$TMP_DIR" && sha256sum -c "$APPIMAGE_NAME.sha256")

sudo install -d -m 0755 "$TARGET_DIR"
sudo install -m 0755 "$TMP_DIR/$APPIMAGE_NAME" "$TARGET_FILE"
sudo ln -sfn "$TARGET_FILE" "$CURRENT_LINK"
install_desktop_integration "$TARGET_FILE"

echo "Installed Kdenlive AppImage $VERSION."
echo "Launch command: kdenlive-appimage"
SCRIPT_EOF
Make the helper executable and confirm the shell can find it:
sudo chmod 0755 /usr/local/bin/update-kdenlive-appimage
command -v update-kdenlive-appimage
/usr/local/bin/update-kdenlive-appimage
Check the current upstream AppImage and checksum URL before installing anything:
update-kdenlive-appimage --checkDownload or Update the Kdenlive AppImage
Use the same helper for the first AppImage install and later AppImage updates:
update-kdenlive-appimageThe helper prints the current installed version, the latest version found on KDE’s stable download server, and either installs the newer AppImage or stops with Already up to date. when no replacement is needed. The no-op path still refreshes the wrapper, desktop entry, and menu icon.
Install Kdenlive with Flatpak on Linux Mint
Linux Mint desktop installs normally include Flatpak and a system-scope Flathub remote. Confirm the remote first so the install, update, and removal commands all use the same scope:
flatpak remotes --columns=name,optionsIf a customized Mint system does not show flathub, restore the system remote before installing Kdenlive:
sudo flatpak remote-add --if-not-exists flathub https://dl.flathub.org/repo/flathub.flatpakrepoInstall the Kdenlive Flatpak from Flathub. The -y flag accepts Flatpak’s app and runtime confirmation prompt:
sudo flatpak install -y flathub org.kde.kdenliveVerify the installed app ID, branch, source, and version:
flatpak info org.kde.kdenlive | grep -E '^[[:space:]]*(ID|Ref|Arch|Branch|Version|Origin|Installation|Runtime):'Flathub currently marks Kdenlive as potentially unsafe because the editor needs broad filesystem and device permissions for media work. That does not make the package unusable, but it means the Flatpak method should be treated as a convenient update and packaging path rather than a strong isolation boundary.
Check Kdenlive Source Build Support on Linux Mint
The current KDE build documentation is a developer workflow, not a practical Linux Mint install method. It lists Ubuntu 26.04 derivatives or later as the supported Ubuntu-family baseline and requires Qt 6.10, KDE Frameworks 6.21, and MLT 7.38 or newer. Mint 22.x and 21.x use older Ubuntu bases, so normal desktop installs should use AppImage, Flatpak, or APT instead of trying to compile the current source tree.
Use the KDE Kdenlive build documentation only when you need a development build, debugging symbols, patches, or a controlled build environment where you can manage the KDE and MLT dependency stack yourself.
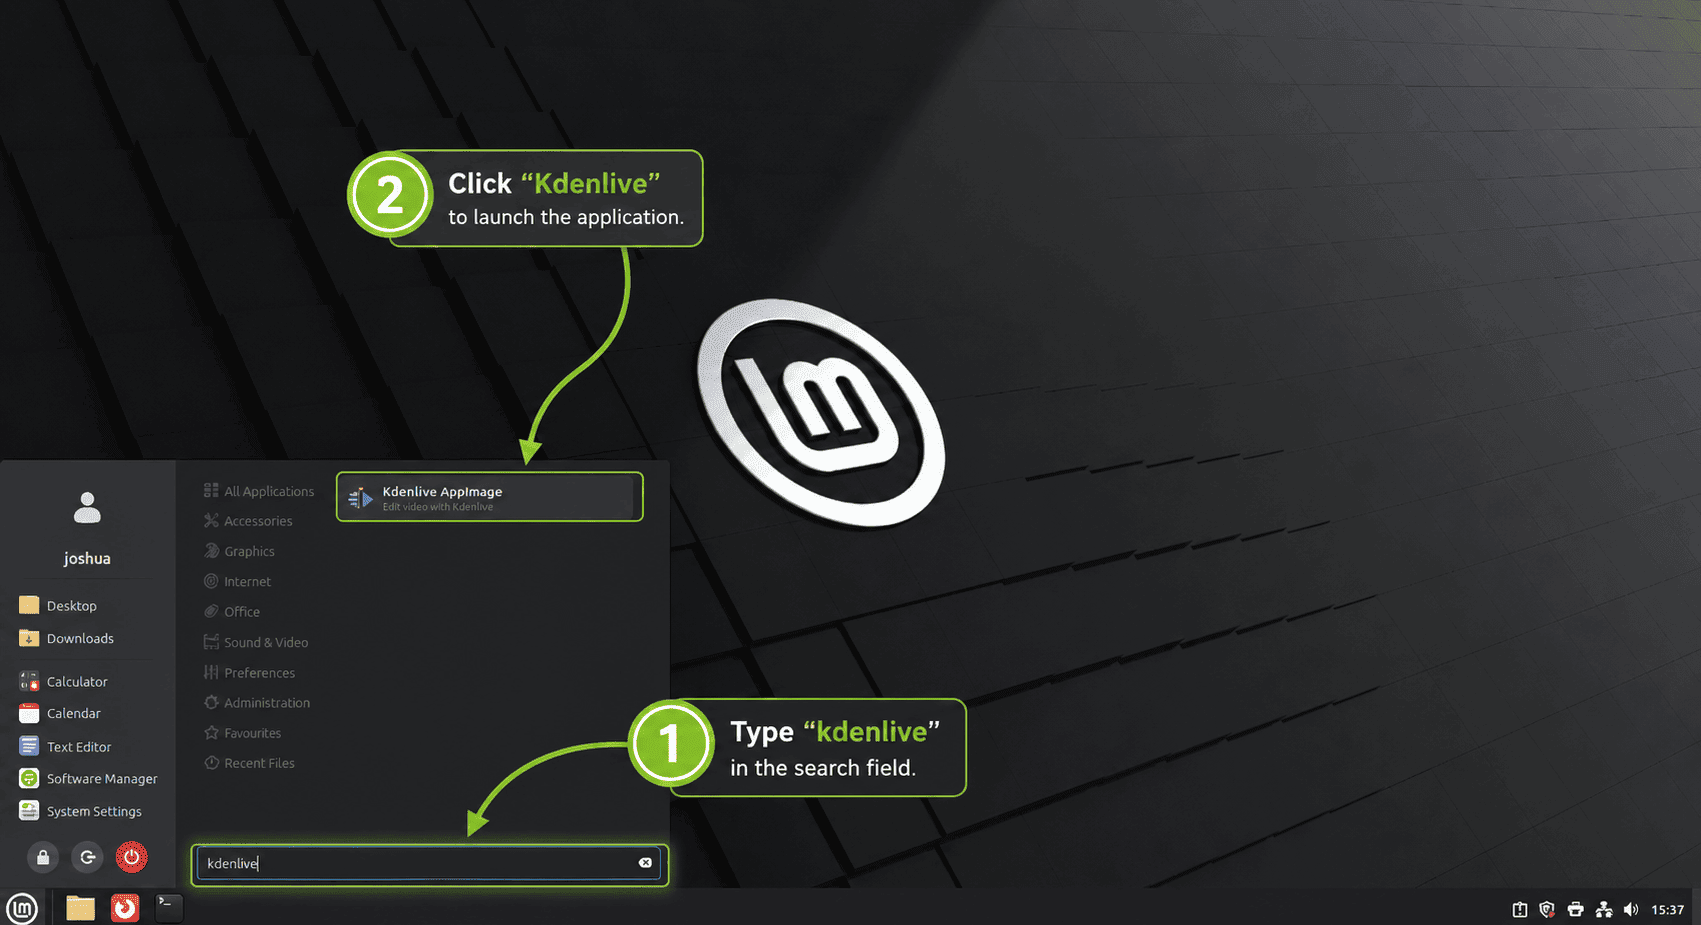
Launch Kdenlive on Linux Mint
Kdenlive needs a graphical desktop session. The terminal command and menu label depend on the package source you installed:
| Install Method | Terminal Launch Command | Desktop Menu Entry |
|---|---|---|
| APT package | kdenlive | Kdenlive |
| AppImage helper | kdenlive-appimage | Kdenlive AppImage |
| Flatpak | flatpak run org.kde.kdenlive | Kdenlive |
From Cinnamon, open the Linux Mint menu, search for Kdenlive, and start the launcher from the Sound & Video category. Xfce and MATE use the same general application category, although the menu layout can vary with themes and panel settings.
Get Started with Kdenlive on Linux Mint
Create a Kdenlive Project
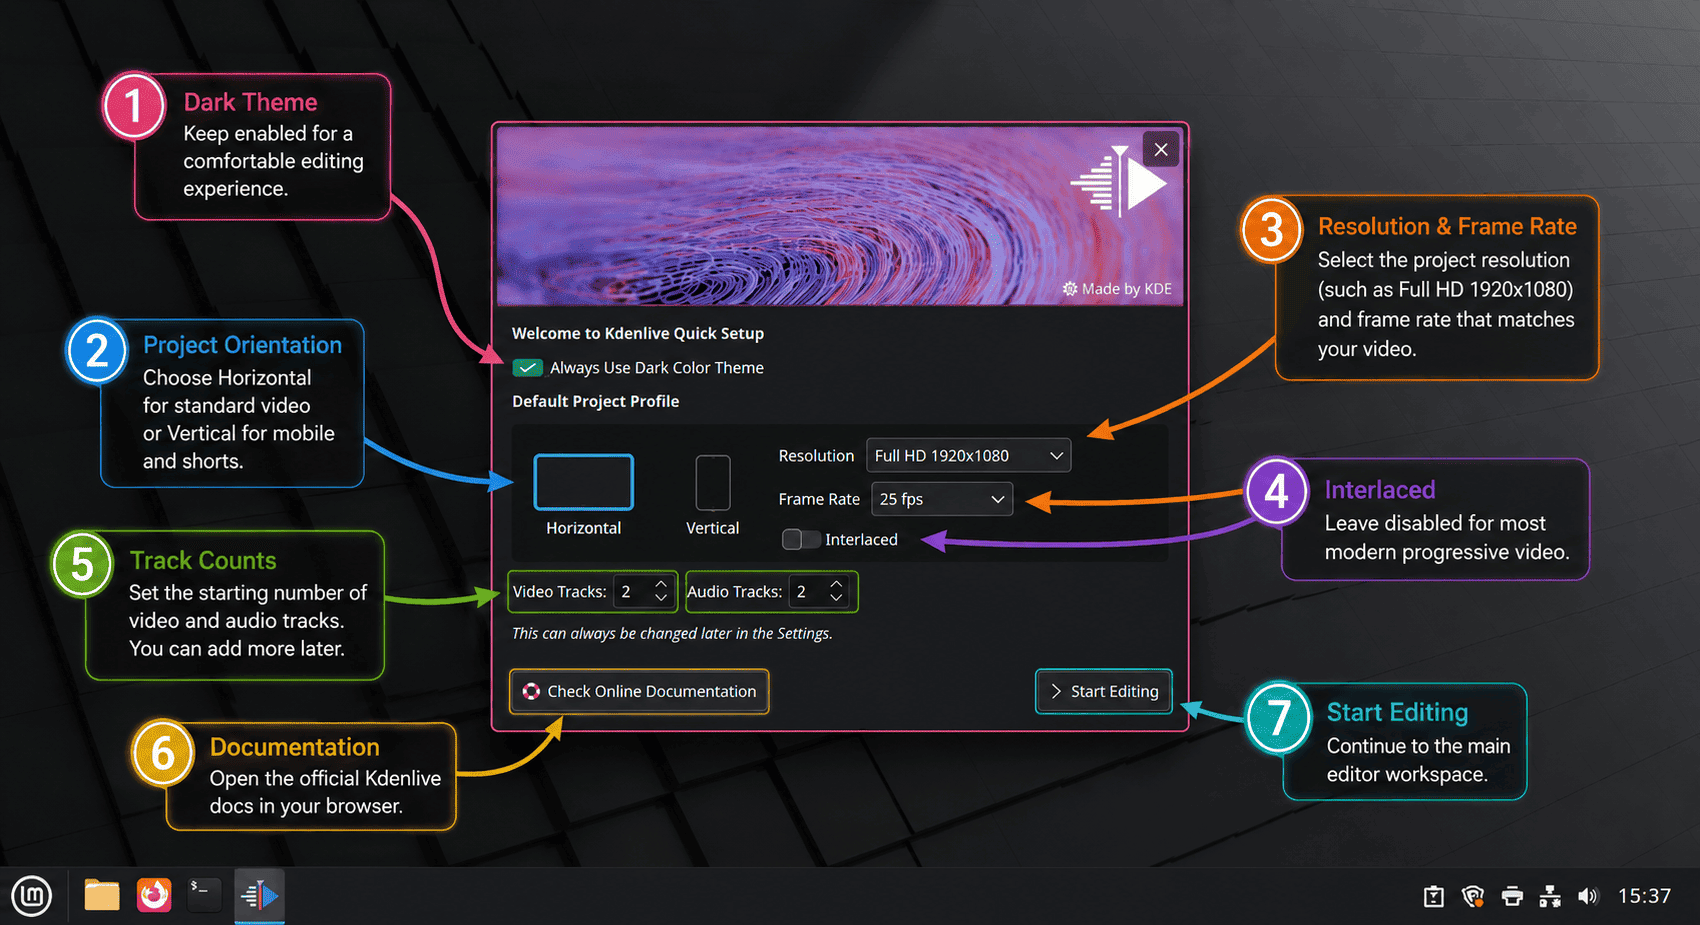
Start with a project profile that matches your footage, such as 1080p at 30 FPS or 4K at 60 FPS. Matching the profile early keeps timeline previews and final renders closer to the source material.
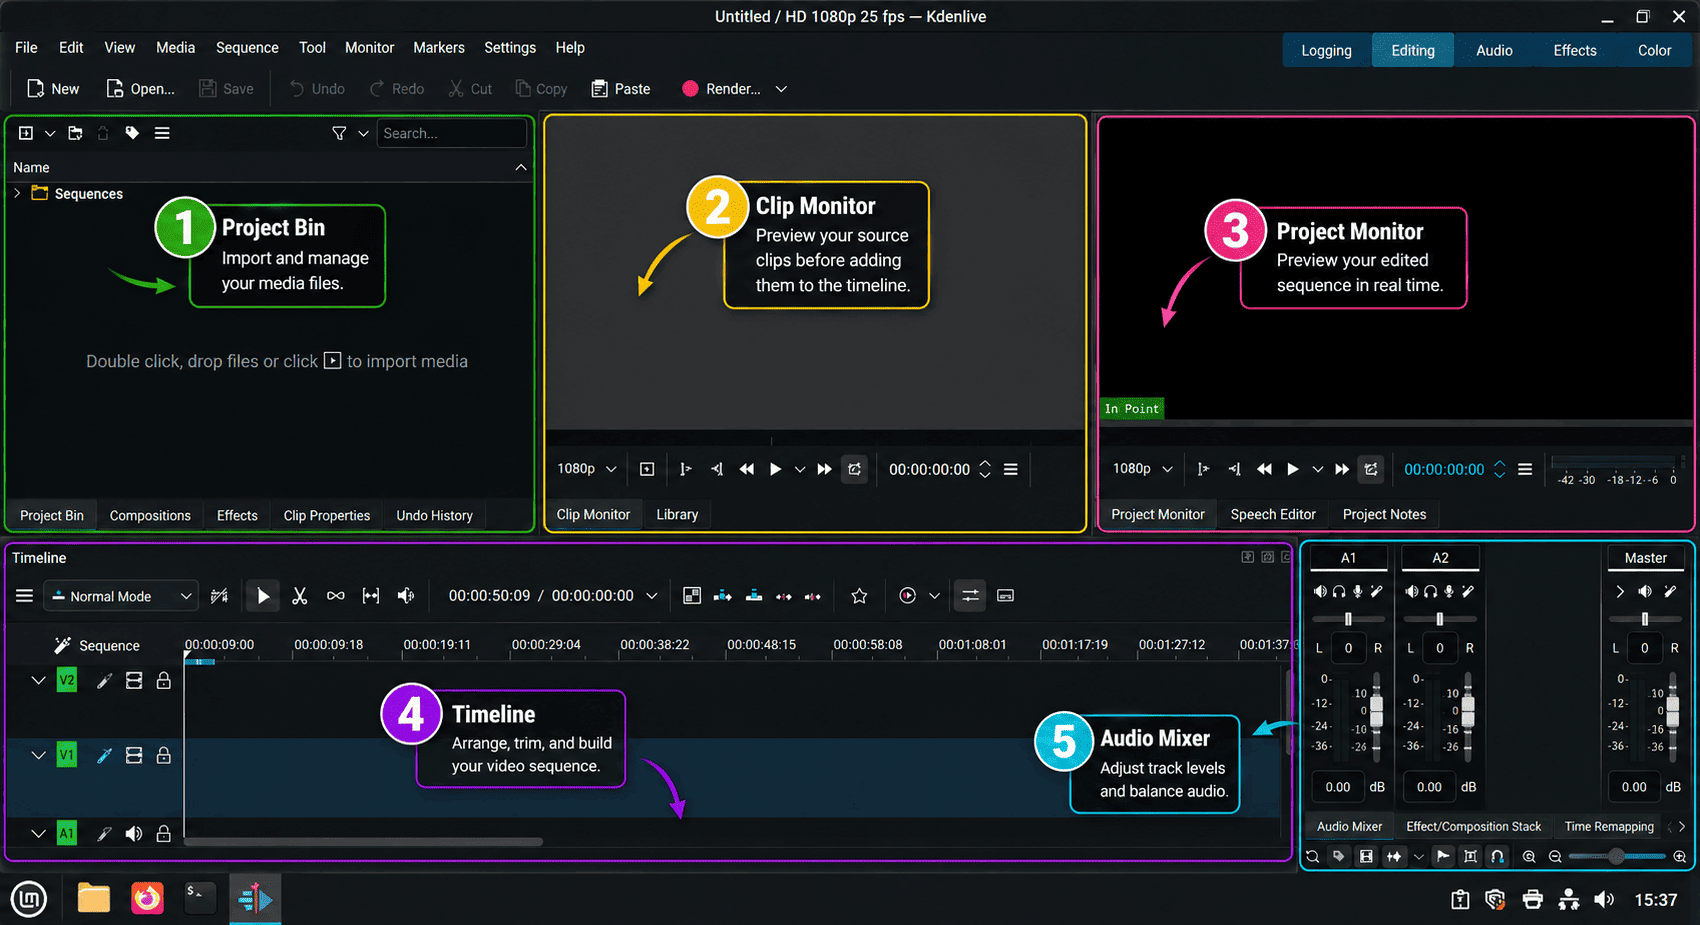
Import Media into Kdenlive
- Open the Project Bin panel.
- Select Add Clip or Folder.
- Choose your video, audio, or image files.
- Drag imported clips from the Project Bin to the timeline.
Use Proxy Clips for Large Projects
Proxy clips help when high-resolution footage stutters during editing. Open the project settings, enable proxy clips, and let Kdenlive generate lighter preview files while keeping the original media for the final render.
Render a Kdenlive Project
- Select Render from the toolbar.
- Choose the output format and preset for your target platform.
- Set the output filename and destination folder.
- Select Render to File and wait for the job to finish.
Update or Remove Kdenlive on Linux Mint
Keep updates and cleanup tied to the same package format you used for installation. Mixing package managers can leave duplicate desktop entries and make it harder to know which Kdenlive build opens from the menu.
Update Kdenlive on Linux Mint
| Install Method | Update Command | Notes |
|---|---|---|
| APT package | sudo apt update && sudo apt install --only-upgrade kdenlive mediainfo | Refreshes metadata and upgrades only the APT packages named in the command when updates are available. |
| AppImage helper | update-kdenlive-appimage | Checks KDE’s stable AppImage directory, verifies the SHA256 file, and replaces the AppImage when a newer stable file exists. |
| Flatpak | sudo flatpak update org.kde.kdenlive | Updates the Kdenlive Flatpak and any required runtime changes from Flathub. |
For broader Flatpak maintenance on Mint, including app/runtime updates versus the distro flatpak package itself, see the guide to upgrade Flatpak on Linux Mint.
Remove APT Kdenlive on Linux Mint
Remove the repository package with APT. If mediainfo was already installed for another workflow before you installed Kdenlive, leave it out of the removal command.
sudo apt remove kdenlive mediainfoReview any packages APT marks as no longer required before removing them:
sudo apt autoremoveRemove Kdenlive AppImage on Linux Mint
This cleanup deletes only the AppImage directory, launcher, desktop entry, and icon files created by the helper. Back up custom launchers first if you edited those files manually.
sudo rm -rf /opt/kdenlive-appimage
sudo rm -f /usr/local/bin/kdenlive-appimage /usr/local/bin/update-kdenlive-appimage
if grep -q '^Exec=/usr/local/bin/kdenlive-appimage' /usr/share/applications/org.kde.kdenlive.desktop 2>/dev/null; then
  sudo rm -f /usr/share/applications/org.kde.kdenlive.desktop
fi
sudo rm -f /usr/share/applications/kdenlive-appimage.desktop /usr/local/share/applications/kdenlive-appimage.desktop
sudo rm -f /usr/share/icons/hicolor/{16x16,22x22,32x32,48x48,64x64,128x128,256x256,512x512,scalable}/apps/kdenlive-appimage.*
sudo update-desktop-database /usr/share/applications >/dev/null 2>&1 || true
sudo update-desktop-database /usr/local/share/applications >/dev/null 2>&1 || true
if command -v gtk-update-icon-cache >/dev/null 2>&1; then
  sudo gtk-update-icon-cache -q /usr/share/icons/hicolor >/dev/null 2>&1 || true
fi
hash -r
command -v kdenlive-appimage || echo "kdenlive-appimage removed"
Remove Flatpak Kdenlive on Linux Mint
Remove the system-scope Flatpak and request Flatpak data cleanup:
sudo flatpak uninstall --delete-data org.kde.kdenlive
flatpak list --system --app --columns=application | grep -Fx org.kde.kdenlive || echo "NOT_INSTALLED"
If you launched the Flatpak before removal, check whether user data still exists for your account:
find "$HOME" -maxdepth 3 -path "$HOME/.var/app/org.kde.kdenlive" -printThis cleanup permanently deletes Kdenlive’s Flatpak settings, cache, and sandboxed user data for the current account. Back up any data you still need before running it.
rm -rf "$HOME/.var/app/org.kde.kdenlive"Troubleshoot Kdenlive on Linux Mint
Fix Kdenlive AppImage Launch or Menu Icon Issues
If the AppImage downloads but does not start, or the Mint menu shows a generic icon, check the installed AppImage, wrapper, desktop entry, and icon export before reinstalling everything:
ls -l /opt/kdenlive-appimage/kdenlive.AppImage
command -v kdenlive-appimage
grep -E '^(Name|Exec|Icon|StartupWMClass)=' /usr/share/applications/org.kde.kdenlive.desktop
find /usr/share/icons/hicolor -path '*/apps/kdenlive-appimage.*' -print | head -n 5
Recheck the host libraries if the AppImage still fails before the interface appears:
. /etc/os-release
case "$VERSION_ID" in
  22.*)
    dpkg-query -W -f='${binary:Package} ${db:Status-Abbrev}\n' libopengl0 libxcb-cursor0 libfuse2t64
    ;;
  21.*)
    dpkg-query -W -f='${binary:Package} ${db:Status-Abbrev}\n' libopengl0 libxcb-cursor0 libfuse2
    ;;
esac
Reinstall the Mint 22.x or Mint 21.x prerequisite set from the AppImage section if any package is missing. On non-x86_64 systems, use Flatpak instead because KDE’s stable Linux AppImage currently targets x86_64.
Restore a Missing Flathub Remote
Standard Mint desktops include Flathub, but a customized system can remove or disable the remote. Check disabled remotes as well as enabled ones:
flatpak remotes --show-disabled --columns=name,optionsRestore Flathub if no matching remote appears:
sudo flatpak remote-add --if-not-exists flathub https://dl.flathub.org/repo/flathub.flatpakrepo
sudo flatpak install -y flathub org.kde.kdenlive
Avoid Mixed Kdenlive Install Methods
APT, AppImage, and Flatpak can coexist, but the Mint menu may show similar Kdenlive entries. If you are switching methods, remove the previous package source first, then install the new one so the launcher and update path stay clear.
command -v kdenlive || echo "APT launcher not found"
command -v kdenlive-appimage || echo "AppImage launcher not found"
flatpak list --system --app --columns=application | grep -Fx org.kde.kdenlive || echo "Flatpak app not found"
Check the Kdenlive Version Before Opening Shared Projects
The 26.04.1 security fix matters most when you open .kdenlive files received from another person or downloaded from the internet. Use the version check that matches your install method:
update-kdenlive-appimage --check
flatpak info org.kde.kdenlive | sed -n 's/^[[:space:]]*Version: //p'
apt-cache policy kdenlive
If your installed package source is older than 26.04.1 and you need to open untrusted project files, switch to the current AppImage or Flatpak build before opening those files.
Conclusion
Kdenlive is installed on Linux Mint with an update path that matches your package source. AppImage and Flatpak track the supported upstream Linux packages most closely, while APT keeps maintenance inside the Ubuntu base repositories. If preview playback still struggles after installation, GeForce users can install NVIDIA drivers on Linux Mint, while AMD and Intel users can upgrade Mesa drivers on Linux Mint.

Formatting tips for your comment
You can use basic HTML to format your comment. Useful tags currently allowed in published comments:
<code>command</code>command<strong>bold</strong><em>italic</em><blockquote>quote</blockquote>