

This guide will demonstrate how to install Joplin on Manjaro Linux using the command-line terminal, utilizing the yay AUR helper for the initial installation and future updates.
Joplin, a versatile note-taking application, stands out for its compatibility with server environments and a range of robust features catering to users, administrators, and developers. At its core, Joplin is designed for efficiency and organization, offering a suite of tools to streamline note management in complex settings. Here are some key features that make Joplin an indispensable tool:
- Cross-Platform Compatibility: Joplin runs seamlessly on multiple operating systems, including Linux, ensuring a consistent experience across devices.
- Markdown Support: With comprehensive Markdown support, users can format notes efficiently, enhancing readability and organization.
- Web Clipper Extension: This feature allows quick saving of web pages and screenshots directly into Joplin, streamlining information collection.
- End-to-End Encryption: Ensuring data security, Joplin offers end-to-end encryption for notes, safeguarding sensitive information.
- Synchronization Options: It supports various cloud services for synchronization, making data accessible across multiple devices.
- Extensive Plugin System: The application’s functionality can be extended through a range of plugins, catering to specific user needs.
- Note History: A robust note history feature allows users to view and revert to previous versions of their notes.
Transitioning from understanding Joplin’s feature set to the practical aspect of installing it on Manjaro Linux, we find that the process is straightforward yet requires a bit of technical know-how. The following sections will guide you through each step, ensuring you can leverage Joplin’s full potential in your server environment or personal workspace.
Install Joplin on Manjaro Linux via yay AUR Helper
Update Manjaro Before Installing Joplin
Update your Manjaro Linux system to ensure it’s secure and stable. Run the command below:
sudo pacman -SyuThis updates the system with the latest software, essential for installing Joplin effectively.
Install yay AUR Helper (Skip if Already Installed)
To install Joplin, you need the ‘yay’ AUR helper. First, check if GIT is installed, as it’s necessary for cloning the ‘yay’ repository. Install GIT and necessary development tools with:
sudo pacman -S --needed --noconfirm base-devel gitThis command streamlines the installation of required packages.
Clone yay Repository
Next, clone the ‘yay’ repository to your system with:
git clone https://aur.archlinux.org/yay-git.gitCloning is a prerequisite for building and installing ‘yay’.
Relocate yay Archive
Move the cloned ‘yay’ repository to the /opt/ directory for better organization:
sudo mv yay-git /opt/This aligns with the Linux filesystem hierarchy, ensuring an organized system structure.
Set Proper User Permissions for yay-git
To avoid permission issues during the build process, change the ownership of the ‘yay-git’ directory:
sudo chown -R $USER:$USER /opt/yay-git
cd /opt/yay-git
These commands ensure you perform actions in the ‘yay-git’ directory as the current user, enhancing security.
Build yay Package
Now, compile the ‘yay’ package from source:
makepkg -siThis process may take some time, depending on your system’s capabilities.
Install Joplin with yay Command
Finally, install Joplin using ‘yay’:
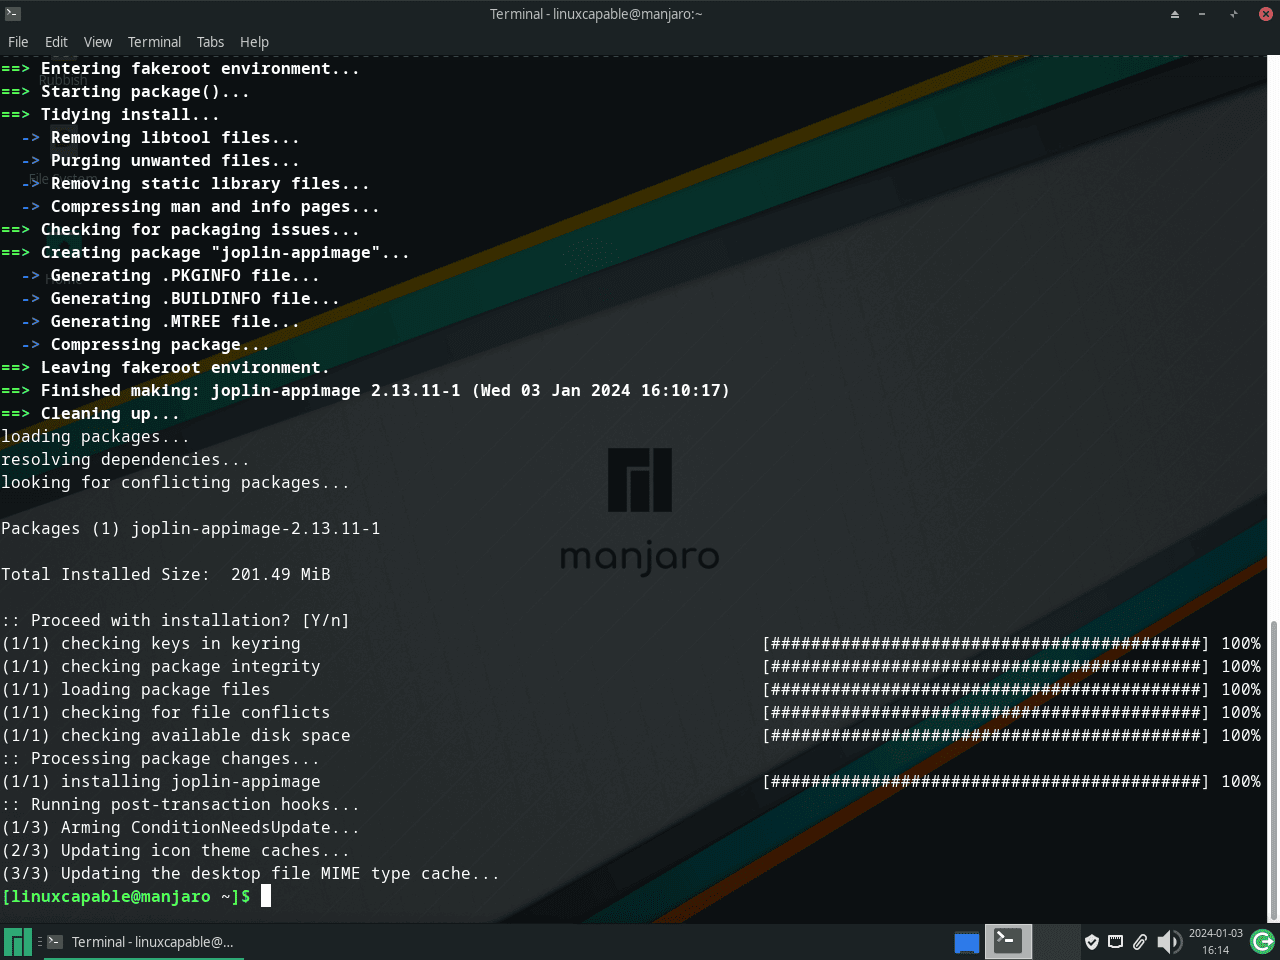
yay -S joplin-appimage --noconfirmUsing --noconfirm automates the process. Omit this flag for manual confirmation.
Note: Joplin’s AppImage version on the AUR offers quicker updates and is generally better maintained compared to other versions, making it a preferable choice for most use cases.
Starting Joplin on Manjaro Linux
Open Joplin via Command Line
After installing Joplin on your Manjaro Linux system, you can start it using the command line. This method is particularly efficient for users familiar with terminal operations.
Execute the following command to open Joplin:
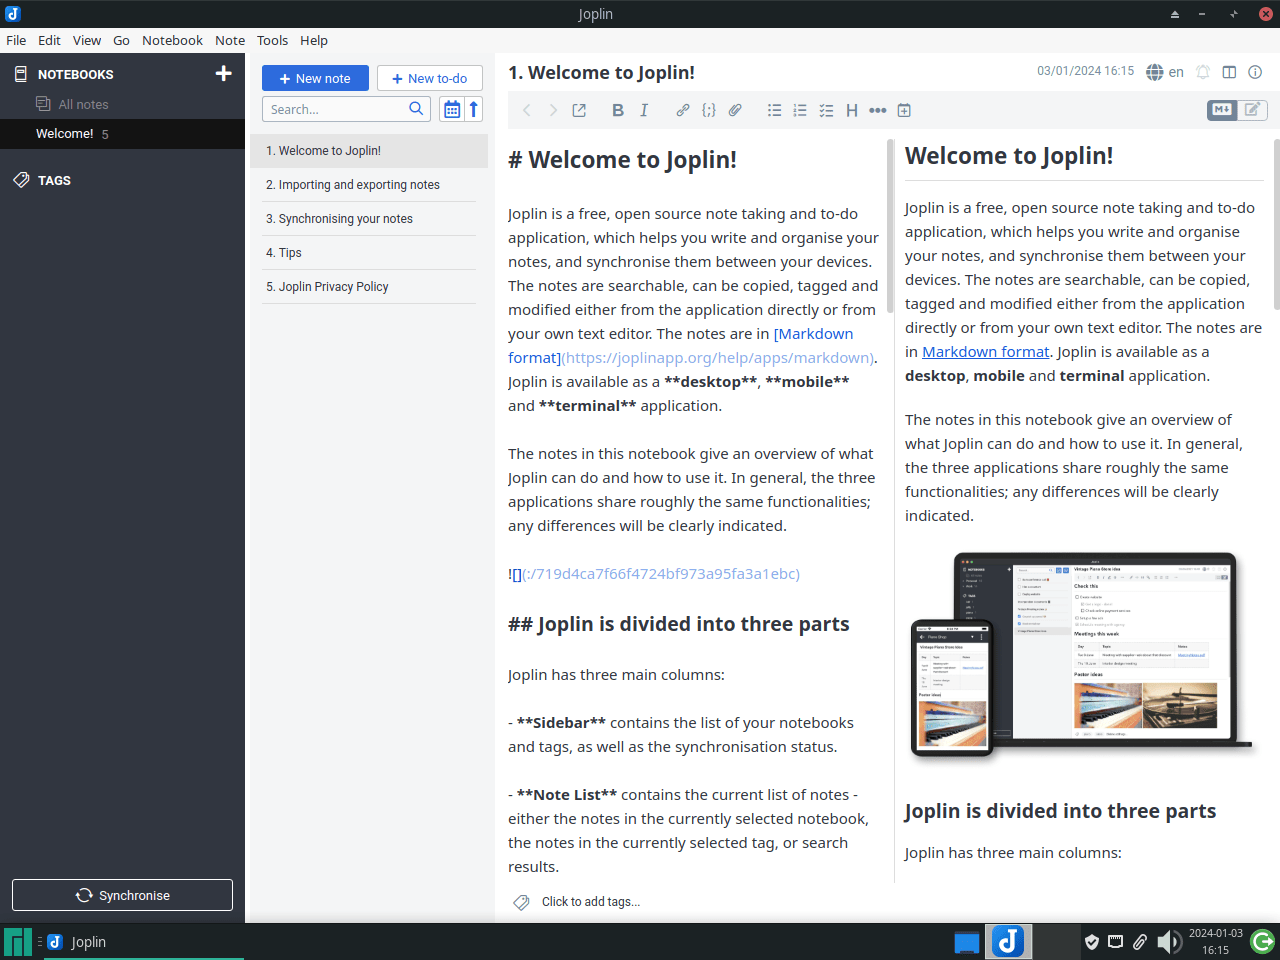
joplinLaunch Joplin from the Desktop Environment
For users who favor a graphical interface, Joplin is accessible through the desktop environment’s application menu. The steps to access Joplin vary slightly depending on your desktop environment:
- For KDE and Xfce Users: Go to Taskbar > Office > Joplin. Joplin is generally categorized under ‘Office’ due to its note-taking and organizational capabilities.
- For GNOME Users: Click on Activities and then select Show Applications. Scroll through or search for Joplin. GNOME organizes applications alphabetically, making it easier to locate Joplin among your installed applications.
First-Time Tips with Joplin Note-Taking Application on Manjaro Linux
Now that you have successfully installed Joplin on Manjaro Linux, here are some first-time tips on getting started with the software:
General Tips for Joplin on Manjaro Linux
- Note Organization: Familiarize yourself with Joplin’s notebook and tagging system. Efficiently categorize your notes and to-do lists for easy retrieval.
- Markdown Formatting: Joplin supports Markdown, a simple syntax for formatting text. Learn basic Markdown commands to enhance the look and feel of your notes.
- Synchronization Settings: Set up cloud synchronization (like Dropbox or OneDrive) for accessing your notes across different devices. Remember, Joplin stores data locally unless synced.
- Attachment Management: Joplin allows attaching files to notes. Use this feature for adding images, PDFs, or other relevant files to your notes.
Customization in Joplin
- Theme Selection: Personalize your Joplin experience by selecting a theme that suits your preference. Access this option under
Tools > Options > Appearance. - Custom Editor Options: Customize the editor settings (like font size and editor layout) for a comfortable writing experience. Navigate to
Tools > Options > Editor. - Shortcut Keys Customization: Tailor Joplin’s keyboard shortcuts to fit your workflow. Modify them in
Tools > Options > Keyboard Shortcuts.
Keyboard Shortcuts
Maximize your efficiency with Joplin using these keyboard shortcuts:
- Create a New Note:
Ctrl + Nfor quick note creation. - Open a New To-Do:
Ctrl + Tto swiftly add a new to-do item. - Search Notes:
Ctrl + Ffor fast searching within notes. - Synchronize Notes:
Ctrl + Sto manually sync your notes with the cloud service.
Other Useful Tips
- Web Clipper Extension: Install Joplin’s Web Clipper browser extension for saving web pages and screenshots directly into Joplin.
- Note Versioning: Utilize Joplin’s note history feature to view and revert to previous versions of your notes.
- Plugins for Extended Functionality: Explore Joplin’s plugin library to add additional features like calendar views or advanced markdown editors.
By integrating these tips into your daily use, you’ll enhance your productivity and make the most out of Joplin on your Manjaro Linux system.
Managing Joplin on Manjaro Linux
Update Joplin on Manjaro
Regularly updating Joplin ensures enhanced performance and security. Update Joplin along with other system packages using the command line. This approach ensures all installed packages, including Joplin, stay up to date.
Run the following command:
yay -Syu --devel --timeupdateThe --devel flag checks for updates in development packages, and --timeupdate synchronizes your system’s time before updating, enhancing the update process’s accuracy.
Remove Joplin from Manjaro
To remove Joplin from your Manjaro system, use the command below. This action permanently deletes Joplin and its associated data, so ensure you want to proceed before executing the command:
yay -Rns joplin-appimage --noconfirmThe --noconfirm flag bypasses confirmation prompts, streamlining the uninstallation process.
Clean Up Unused Dependencies
After uninstalling Joplin, it’s good practice to remove residual files and unused dependencies. This step keeps your system clean and efficient. Execute the cleanup with:
yay -YcThis command finds and removes orphaned packages initially required by Joplin. Regular cleanups like this prevent system clutter and maintain peak performance.
Conclusion
In this guide, we’ve walked through the essentials of setting up, managing, and making the most of Joplin on Manjaro Linux. From initial installation to customizing for your personal workflow, we’ve covered the key steps to ensure a smooth experience. Remember, regular updates and cleanups are vital to keep Joplin running optimally.