
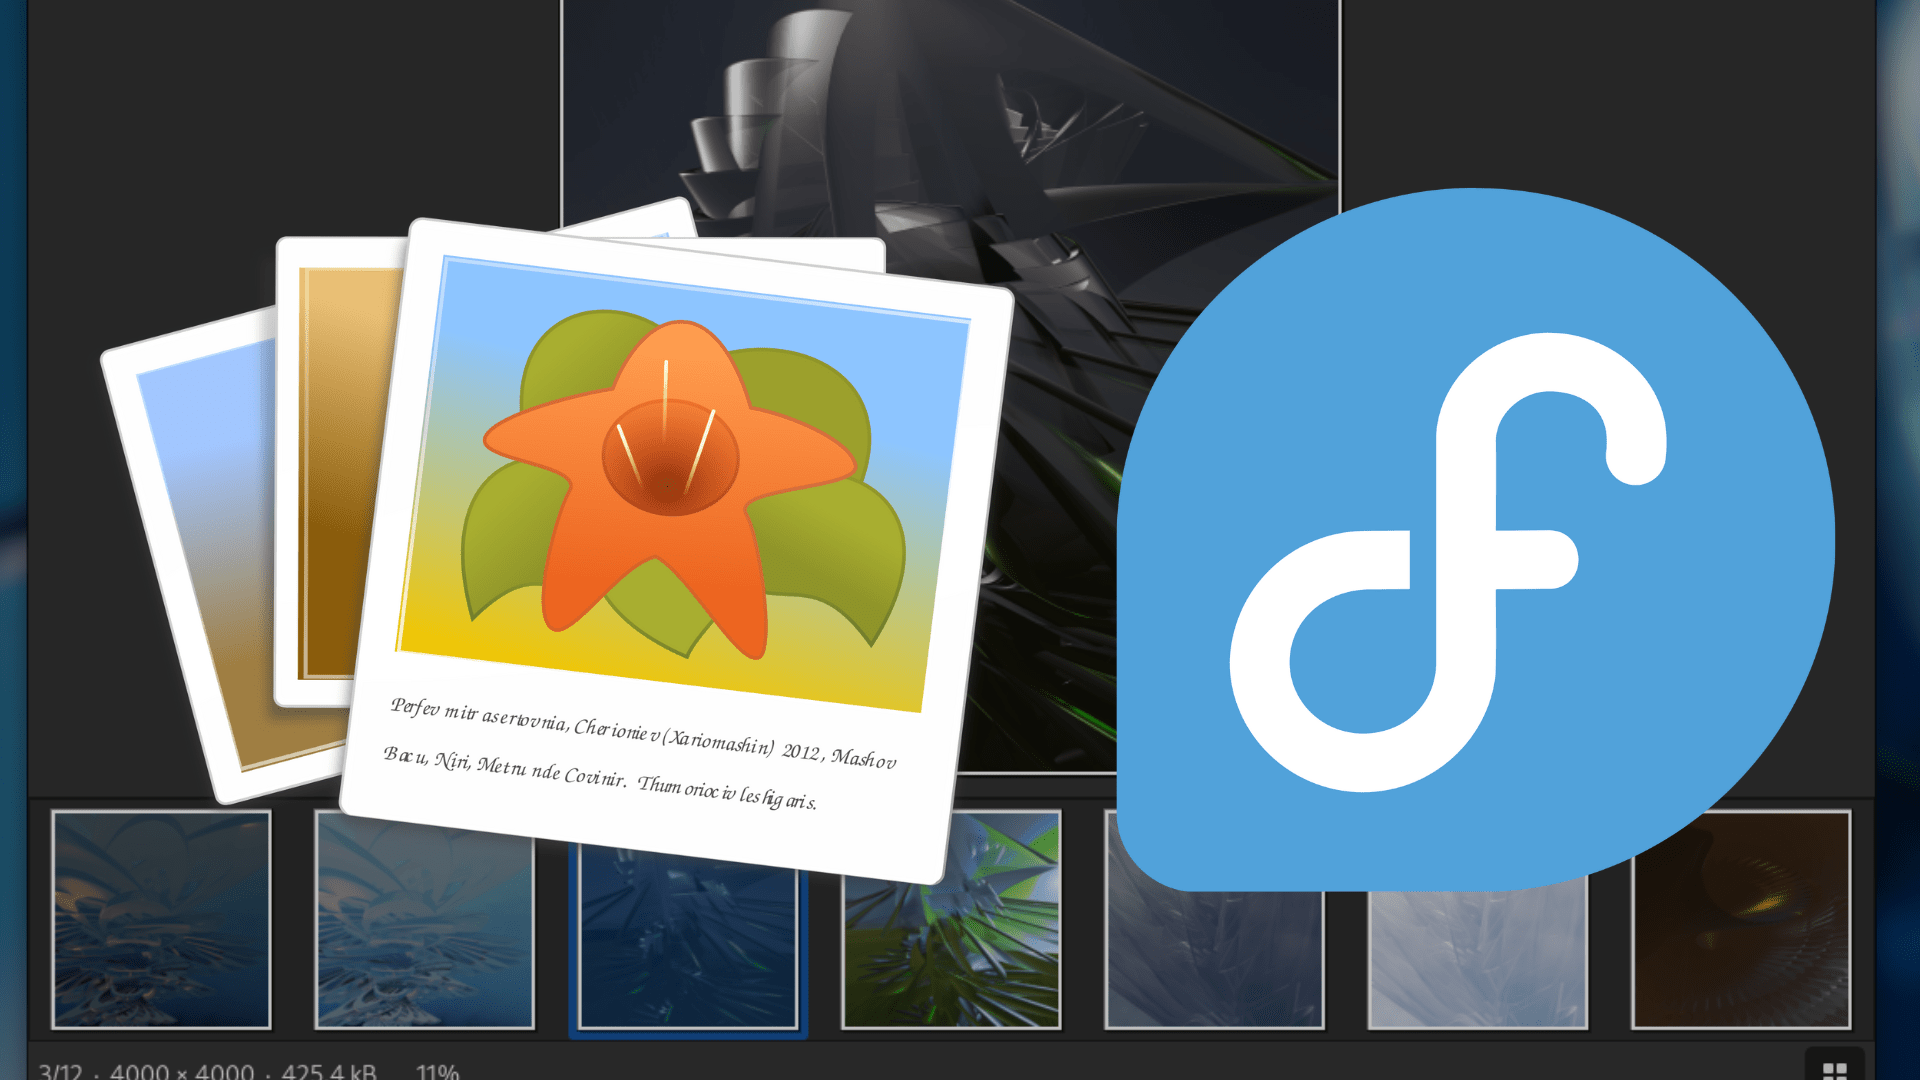
gThumb, an advanced and versatile image viewer and organizer, is a tool of choice for many Linux users, especially those seeking a balance between functionality and simplicity. In this guide, we’ll focus on how to install gThumb on Fedora Linux, ensuring you have this powerful application at your fingertips. gThumb stands out for several reasons:
- Image Viewing: Effortlessly browse through your image collections with its intuitive interface.
- Editing Capabilities: Basic editing functions like crop, resize, and rotate are readily available.
- Format Support: It supports a wide range of image formats, accommodating various user needs.
- Organizational Tools: Tagging and sorting features make managing large collections a breeze.
- Extensibility: Add more features with available extensions.
Transitioning seamlessly into the installation process, you’ll find that installing gThumb on Fedora Linux is a straightforward task, requiring just a few steps. Let’s dive into the technicalities to get gThumb up and running on your system.
Install gThumb on Fedora Linux via DNF
Step 1: Update Your Fedora Linux System
To ensure a smooth installation of gThumb, it’s crucial to start by updating your Fedora Linux system. This step helps prevent potential conflicts and maintains system integrity.
Execute the following command in the terminal:
sudo dnf upgrade --refreshThis command refreshes your system’s package database and upgrades all installed packages to their latest versions, ensuring compatibility with new installations.
Step 2: Using DNF to Install gThumb
Fedora’s default DNF repository offers a stable and secure version of gThumb. Although it might not always be as up-to-date as the Flatpak alternative, it’s highly recommended for its reliability and integration with the Fedora system.
To install gThumb using the DNF package manager, run this command:
sudo dnf install gThumbThis command will download and install gThumb from Fedora’s repository. Choosing the DNF method ensures that you get a version that is well-tested and compatible with your Fedora system, although it may not always have the very latest features found in newer versions available through other sources like Flatpak.
Install gThumb on Fedora Linux via Flatpak and Flathub
Step 1: Reinstall Flatpak (If Previously Removed)
In situations where Flatpak has been removed from your system, you’ll need to reinstall it. Flatpak is essential for installing applications in an isolated environment, providing the latest versions of software.
Use the following command to reinstall Flatpak:
sudo dnf install flatpak -yThis command reinstalls Flatpak on your Fedora system, ensuring you can access and manage applications from various repositories.
Step 2: Enabling Flathub for gThumb Installation
Flathub is a major repository for Flatpak applications. Enabling Flathub on your system allows access to a wide range of applications, including the latest version of gThumb.
To add Flathub to your system, execute this command:
sudo flatpak remote-add --if-not-exists flathub https://flathub.org/repo/flathub.flatpakrepoStep 3: Install gThumb via Flatpak Command
After setting up Flatpak and Flathub, you can proceed to install gThumb. This method ensures you get the most current version of the application. Install gThumb with the following command:
flatpak install flathub org.gnome.gThumb -yExecuting this command installs the latest version of gThumb from Flathub, providing you with up-to-date features and improvements.
Troubleshooting gThumb Flatpak Installation on Fedora
Occasionally, you might encounter issues during the installation process. One common error is an inability to fetch summaries from the Flathub remote. If you encounter this, use the following command to resolve it:
flatpak remote-modify --enable flathubThis command re-enables the Flathub repository, fixing the issue and allowing the installation of gThumb to proceed smoothly.
Launch gThumb on Fedora Linux
Now that you have the software installed launching can be done in a few ways.
CLI Commands to Launch gThumb
For users who prefer command line interfaces, gThumb can be launched using terminal commands. This method is efficient and quick for those comfortable with the Linux terminal. To launch gThumb, enter the following command:
gthumbFor those who installed gThumb via Flatpak, a different command is required. Launch gThumb with this command:
flatpak run org.gnome.gThumbGUI Method to Launch gThumb
Launching gThumb Through the GUI
While the CLI method is efficient, many users prefer the graphical user interface (GUI) for ease of use. To open gThumb using the GUI, follow these steps:
- Click on ‘Activities’ in the top-right corner of your screen.
- Select ‘Show Applications’.
- Scroll or search for ‘gThumb’ and click on the icon to launch it.
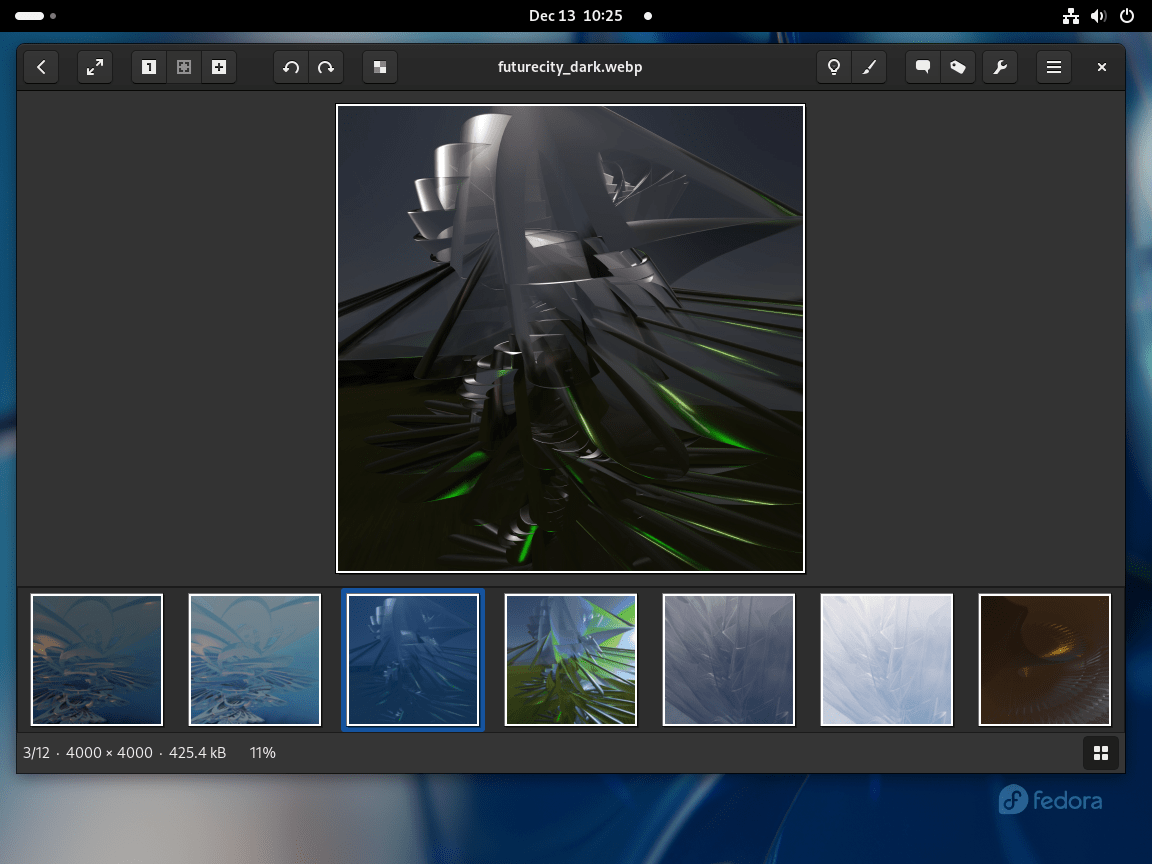
Maximizing gThumb on Fedora Linux: First-Time Tips
Now that you have successfully installed gThumb on Fedora Linux, let’s dive into some essential tips to help you get started and make the most of this versatile image management tool.
General Tips for New gThumb Users on Fedora
- Explore the Interface: Familiarize yourself with gThumb’s interface. Take time to navigate through the menu, toolbar, and settings. This understanding will enhance your efficiency in managing and viewing your images.
- Learn Keyboard Shortcuts: Keyboard shortcuts are a powerful way to speed up your workflow. For example, use
Ctrl + Oto open an image andCtrl + Sto save your edits. You can find a list of shortcuts in the gThumb manual or help section. - Utilize the Full-Screen Mode: For an immersive viewing experience, use the full-screen mode (
F11). This mode is especially useful when sorting through large collections of images.
Customizing Your gThumb Experience on Fedora
- Adjust Preferences: Tailor gThumb to your needs by adjusting its preferences. Access this by navigating to
Edit > Preferences. Here, you can configure settings like thumbnail size, background color, and slideshow durations. - Organize with Tags and Comments: Use tags and comments to organize your image library effectively. Right-click on an image, select
Properties, and then add tags or comments. This feature is invaluable for categorizing and searching images later. - Edit and Enhance Images: Experiment with gThumb’s built-in editing tools. Access basic editing functions like crop, color adjustments, and filters under the
Editmenu. These tools are handy for quick touch-ups.
Additional gThumb Tips for Enhanced Usage on Fedora
- Batch Processing: gThumb allows batch processing, enabling you to apply actions like resize, rename, or convert to multiple images simultaneously. Find this feature under
Tools > Batch RenameorTools > Convert Format. - Export and Share: Easily export and share images directly from gThumb. Use the
File > Export tooption to send images to web services or save them in different formats. - Explore Extensions: gThumb is extensible with various plugins. Explore these under
Edit > Extensionsto add more functionality like additional image formats support or integration with other applications.
Managing gThumb on Fedora Linux
Update gThumb on Fedora
Regular updates are crucial for maintaining software performance and security. Although Fedora typically notifies users of available updates, it’s good practice to manually check for updates using the terminal. This ensures you have the latest version of gThumb with all its features and security patches.
DNF Update Method for gThumb
To update gThumb installed via DNF, use the following command:
sudo dnf update --refreshThis command refreshes your system’s package database and checks for updates, including those for gThumb.
Flatpak Update Method for gThumb
If you installed gThumb using Flatpak, use this command to update it:
flatpak updateThis command searches for and applies any available updates for all Flatpak-installed applications, including gThumb.
Remove gThumb From Fedora
In cases where gThumb is no longer needed, removing it properly is important to free up system resources. The removal process depends on how gThumb was initially installed.
DNF Remove Method for gThumb
To remove gThumb installed via DNF, execute this command:
sudo dnf remove gthumbThis command uninstalls gThumb and any dependencies that were installed with it and are no longer needed.
Flatpak Remove Method for gThumb
To uninstall gThumb installed with Flatpak, use this command:
flatpak remove --delete-data org.gnome.gThumb -yThis command not only uninstalls gThumb but also removes its associated data, ensuring a clean removal process.
Conclusion
In this comprehensive guide, we’ve walked through the essentials of managing gThumb on Fedora Linux, from installation using both DNF and Flatpak methods to keeping the application updated and, if necessary, removing it. As a final recommendation, remember to regularly check for updates to ensure optimal performance and security.
Don’t hesitate to explore gThumb’s features and customize it to your preferences for an enhanced image viewing and organizing experience. With these tips and instructions, you’re now well-equipped to make the most out of gThumb on your Fedora system.