
GNOME Flashback gives Ubuntu users a GNOME Classic-style desktop without replacing the whole system: top and bottom panels, Applications and Places menus, workspaces, and the Metacity window manager instead of the standard GNOME Shell workflow. To install GNOME Flashback on Ubuntu 26.04, 24.04, or 22.04, use the gnome-session-flashback package from Ubuntu’s Universe component.
It is not a separate Ubuntu flavor or reinstall path; it adds selectable X11 login sessions alongside the standard Ubuntu session. The normal APT install creates a GNOME Flashback (Metacity) session entry and installs the required Metacity runtime packages. The package also ships a Compiz session file, but APT lists compiz only as a suggested package, so the default workflow focuses on Metacity.
Install GNOME Flashback on Ubuntu
Refresh Ubuntu’s package metadata before installing the desktop session. These commands use sudo privileges on Ubuntu because APT changes system packages.
sudo apt updateInstall the GNOME Flashback session package from the Ubuntu repositories:
sudo apt install gnome-session-flashbackAPT installs the session wrapper plus the packages that make the classic desktop work, including gnome-flashback, gnome-panel, indicator applets, and metacity. On Ubuntu 26.04, the transaction can also add Xorg packages because GNOME Flashback sessions are X11 sessions.
Verify GNOME Flashback Installation
Check that the session package is installed:
dpkg-query -W -f='${db:Status-Abbrev} ${binary:Package}\n' gnome-session-flashbackRelevant output includes the installed-state marker:
ii gnome-session-flashback
Confirm that the Metacity session file is present for the login manager:
grep -h '^Name=' /usr/share/xsessions/gnome-flashback-metacity.desktopThe session name should match the option you will select at login:
Name=GNOME Flashback (Metacity)
Log out after installation so GDM reloads the available sessions. Reboot only if the session menu was already open or the new option does not appear after a full logout.
Seeing this session name confirms that GDM has a Flashback entry to offer. If choosing it sends you back to the login screen, stop reinstalling the package and check the logs first.
Log In to GNOME Flashback on Ubuntu
Select GNOME Flashback at the Login Screen
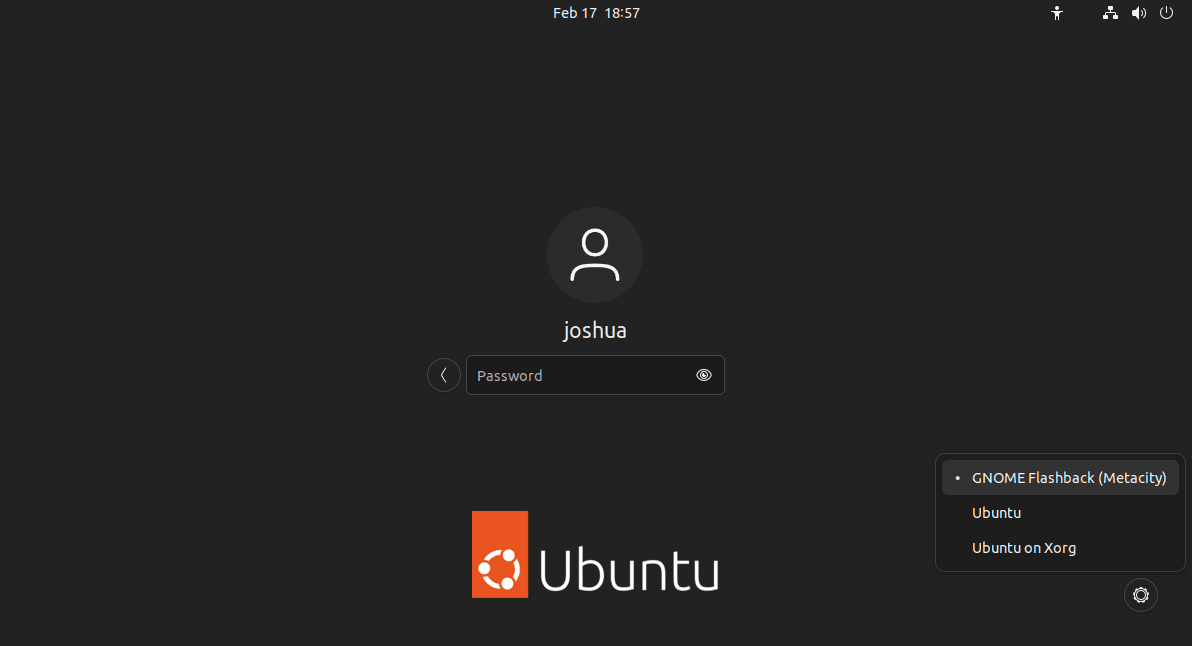
At the GDM login screen, select your user account, then open the gear icon before entering your password. Choose GNOME Flashback (Metacity), enter your password, and sign in.
Ubuntu remembers the selected session for that account. Use the same gear menu later if you want to return to the standard Ubuntu desktop session.
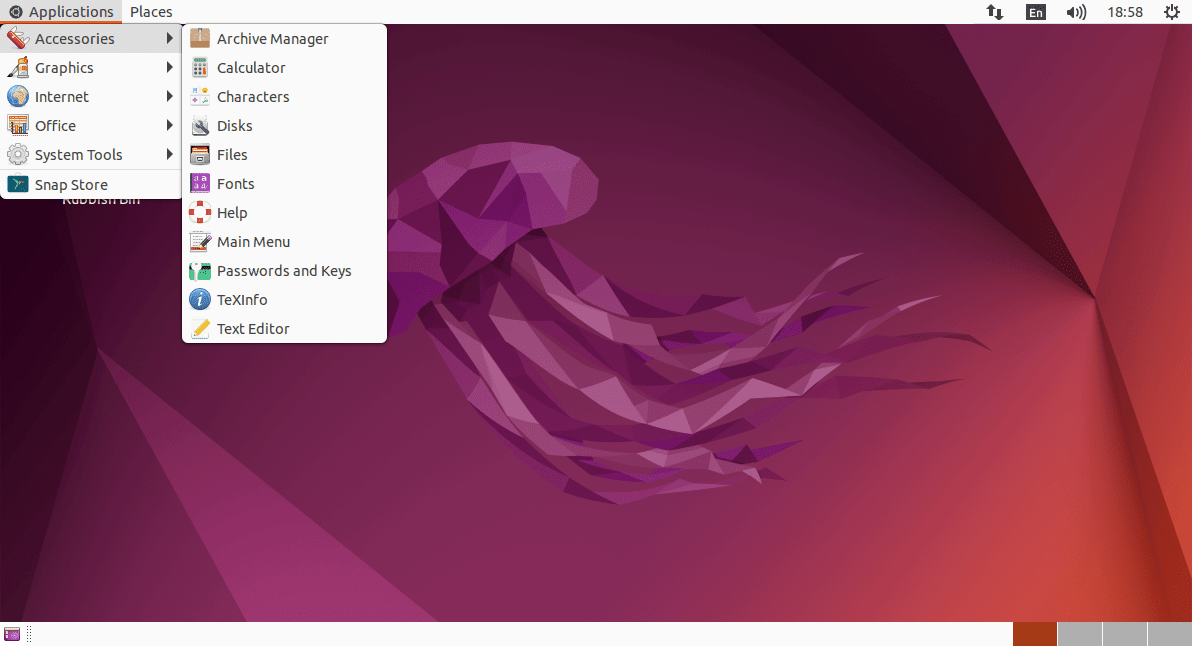
Use the Classic GNOME Layout
After login, GNOME Flashback opens with the traditional panel layout. Use Applications for installed programs, Places for common folders and locations, and the workspace switcher on the bottom panel for multiple workspaces.
Update or Remove GNOME Flashback on Ubuntu
Update GNOME Flashback Packages
Ubuntu updates GNOME Flashback through normal APT package upgrades. Refresh package metadata, then review and apply available upgrades:
sudo apt update
sudo apt upgrade
This keeps the session package and related components such as gnome-flashback, gnome-panel, metacity, and indicator packages aligned with Ubuntu’s repository updates.
Remove GNOME Flashback from Ubuntu
Log out of GNOME Flashback and switch back to the standard Ubuntu session before removing the package. Then remove the session package:
sudo apt remove gnome-session-flashbackAPT may leave dependency packages that were installed only for GNOME Flashback, such as gnome-panel, metacity, and indicator applets. Review the proposed transaction before accepting the cleanup:
sudo apt autoremoveIf APT proposes unrelated packages you still need, cancel the transaction and inspect the list before continuing.
Verify GNOME Flashback Removal
Check whether the session package still has an installed ii state:
dpkg-query -W -f='${db:Status-Abbrev} ${binary:Package}\n' gnome-session-flashback 2>/dev/null | grep '^ii' || echo "gnome-session-flashback is not installed"After removal, the check should report that the package is not installed:
gnome-session-flashback is not installed
Troubleshoot GNOME Flashback on Ubuntu
APT Cannot Locate GNOME Flashback
The gnome-session-flashback package comes from Ubuntu’s Universe component. Most desktop installs already have Universe enabled, but minimal or customized systems can miss it. Check the package candidate first:
apt-cache policy gnome-session-flashbackIf the candidate is (none), enable Universe and refresh APT. The dedicated Ubuntu Universe and Multiverse guide covers component checks and recovery paths in more detail.
If add-apt-repository is missing on a minimal system, install its helper package first:
sudo apt install software-properties-commonsudo add-apt-repository universe
sudo apt updateGNOME Flashback Is Missing from the Login Menu
First confirm that the Metacity session file exists:
ls /usr/share/xsessions/gnome-flashback-metacity.desktopIf the file is missing, reinstall the session package:
sudo apt install --reinstall gnome-session-flashbackIf the file exists but GDM still does not show the session, log out completely instead of locking the screen. Reboot if the login manager was already running while the package was installed.
GNOME Flashback Returns to the Login Screen
GNOME Flashback starts an X11 session. If selecting GNOME Flashback (Metacity) returns you to GDM, use journalctl to check GDM’s X-session messages before reinstalling the package.
sudo journalctl -b --no-pager _COMM=gdm-x-session | tail -80A message such as Unable to run X server means GDM could not start Xorg. Inspect the Xorg logs for fatal errors next. The first path covers rootless Xorg sessions, while the second covers systems that still write the display log under /var/log:
grep -E '\(EE\)|Fatal|Segmentation|Permission denied|Unable to run X server' "$HOME/.local/share/xorg/Xorg.0.log" 2>/dev/null || sudo grep -E '\(EE\)|Fatal|Segmentation|Permission denied|Unable to run X server' /var/log/Xorg.0.log 2>/dev/null || echo "No Xorg error log found for this session"Xorg errors such as Permission denied, Unable to run X server, Segmentation fault, or graphics-driver backtraces point to the display stack rather than a missing GNOME Flashback package. This can happen on some virtual machines before the classic session reaches the desktop. Update Ubuntu, then update guest graphics tools on virtual machines or the installed graphics driver on physical hardware, and retest from GDM; keep the standard Ubuntu session selected until the Xorg issue is fixed.
Only the Metacity Session Appears
The default package install provides the Metacity runtime. A Compiz session file is included, but the normal APT command does not install compiz, so GDM may hide that option through the desktop file’s TryExec=compiz check. Use GNOME Flashback (Metacity) unless you deliberately maintain a separate Compiz setup.
Conclusion
GNOME Flashback installs from Ubuntu’s Universe repository and adds a Metacity session to GDM. Keep it updated with normal APT upgrades, and remove it later with the same package manager if the classic panel workflow no longer fits your desktop. If the session returns to GDM instead of opening the desktop, check the GDM and Xorg logs before repeating the install.
For other desktop choices, compare Xfce on Ubuntu for another panel-based desktop, LXQt on Ubuntu for a Qt-based alternative, or KDE Plasma on Ubuntu for a more configurable full desktop.

Formatting tips for your comment
You can use basic HTML to format your comment. Useful tags currently allowed in published comments:
<code>command</code>command<strong>bold</strong><em>italic</em><a href="https://example.com">link</a><blockquote>quote</blockquote>