

This guide will demonstrate how to install Geeqie on Ubuntu 24.04, 22.04, or 20.04 LTS Linux releases using the command-line terminal with either APT or Flatpak from Flathub.
Geeqie is a lightweight yet powerful image viewer tailored for photographers, graphic designers, and digital artists looking for an efficient way to manage their image collections. With its focus on ease of use and flexibility, Geeqie stands out in the realm of image-viewing software. Its key features include:
- Fast and responsive: Optimized for quick browsing through large image collections.
- Advanced file management: Offers detailed file information, tagging, and sorting capabilities.
- Extensive format support: Handles a wide range of image formats, including RAW files.
- Customizable interface: Users can tailor the layout to suit their workflow.
- Image comparison tools: Easily compare images side-by-side or in a split view.
- Metadata editing and viewing: Access and edit EXIF, IPTC, and XMP metadata directly within the viewer.
- Color management: Ensures accurate color representation for professional-grade work.
- Integrated map view: For images geotagged, displays locations on an interactive map.
Geeqie’s comprehensive suite of tools and user-friendly interface make it an indispensable application for anyone serious about image management. Its adaptability to various workflows, combined with powerful search and organization tools, ensures that users can focus more on their creative work and less on managing their digital assets.
Now, let’s dive into the technical steps to get Geeqie up and running on your Ubuntu system.
Install Geeqie on Ubuntu via APT
Update Ubuntu Before Installing Geeqie
To ensure a smooth installation of Geeqie, begin by updating your Ubuntu system. This process refreshes the package list and brings all existing packages up to date, eliminating potential conflicts. Open the terminal and run the following command:
sudo apt update && sudo apt upgradeThis command is vital for maintaining system stability and security, making it an essential step before installing new software.
Installation of Geeqie Using APT
The most effective method for installing Geeqie on Ubuntu is through the default APT repository. This repository is officially maintained by Ubuntu, providing a secure and stable source for software.
To install Geeqie, access your terminal and enter the following command:
sudo apt install geeqieThis command initiates the download and installation of Geeqie from Ubuntu’s repository. APT handles the process, including the resolution of any dependencies, ensuring Geeqie is set up correctly on your system.
Install Geeqie on Ubuntu via Flatpak with Flathub
Flatpak, a modern package management system, allows for the installation of applications in a sandboxed environment, enhancing security and isolation. For installing Geeqie via Flatpak, it’s essential to add the Flathub repository, which hosts the Geeqie package.
Note: If your system doesn’t have Flatpak installed, follow the guide on How to Install Flatpak on Ubuntu, which includes steps to use the Flatpak Team Official LaunchPAD PPA for the latest version.
Enable Flathub to Install Geeqie
Begin by opening your terminal and integrating the Flathub repository. This repository is a crucial source for many Flatpak applications, including Geeqie. Use the following command to add Flathub to your system:
sudo flatpak remote-add --if-not-exists flathub https://flathub.org/repo/flathub.flatpakrepo
This command ensures Flathub is added only if it’s not already present, preventing duplicate entries.
Install Geeqie on Ubuntu via Flatpak Command
With Flathub now integrated, you can proceed to install Geeqie. Execute the command below in your terminal:
flatpak install flathub org.geeqie.GeeqieThis command searches for Geeqie in the Flathub repository and initiates its installation. Flatpak manages the dependencies and installation details, providing a streamlined setup process.
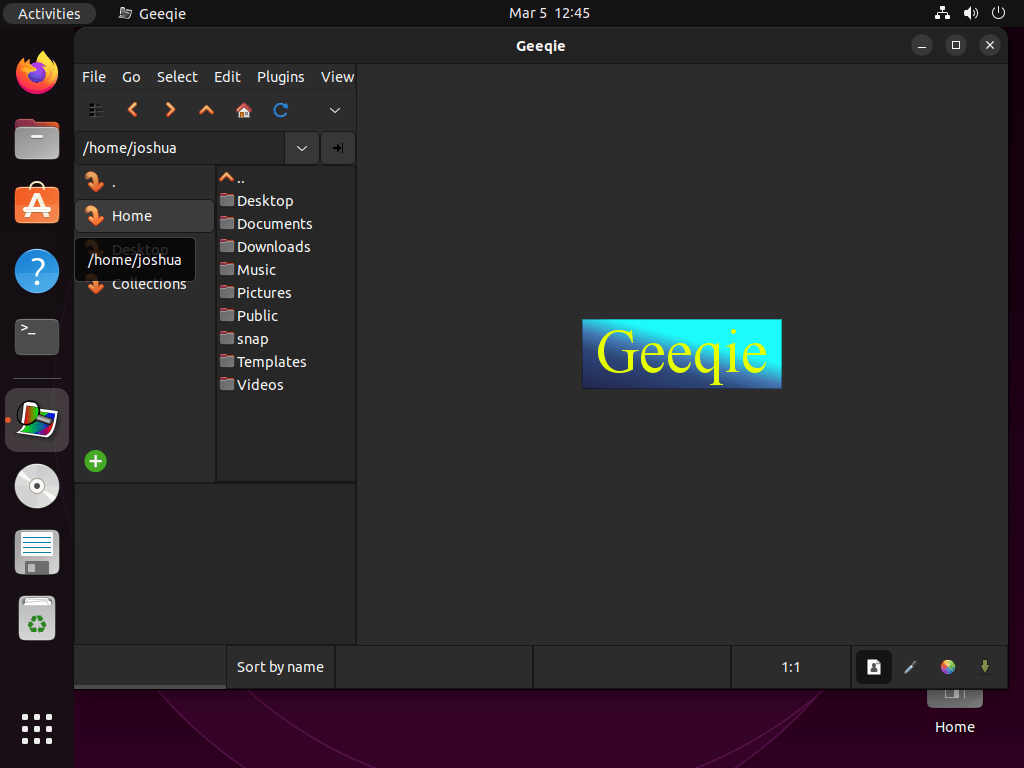
Launch Geeqie on Ubuntu
Launching it is a breeze now that you’ve successfully installed Geeqie on your Ubuntu system. In this section, we’ll show you two different ways to launch Geeqie, depending on your preferences.
CLI Commands to Launch Geeqie
If you prefer using the terminal to launch applications, you can type the following command in your terminal to launch Geeqie:
geeqieAlternative Flatpak installations can run the command:
flatpak run org.geeqie.GeeqieGUI Path to Launch Geeqie
Launching Geeqie from the applications menu is likely the most convenient option if you’re using a desktop environment. To do so, follow these steps:
- Click on the Activities button in the top-left corner of your desktop.
- Search for “Show Applications” in the search bar and click on it.
- In the list of applications that appear, locate “Geeqie” and click on it.
First-Time Tips with Geeqie with Ubuntu
Now that you have successfully installed Geeqie on Ubuntu, here are some first-time tips on getting the most out of the software:
General Usage Tips
- Explore the Interface: Familiarize yourself with Geeqie’s interface. The layout is intuitive, but taking time to understand the toolbar and menus will enhance your efficiency.
- Utilize the Thumbnail View: This feature allows for easy browsing and organization of your image collections. Thumbnails make it simple to identify and access your images quickly.
- Learn Keyboard Shortcuts: Keyboard shortcuts can significantly speed up your workflow. For example, pressing
F1opens the help menu, andCtrl + Qquits the application.
Customization Tips
- Adjust the Layout: Geeqie offers customizable layouts. Tailor the interface to your needs by adjusting the view modes, sidebar, and preview settings.
- Configure Preferences: Access Geeqie’s preferences (
Edit>Preferences) to tweak settings like file sorting, thumbnail size, and slideshow intervals. - Create Custom Actions: Geeqie allows you to create custom actions for files. This can be a powerful tool for automating repetitive tasks.
Other Useful Tips
- Metadata Management: Geeqie provides robust tools for viewing and editing image metadata. This is particularly useful for photographers and digital artists.
- Image Comparison: Use the image comparison tool to view images side-by-side, a handy feature for photographers.
- External Editors: Set up external image editors within Geeqie for quick access to more advanced editing tools.
Additional Commands for Geeqie on Ubuntu
Update Geeqie
To update Geeqie, you can use the following command in your terminal:
sudo apt upgrade && sudo apt upgradeThis command will update both Geeqie and any other system packages that may require updating. It’s a good practice to run this command regularly to ensure your system is current.
For the same command that will blanket check all applications for updates with Flatpak, run the command:
flatpak updateRemove Geeqie
If you no longer need Geeqie on your system, you can easily remove it using the following command:
sudo apt remove geeqieFlatpak installations, run the alternative removal command:
flatpak uninstall org.geeqie.GeeqieConclusion
We’ve journeyed through the steps of installing Geeqie on Ubuntu, explored first-time usage tips, and covered how to uninstall it if needed. Remember, Geeqie is more than just an image viewer; it’s a tool that can significantly streamline your workflow with its customization options and keyboard shortcuts. Dive in, experiment with its features, and tailor it to fit your needs. Whether you’re a casual or power user, Geeqie on Ubuntu is a robust choice for managing your image collections.