

Geany is a powerful, versatile integrated development environment (IDE) that seamlessly blends efficiency with simplicity, making it a popular choice among developers. This guide will show you how to install Geany on Fedora Linux, ensuring a smooth setup for your development needs.
Key Features of Geany:
- Syntax Highlighting: Supports various programming languages, making code easier to read and understand.
- Code Folding: Allows hiding sections of code for better navigation.
- Auto-Completion: Speeds up coding by suggesting completions for symbols and words.
- Project Management: Simplifies working on multiple files by organizing them into projects.
- Plugin Support: Extends functionality with a wide range of available plugins.
With an understanding of the key features of Geany, let’s learn the two methods this guide will cover for installing Geany on your Fedora system.
Install Geany on Fedora Linux via DNF
Step 1: Update Fedora Before Geany Installation
It’s essential to start by updating your Fedora system. This step ensures that all your existing packages are current, providing a stable base for new installations.
To update Fedora, execute the following command:
sudo dnf upgrade --refreshThis command refreshes the repository and upgrades the packages, maintaining the system’s integrity and security.
Step 2: Install Geany via DNF Command
After updating your system, you can install Geany. Geany is available directly from Fedora’s official repository, ensuring a secure and straightforward installation. Use the following command to install Geany:
sudo dnf install geanyThis command downloads and installs the latest version of Geany.
For users seeking a secondary installation method, the following section covers how to install Geany on Fedora utilizing the Flatpak package manager and the Flathub repository.
Install Geany on Fedora Linux via Flatpak and Flathub
Step 1: Verify Flatpak Installation
Before installing Geany, ensure Flatpak is installed on your Fedora workstation. Flatpak is often pre-installed, but if you’ve previously removed it, reinstall it using this command:
sudo dnf install flatpak -yThis command reinstalls Flatpak, allowing you to access various applications, including Geany.
Step 2: Enable Flathub for Geany Installation
After confirming Flatpak’s installation, the next step is to enable Flathub. Flathub is a repository for Flatpak applications, often offering more current software versions than Fedora’s default repositories. To enable Flathub, use the following command:
flatpak remote-add --if-not-exists flathub https://flathub.org/repo/flathub.flatpakrepoThis command ensures that your system can access and install applications from Flathub.
Step 3: Install Geany via Flatpak Command
With Flathub enabled, you can now install Geany. Use the command below to install Geany via Flatpak:
flatpak install flathub org.geany.Geany -yThis command installs the latest version of Geany available on Flathub.
Troubleshoot Flatpak Geany Installation
In case you encounter an error stating, “error: Unable to load summary from remote flathub: Can’t fetch summary from disabled remote ‘flathub,'” the solution is straightforward. Enable Flathub using the following command:
"error: Unable to load summary from remote flathub: Can't fetch summary from disabled remote 'flathub,"The fix is simple: run the following command to enable Flathub.
flatpak remote-modify --enable flathubThis command resolves the issue by enabling the Flathub repository.
Launch Geany on Fedora Linux
CLI Commands to Launch Geany
Once Geany is installed on your Fedora Linux system, you can launch it using the command-line interface (CLI). This method is efficient for those who prefer working in a terminal environment.
To open Geany via the CLI, enter:
geanyThis command quickly launches the Geany application.
For users who installed Geany via Flatpak, use this alternative command:
flatpak run org.geany.GeanyThis command specifically targets the Flatpak installation of Geany, ensuring that the correct version of the application is launched.
GUI Method to Launch Geany
For desktop users, launching Geany is more convenient through the graphical user interface (GUI). This method is straightforward and does not require the use of terminal commands.
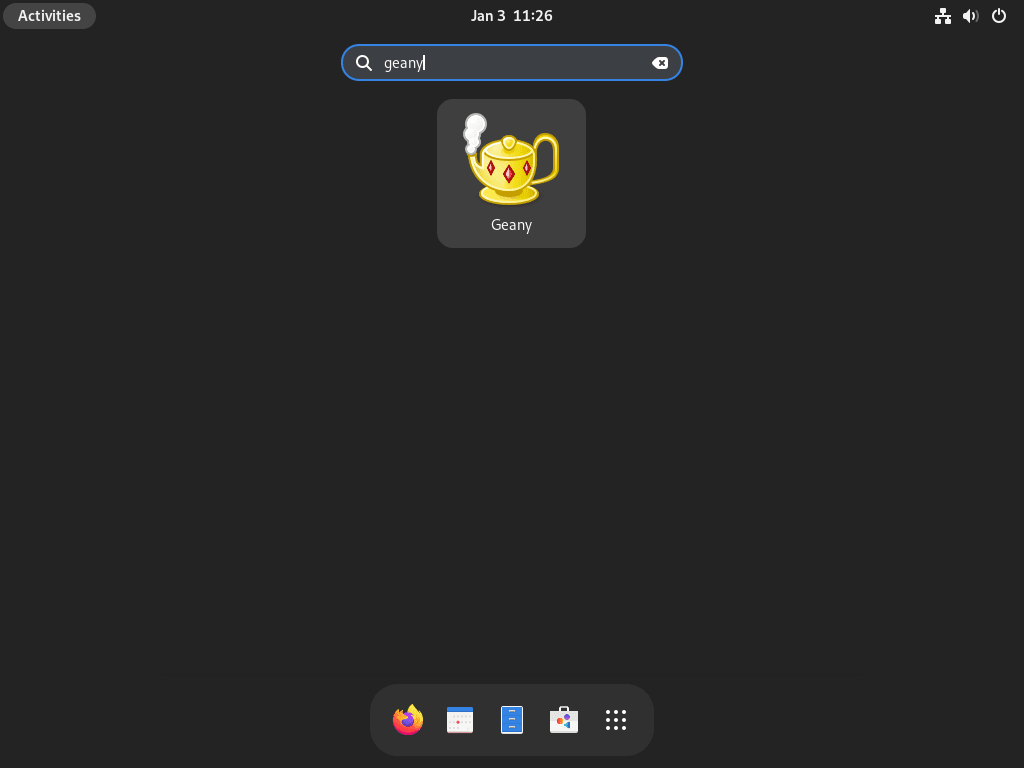
To open Geany via the GUI, follow this path:
Activities > Show Applications > Geany
First-Time Tips with Geany on Fedora Linux
Now that Geany is set up on your Fedora system let’s explore some key tips to help you get the most out of this versatile IDE. These insights will enhance your productivity and customize your experience.
General Geany Tips for First-Time Users on Fedora
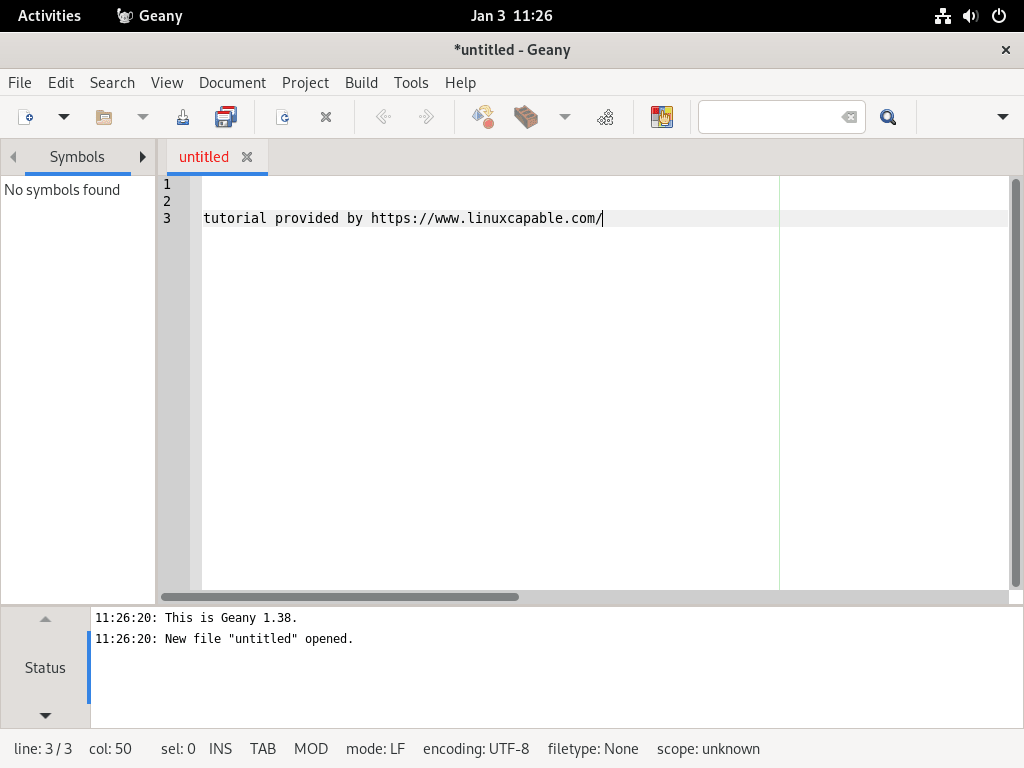
- Familiarize with the Interface: Spend some time exploring Geany’s user interface. The menu bar, toolbar, editor window, and status bar are intuitively laid out, making navigation straightforward.
- Explore the Documentation: Geany’s documentation is a treasure trove of information. It provides insights into features, shortcuts, and best practices. Access it through
Help > Contentsin Geany.
Customizing Geany Workspace on Fedora
- Choose a Theme: Personalize your coding environment by selecting a theme that suits your preference. Navigate to
Edit > Preferences > Interface > Editor > Displayto explore different themes. - Configure Syntax Highlighting: Geany supports syntax highlighting for various programming languages. Customize it under
Edit > Preferences > Editor > Syntax Highlightingto enhance code readability. - Adjust Editor Preferences: Tailor the editor to your coding style. From
Edit > Preferences > Editor, you can modify settings like line wrapping, indentation, and font size.
Enhancing Geany Productivity with Plugins on Fedora
- Explore Plugins: Geany offers a range of plugins to extend its functionality. From
Tools > Plugin Manager, you can discover and enable plugins like code beautifiers, version control systems, and more. - Customize Shortcuts: Streamline your workflow by setting up keyboard shortcuts. Accessible under
Edit > Preferences > Keybindings, shortcuts can significantly speed up your coding process.
Other Geany Helpful Tips on Fedora
- Use the Terminal Emulator: Geany includes an integrated terminal emulator at the bottom of the window, enabling quick command execution without leaving the IDE.
- Experiment with Code Folding: This feature allows you to collapse and expand code sections, making focusing on specific parts of your project easier.
Additional Commands For Geany on Fedora Linux
To ensure Geany and other system packages are up-to-date, use the appropriate command based on your installation method. Regular updates, even for those with auto-updates enabled in their desktop GUI, are crucial for optimal software performance and security.
DNF Update Method for Geany
For installations done via DNF, the following command will update Geany along with other system packages:
sudo dnf upgrade --refreshFlatpak Update Method for Geany
If you installed Geany using Flatpak, use this command to update it:
flatpak updateRemove Geany From Fedora
If you need to uninstall Geany, select the command corresponding to your original installation method.
DNF Remove Method for Geany
To remove Geany installed via DNF, along with its unused dependencies and other remnants, use:
sudo dnf autoremove geanyRunning this command regularly helps prevent system bloat by removing unnecessary files.
Flatpak Remove Method for Geany
For Geany installations via Flatpak, the following command will uninstall the application and delete its data:
flatpak uninstall --delete-data org.geany.Geany -yConclusion
Throughout this guide, we’ve explored two effective methods for installing Geany on Fedora Linux, delving into the DNF and Flatpak approaches. Along the way, we’ve also covered key commands for updating and removing Geany, ensuring you can manage the software efficiently. As you begin your journey with Geany, remember to customize your workspace to fit your needs and explore its extensive range of features and plugins. Whether you’re a seasoned developer or just starting, Geany is a reliable, user-friendly IDE that can significantly enhance your coding experience on Fedora Linux. Happy coding!